The pantry was sheetrocked "before" gutting. Why the quotes? Because to even get to the sheetrock we'd already ripped out carpeting, panelling, and a drop ceiling. Also, shelves, a refrigerator, cabinet, and LOTS of roaches. Yuck.
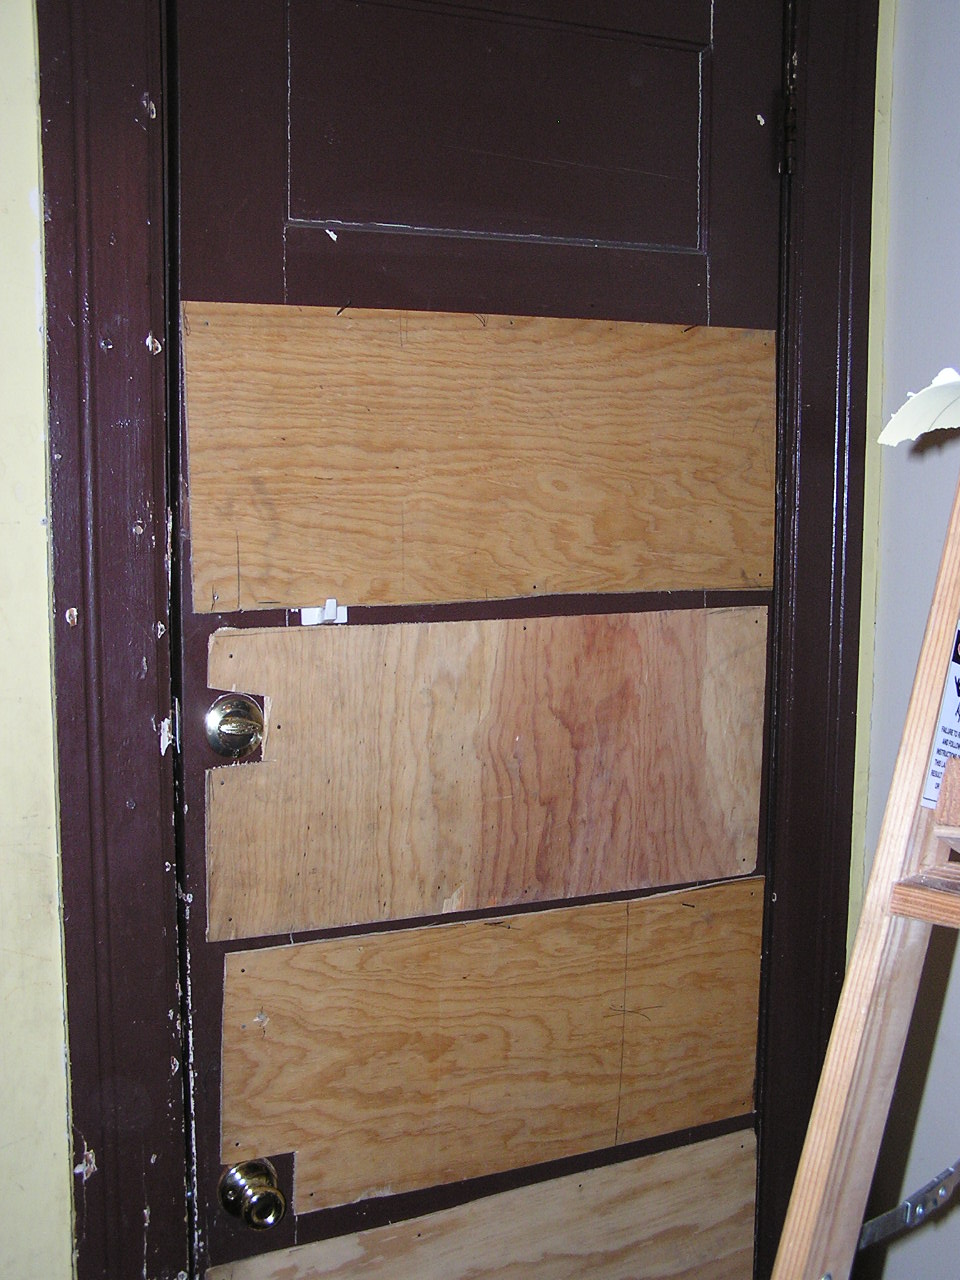
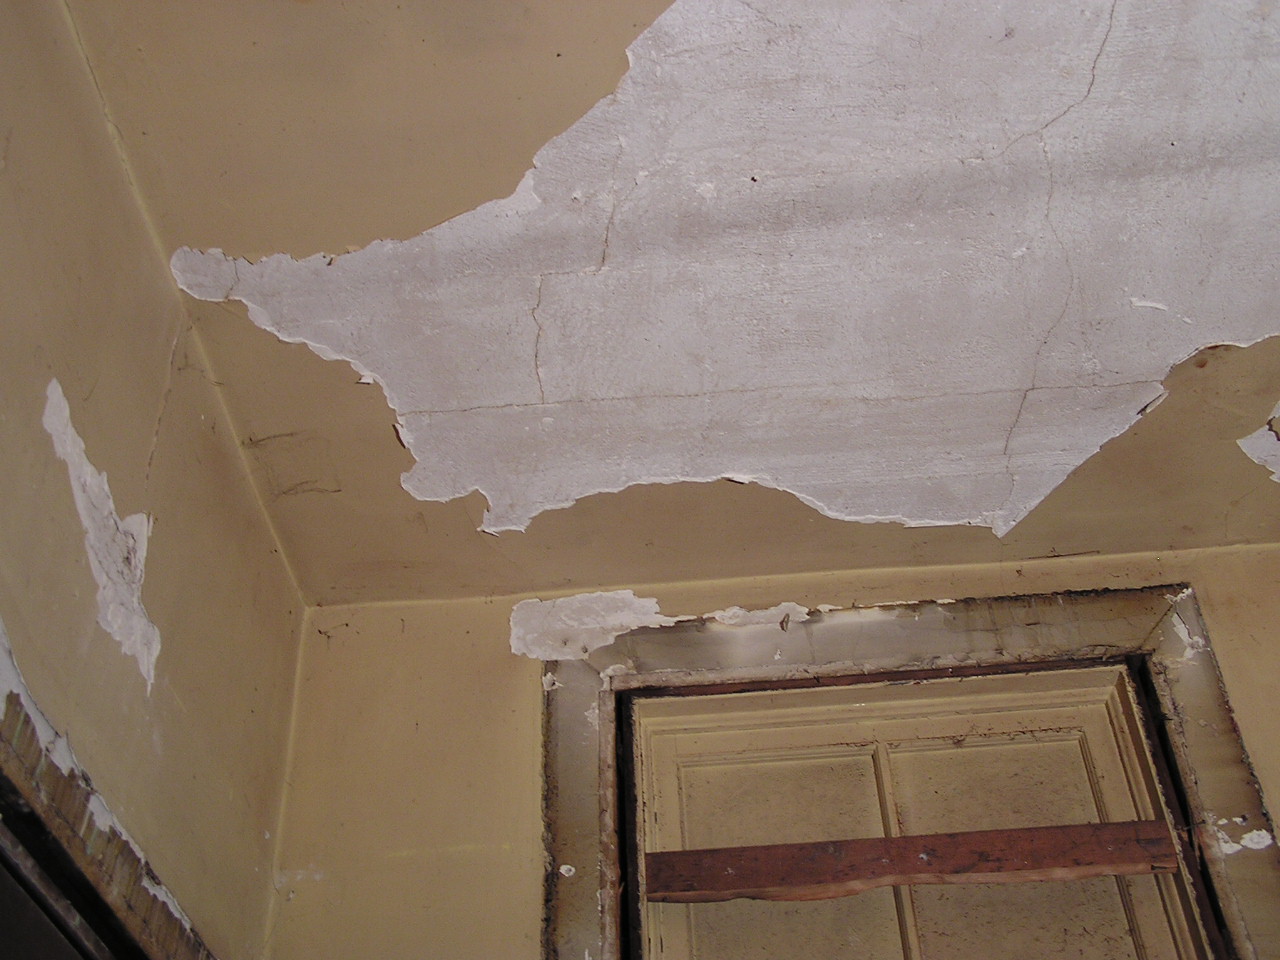
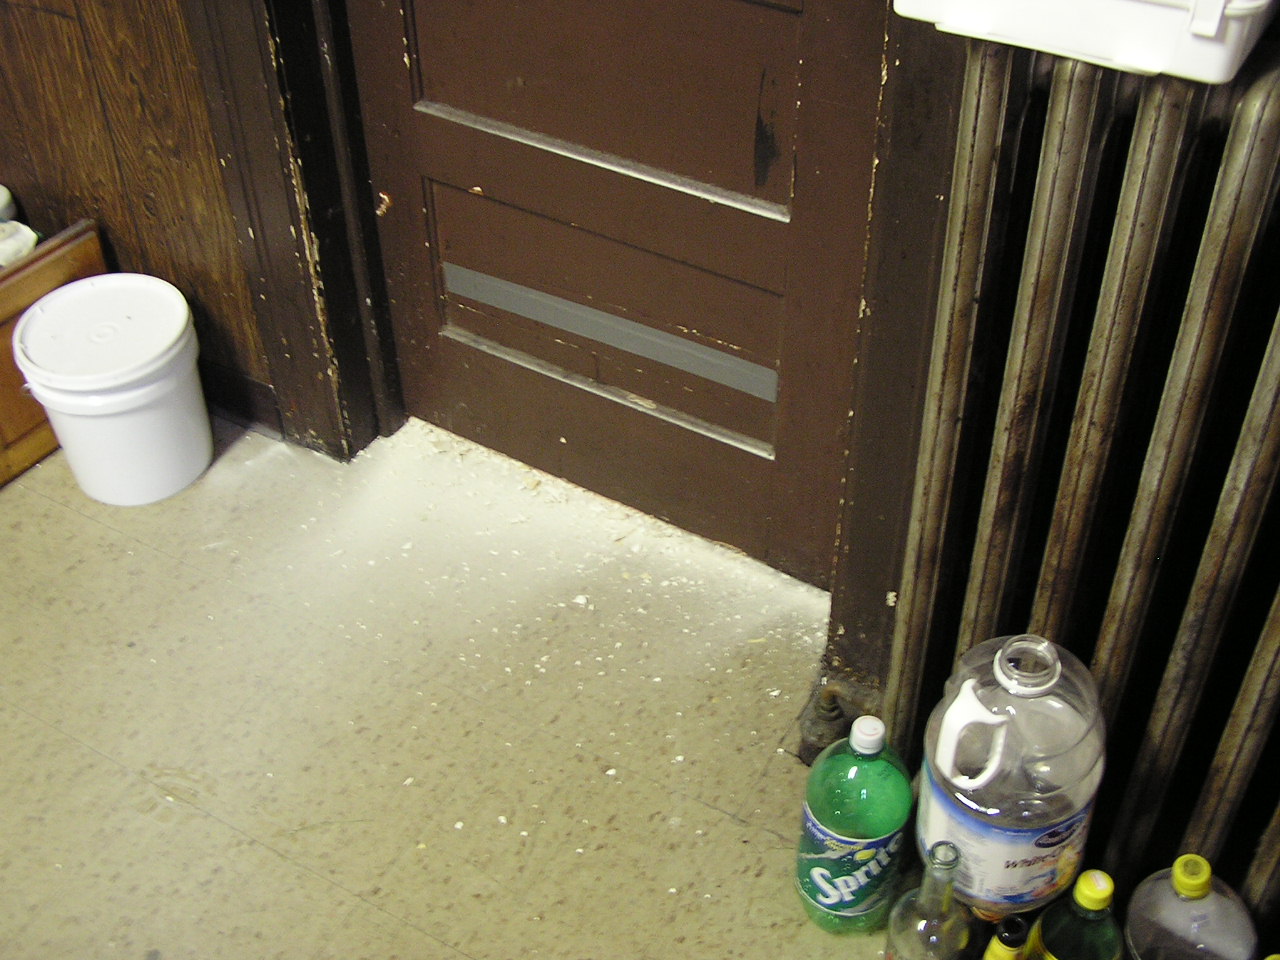
The inside of the door to the kitchen from the pantry. This was the entrance to the dining room when it was set up as a bedroom during the dark years (boarding house). Thus, the reinforcement and the dead bolt lock.
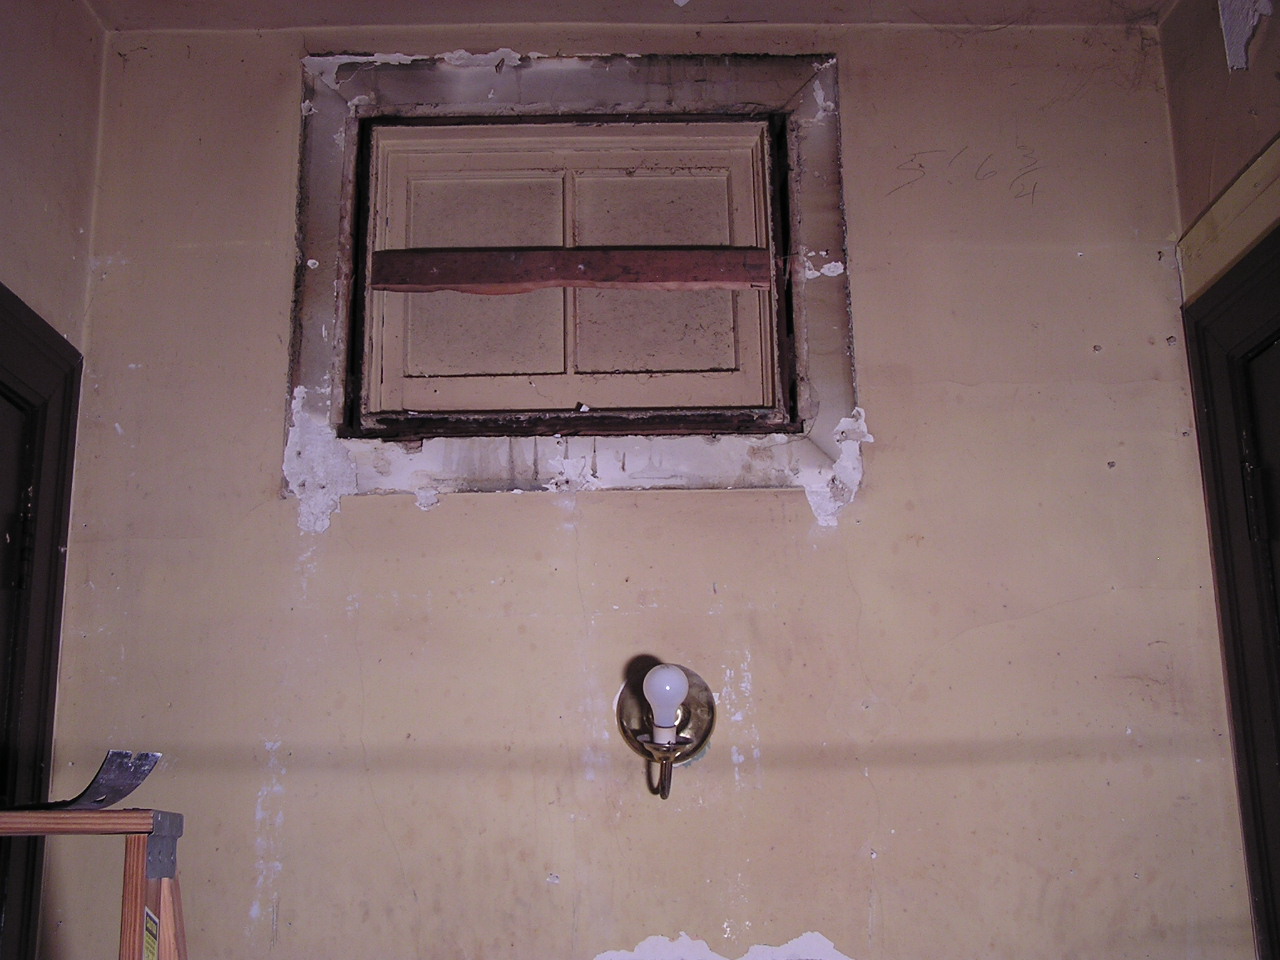
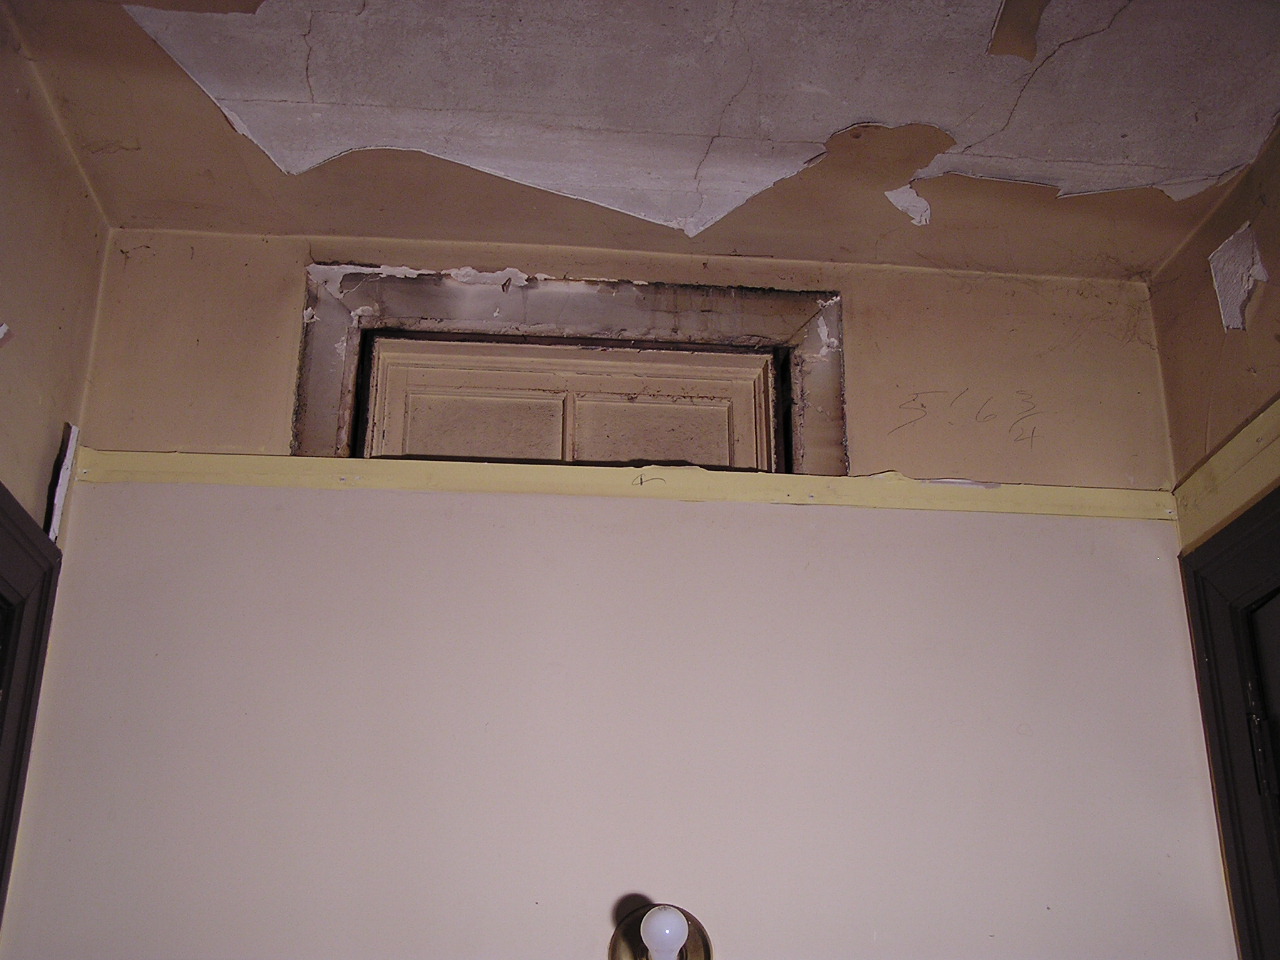
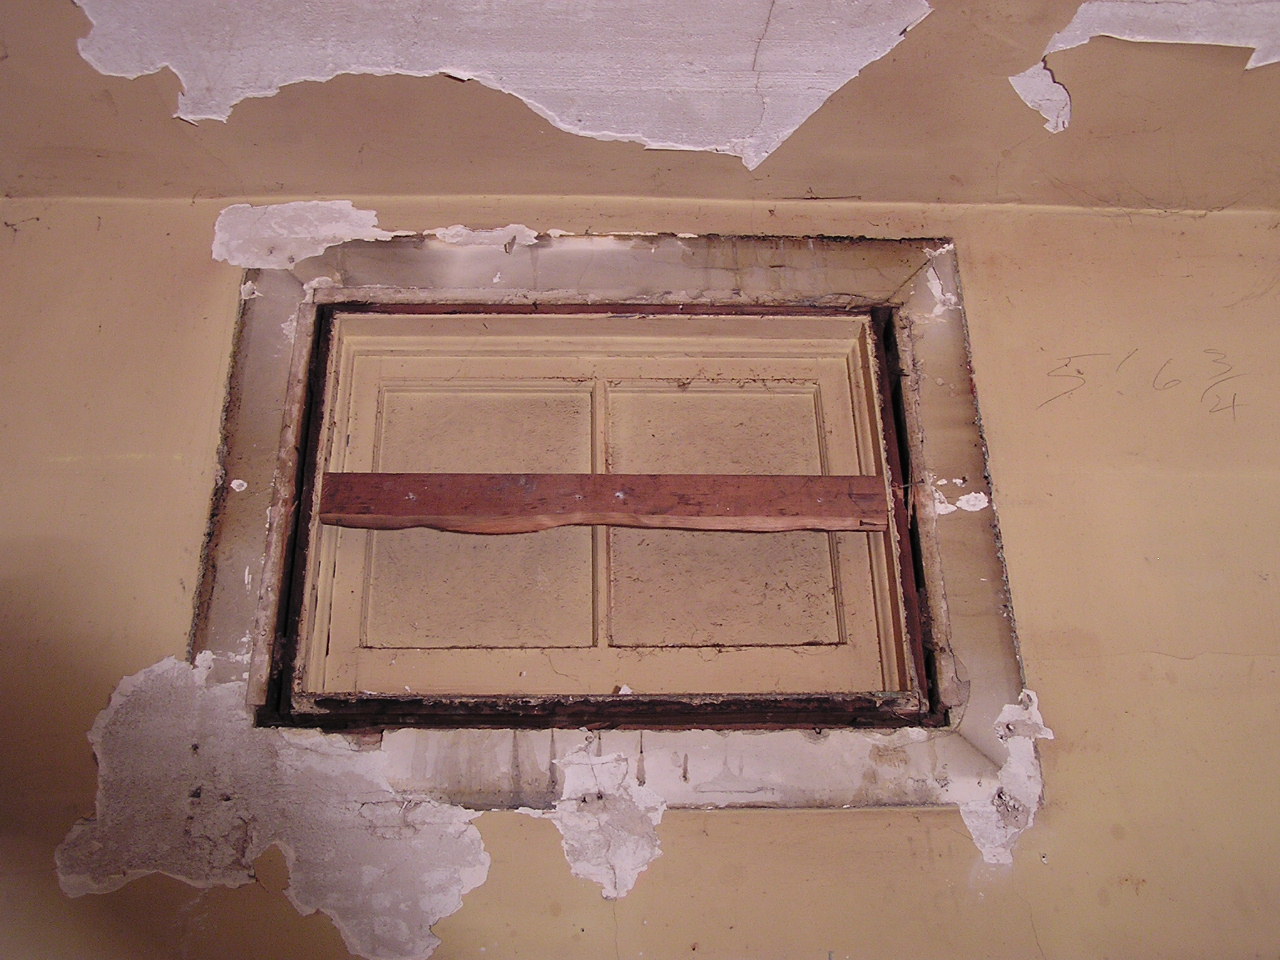
Here you can see a painted over window into the servants' stairs. This would have been the source of light in the staircase, along with three other windows - one in the basement, one on the roof, and one in Bedroom 2.
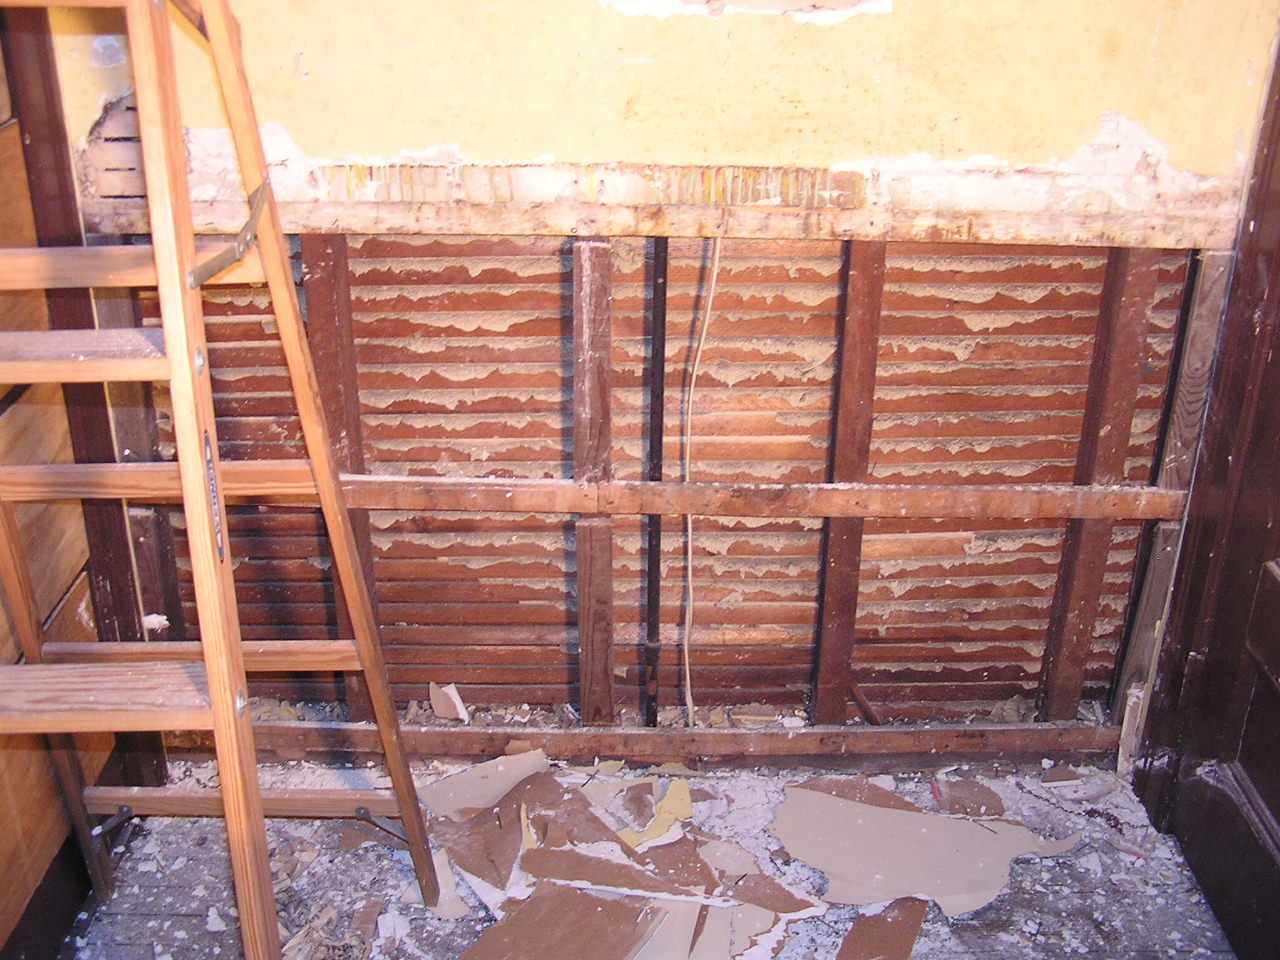

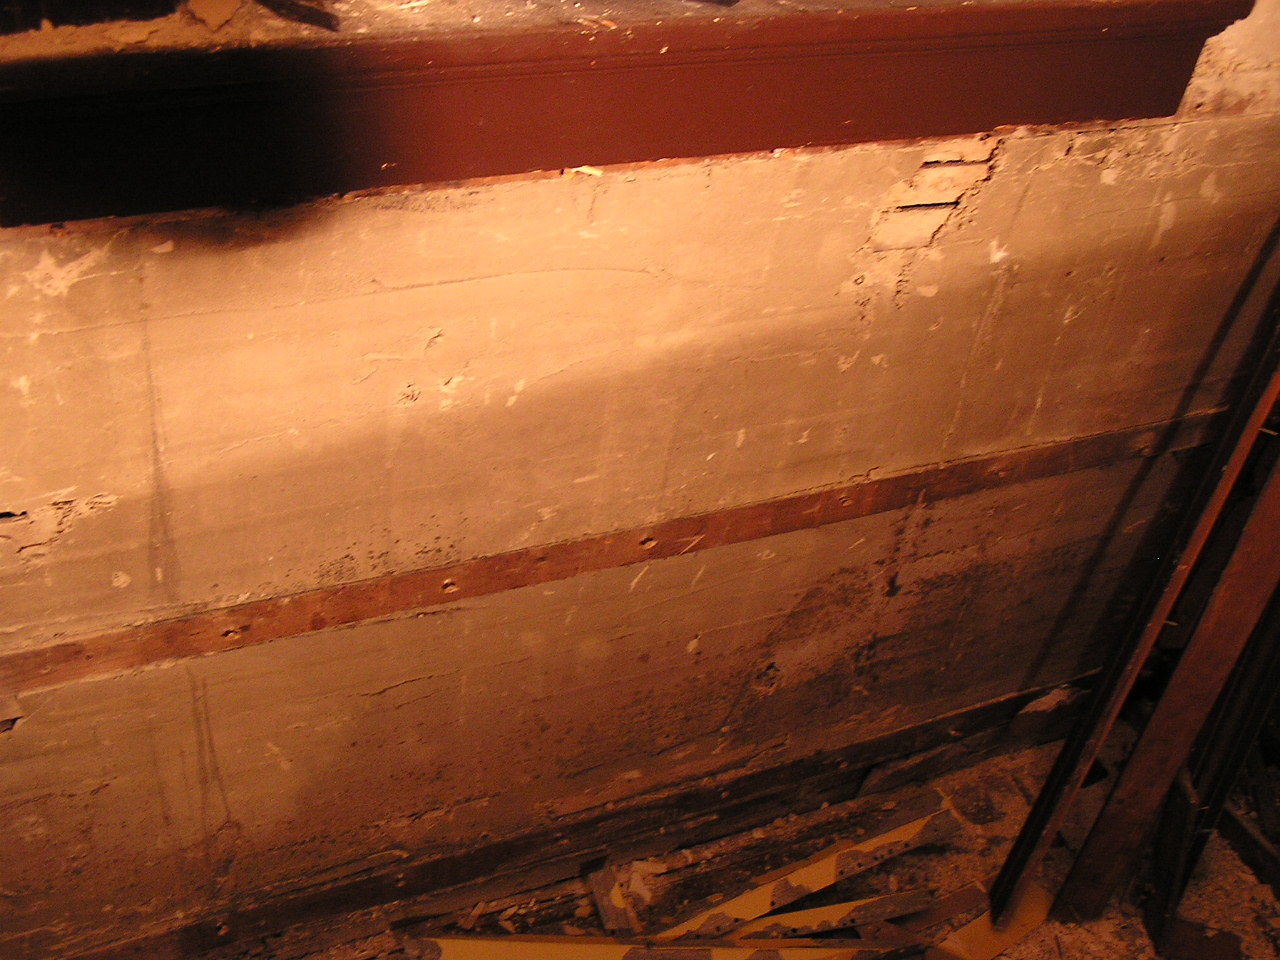
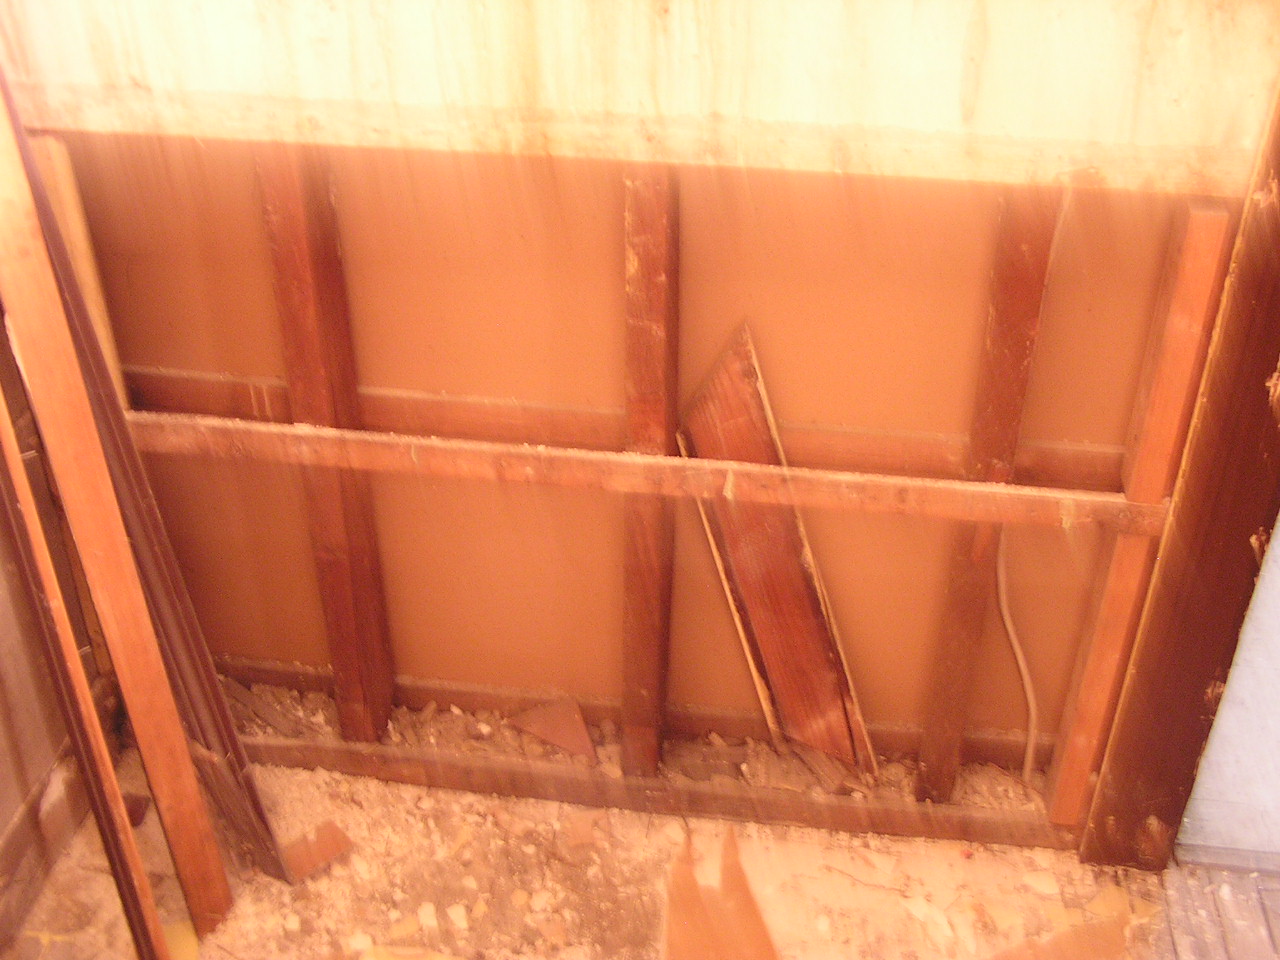
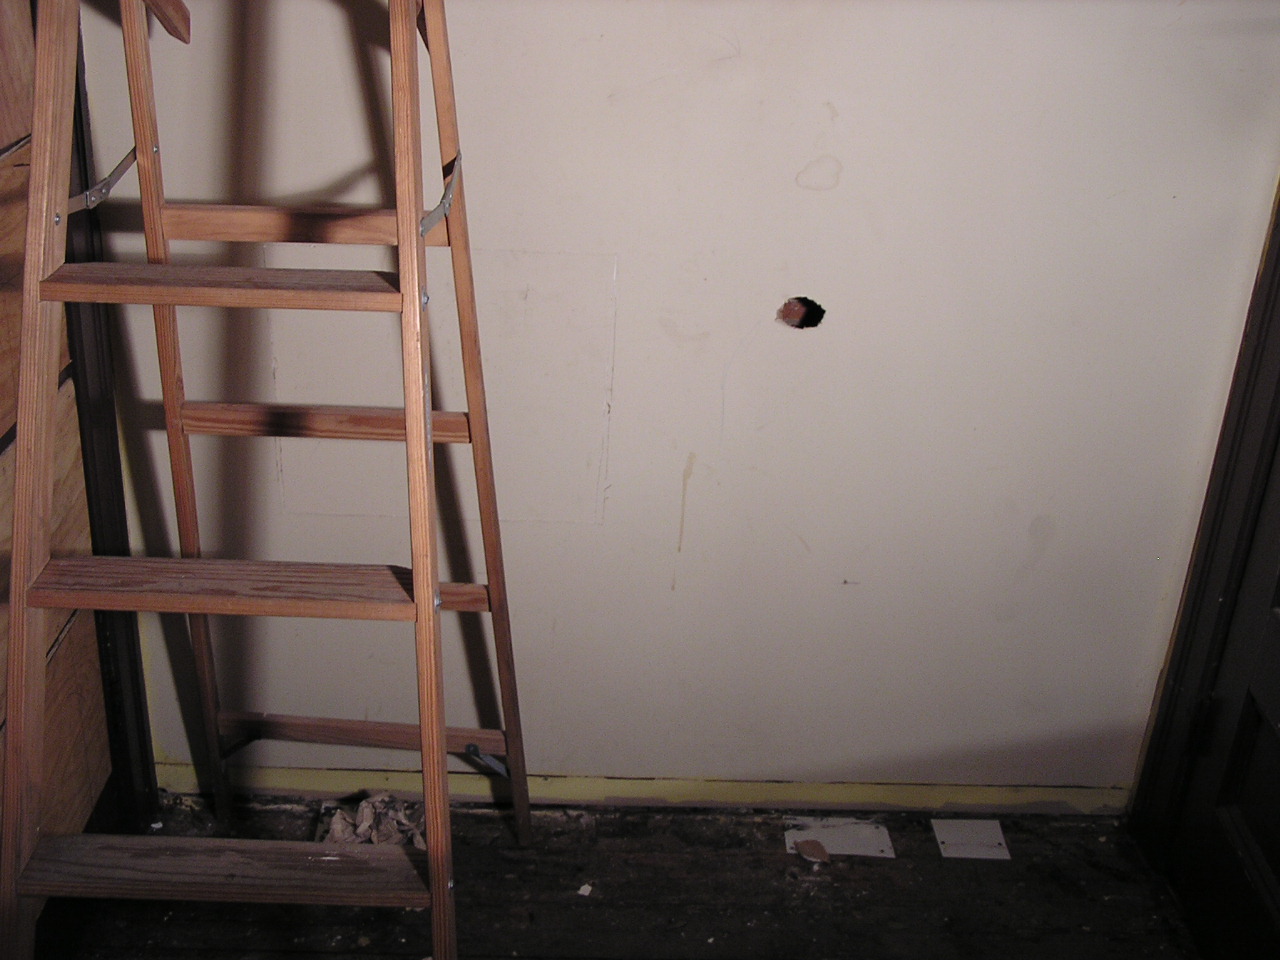
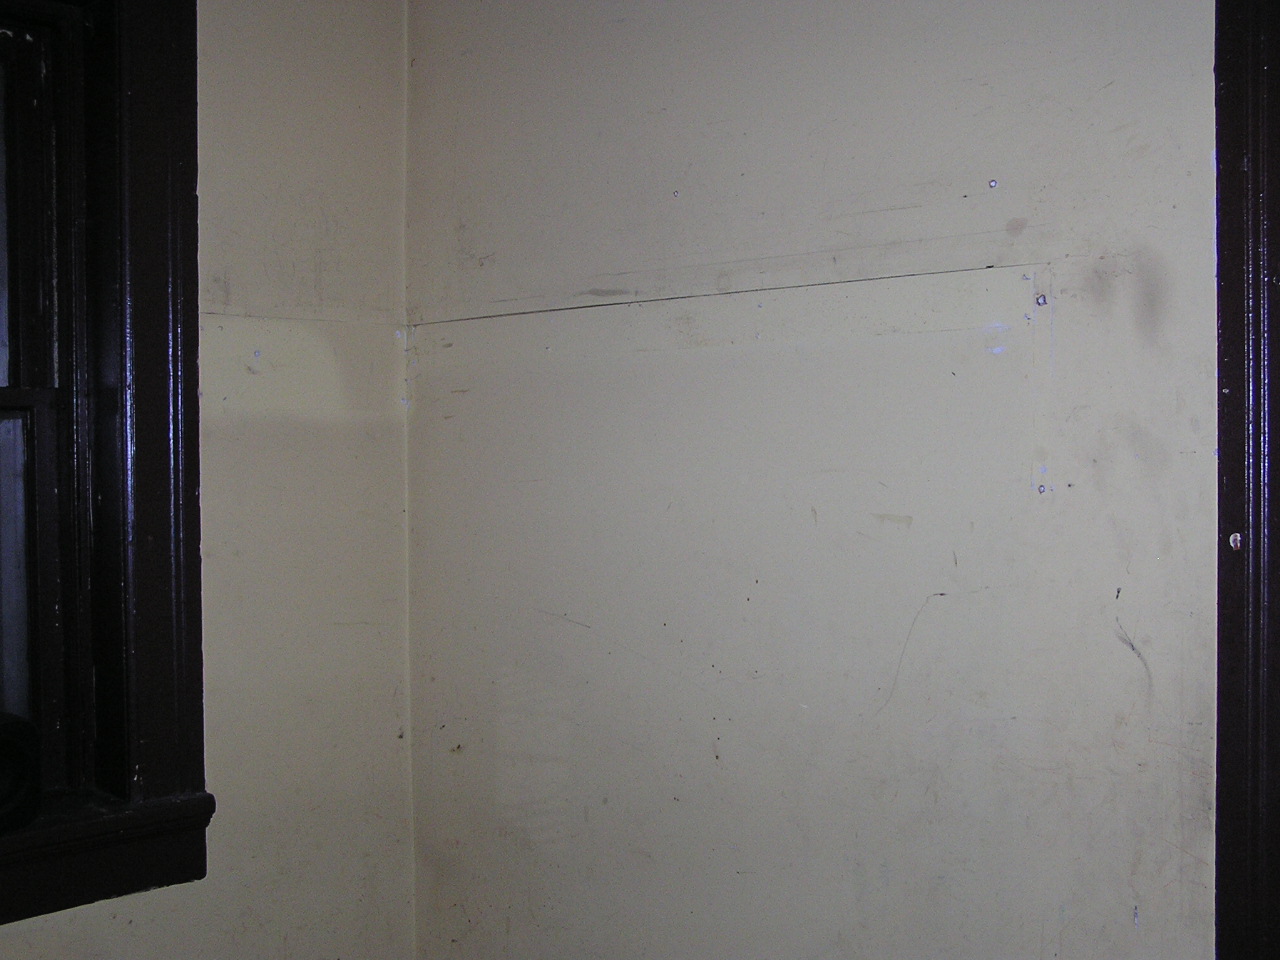
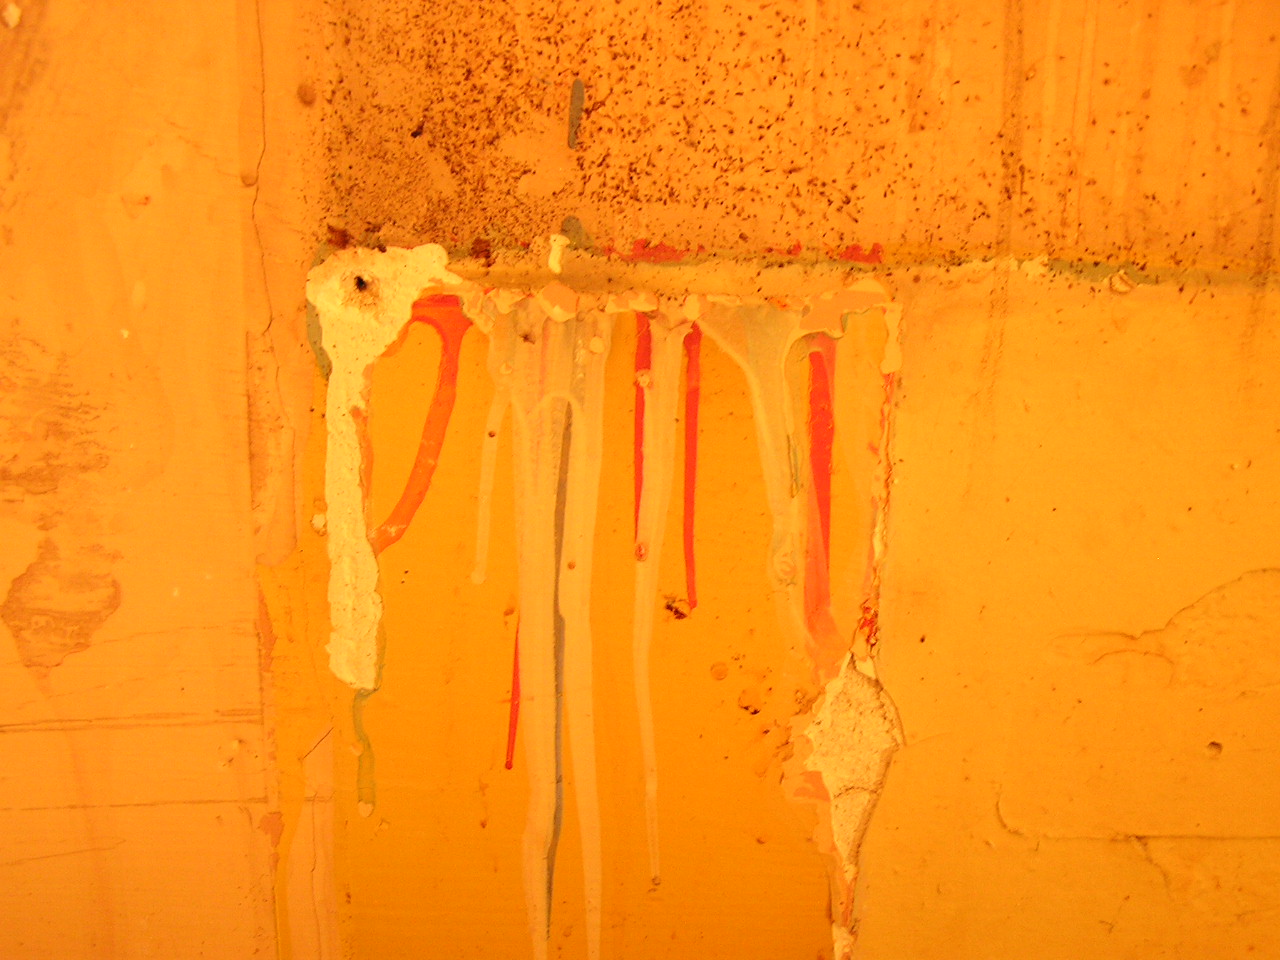
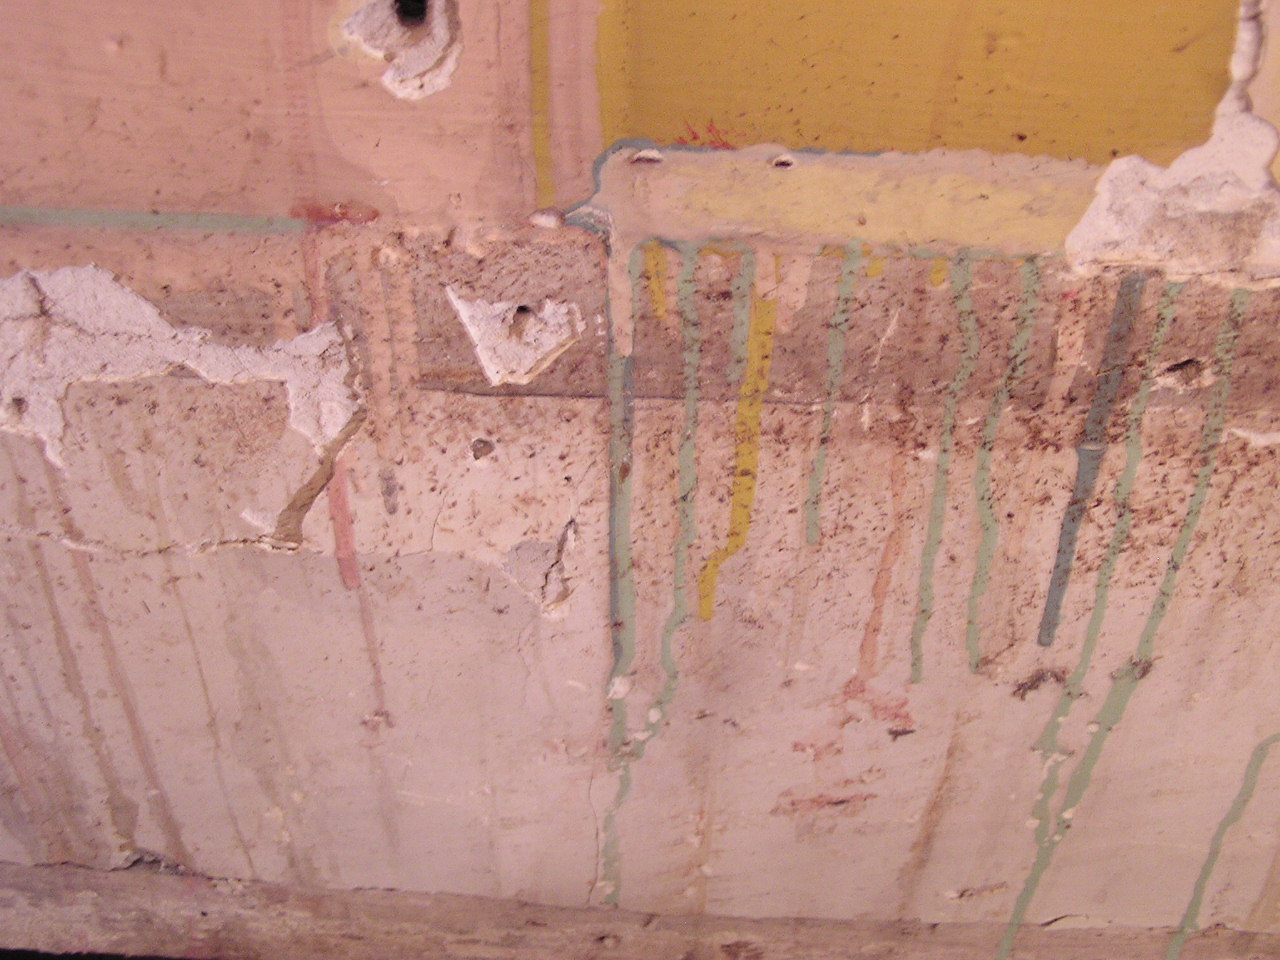
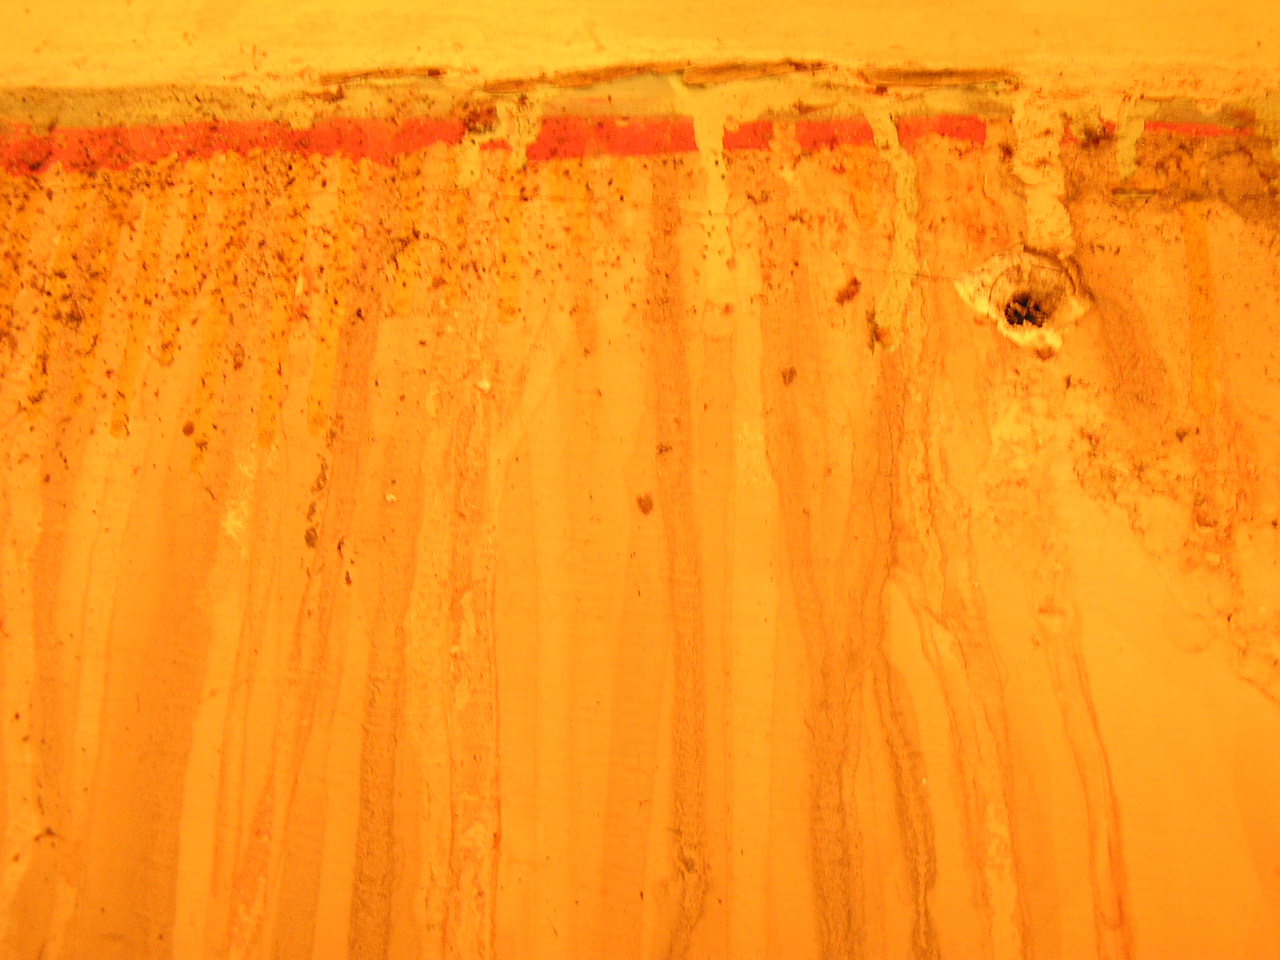
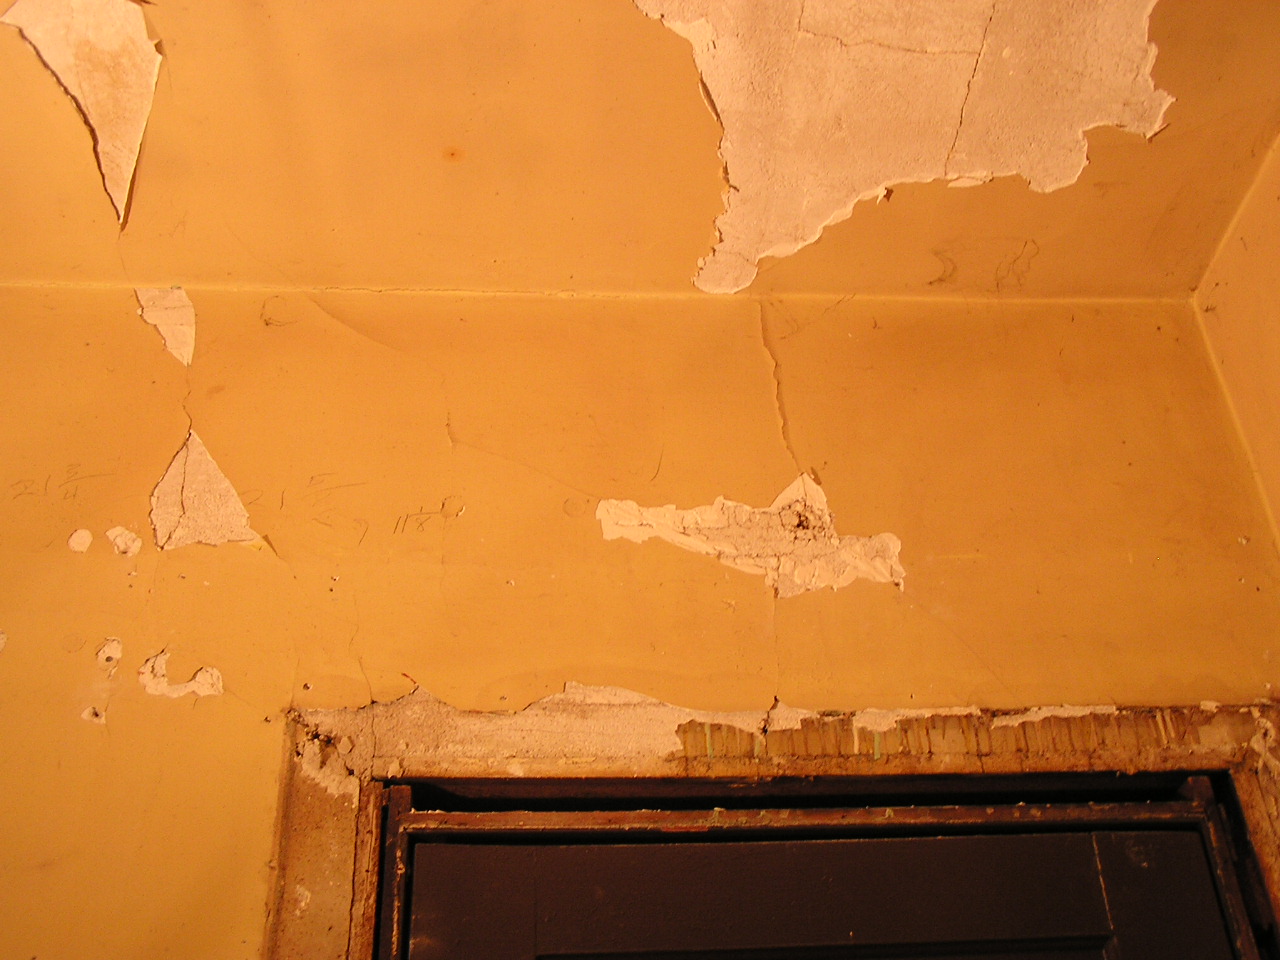
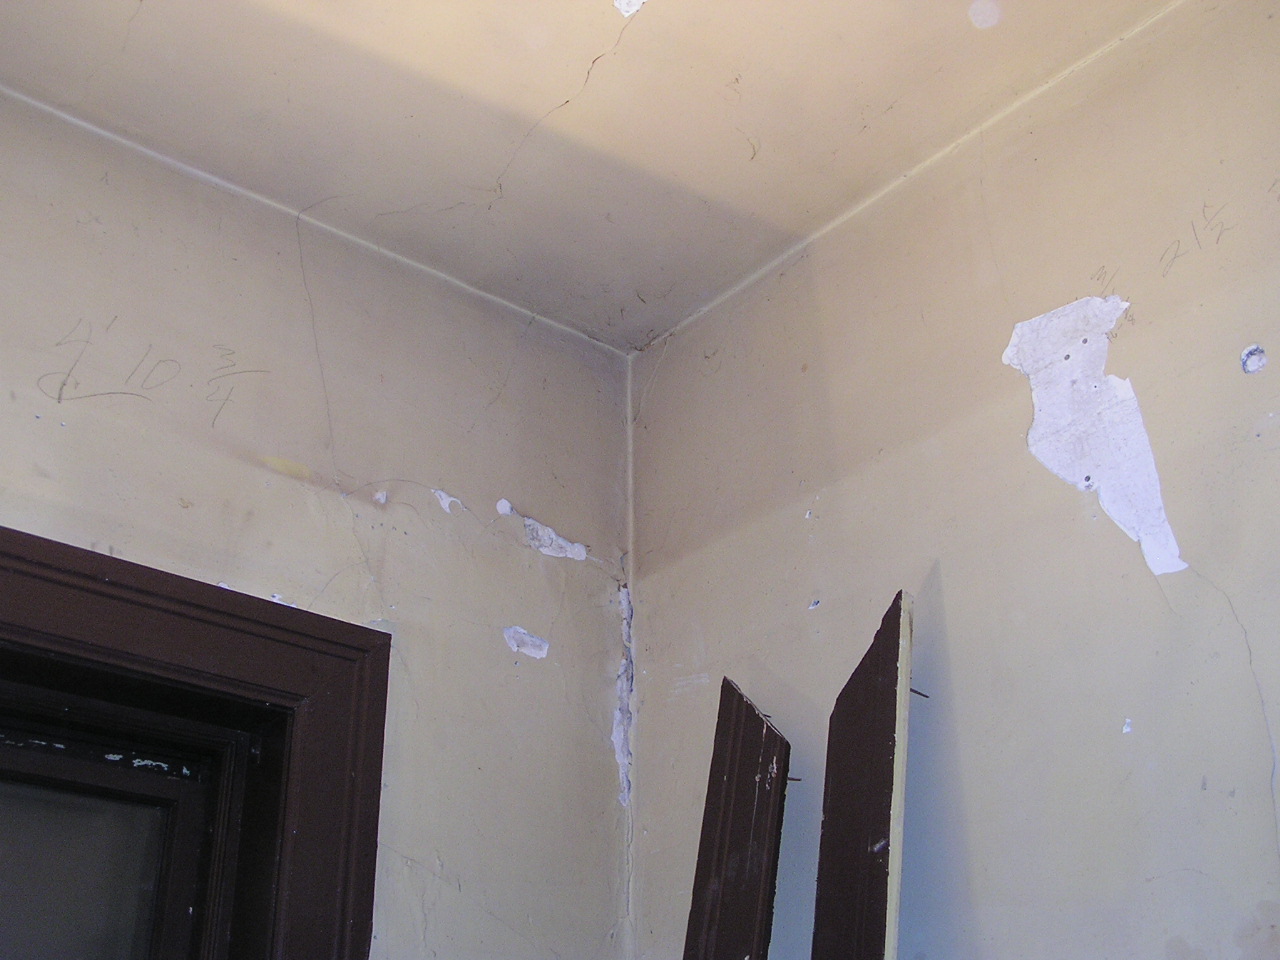
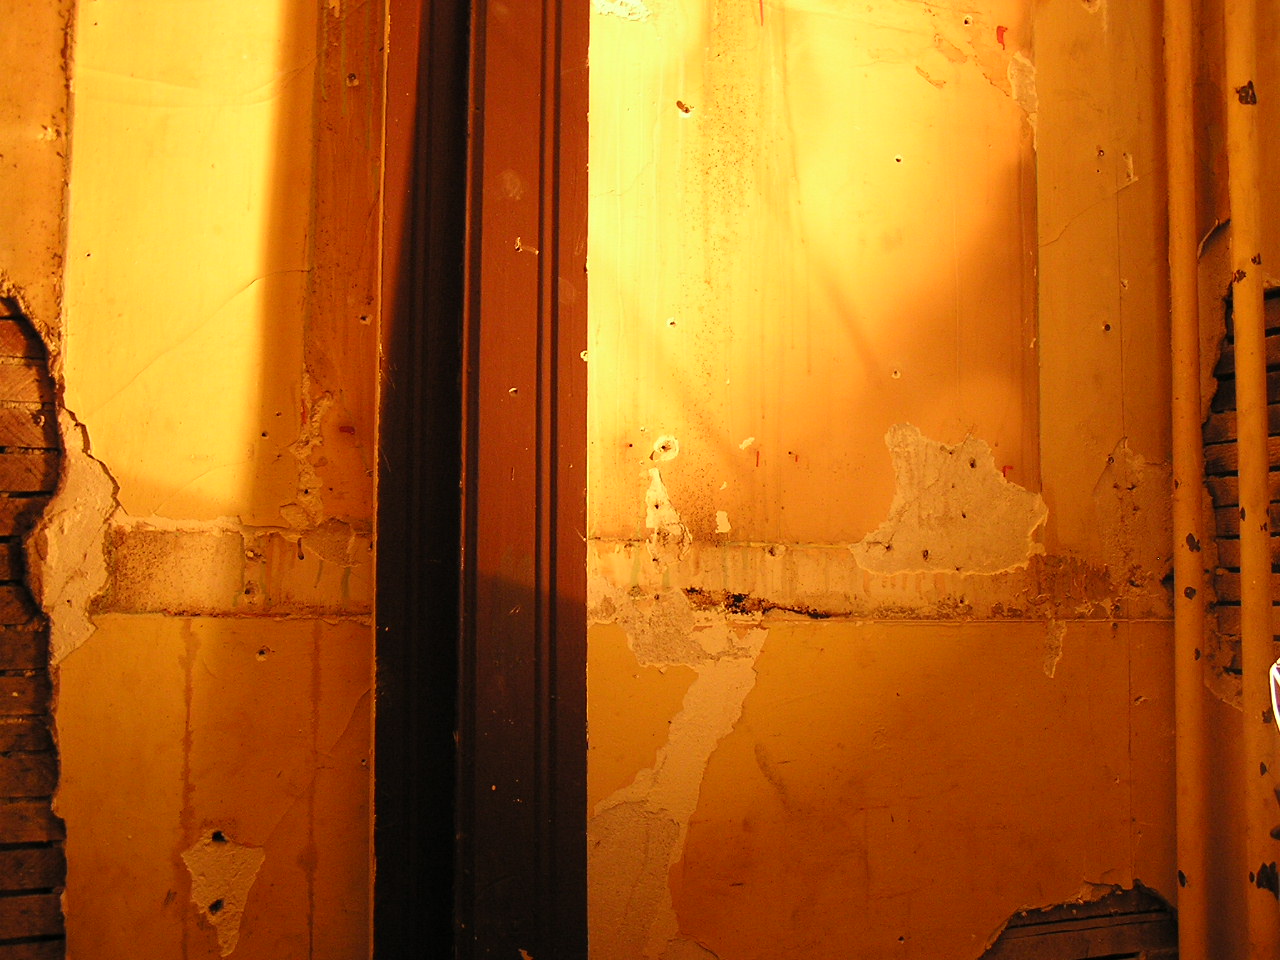
4 pictures showing where the wainscot used to be.
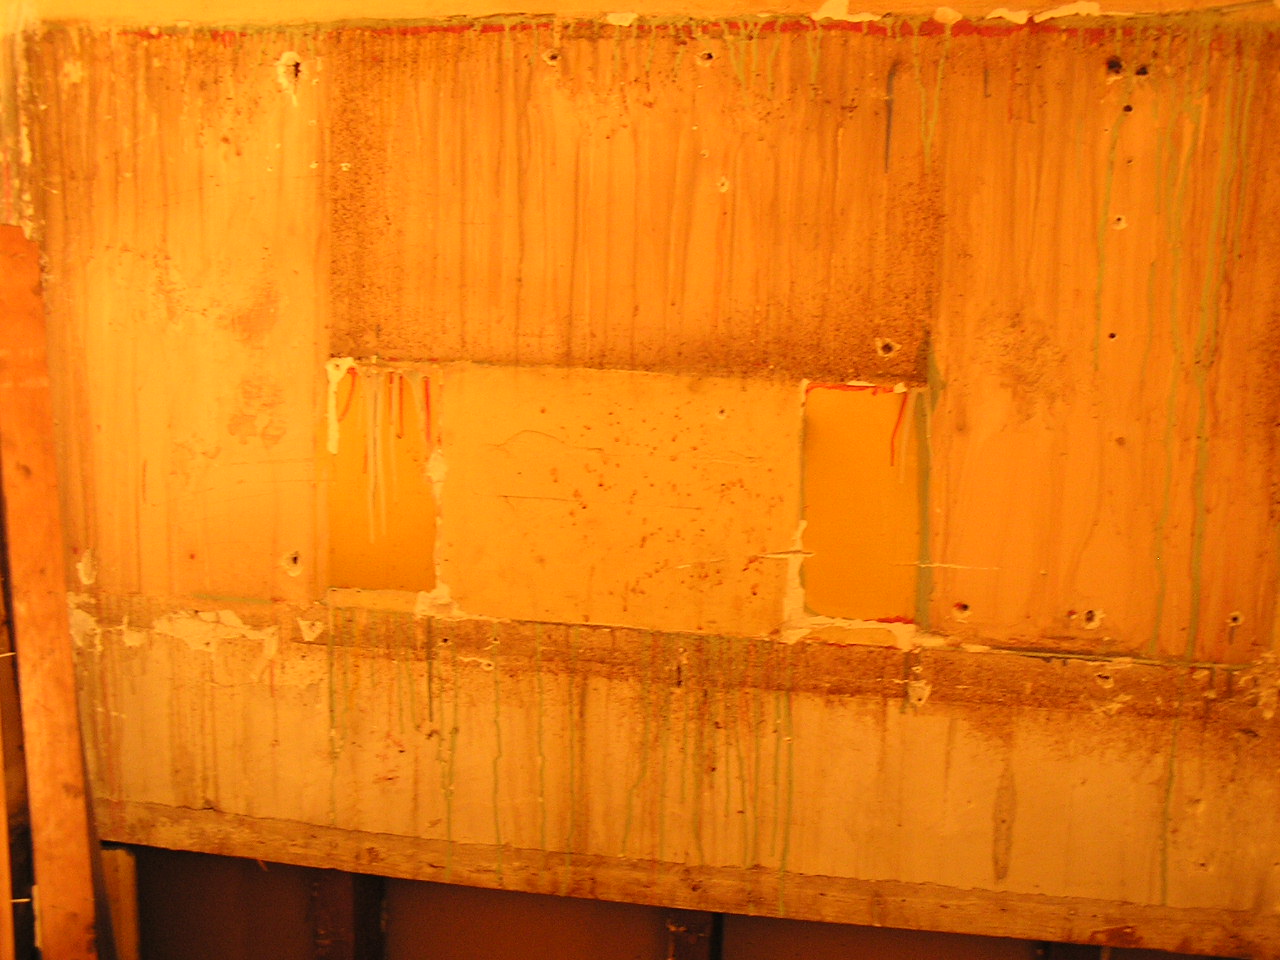

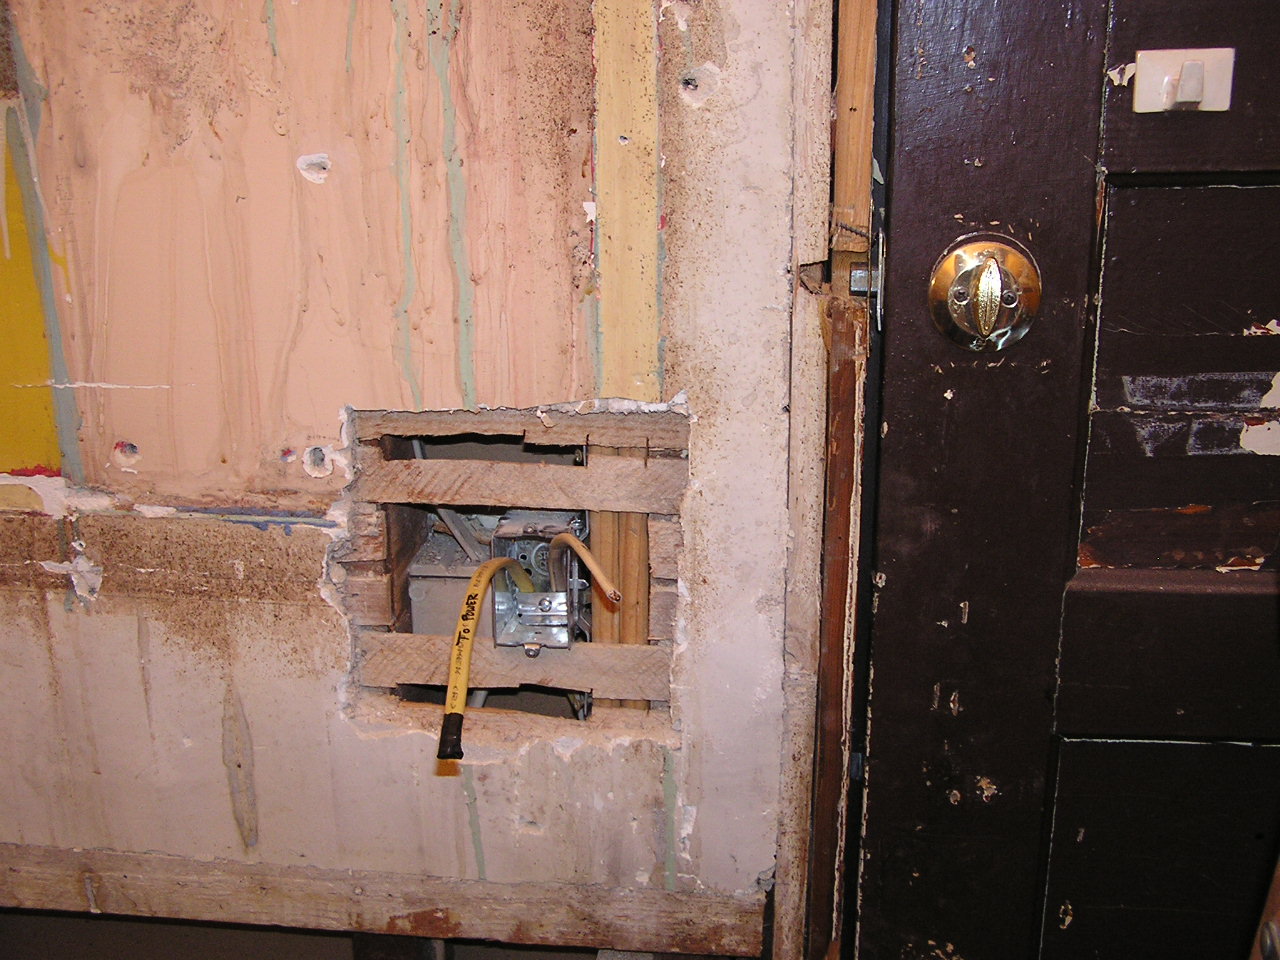
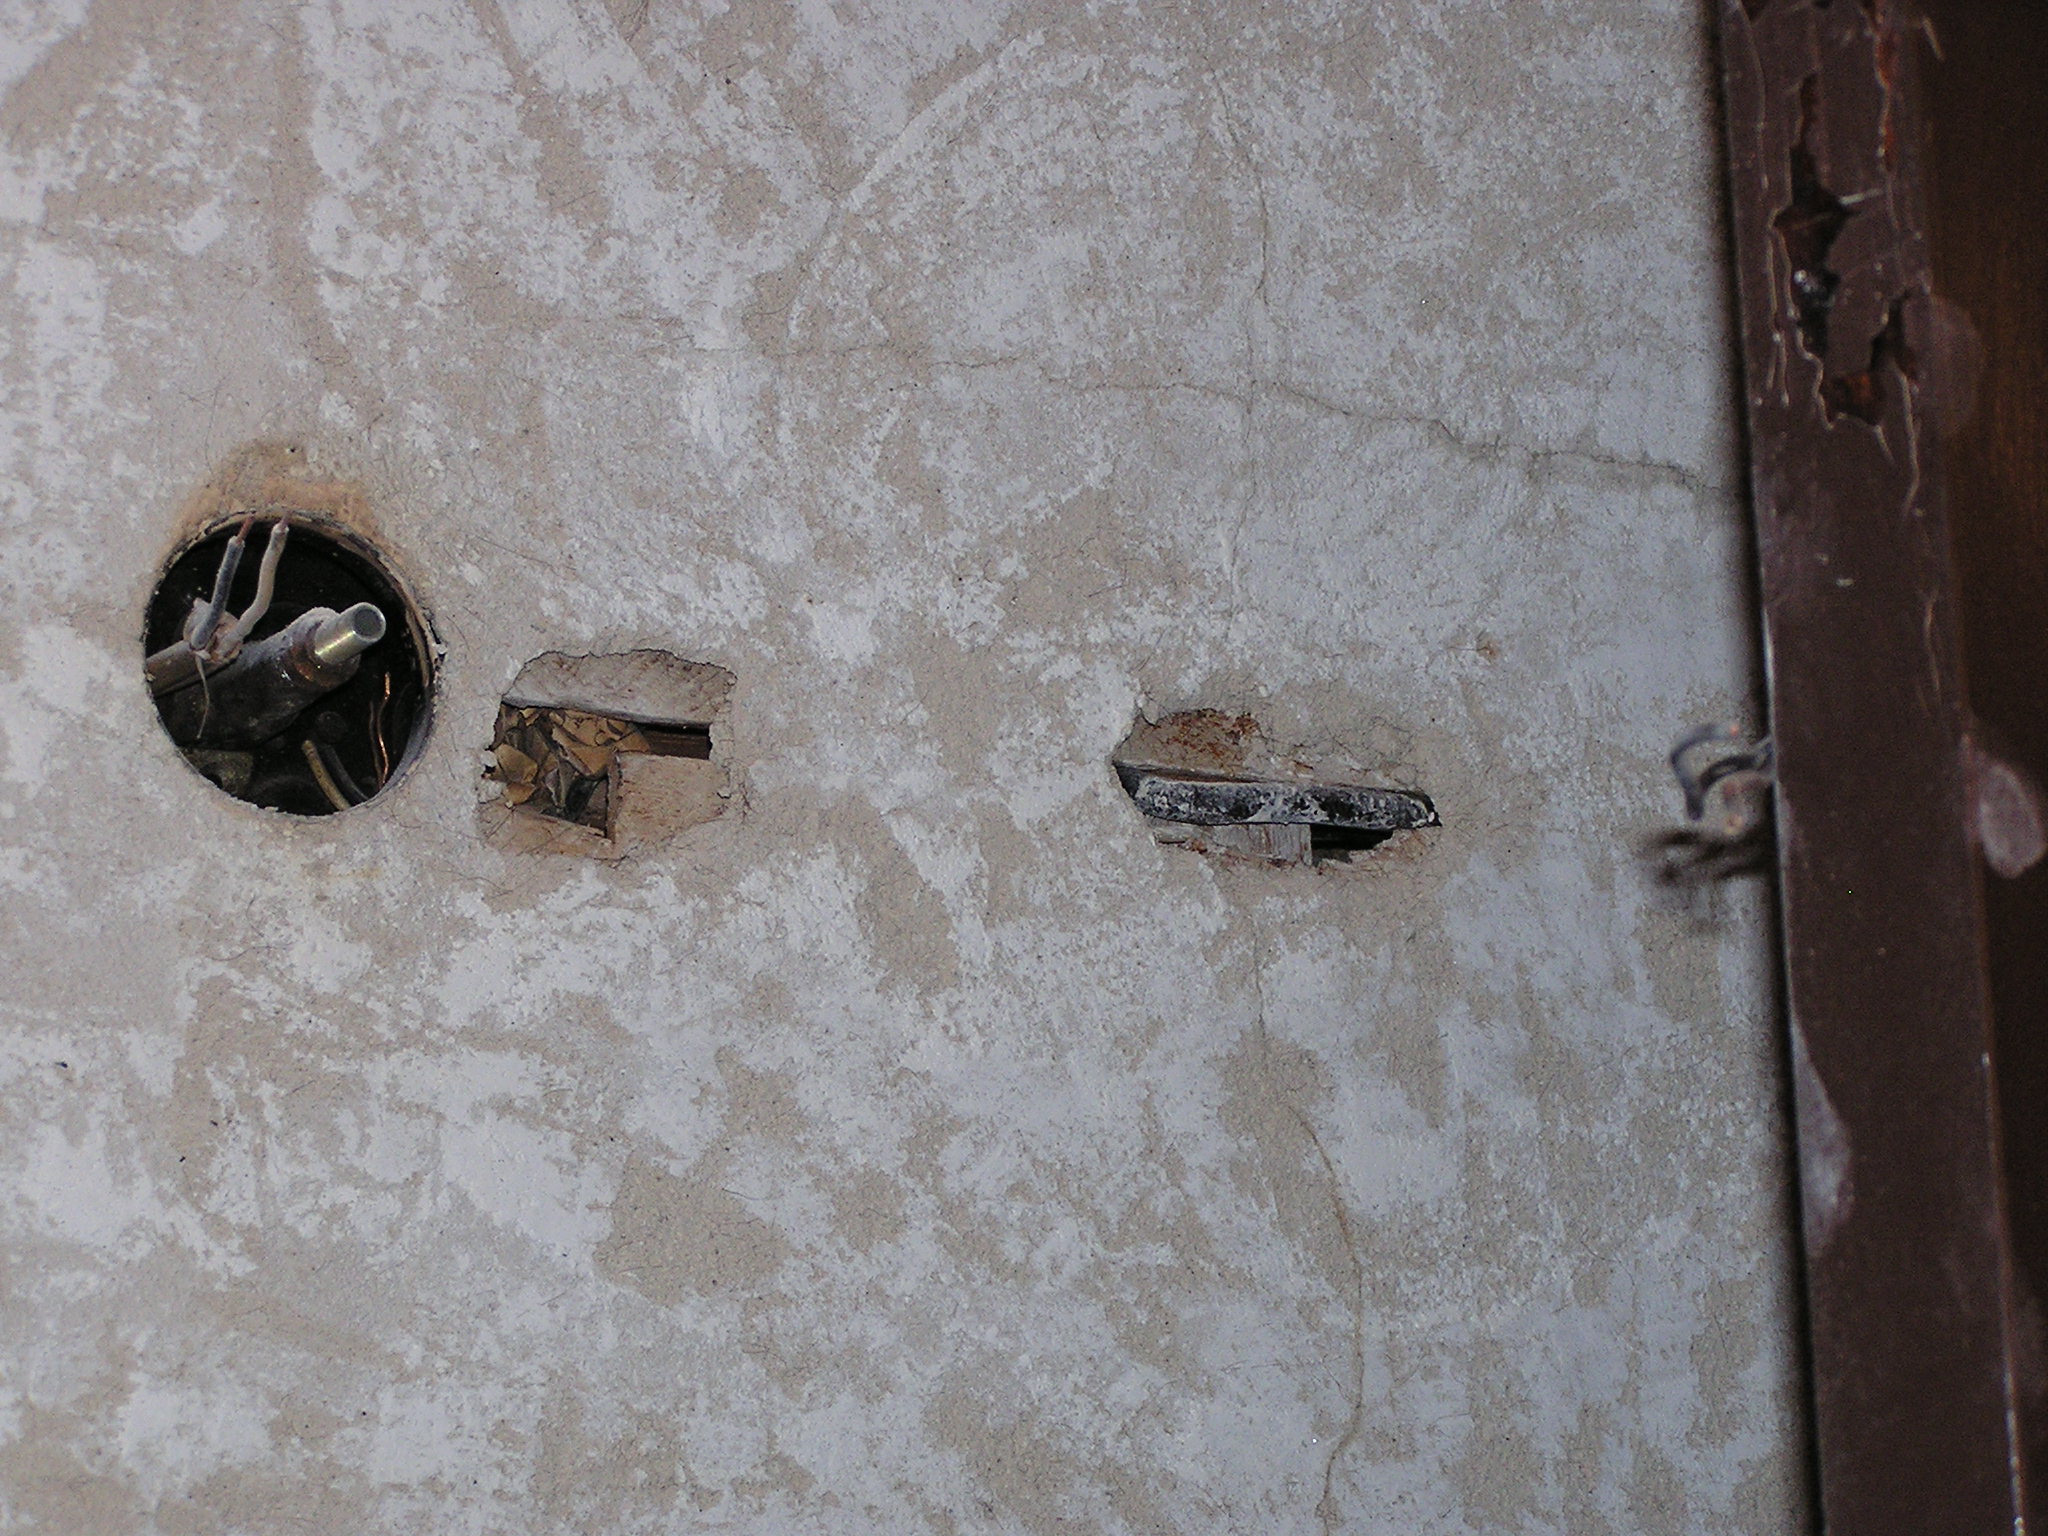
Because of the various boxes in the paint on the walls, you can see where cabinets used to be.
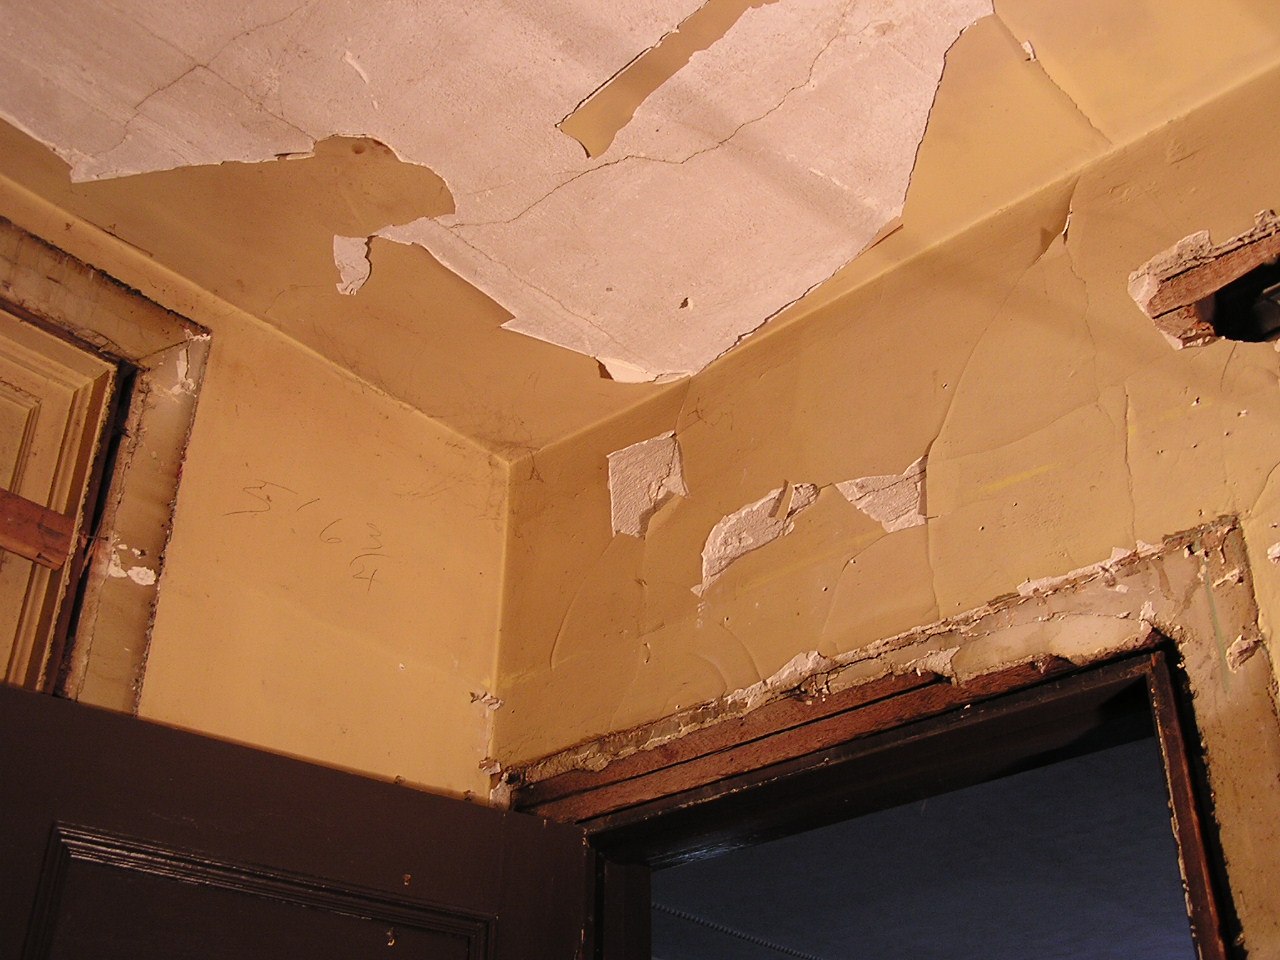

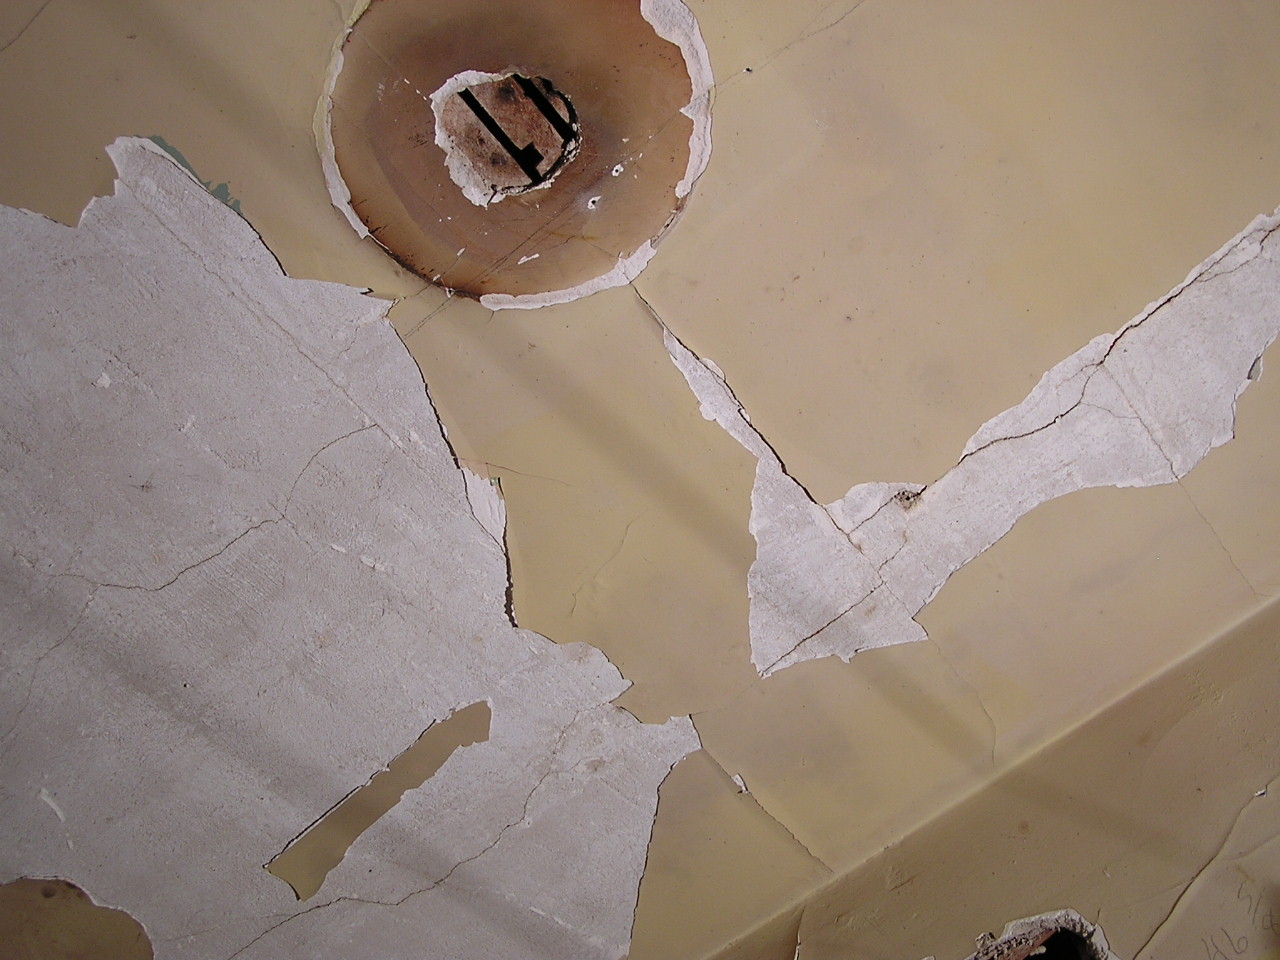
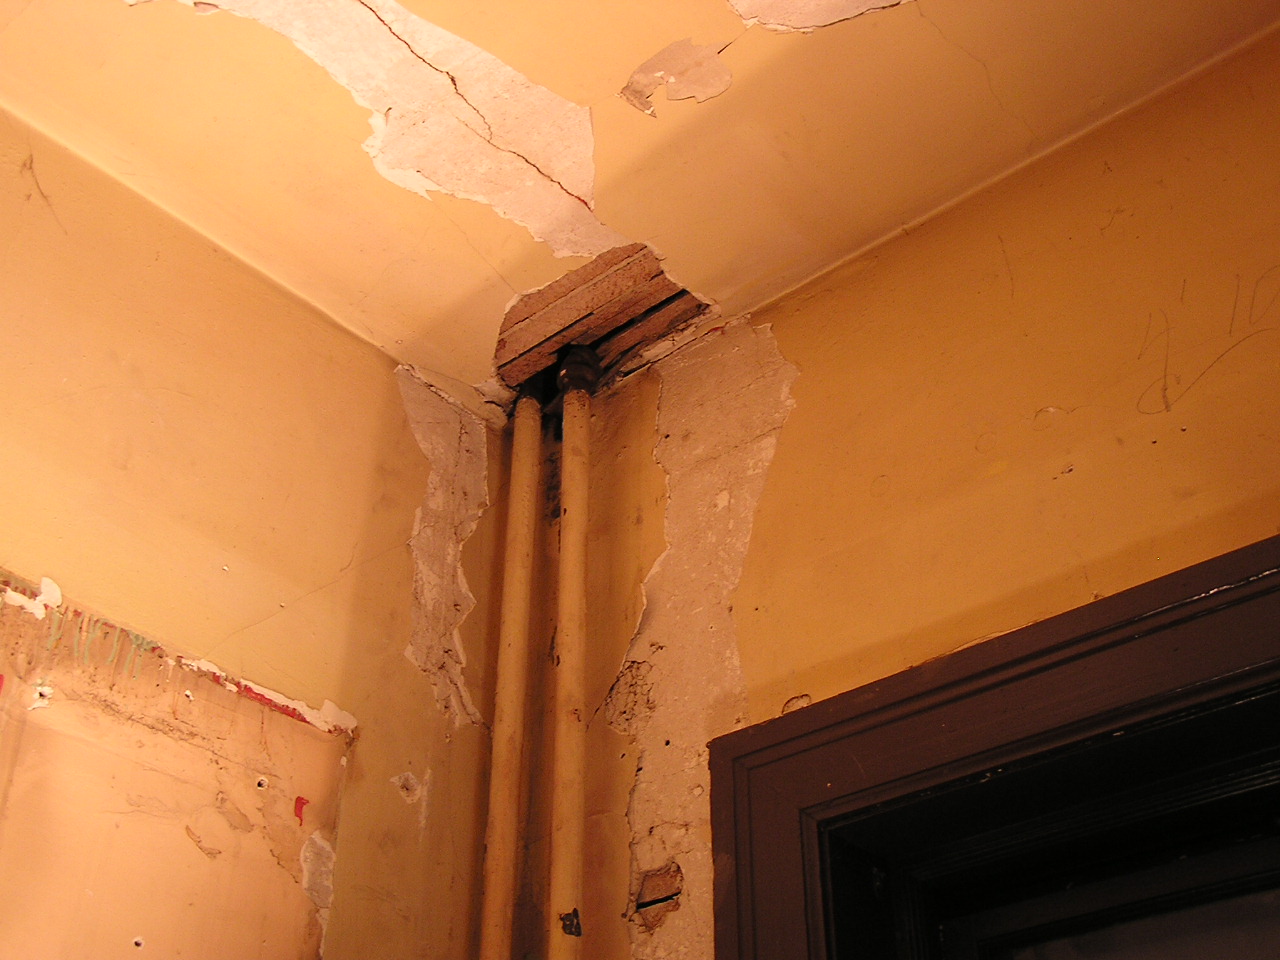
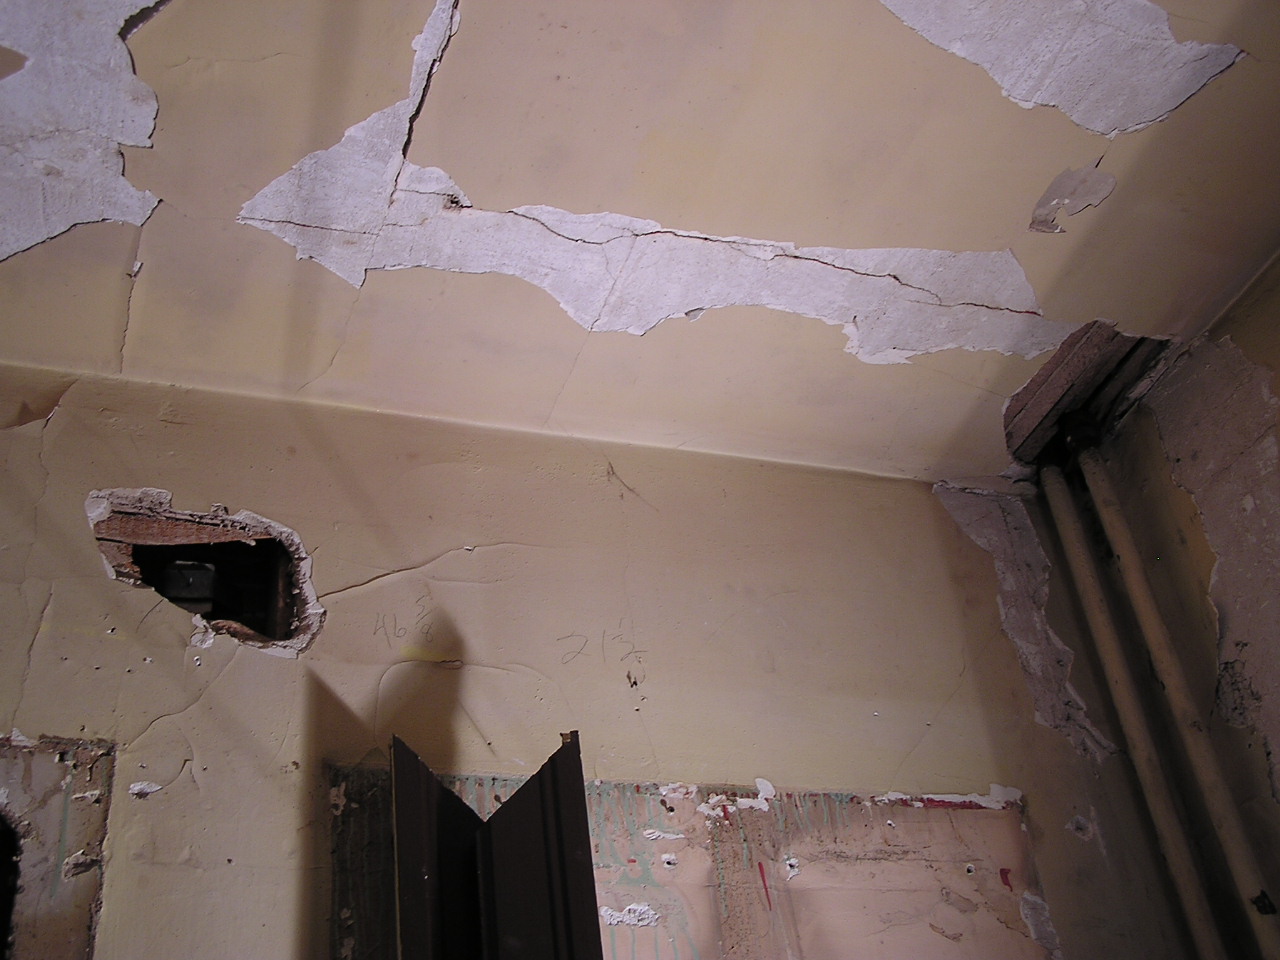
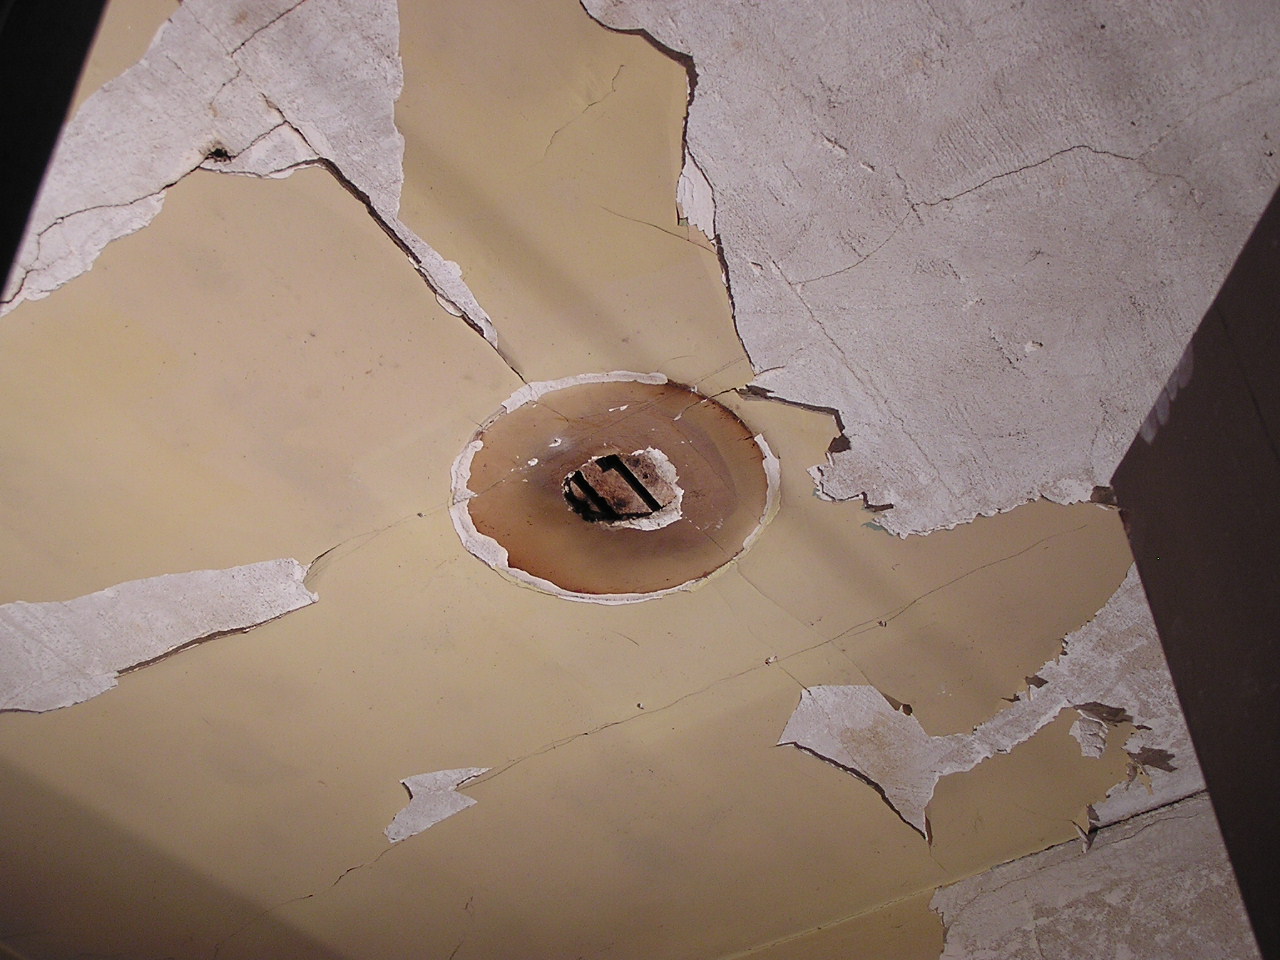
Thorough documentation of the inside of the pantry, prior to starting the plaster work.
John was scraping the entire surface coat of plaster off the walls in the pantry, this is the floor of the kitchen where the plaster was drifting under the door.
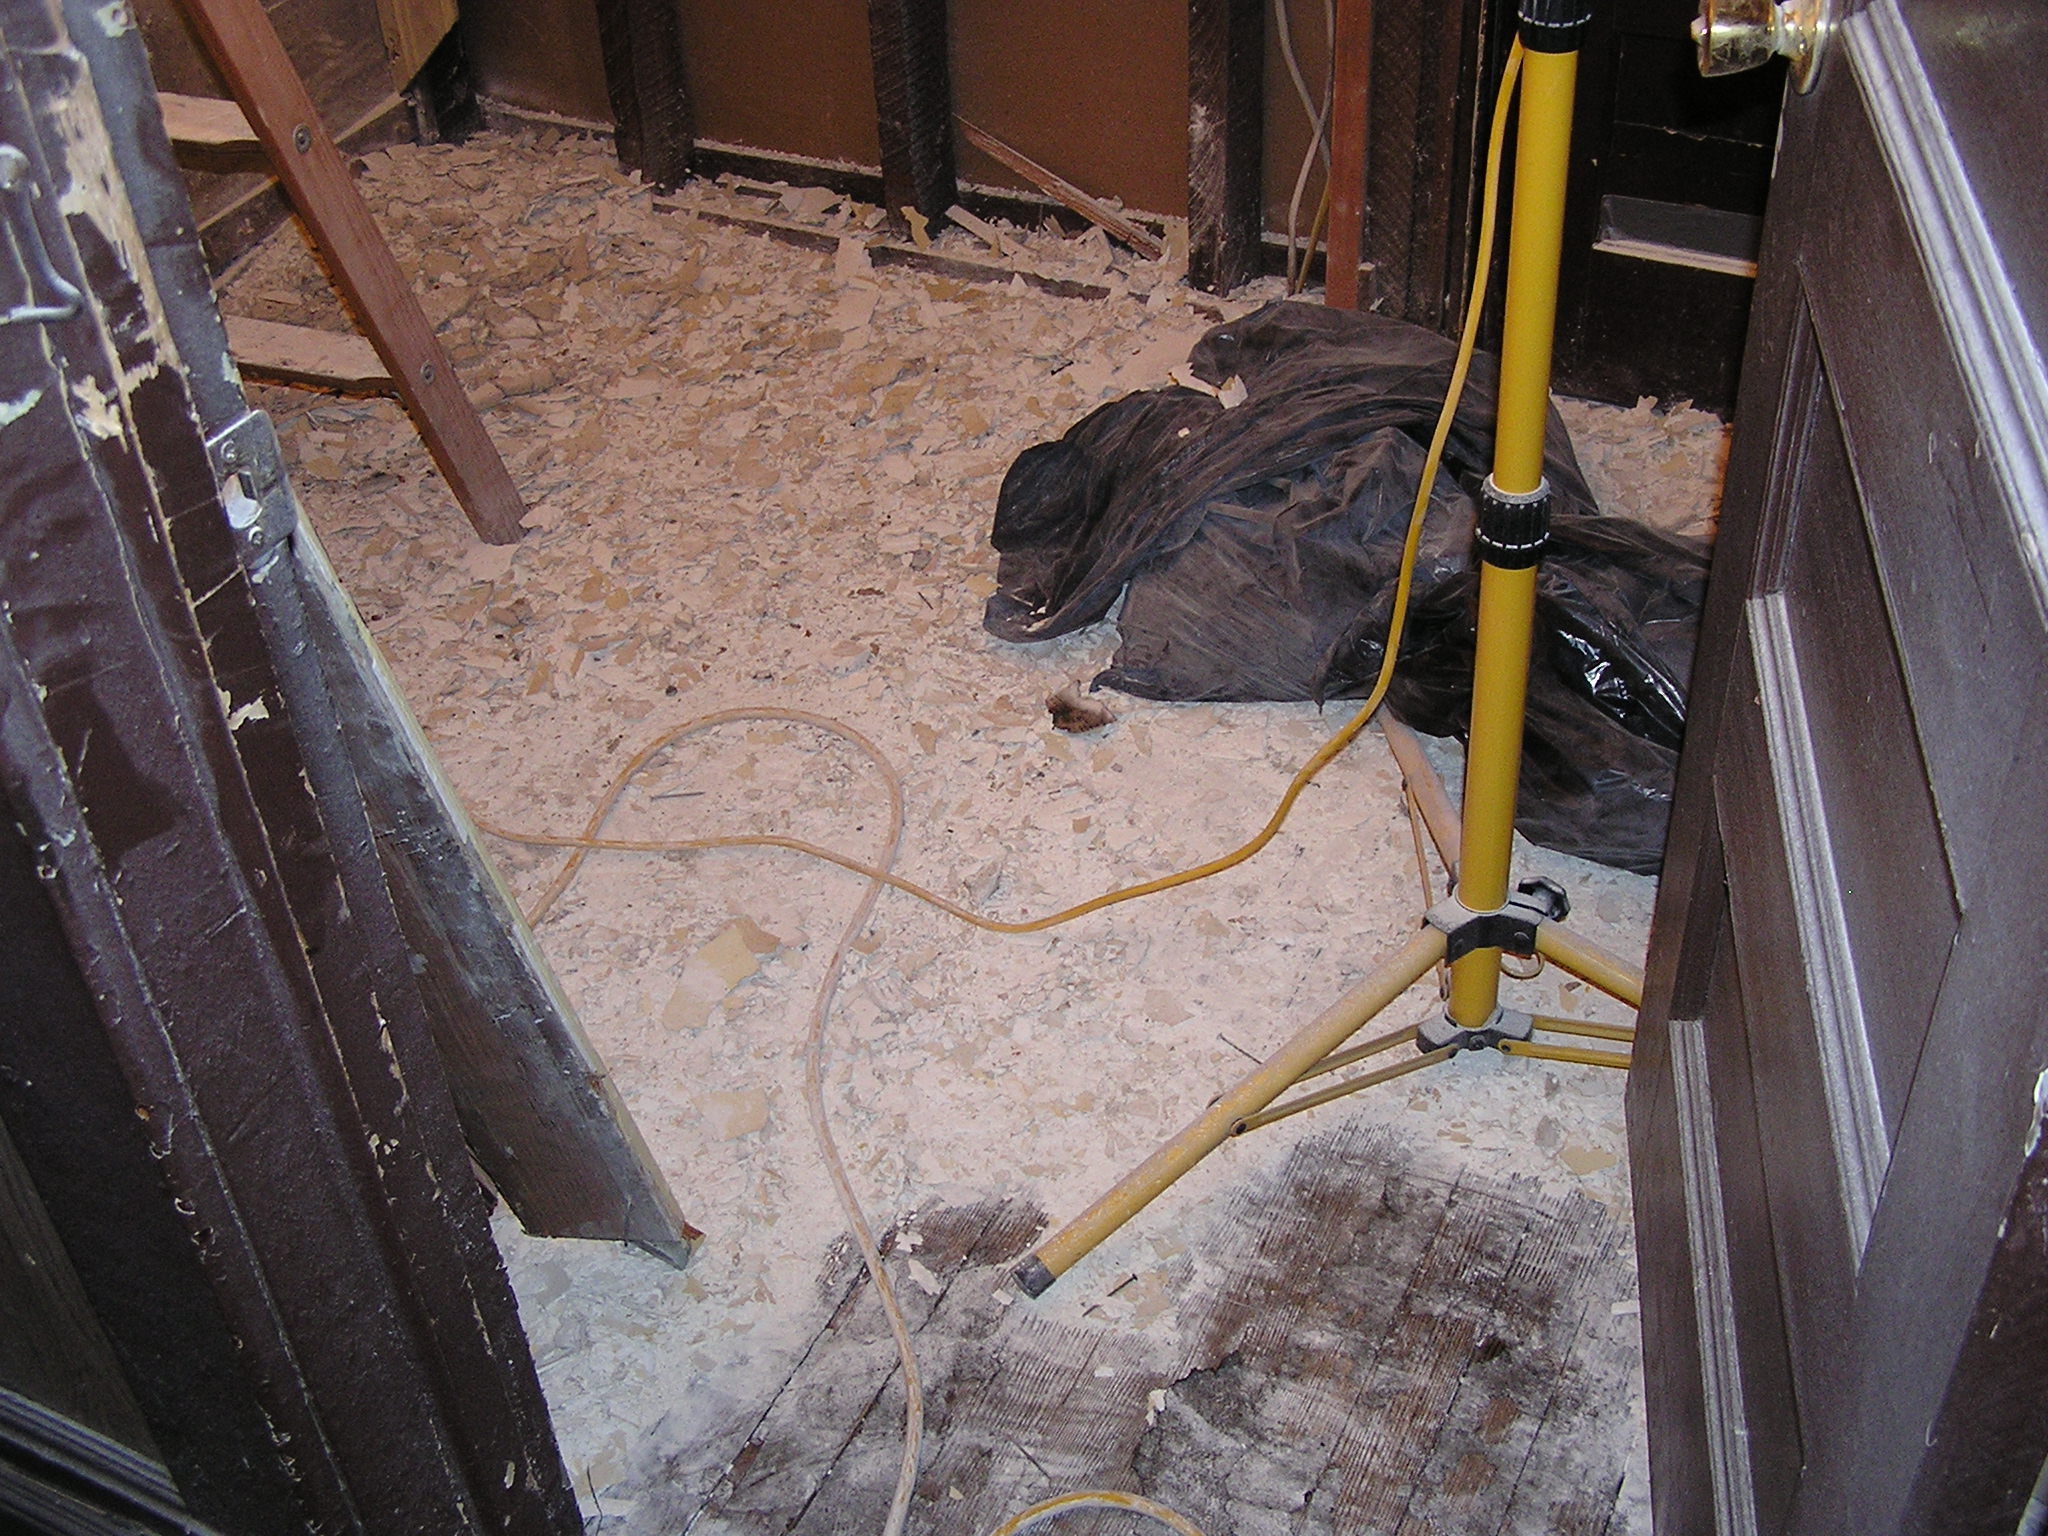
John's really good at making a mess. This stuff WAS the surface coat of paster on the entire Pantry.
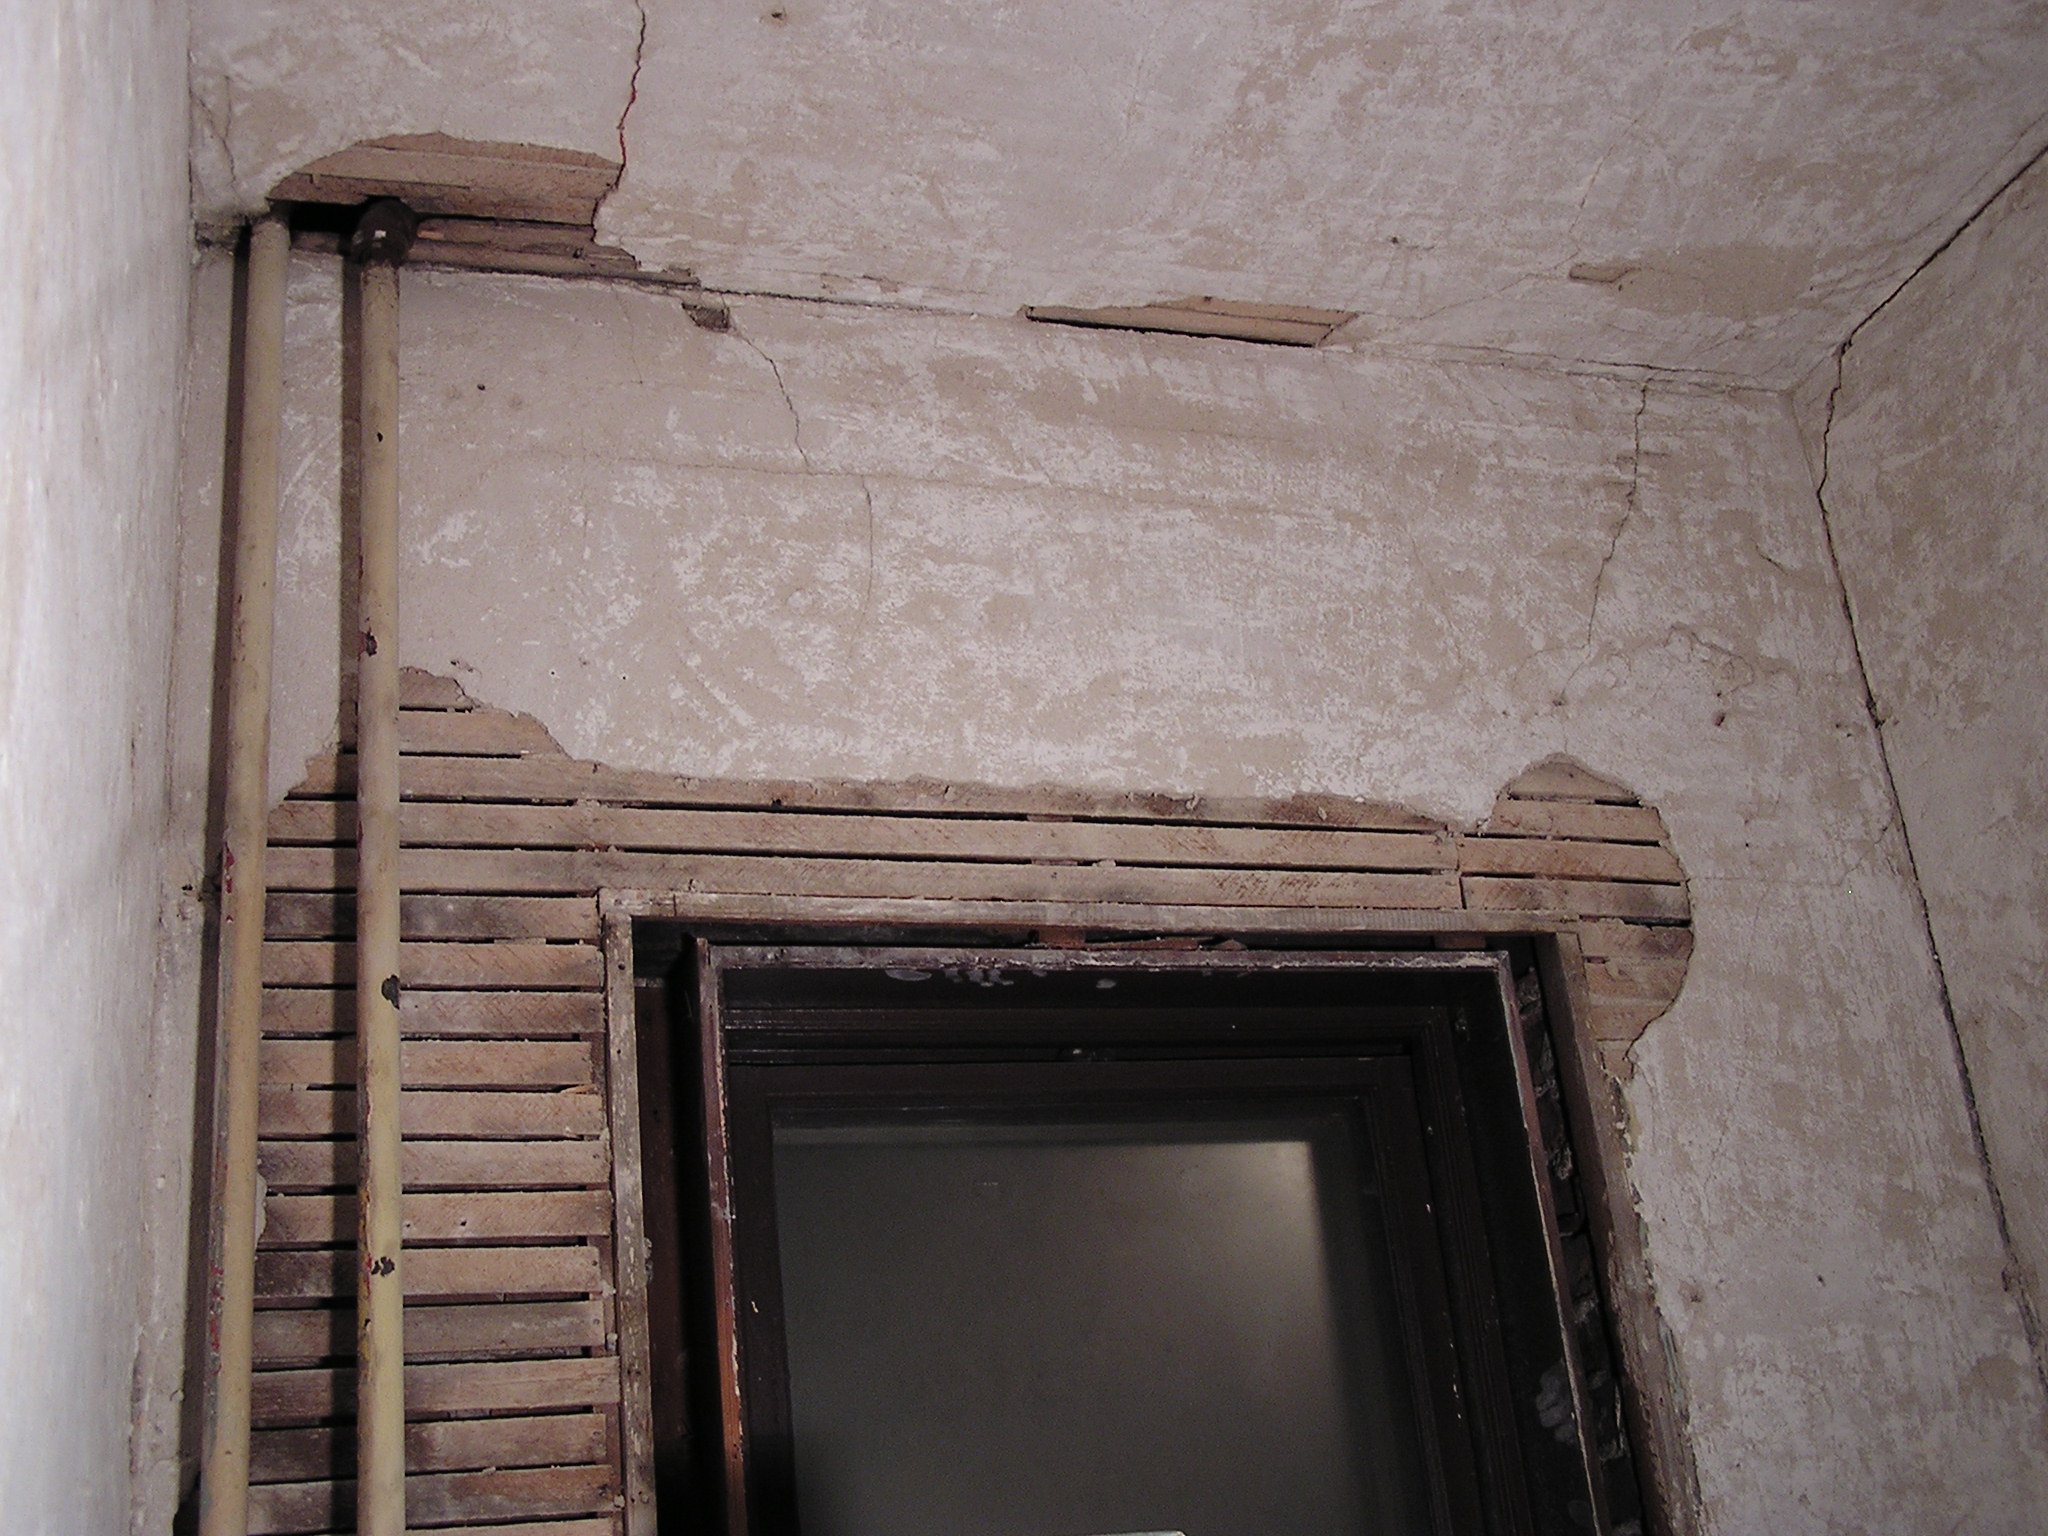
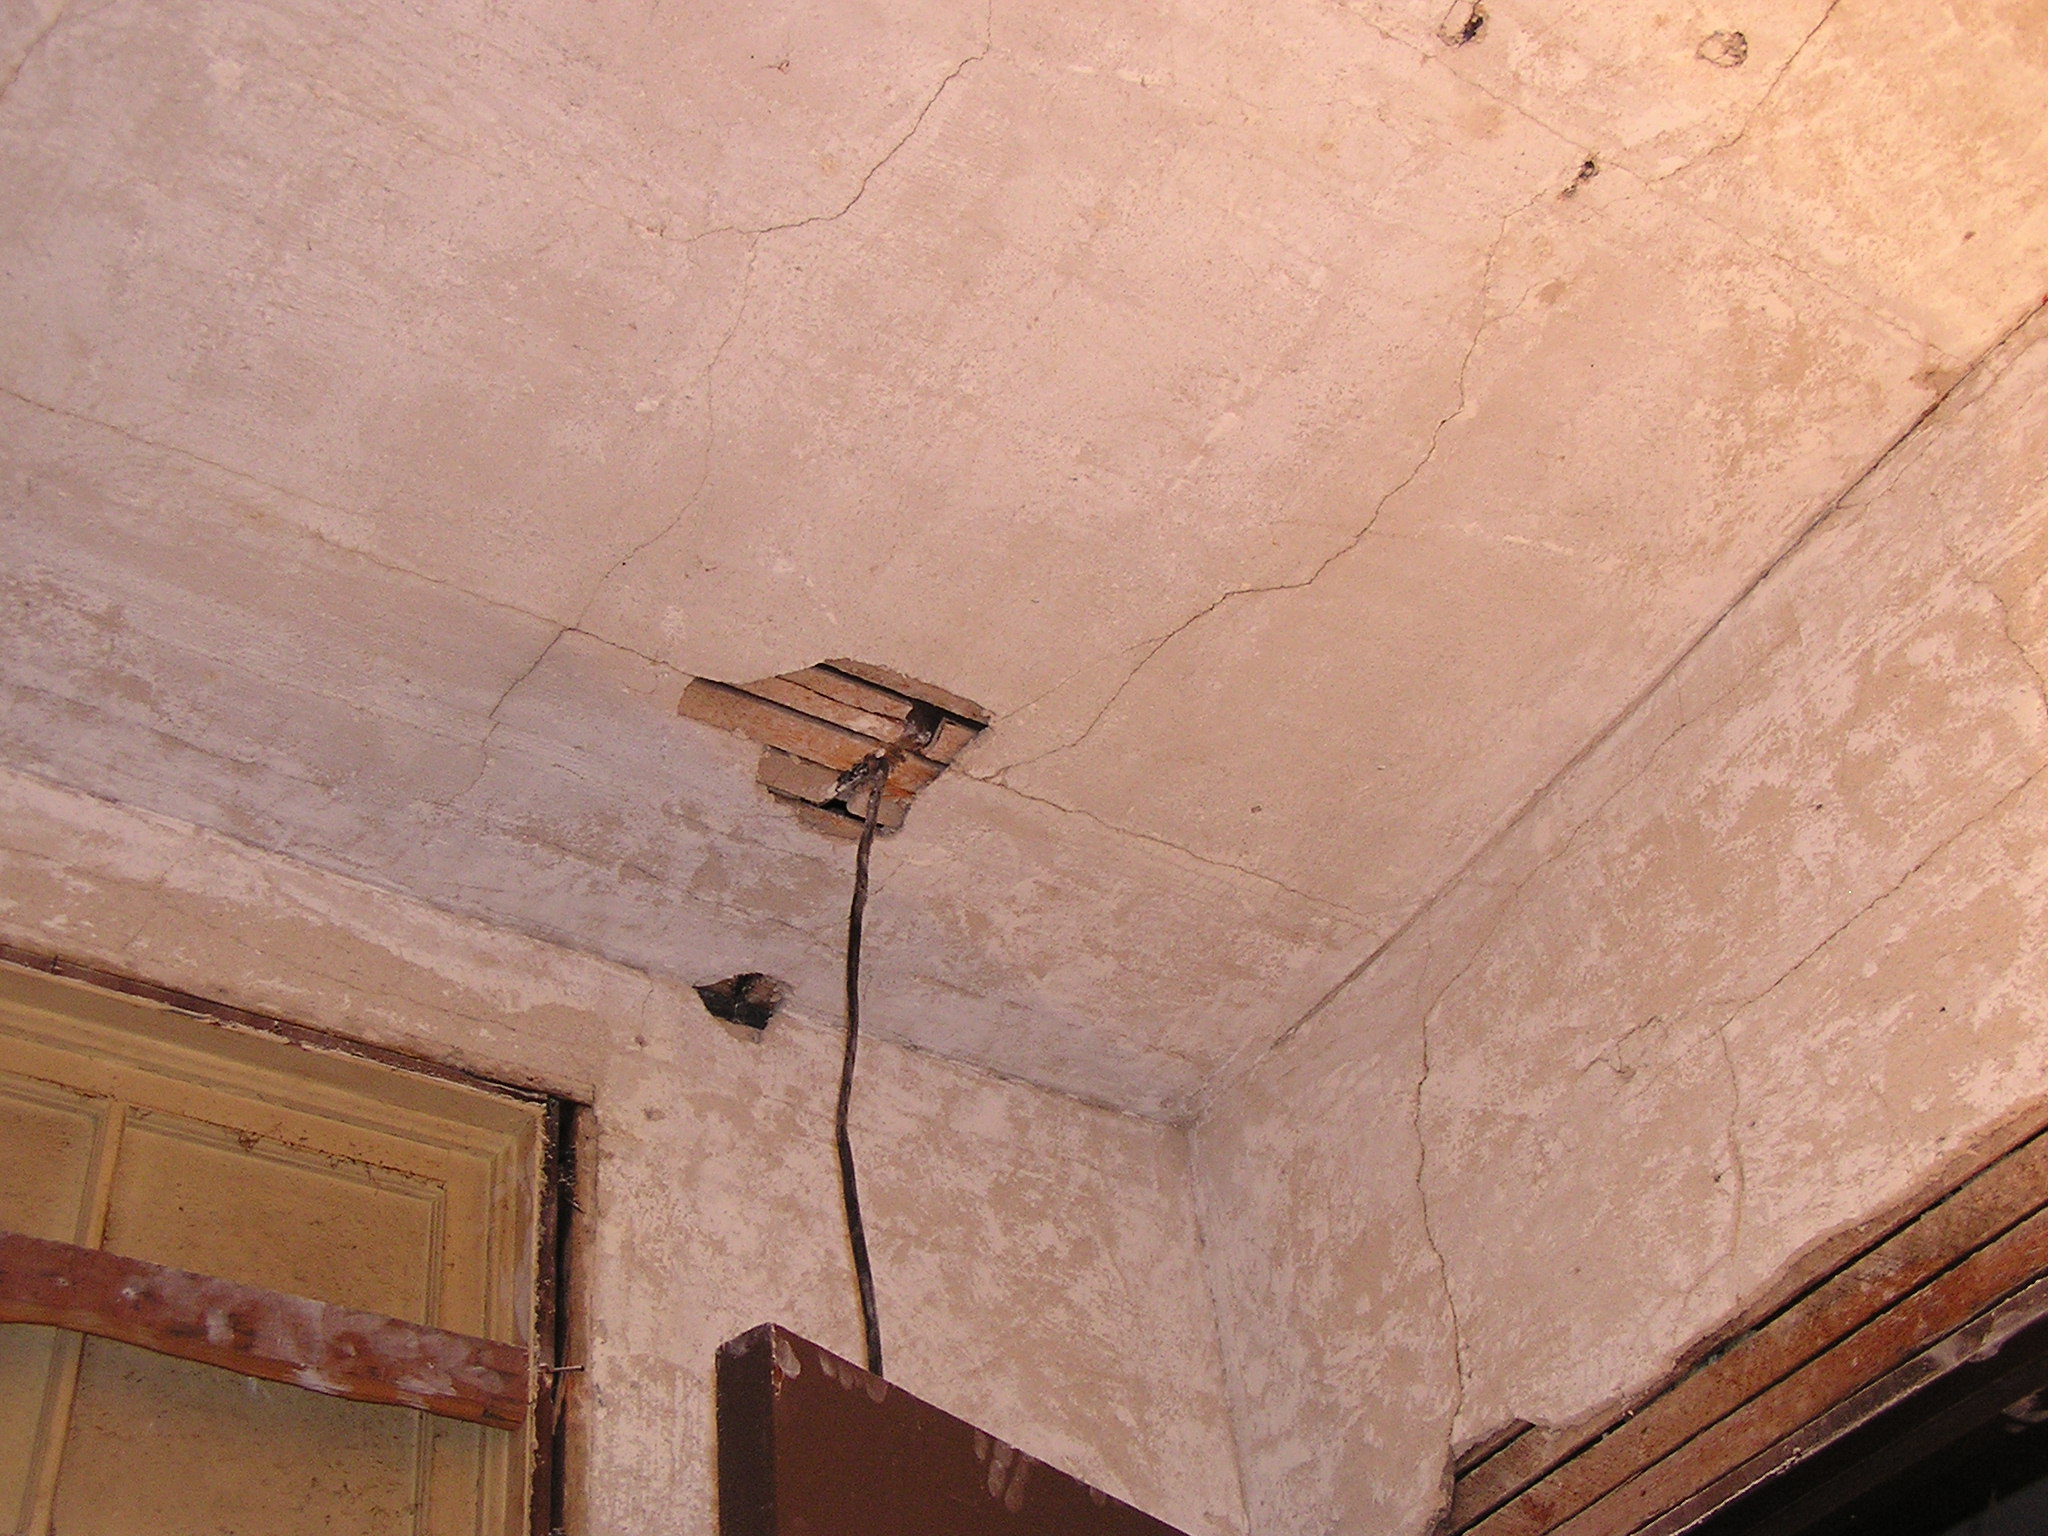
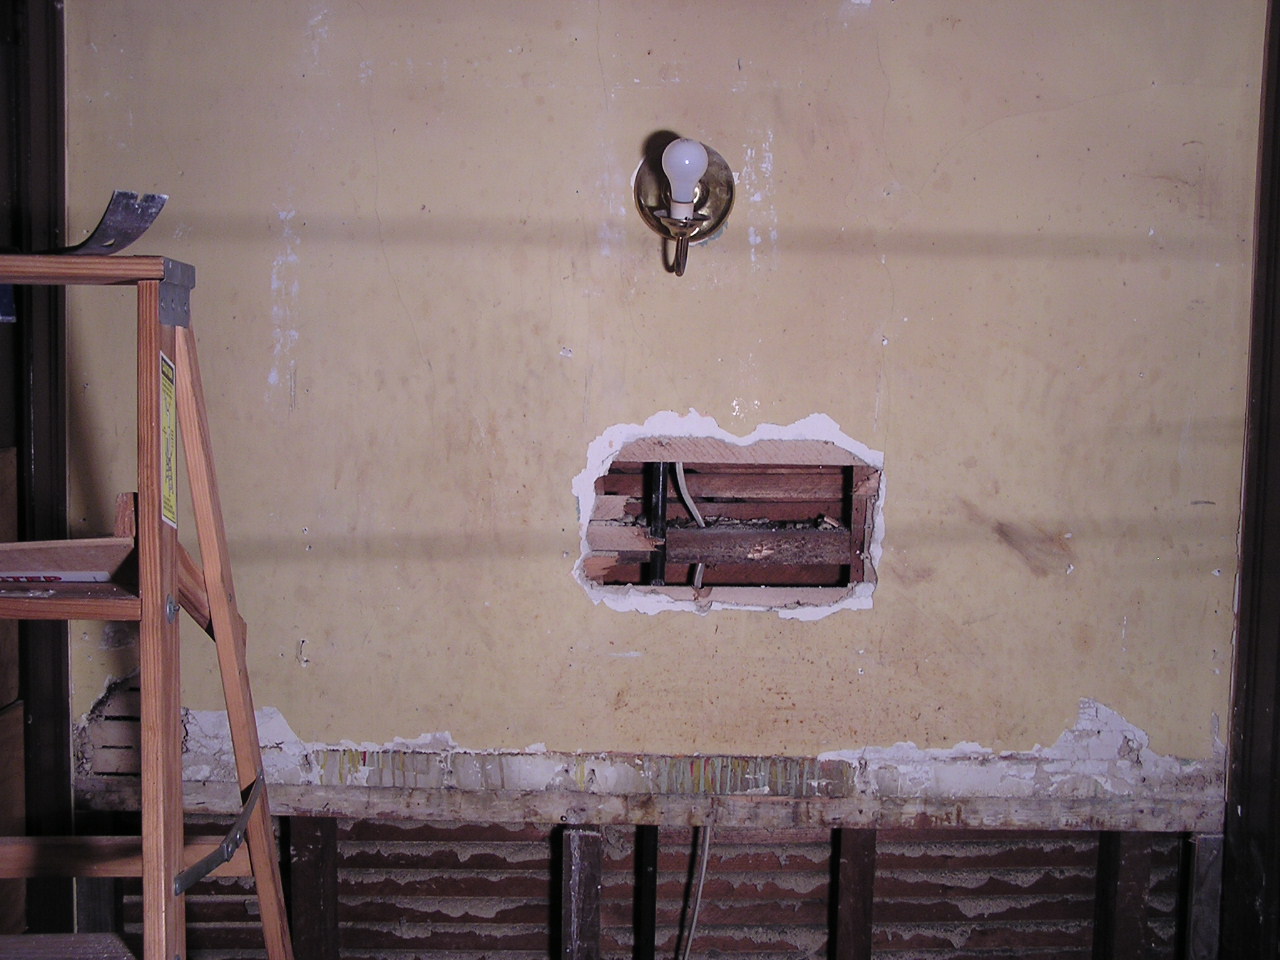
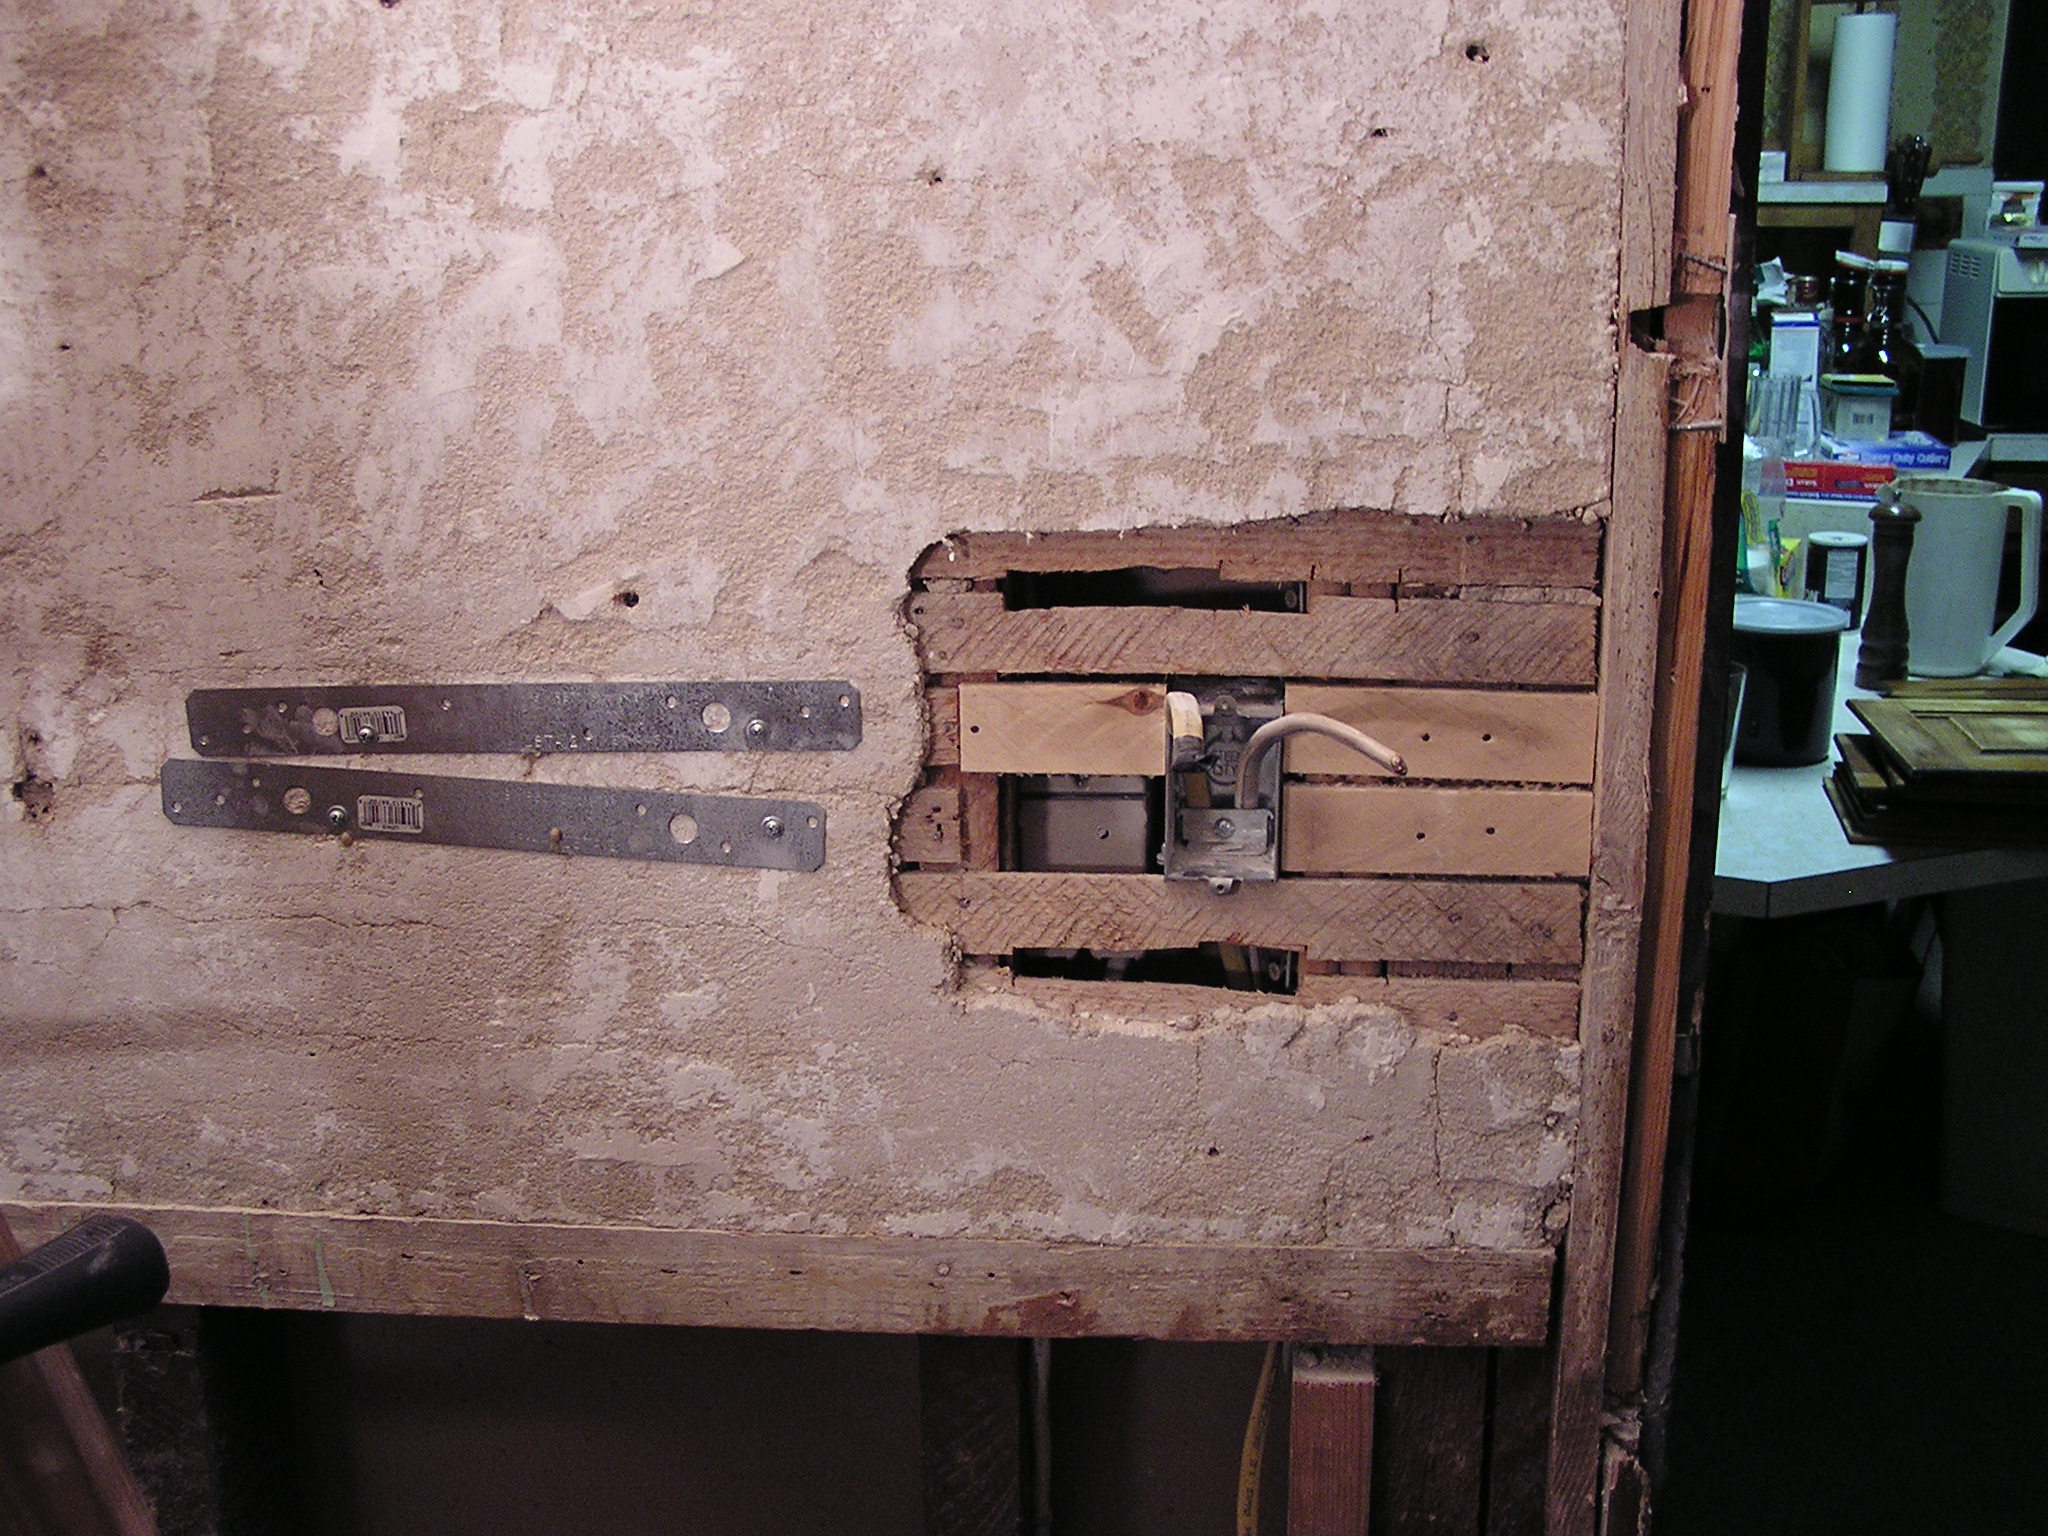
After the surface coat has been removed. The white is the last bits of surface coat, and the tan is the brown coat underneath. You can also see the wiring from a former ceiling light that was retrofitted at some point. They did a pretty good job running the wires, and hiding them in the plaster.
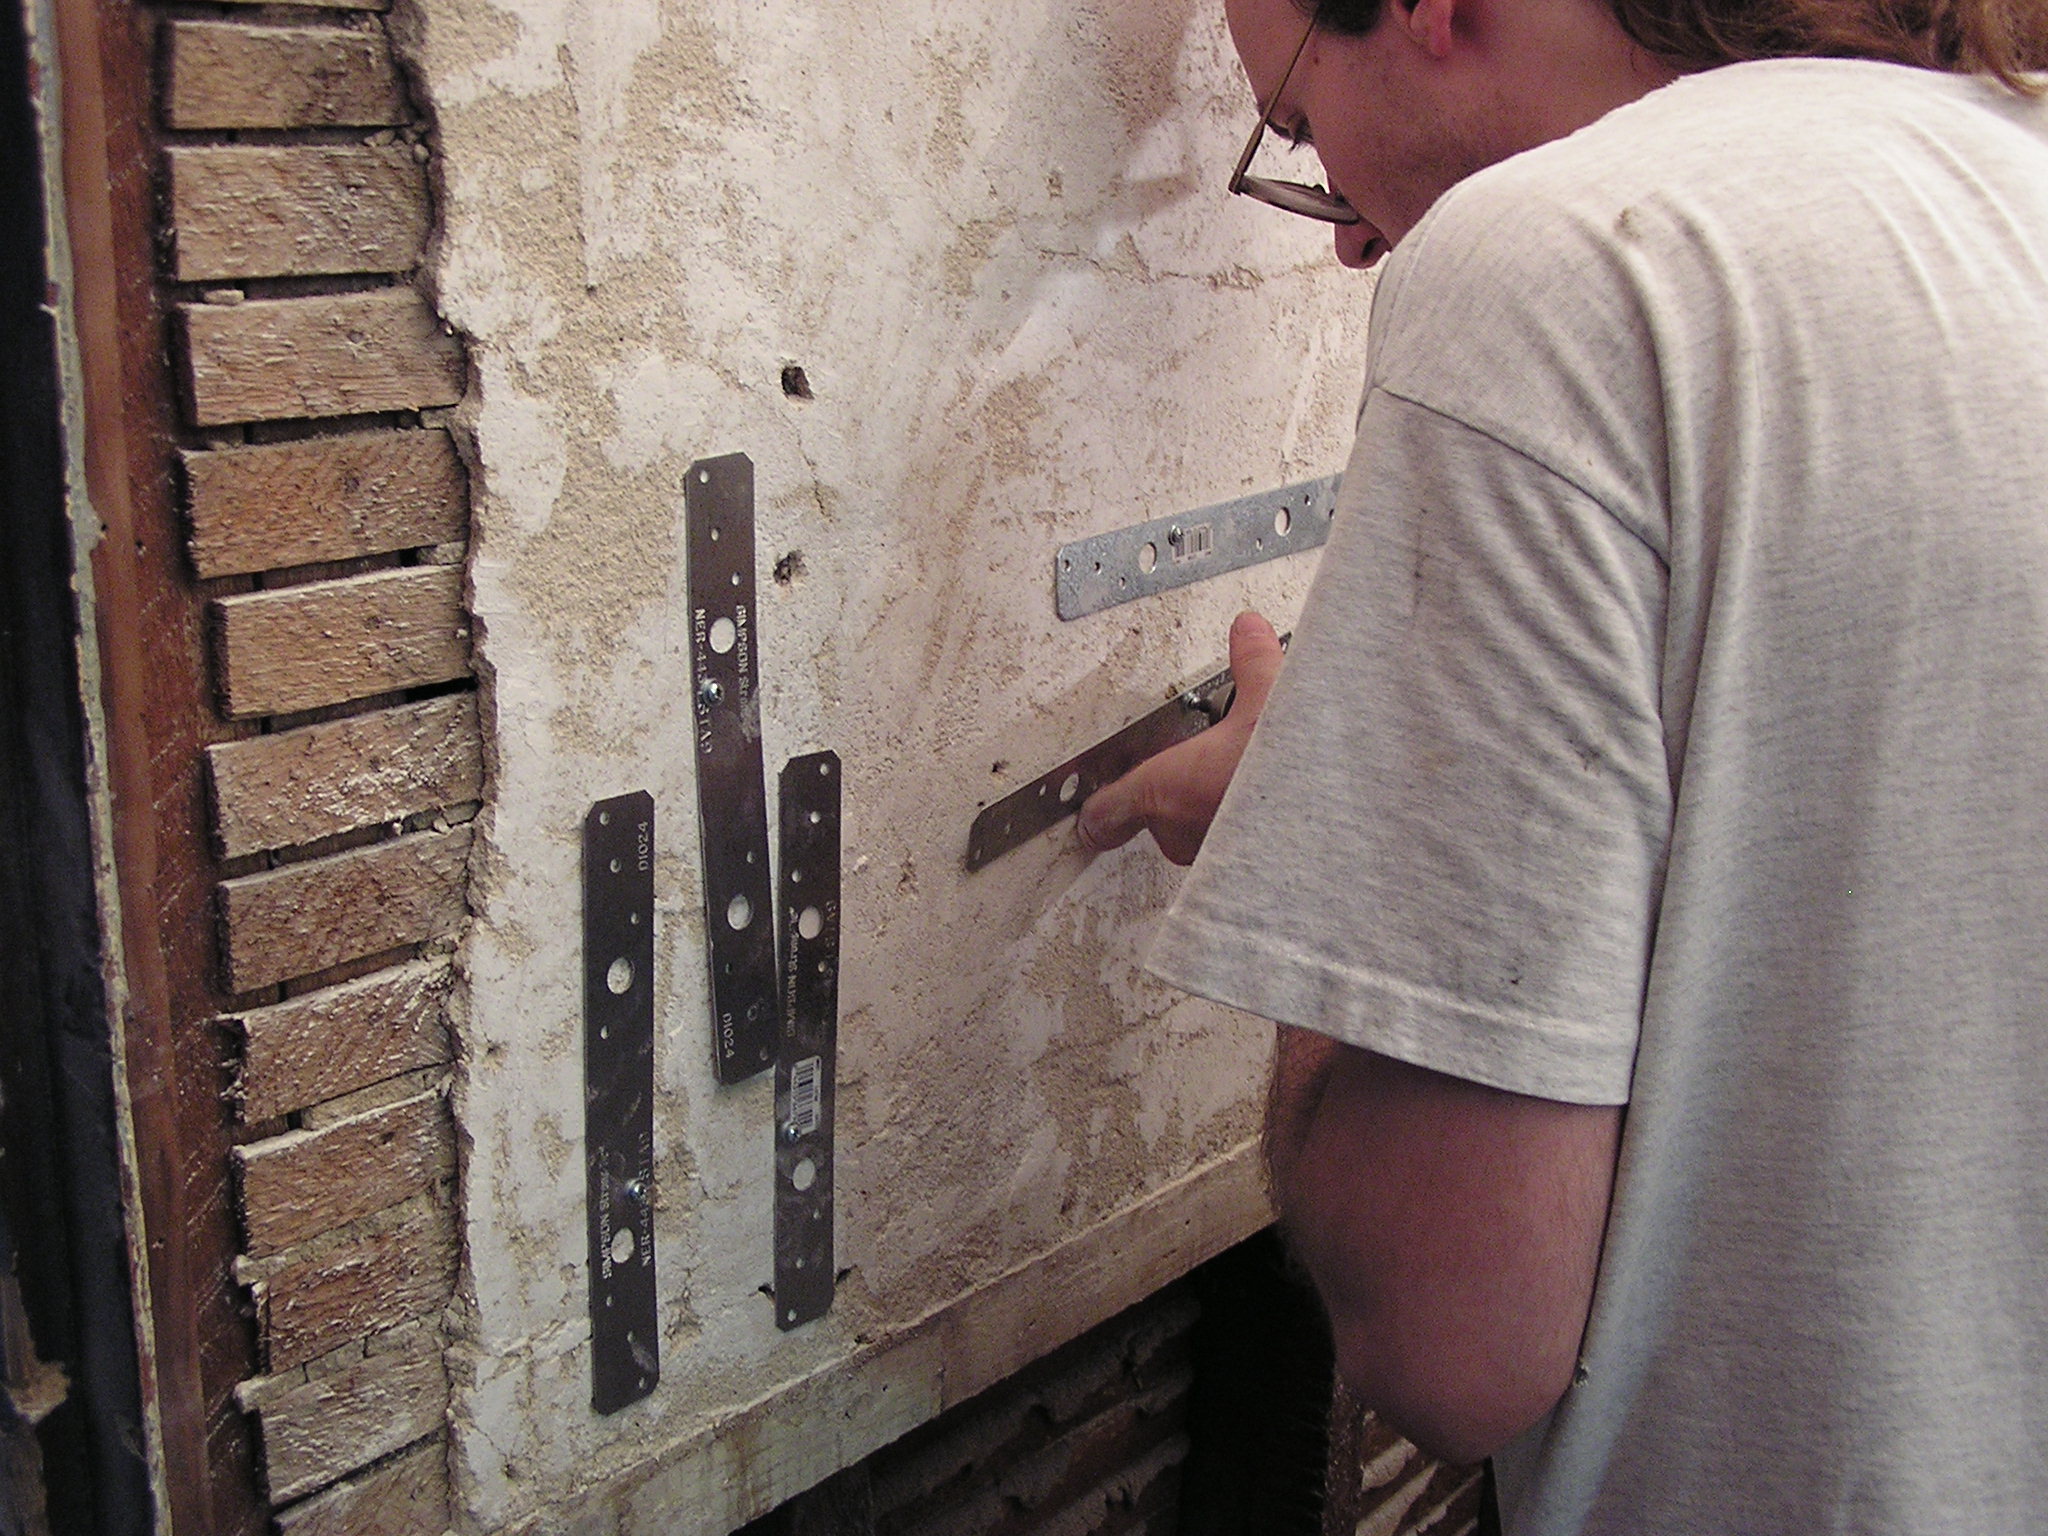
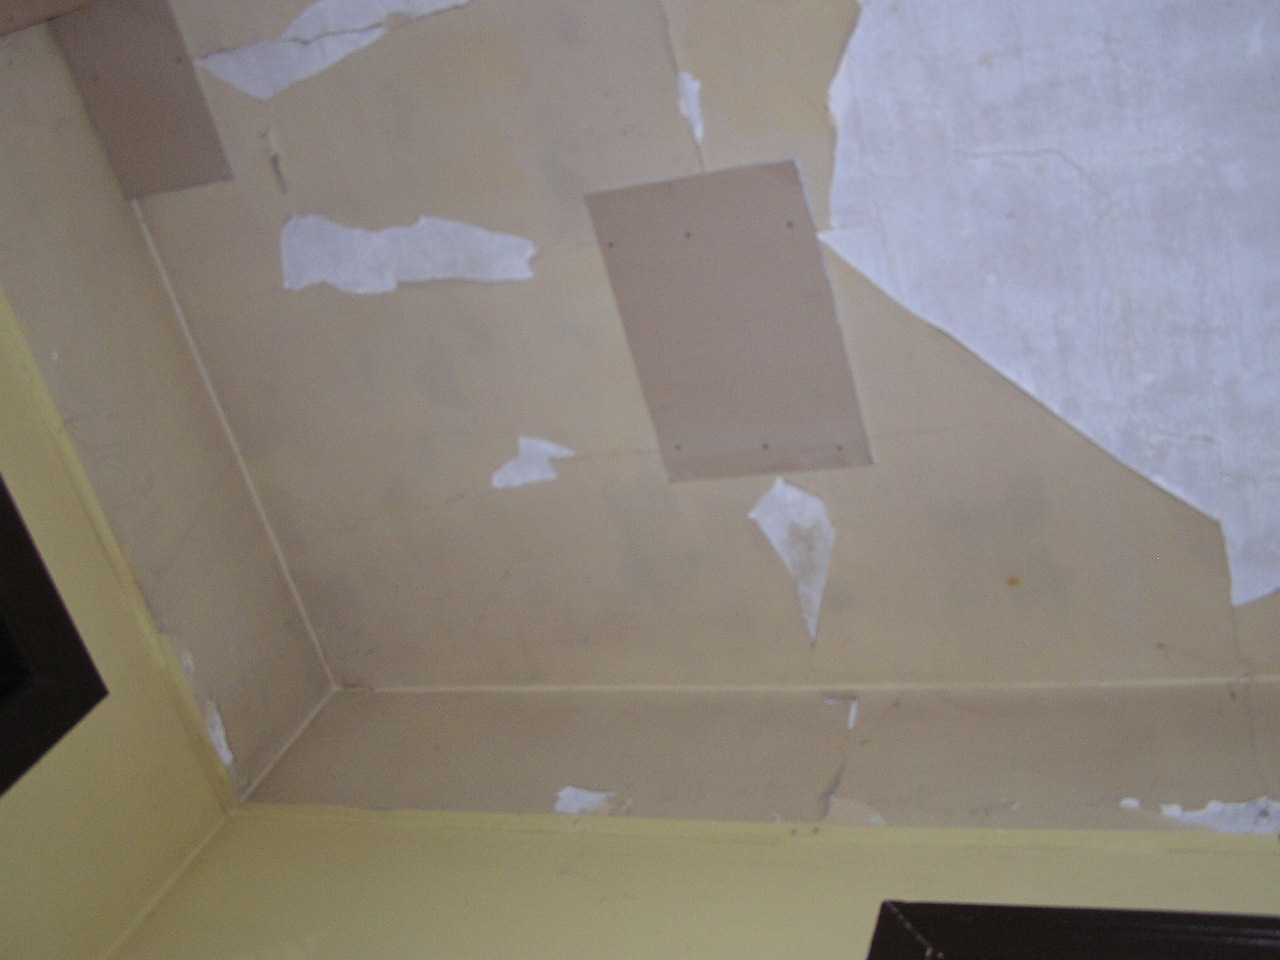
John here was gluing some of the plaster back to the walls where they keying had broken, using construction adhesive. The plates are screwed on to hold the plaster in place while the adhesive sets.
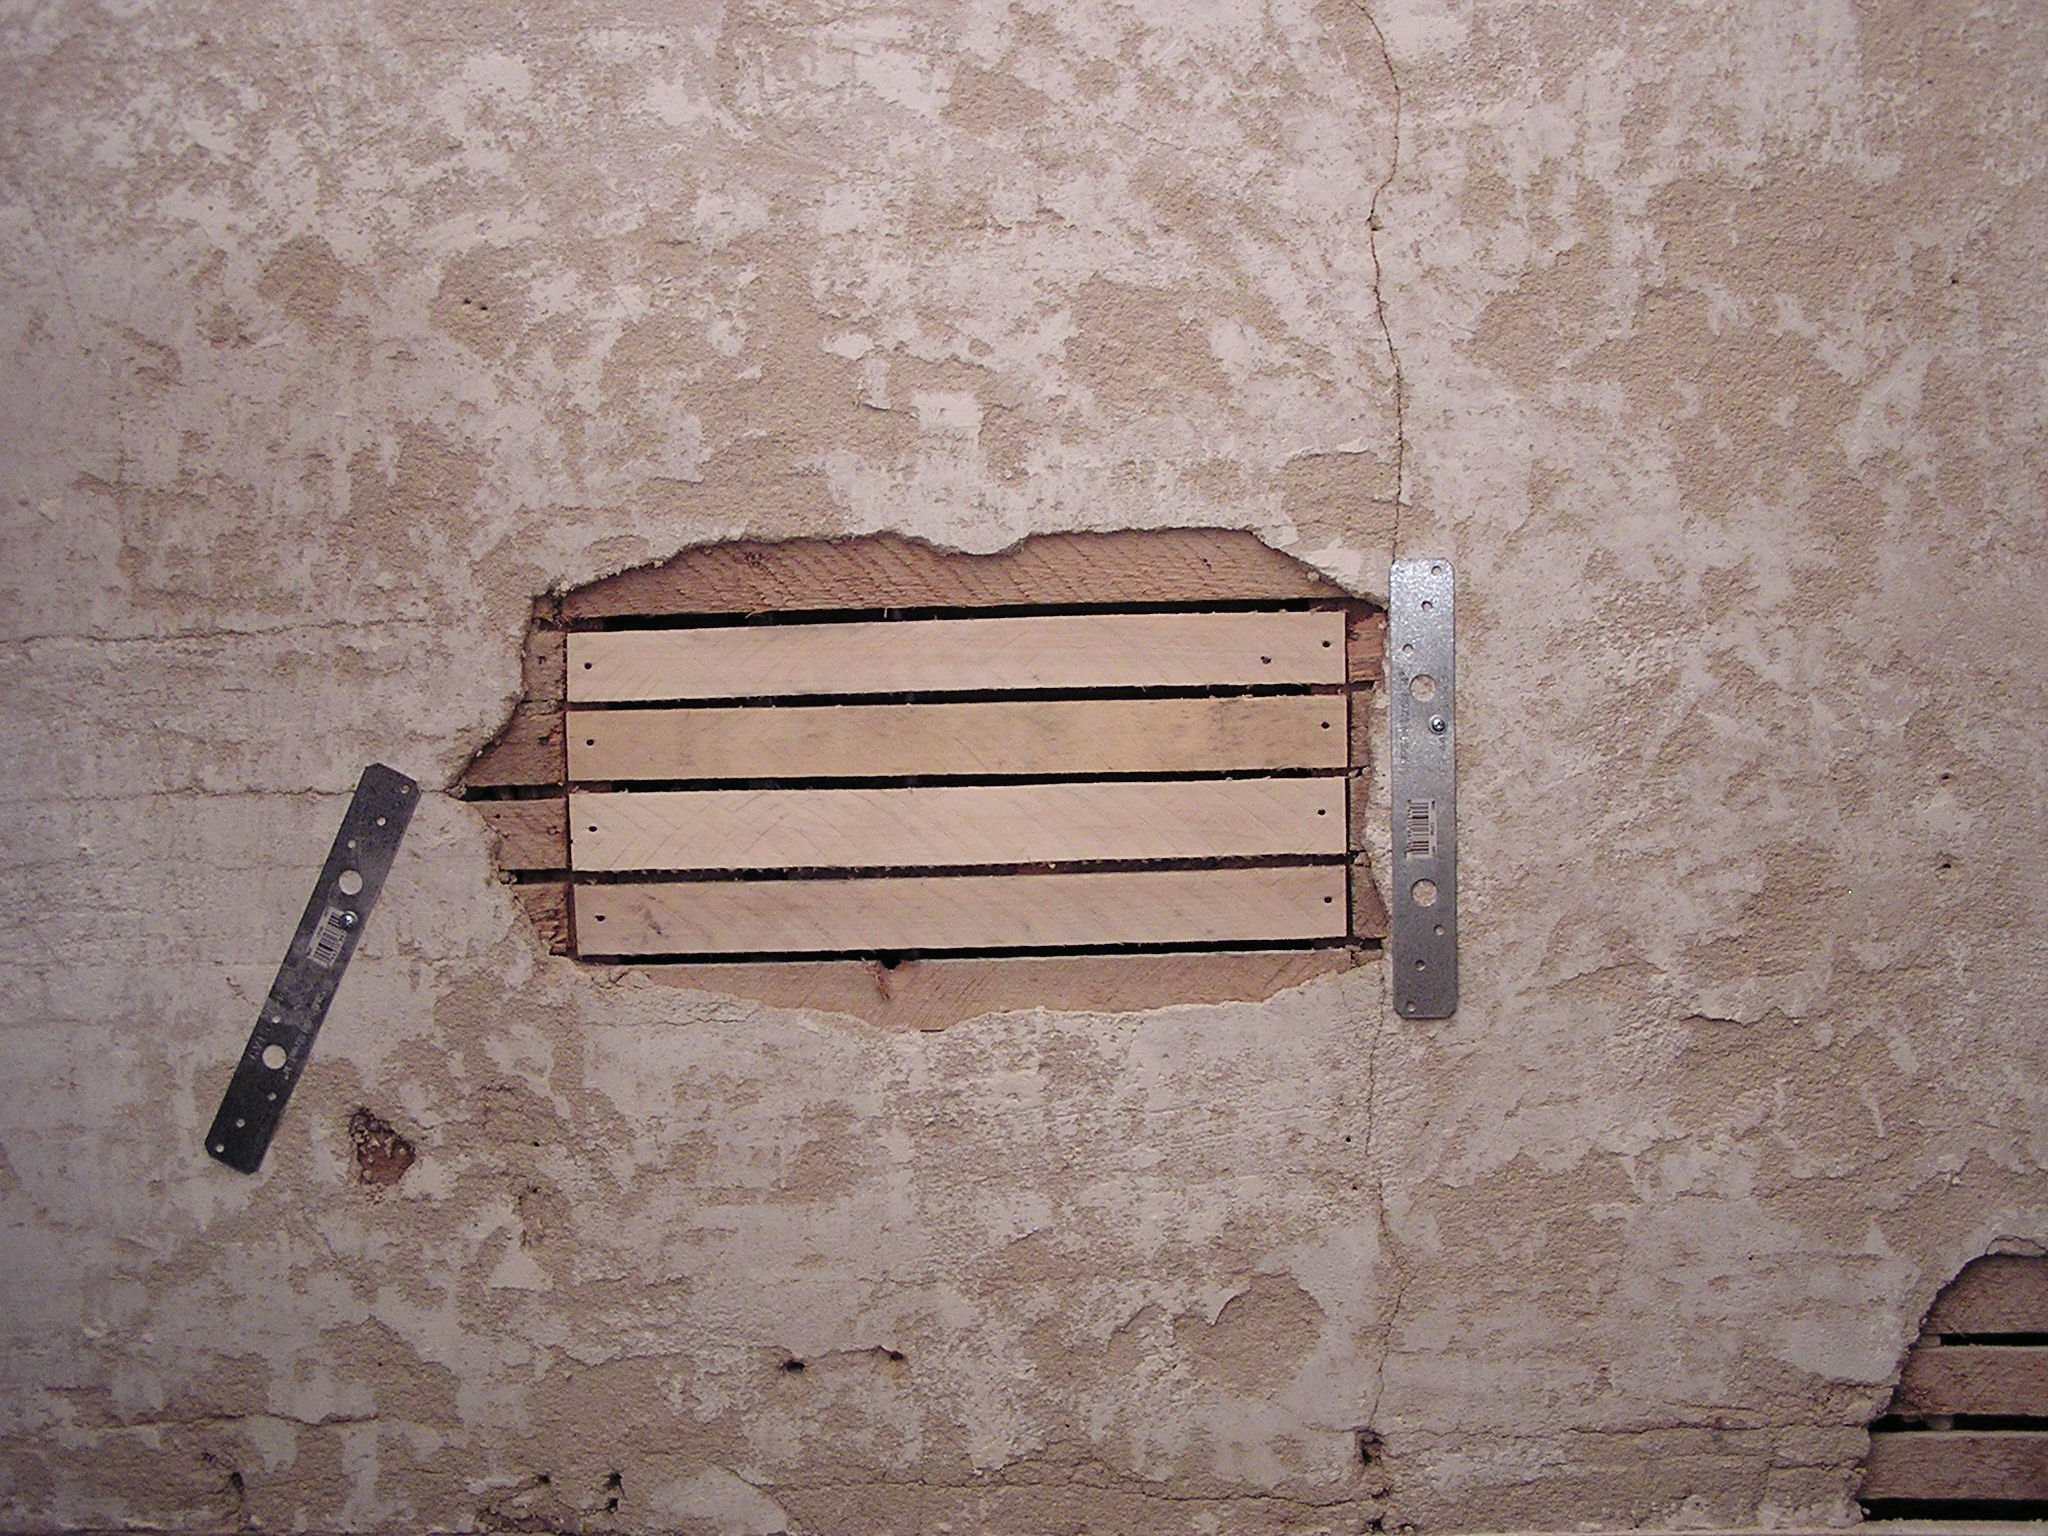
A couple pictures of where John is patching holes in the lath with new lath.
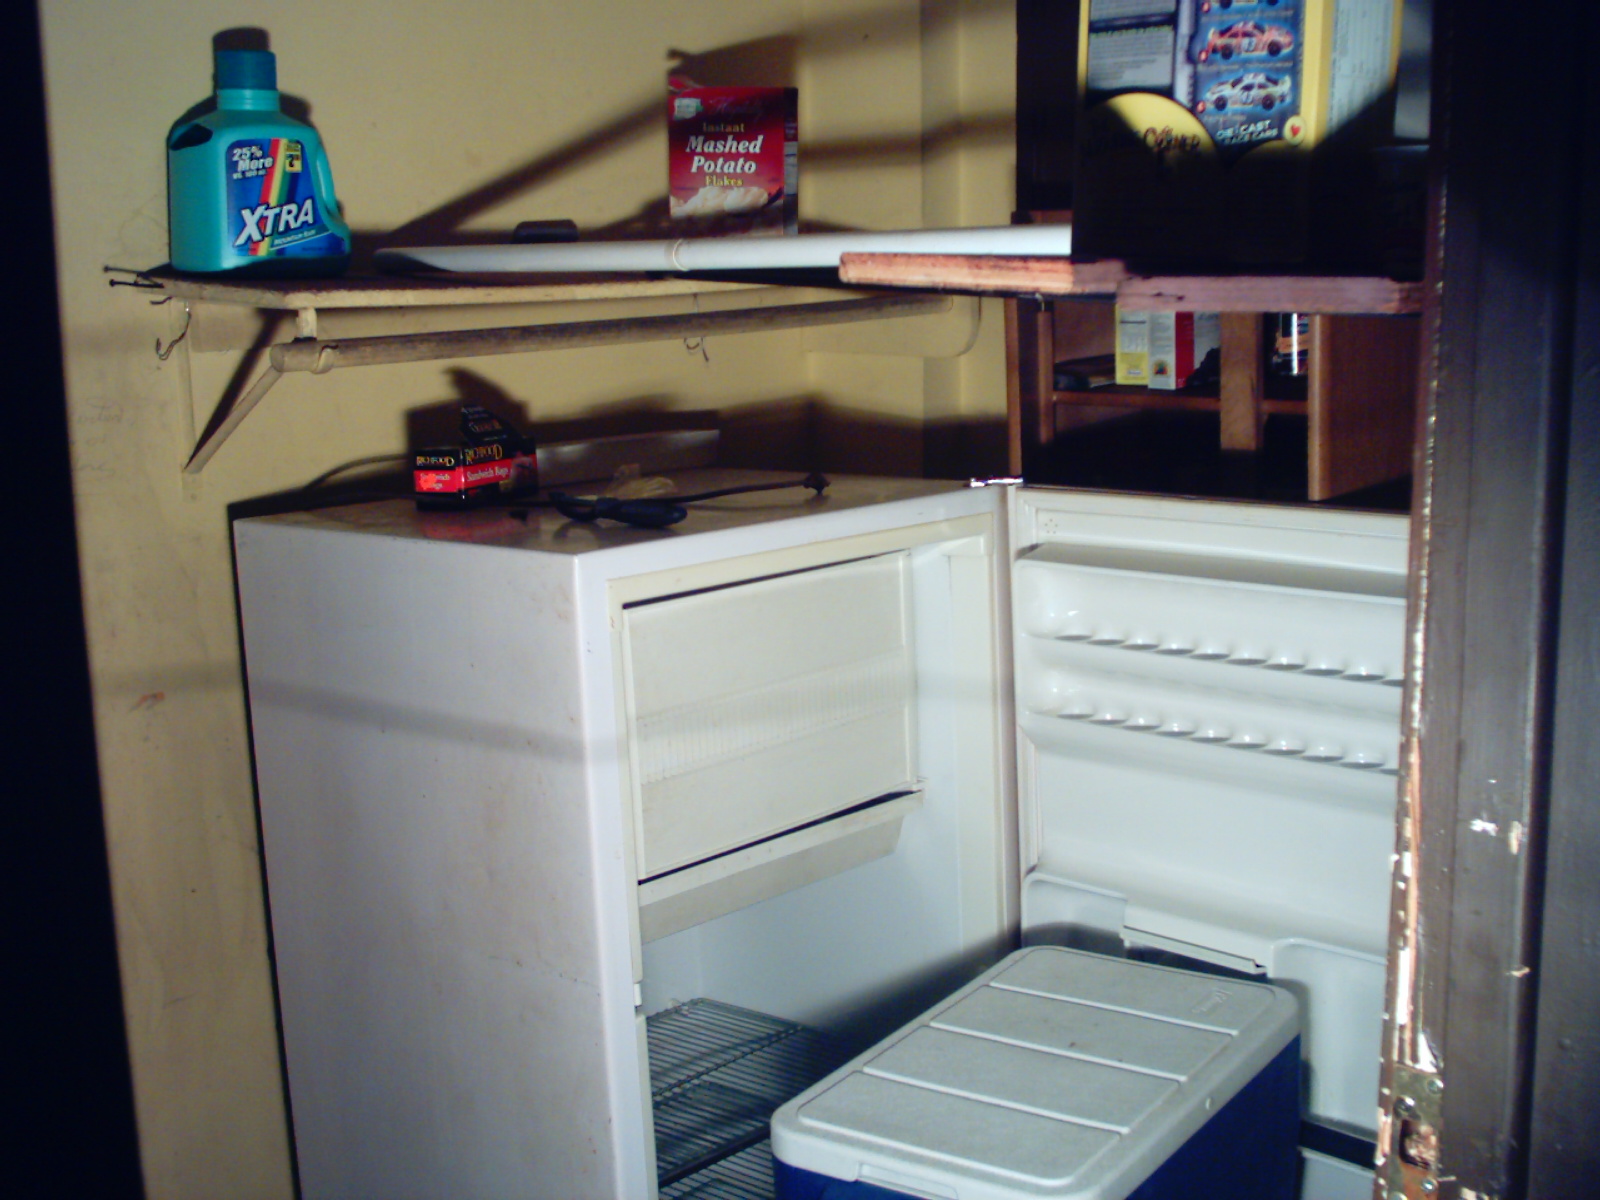
Three pictures of the pantry pre-gutting.