Yay, holiday bush.
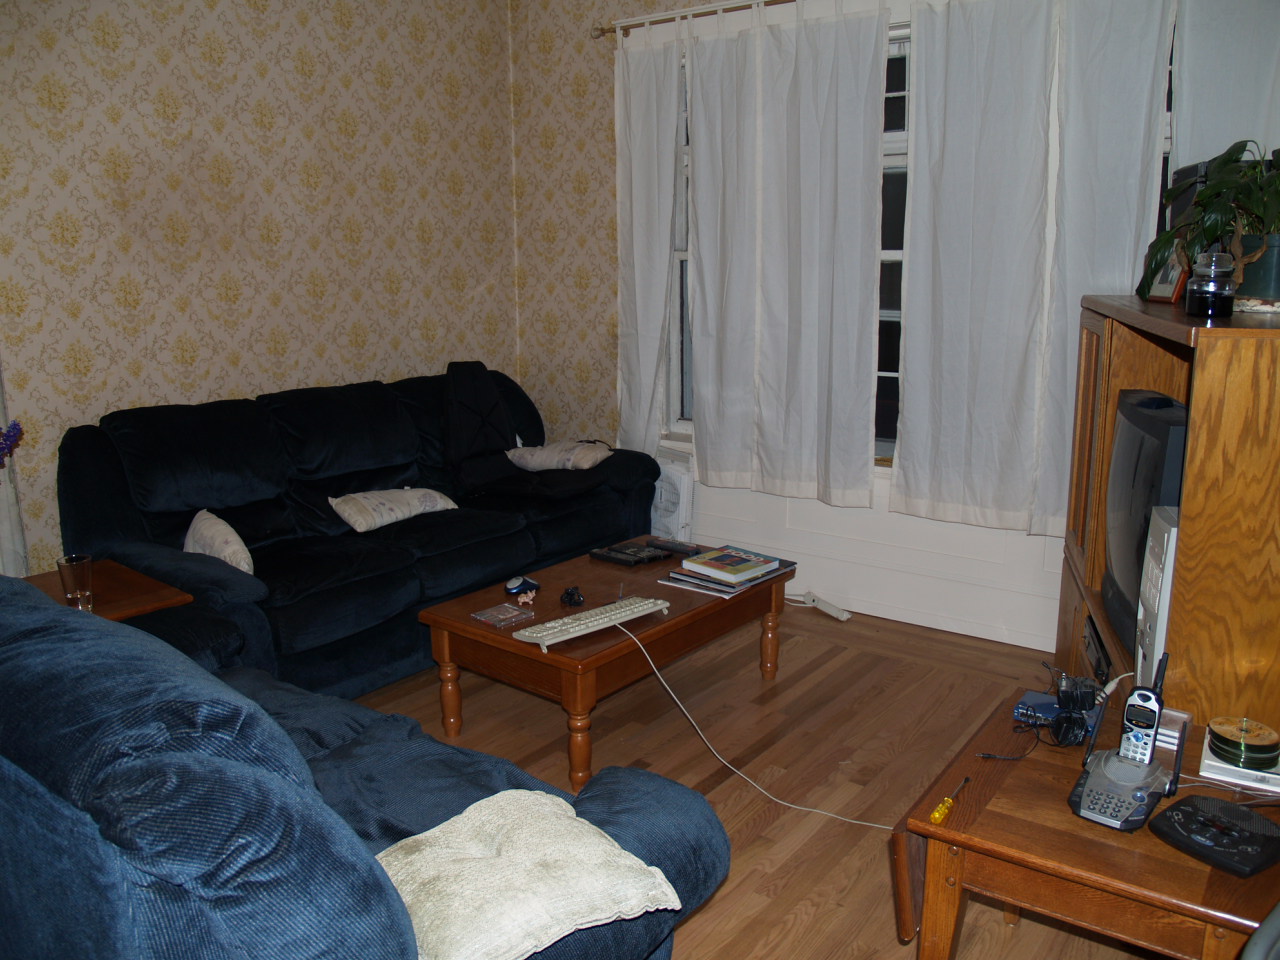
One shot of the new drapes Amanda picked up
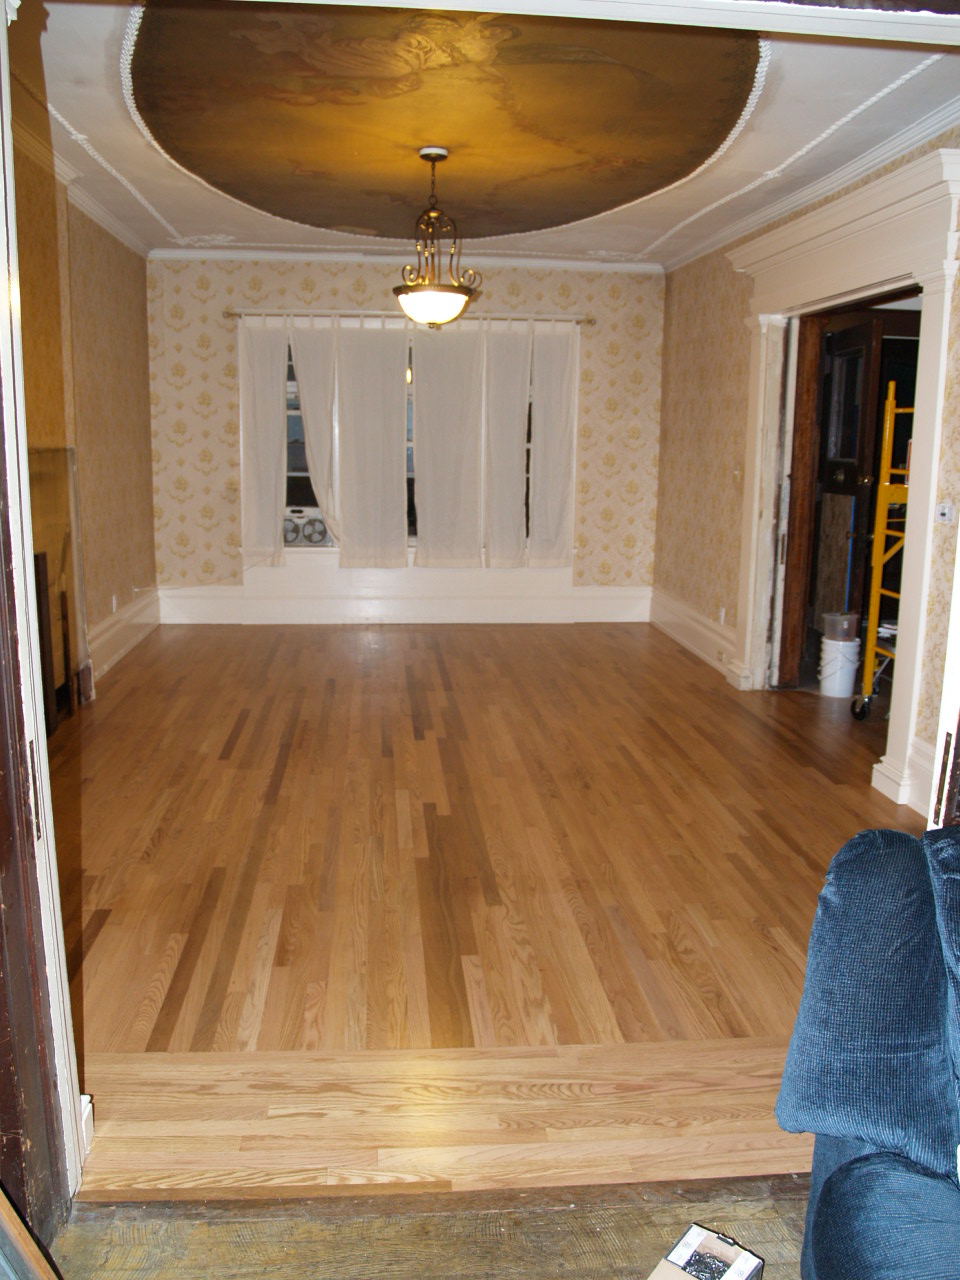
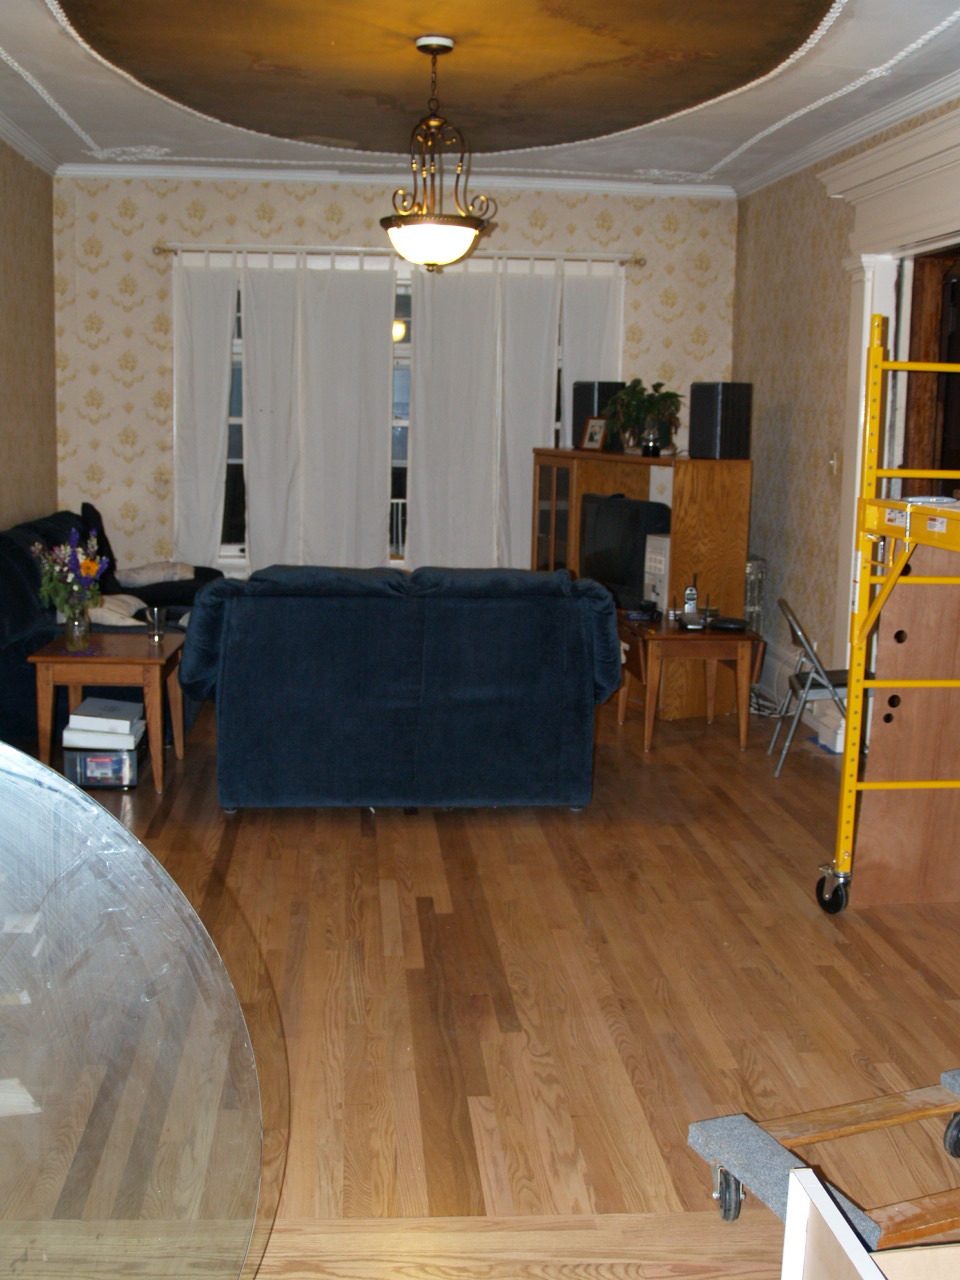
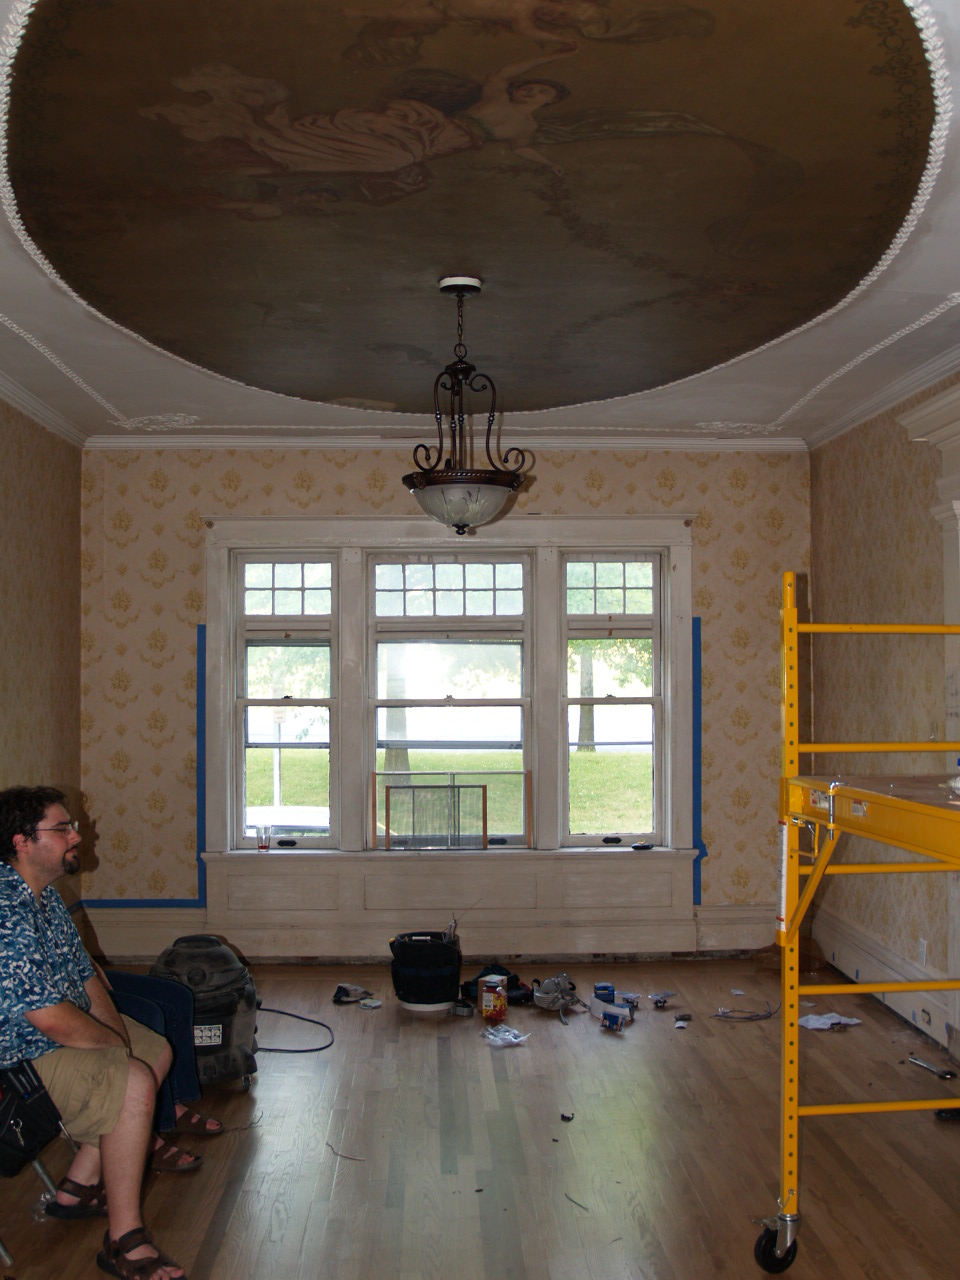
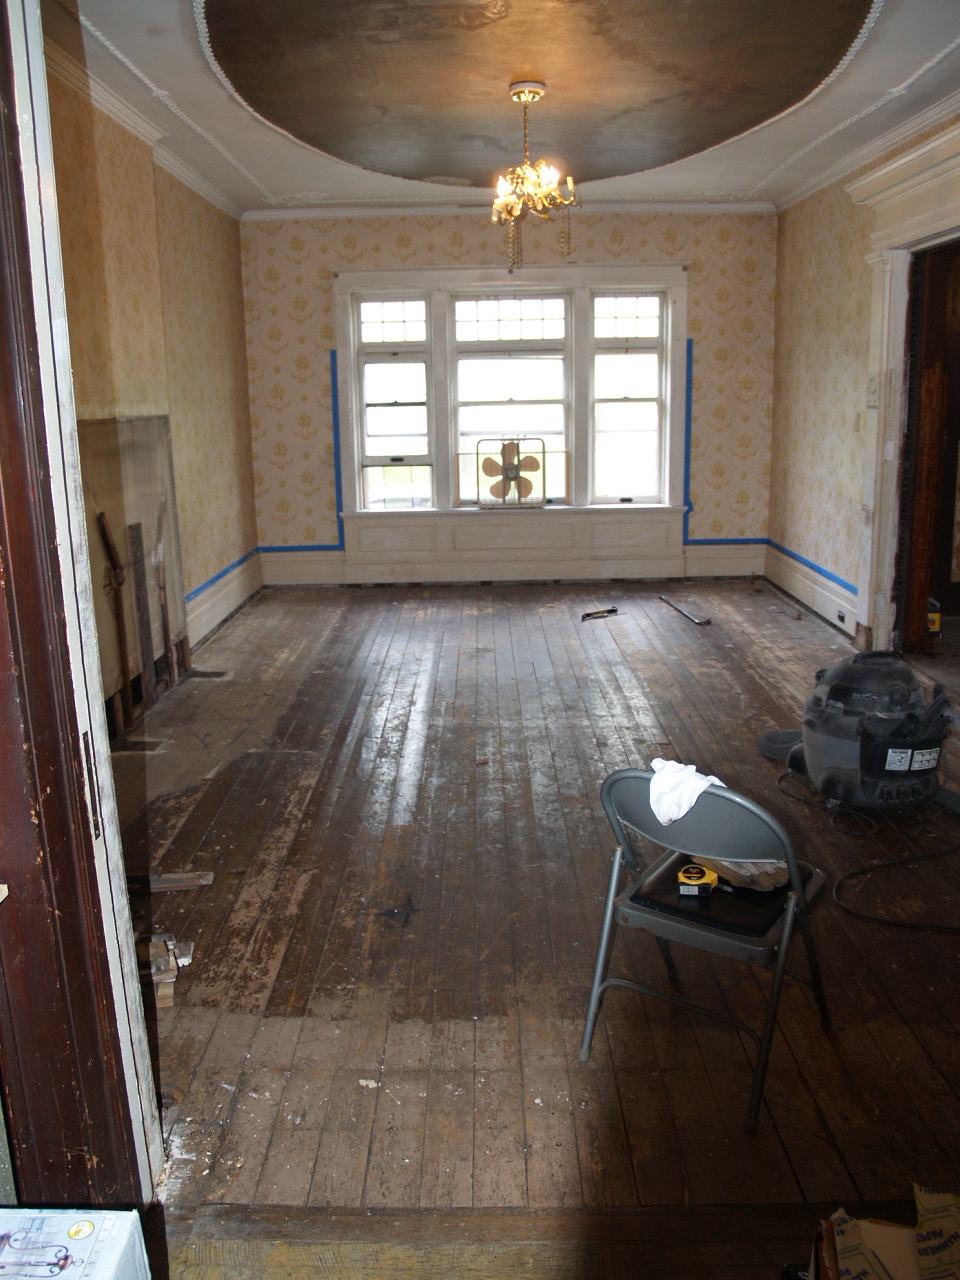
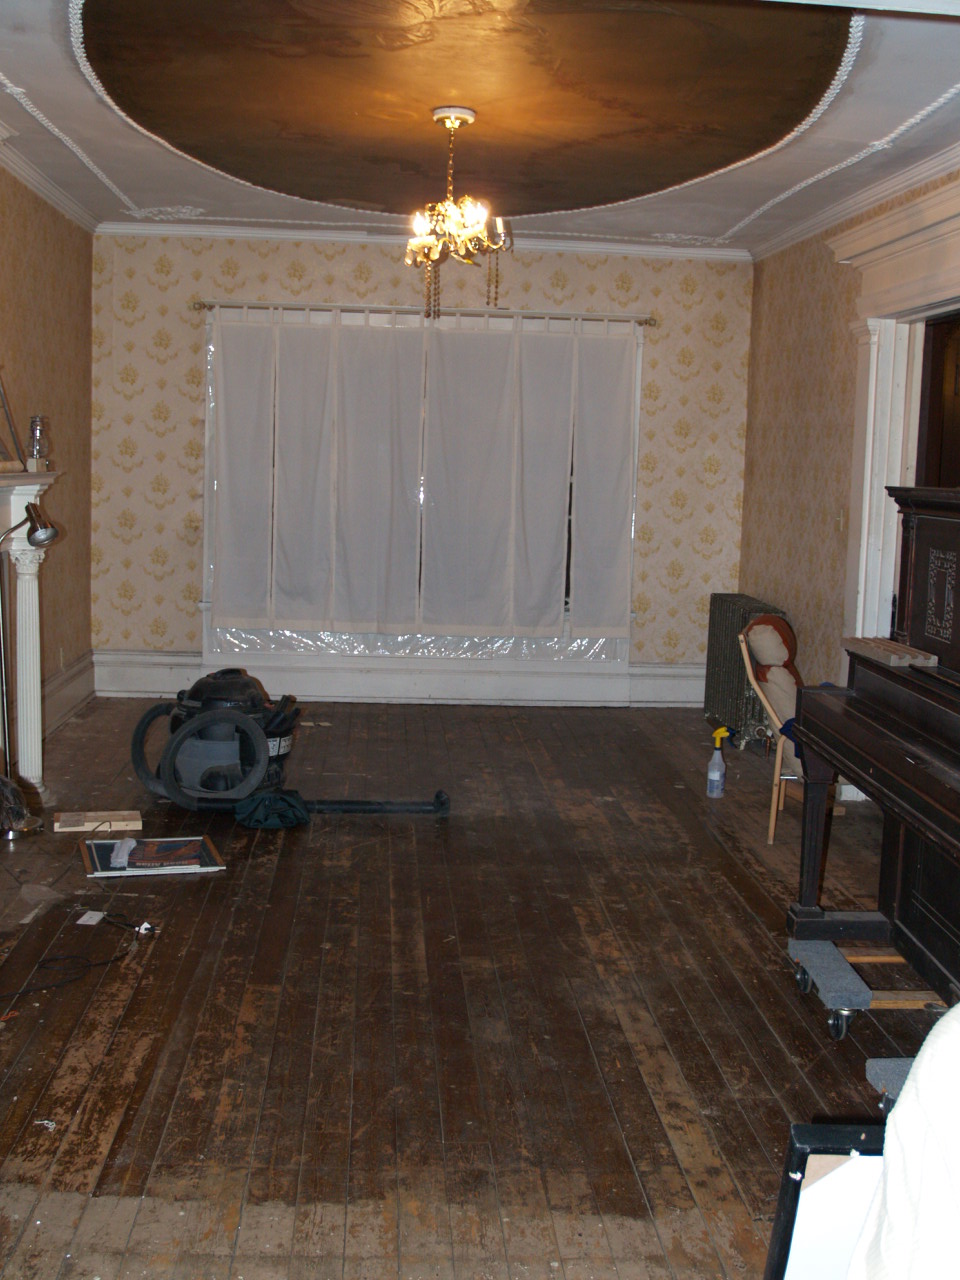
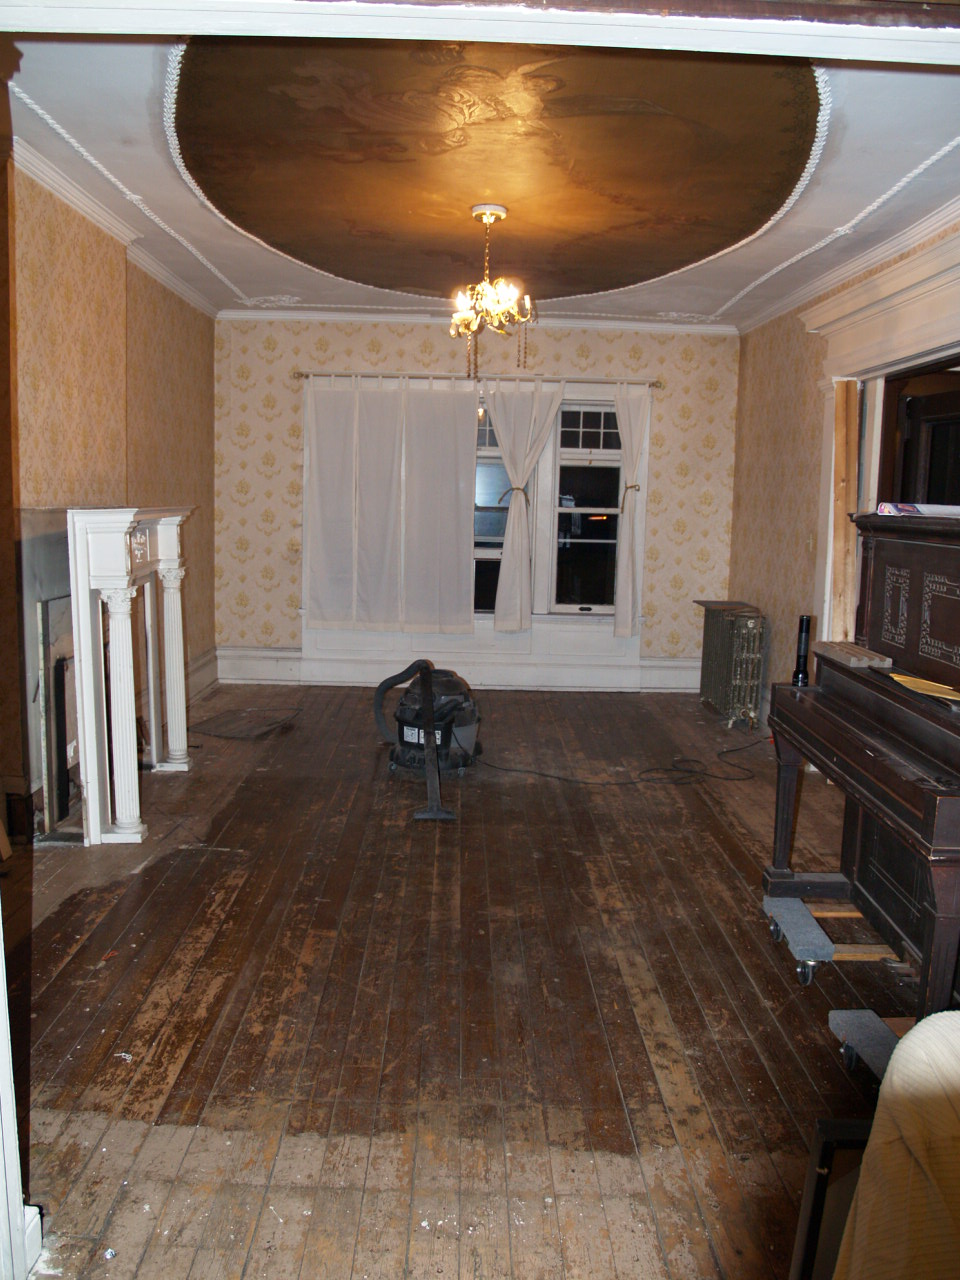
It is done, and there is even furniture in it. Where the scaffolding is still sitting will be the piano when I get it back (next week), across from the piano will be Amanda's loom, and the fireplace will be back from getting stripped at Ron's shop some time next week.
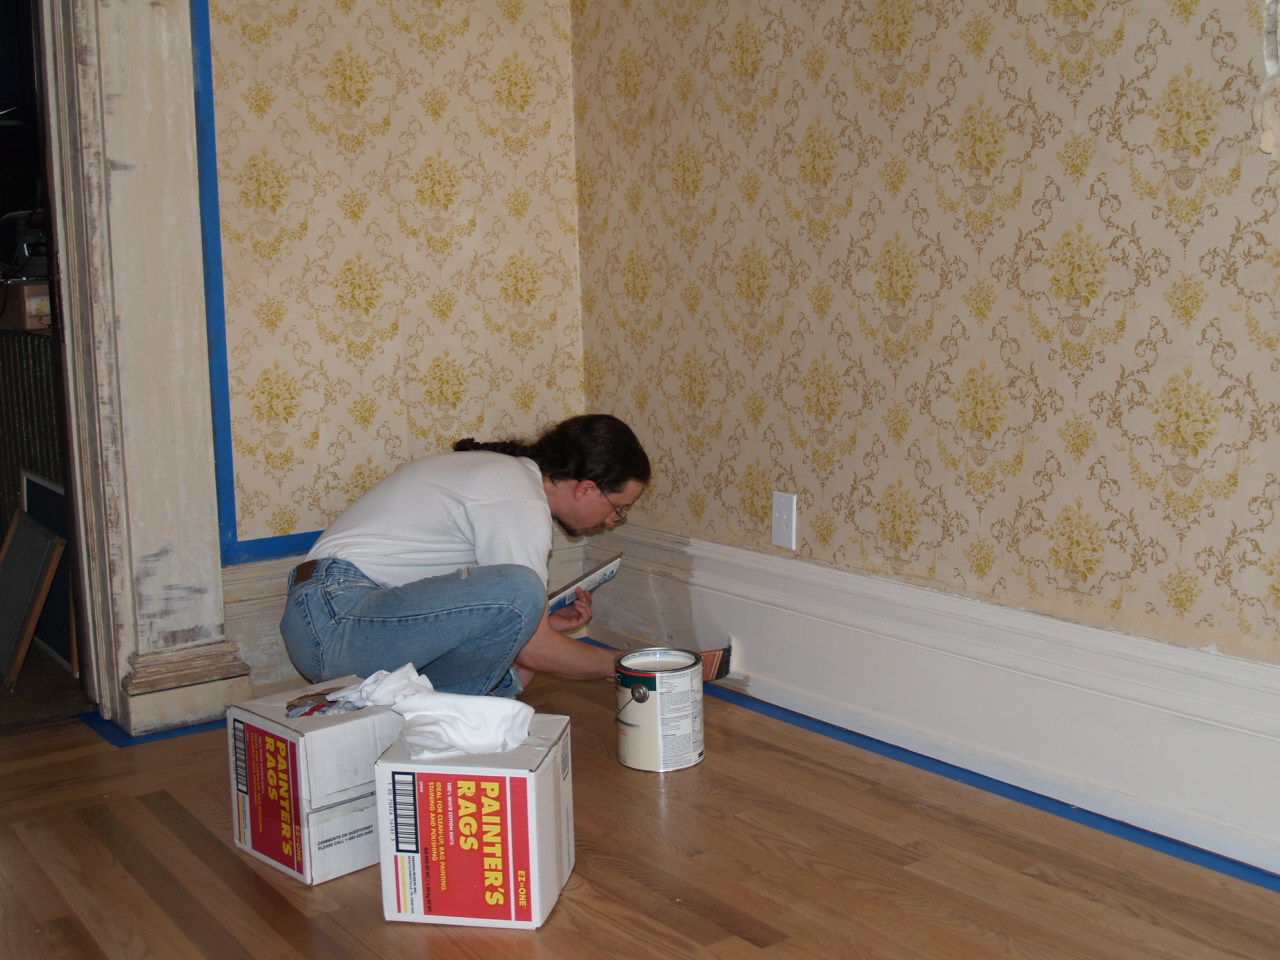
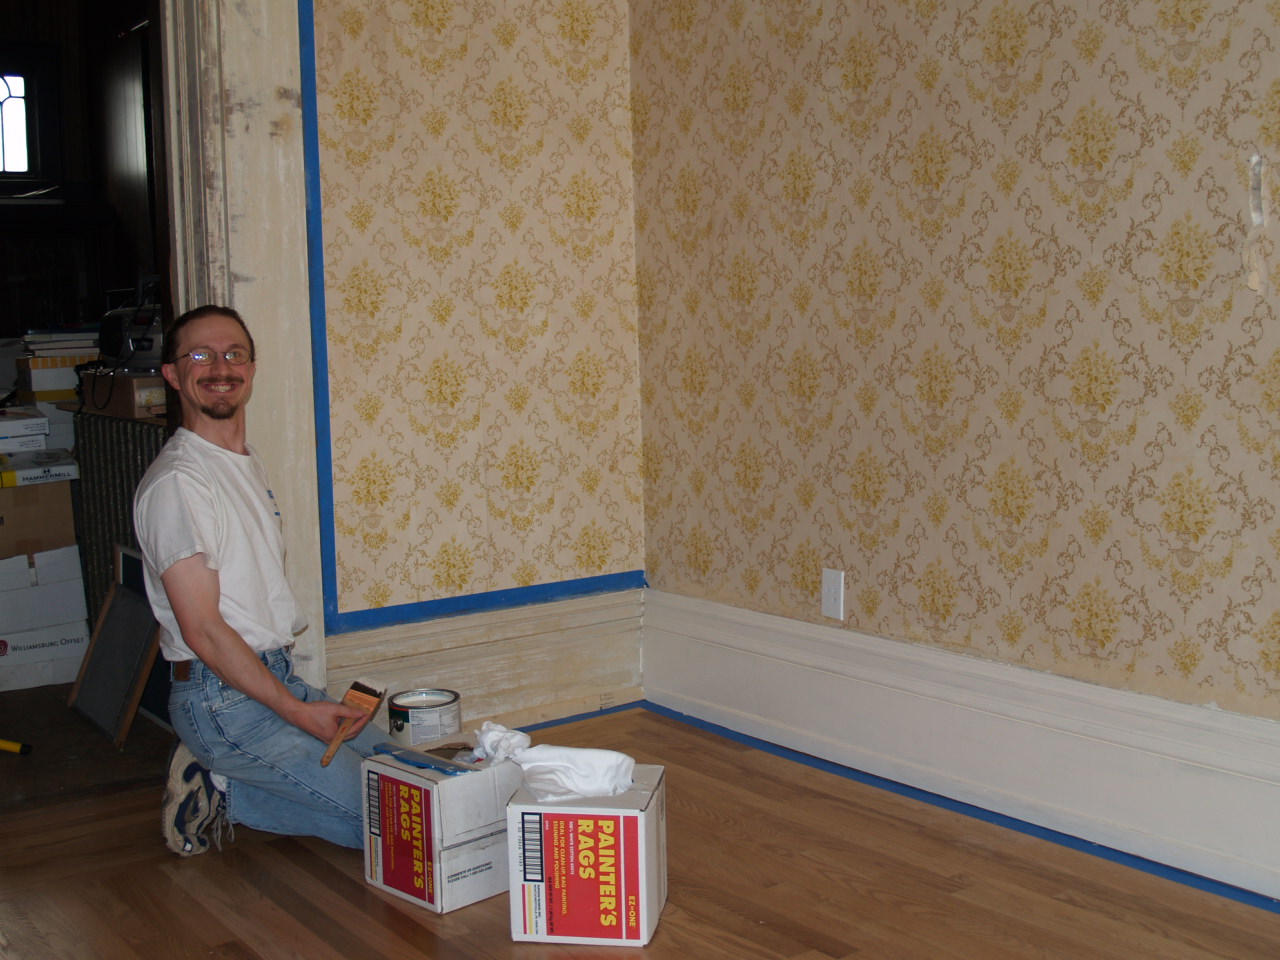
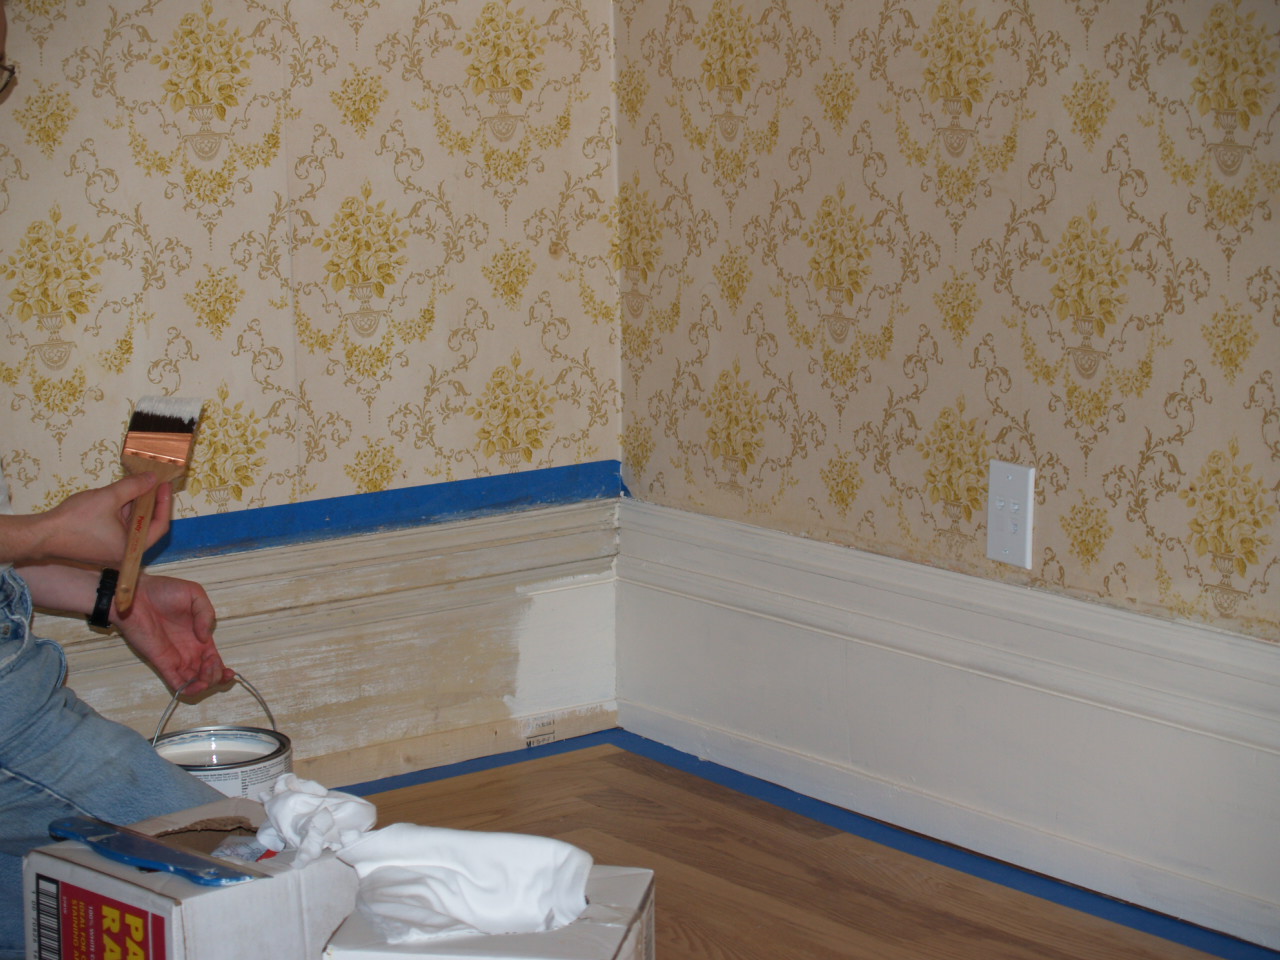
And the painting begins. I'm obviously very proud of myself. I like the color... just cream enough to not be white, but white enough to not look dingy.
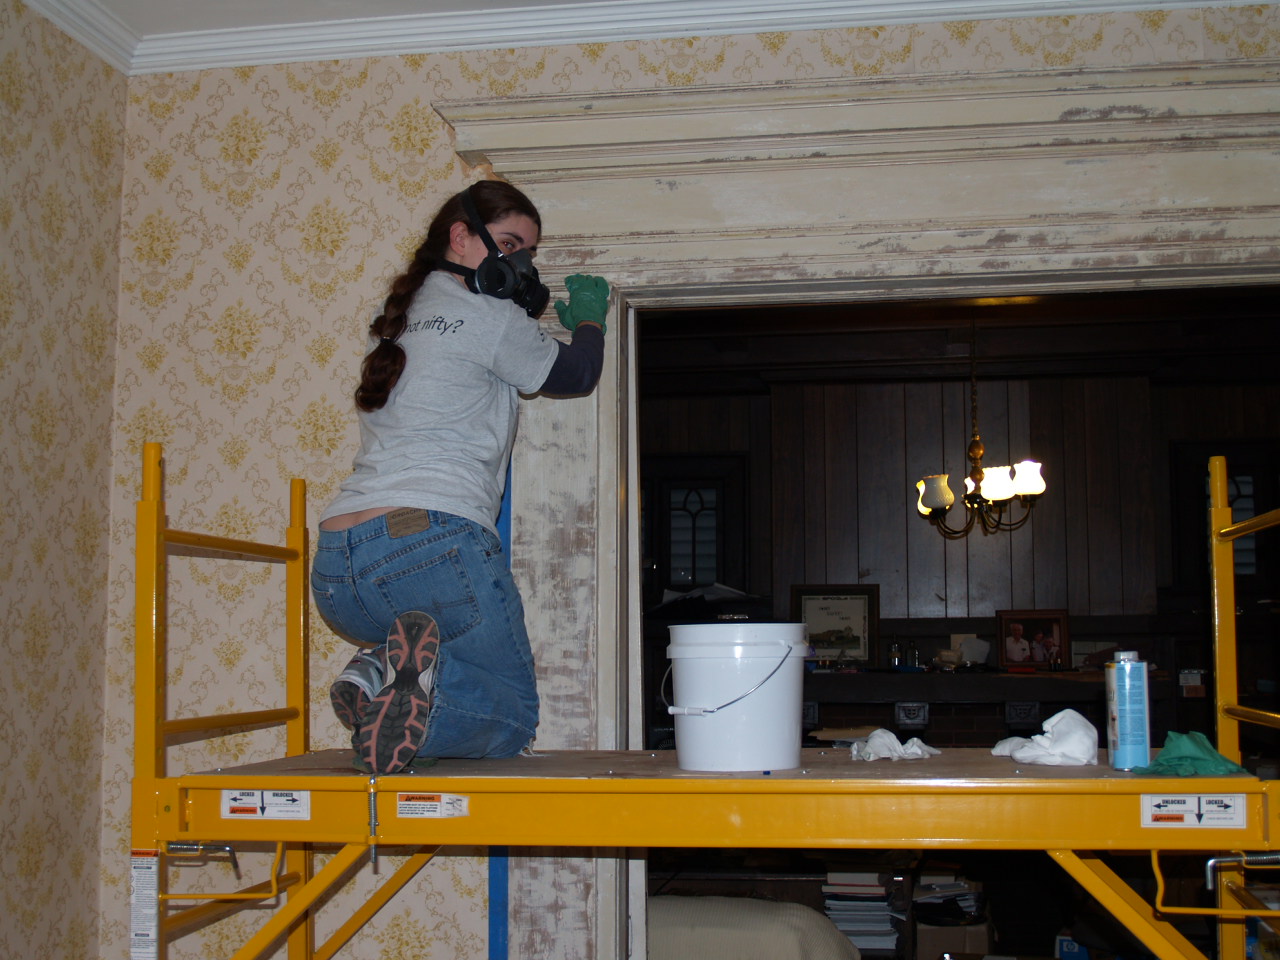
True proof that Amanda loves me. She's scrubbing stripper residue off the mouldings above the doors using some seriously noxious stuff, wearing my gas mask, AND she's afraid of heights.
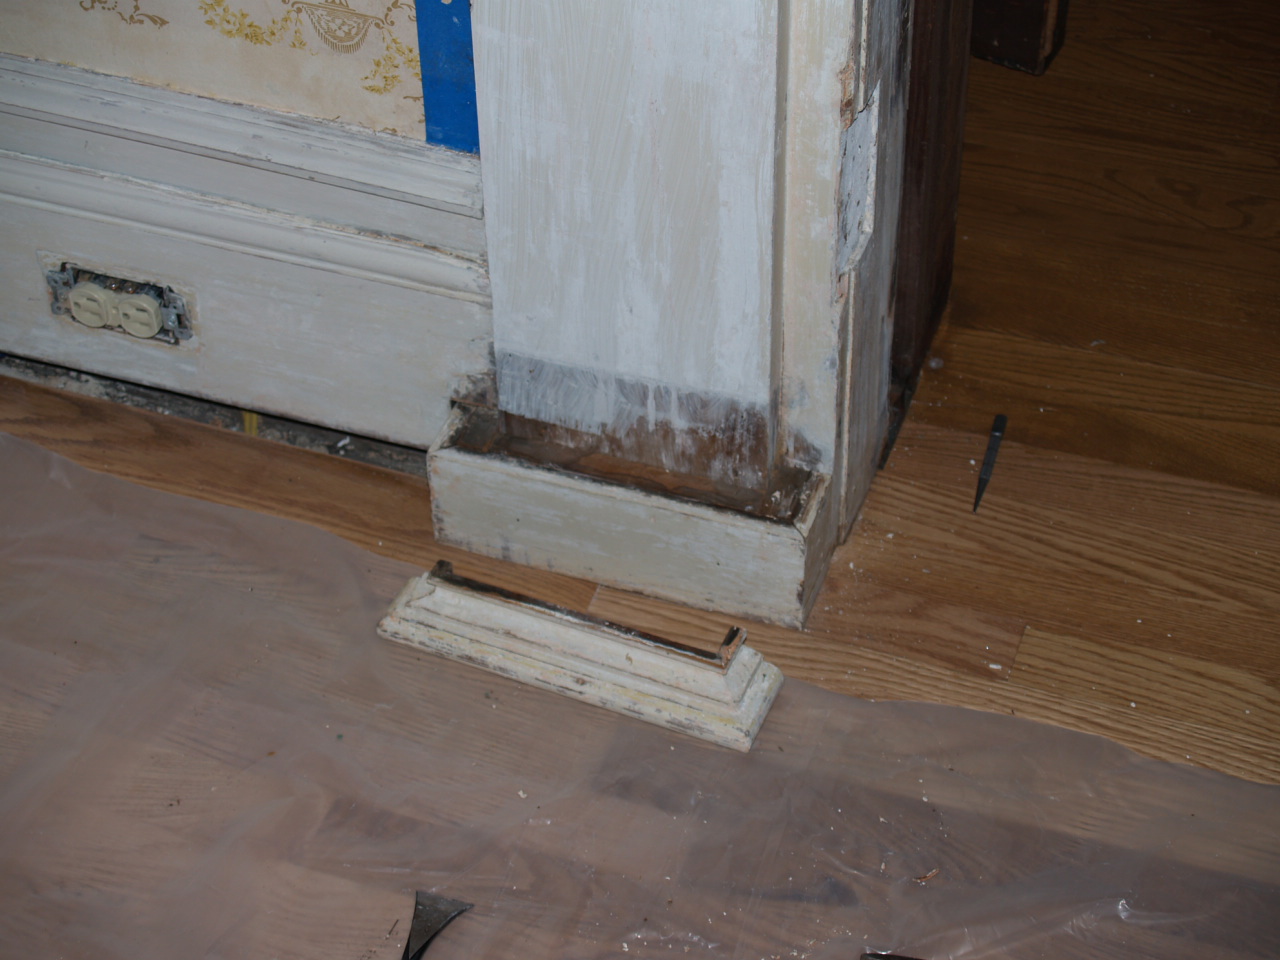

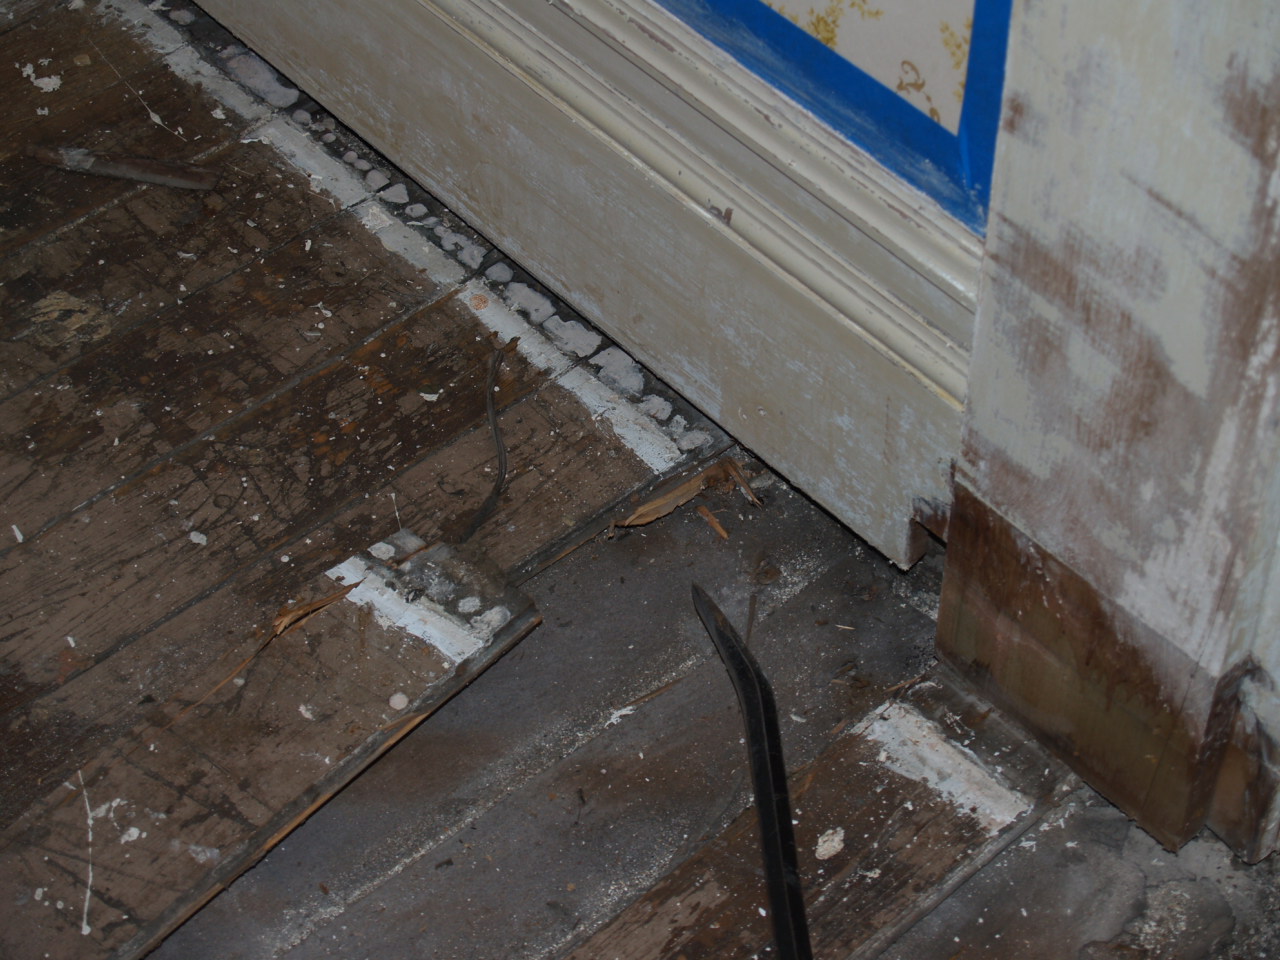
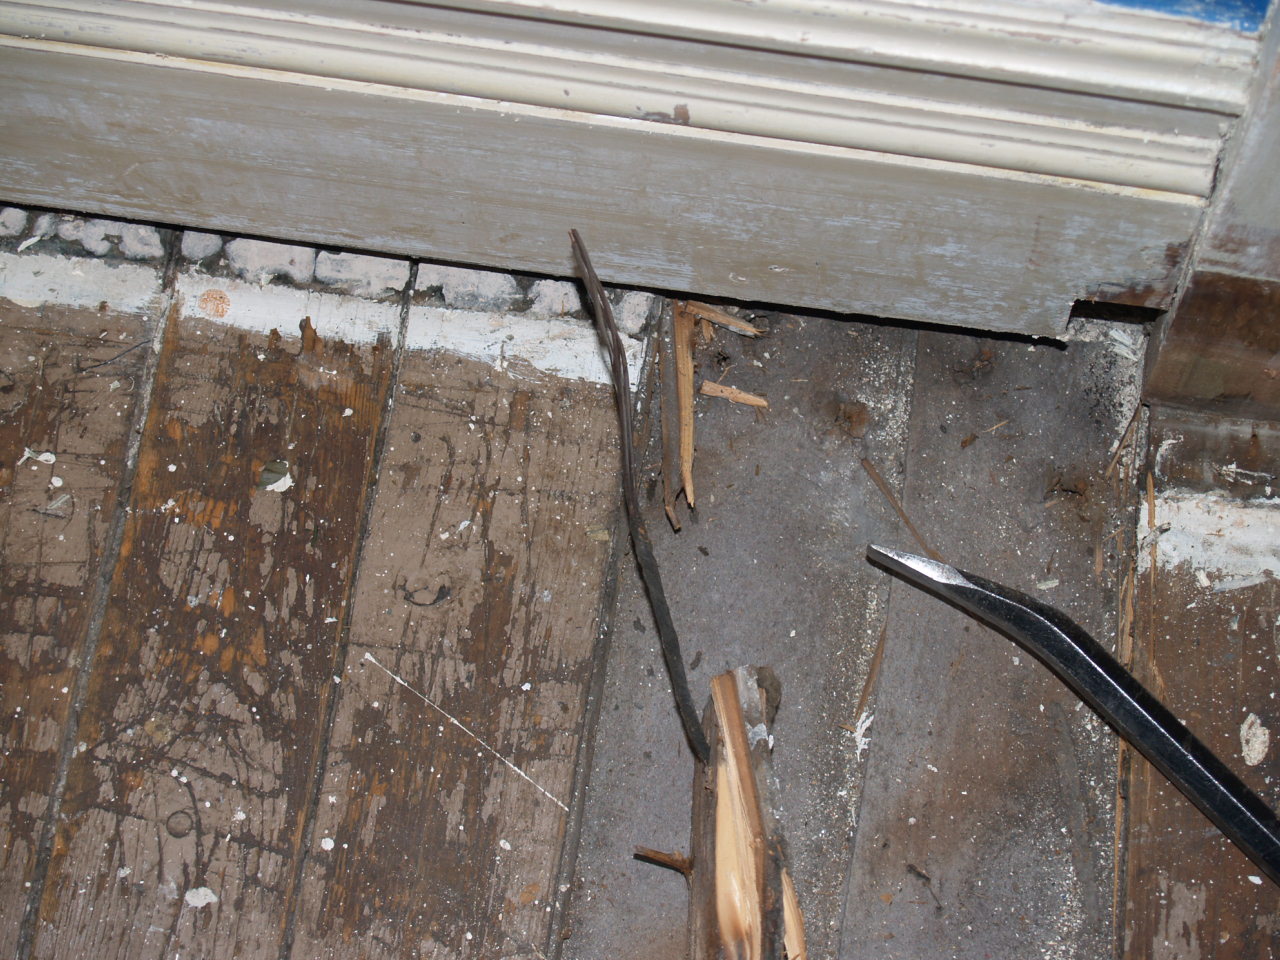
The first shot of reassembly, as I started putting the mouldings back into place. Then a shot of where I was using my pneumatic brad/staple nailer to reattach the bits of baseboard.
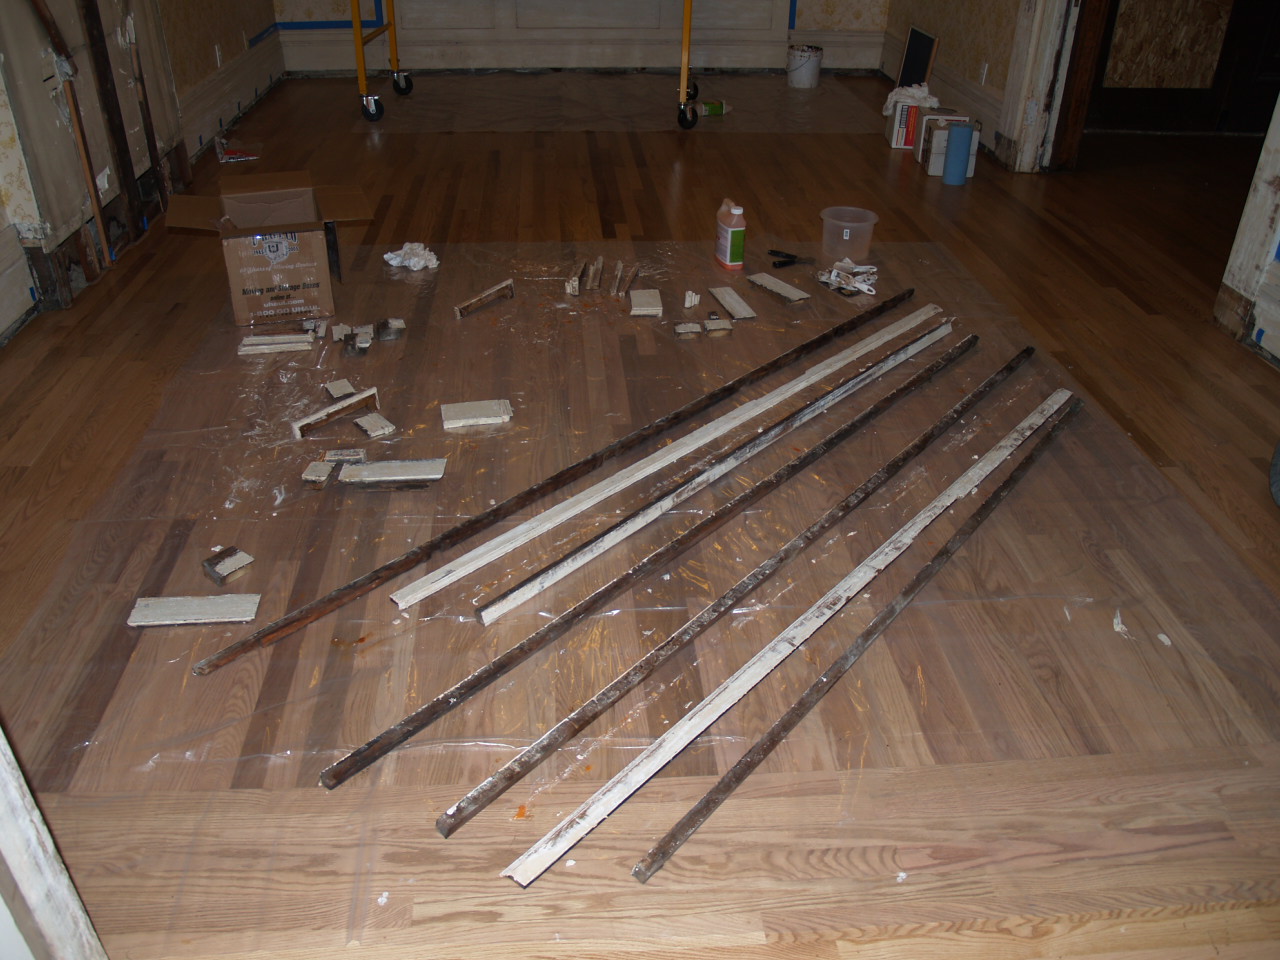
One shot of plastic layed out and the various bits of mouldings being stripped. It was quite the array.
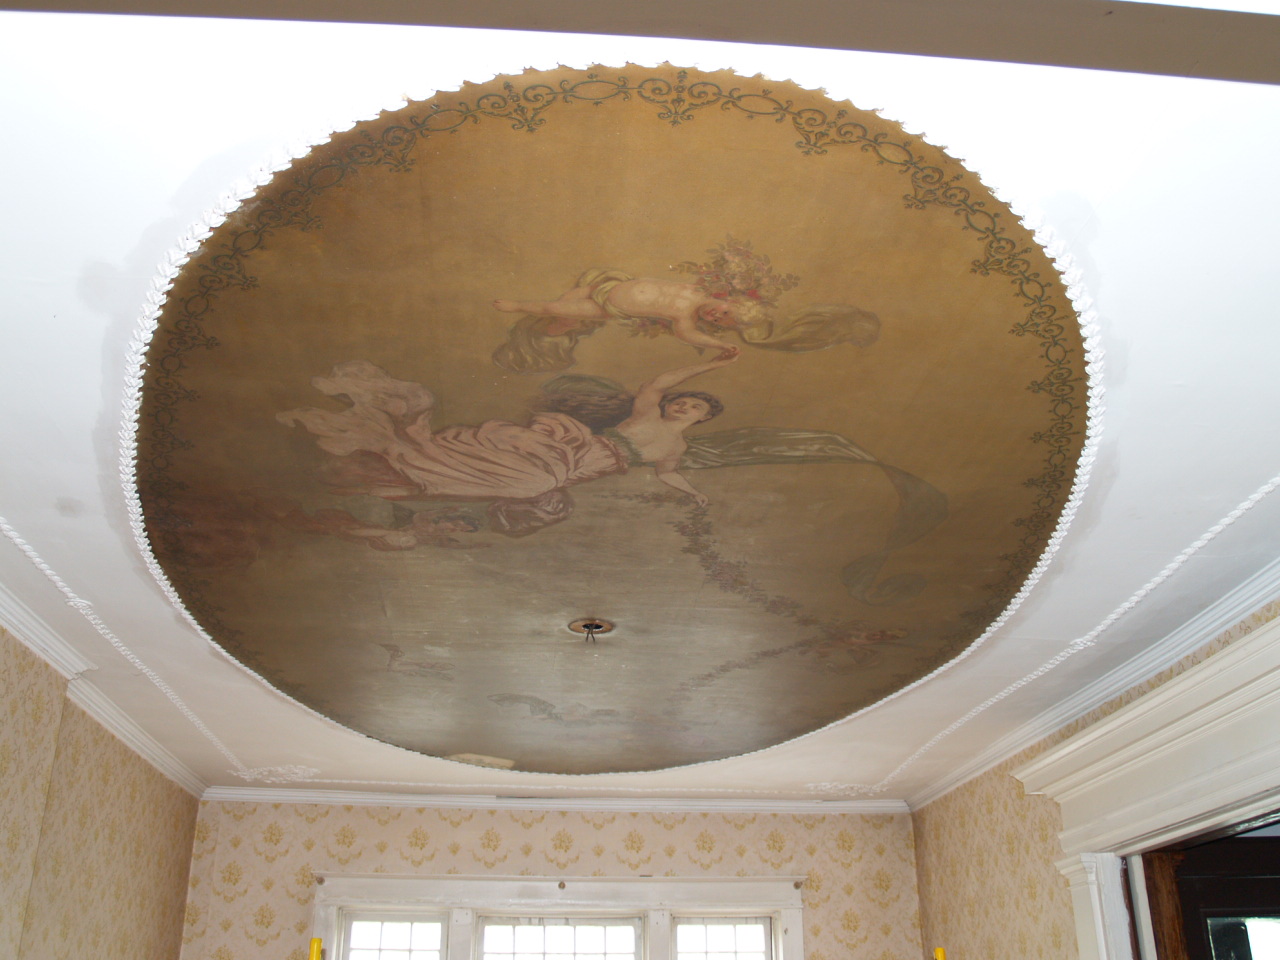
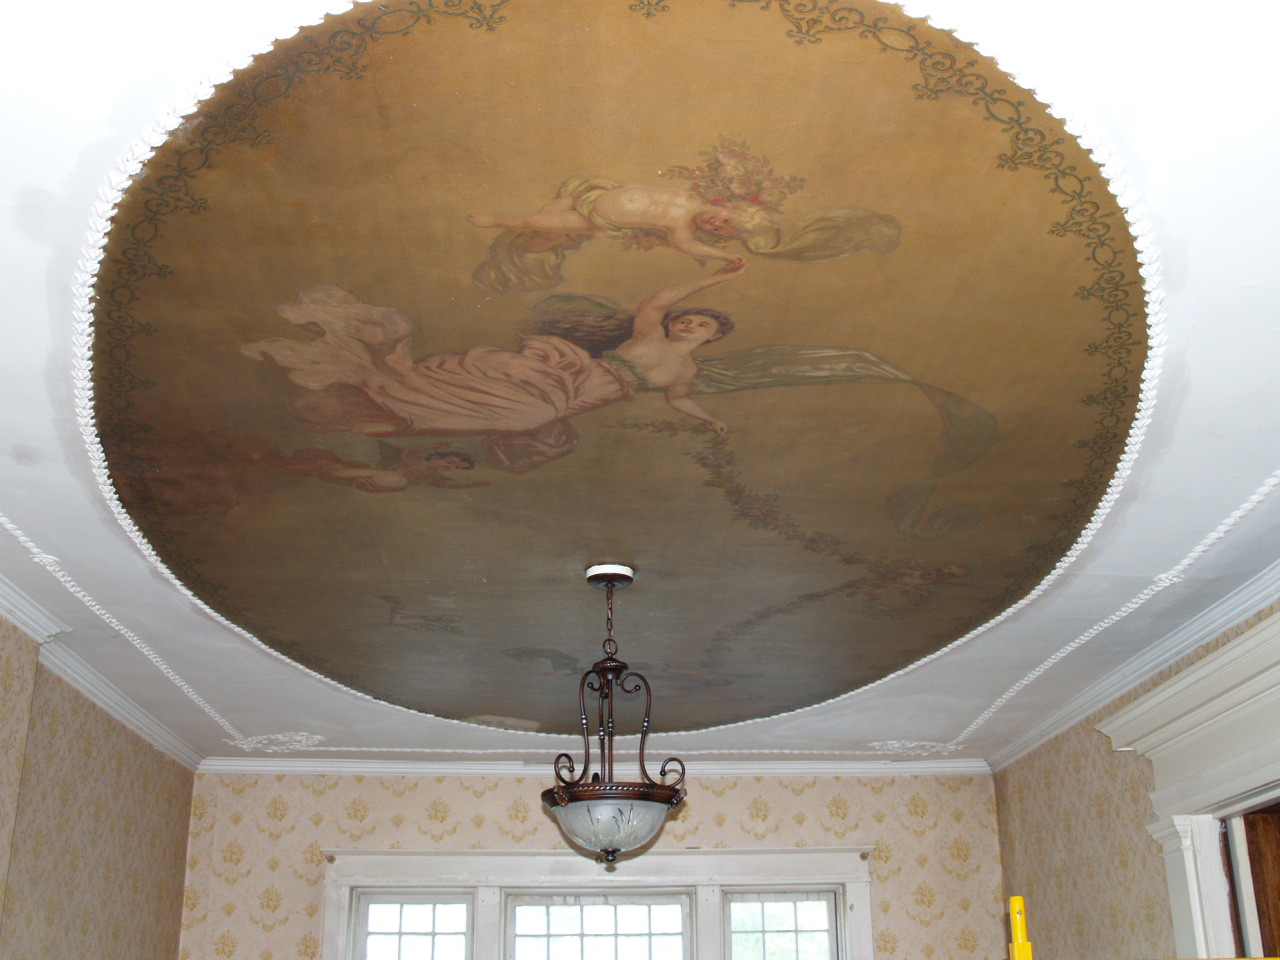
A shot of the ceiling with no chandelier at all, and a couple shots showing the new one.
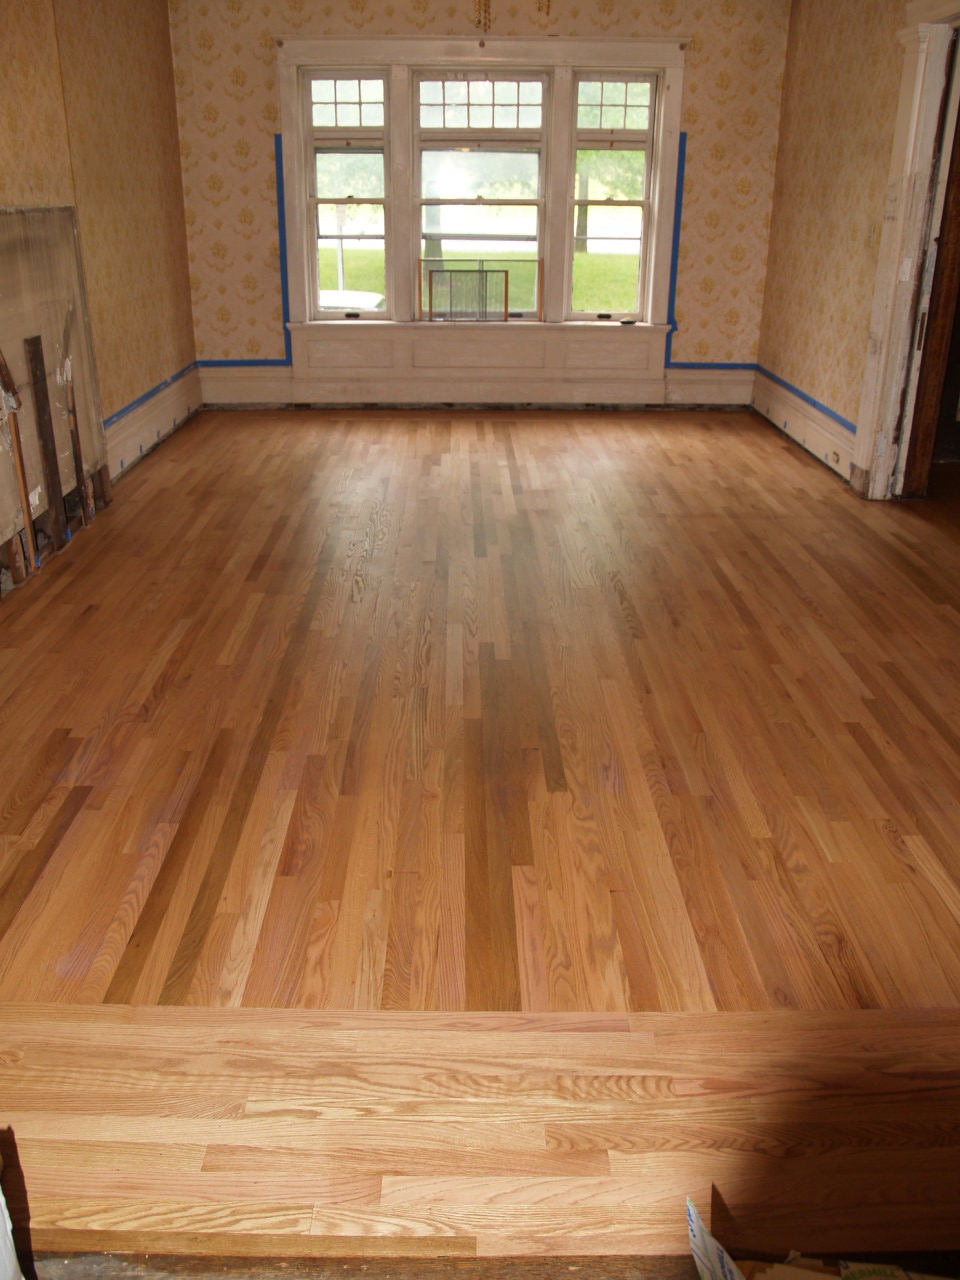
The floor is finished.
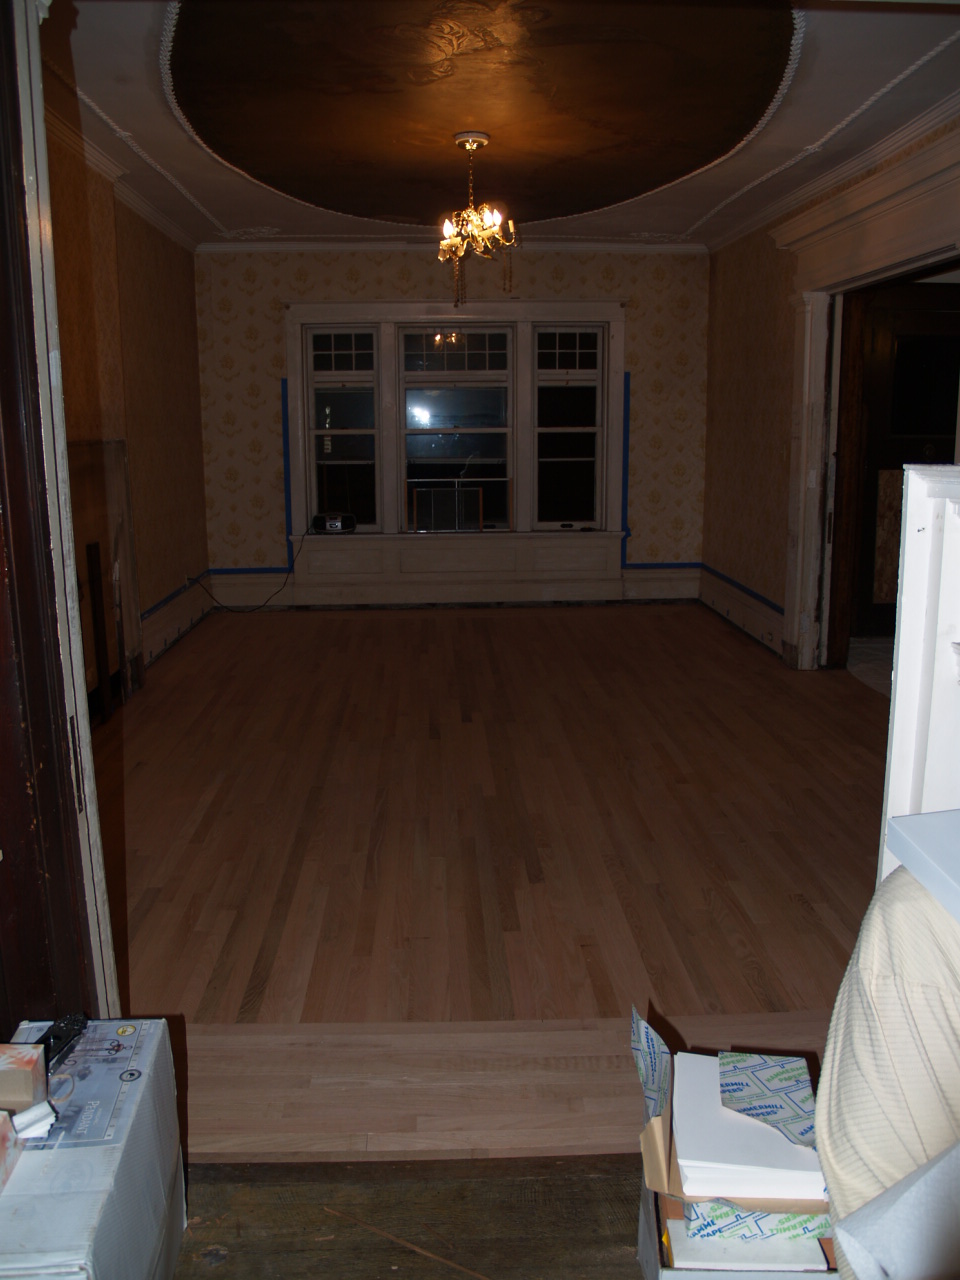
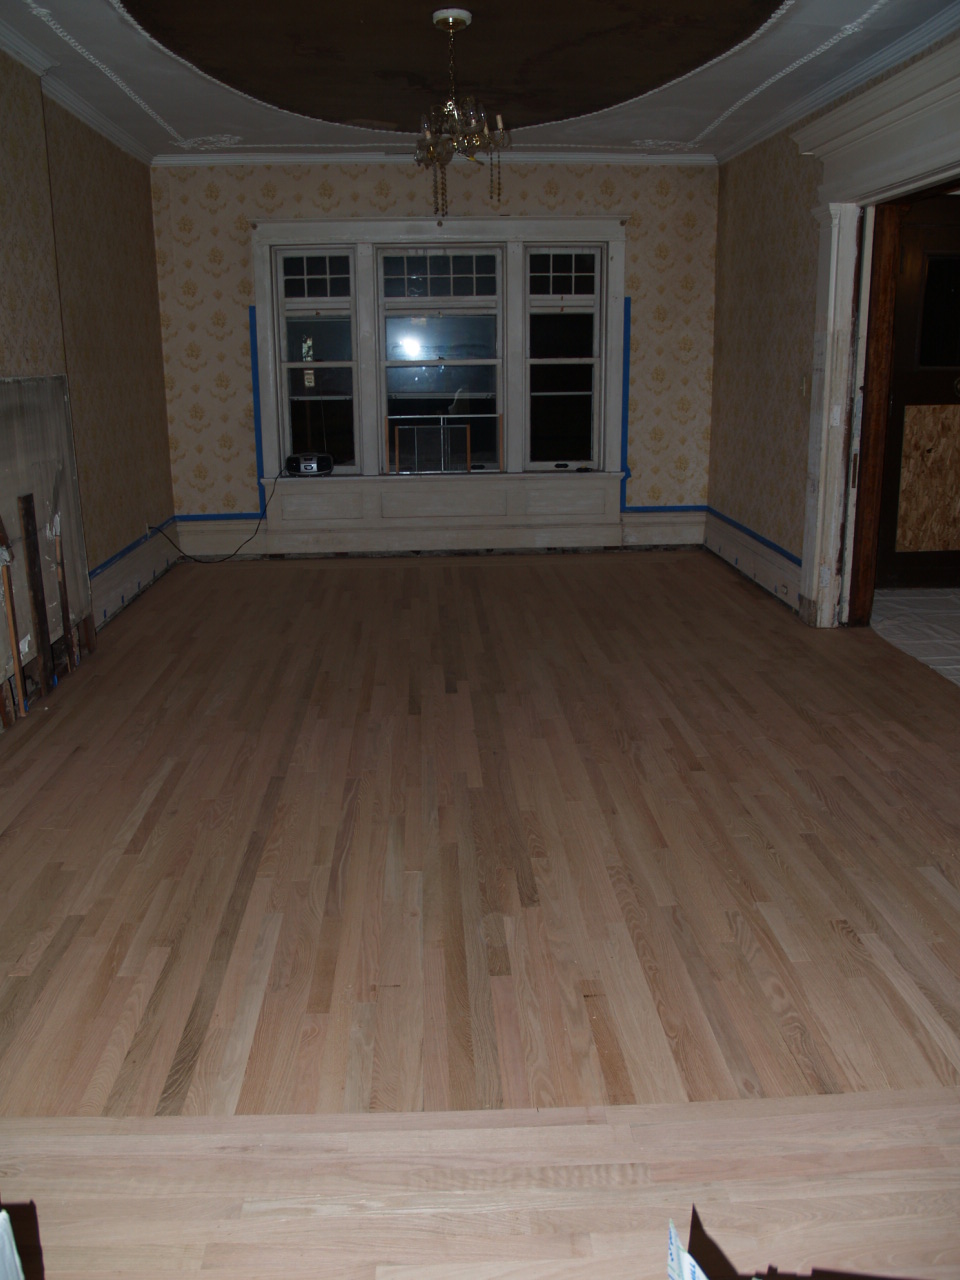
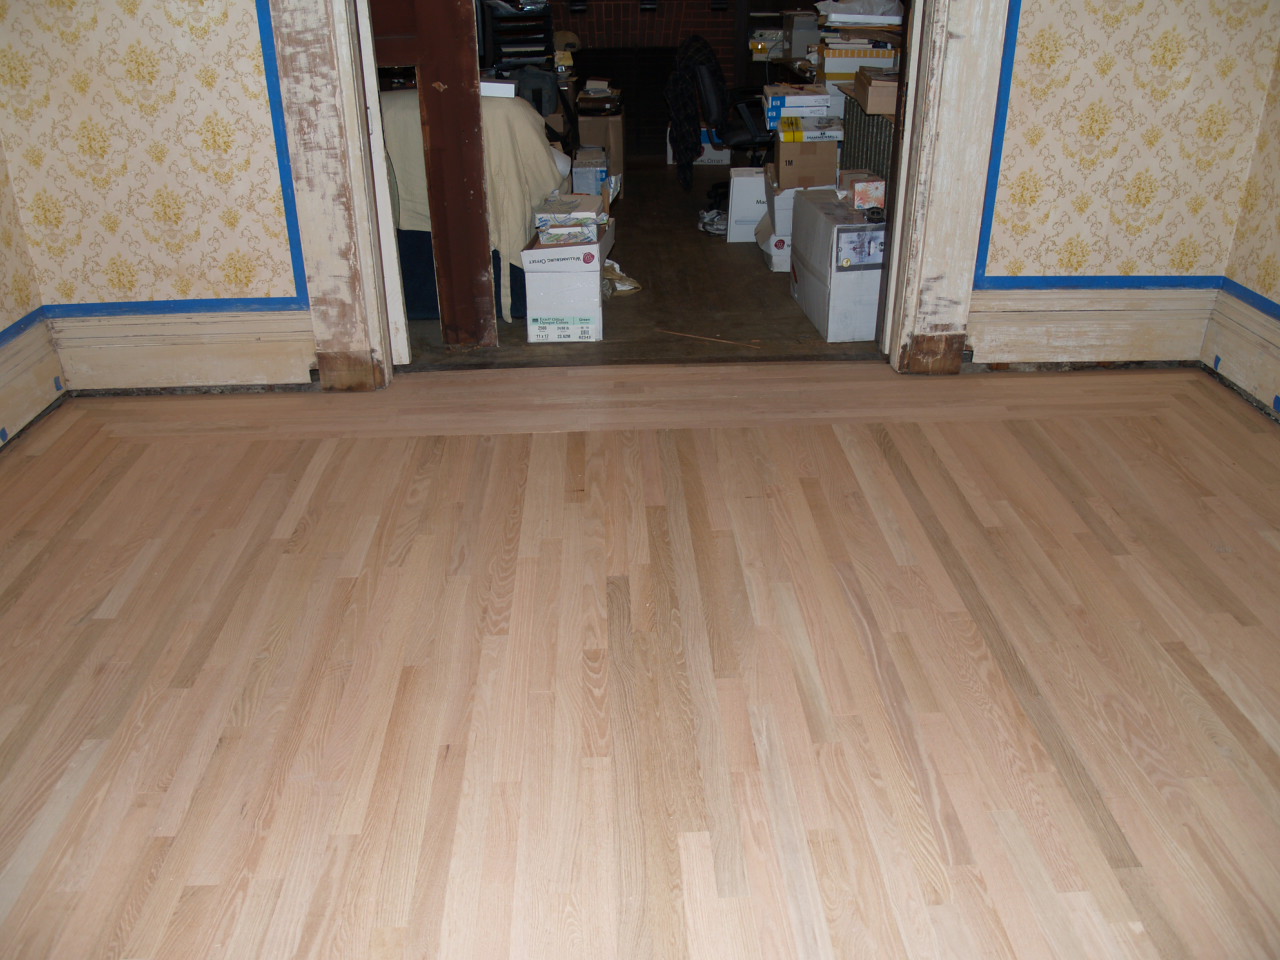
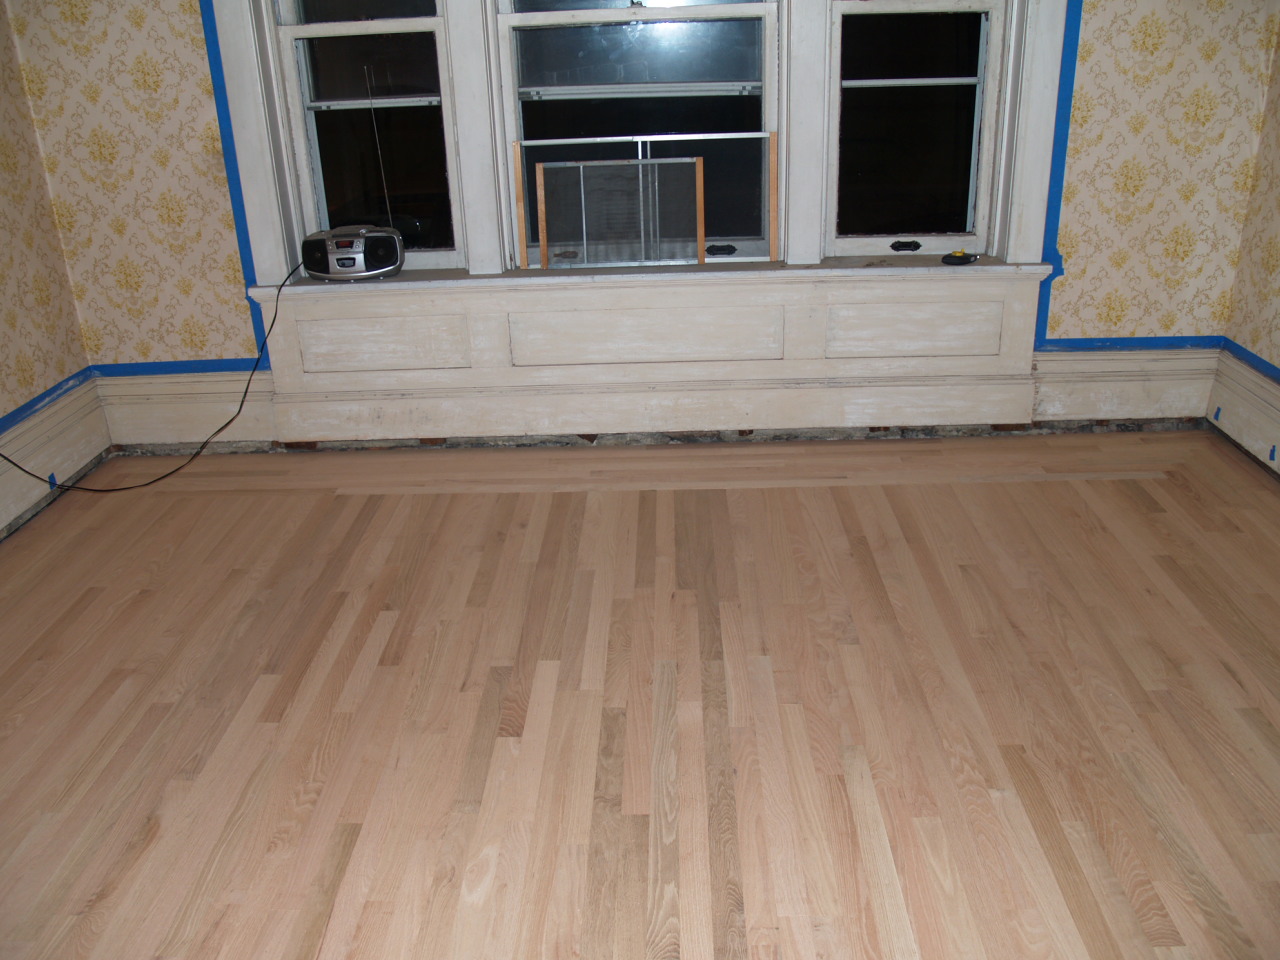
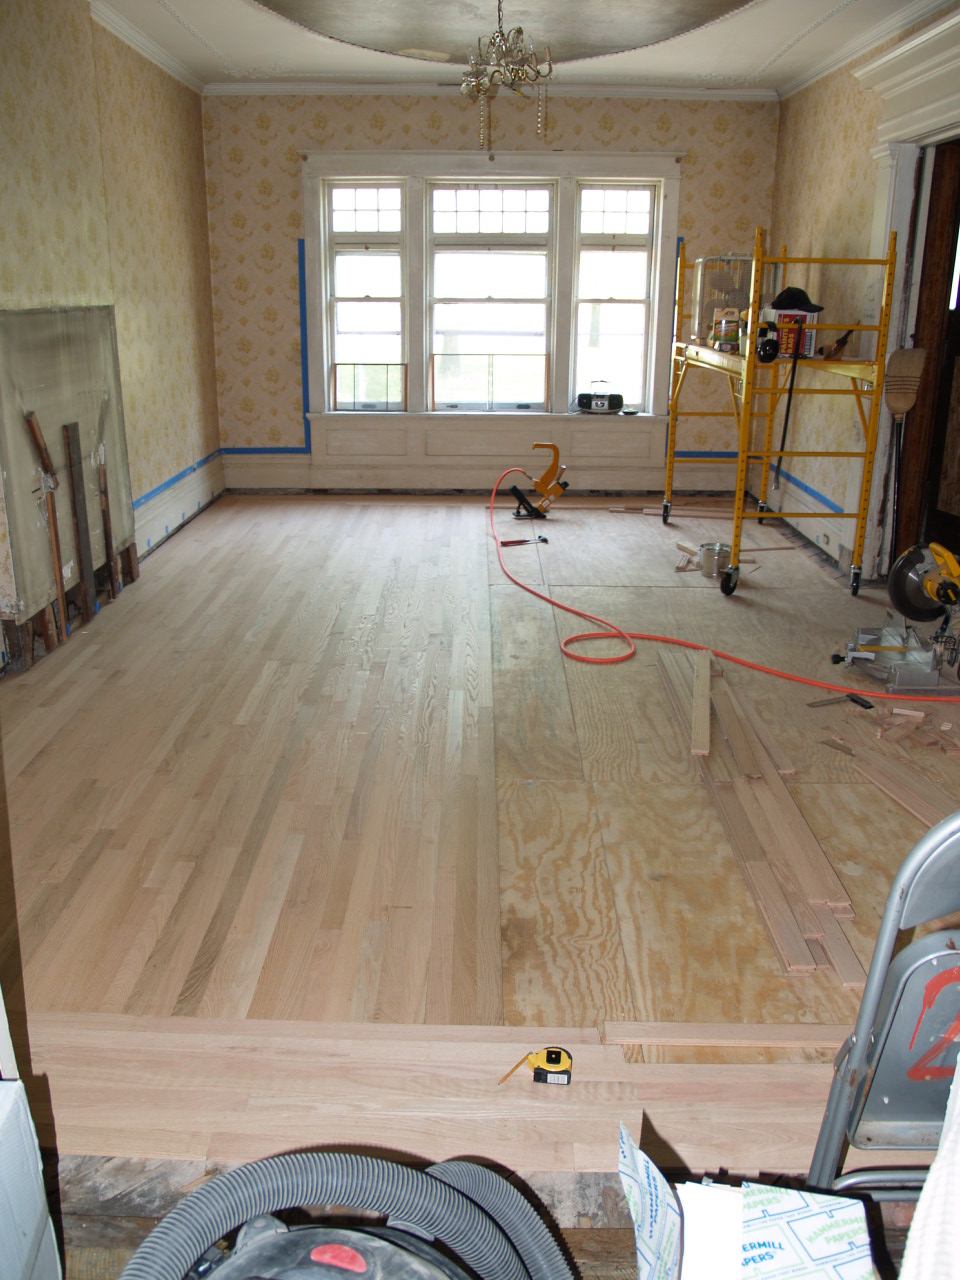
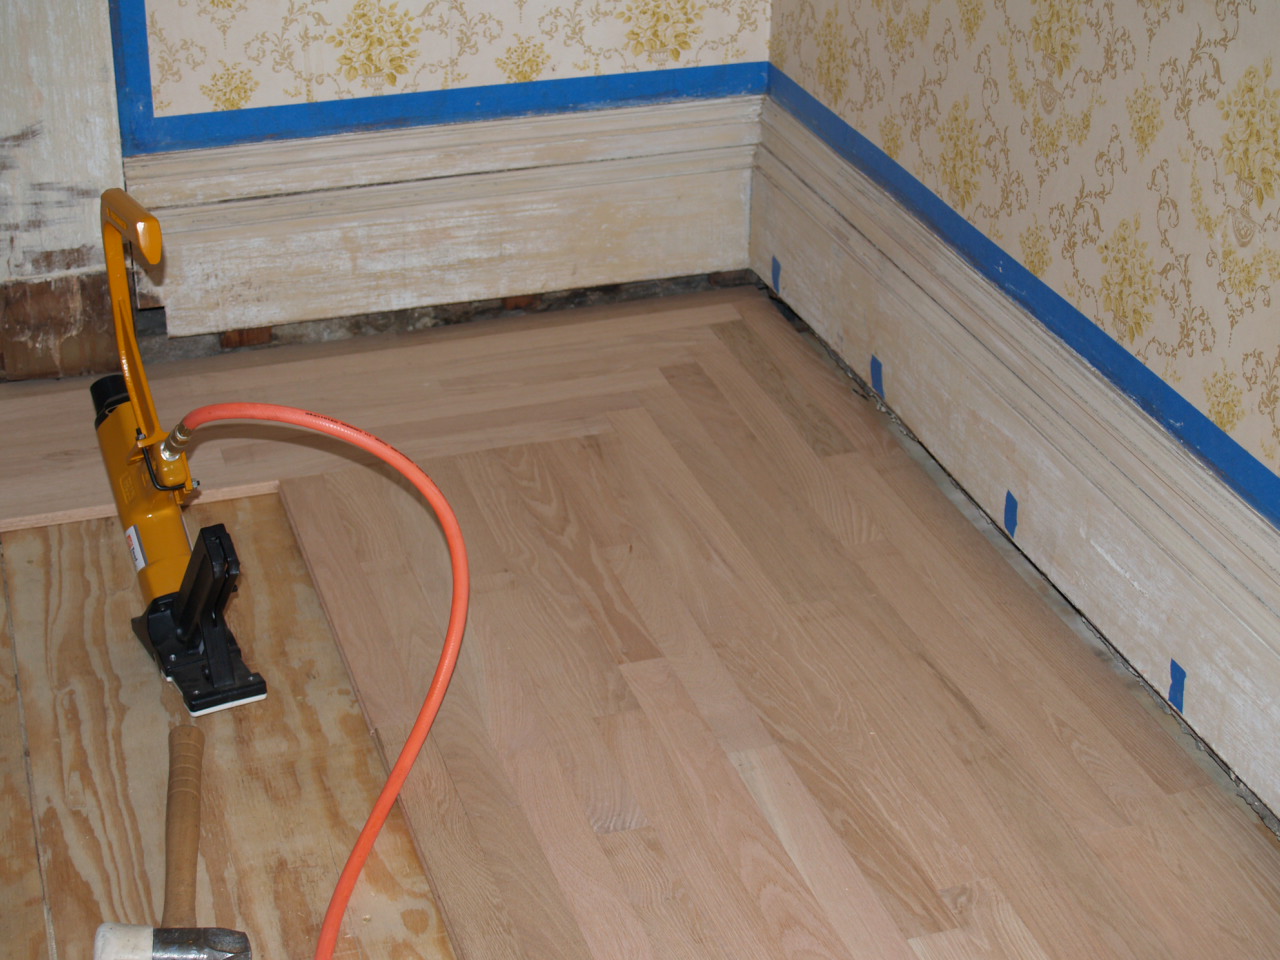
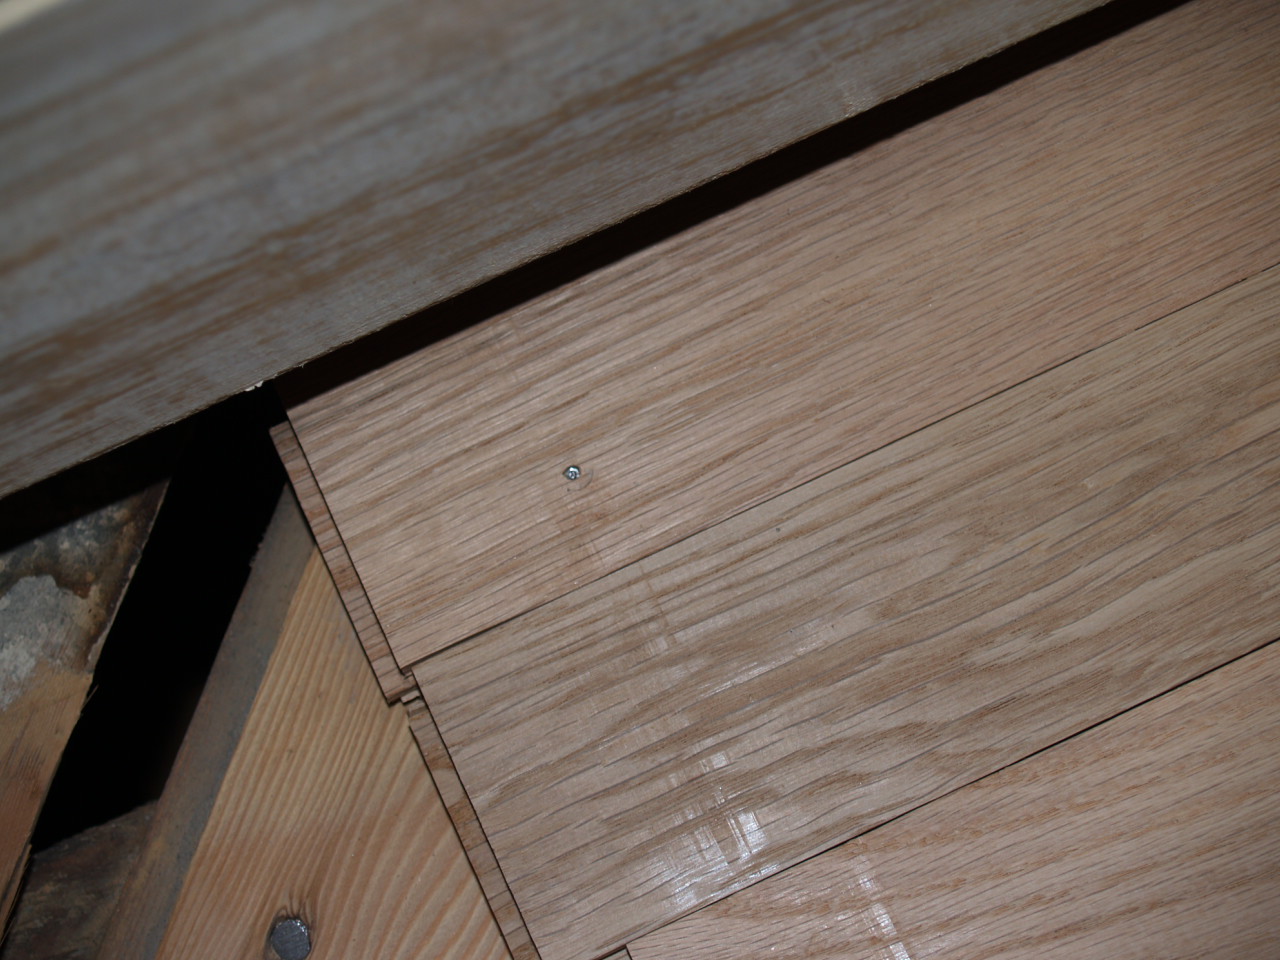
Some shots of the living room floor fully installed but not yet finished.
A shot from lunch break today - 50%

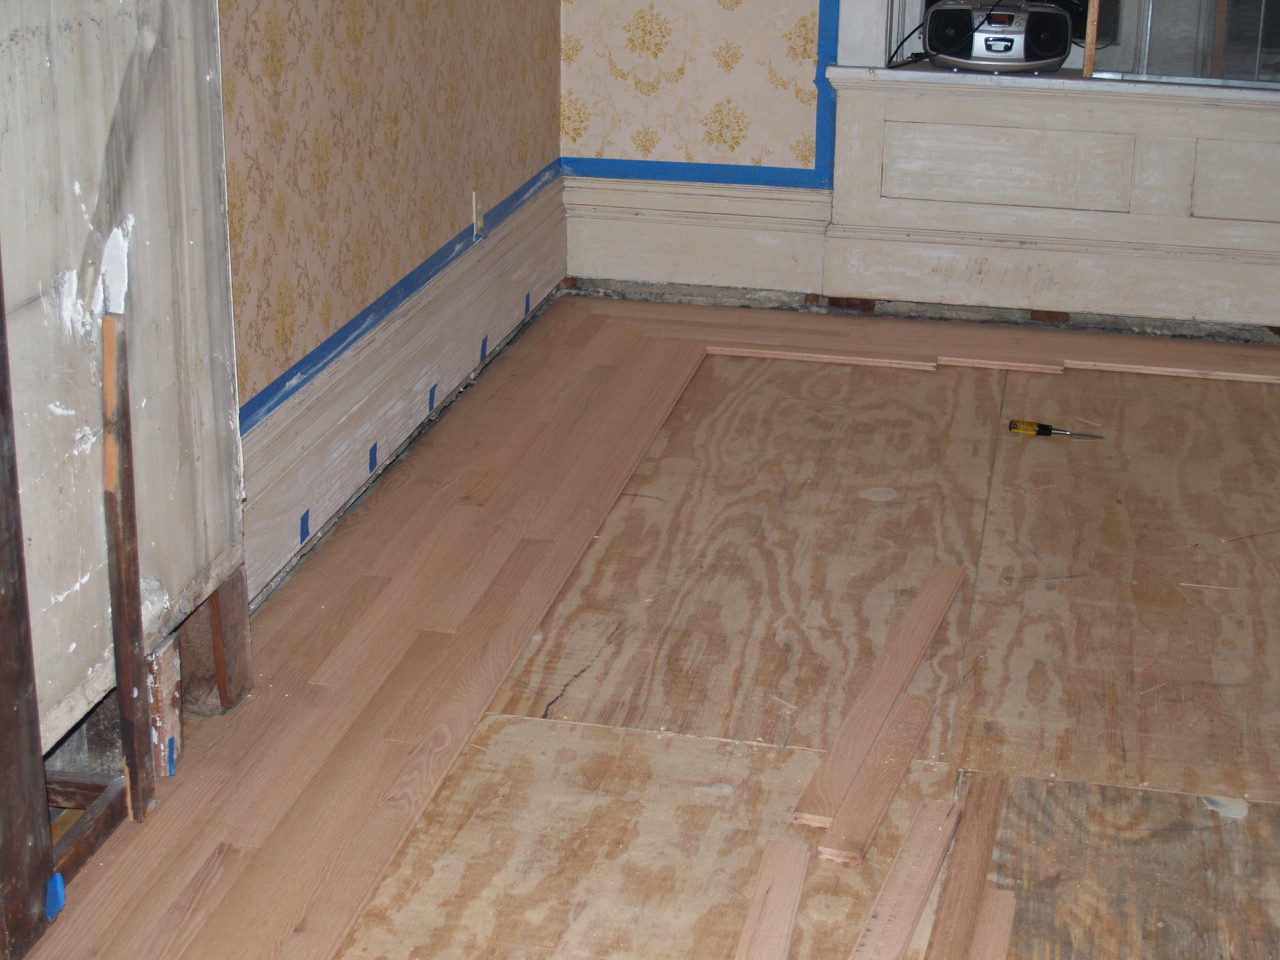
Another sequence starting with one course of wood around the corner of the room and progressing to all 7 courses of the "frame" and several courses across the center of the room.
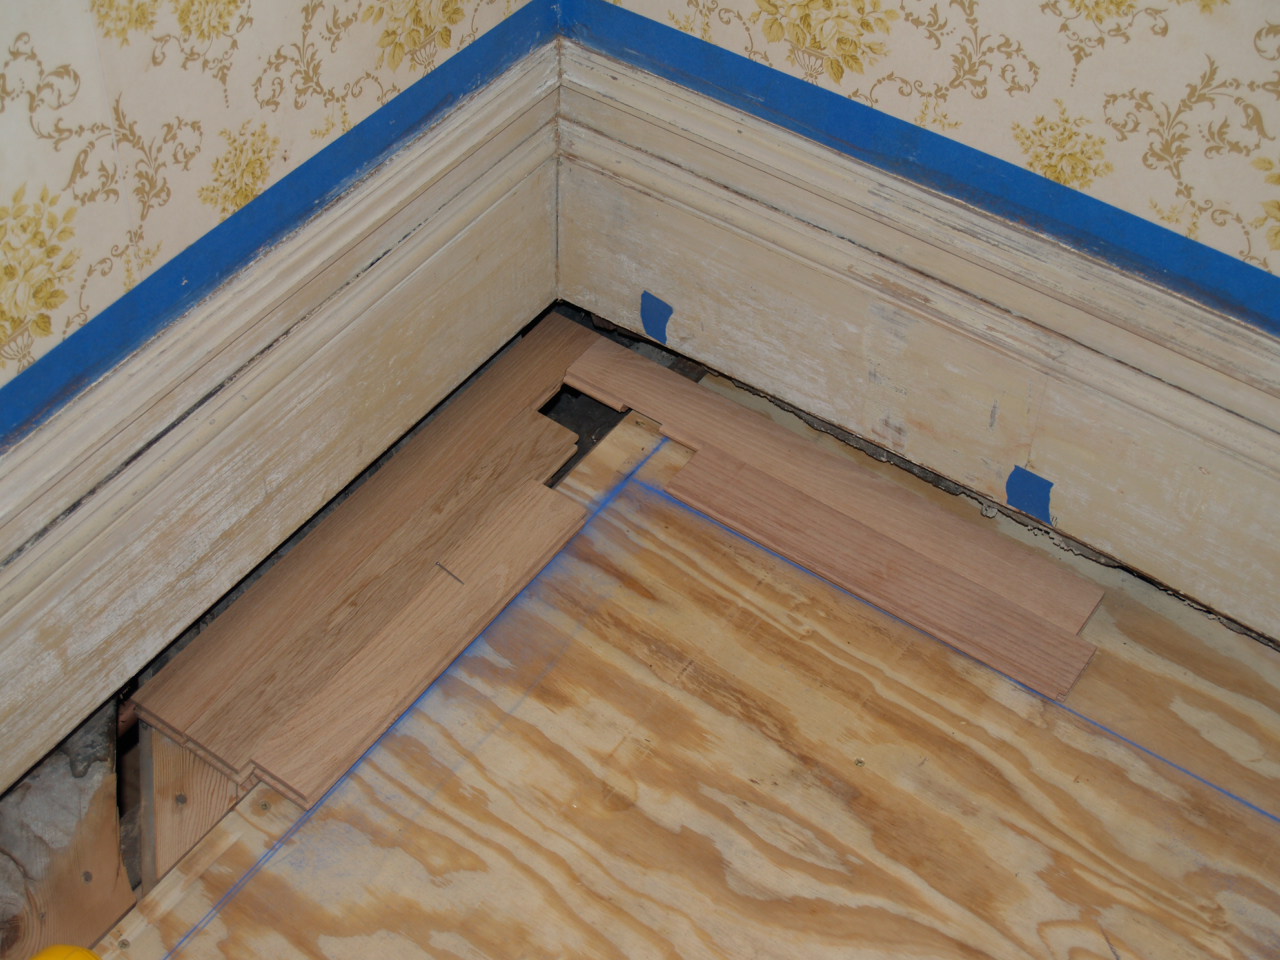
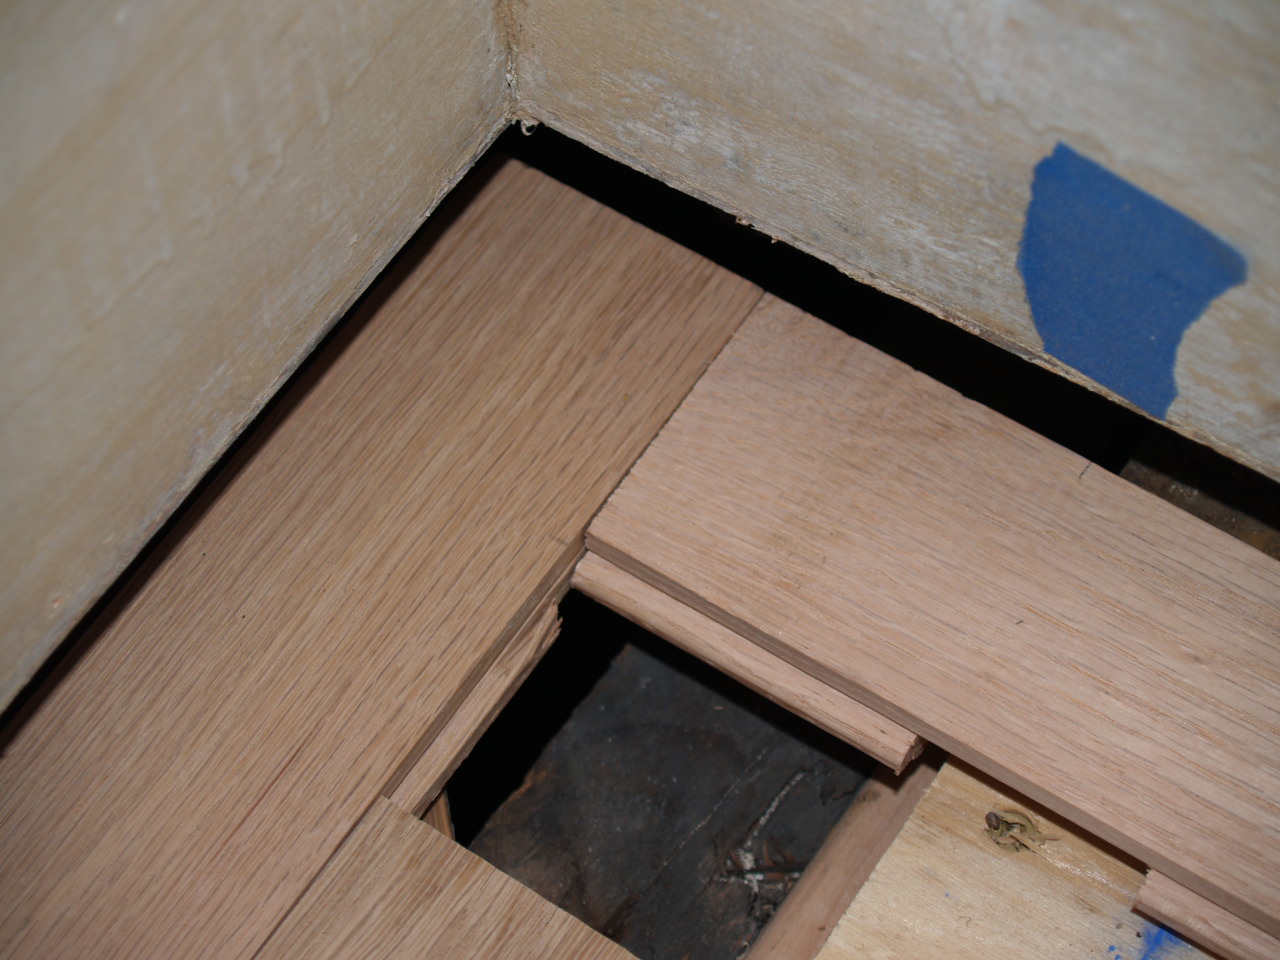
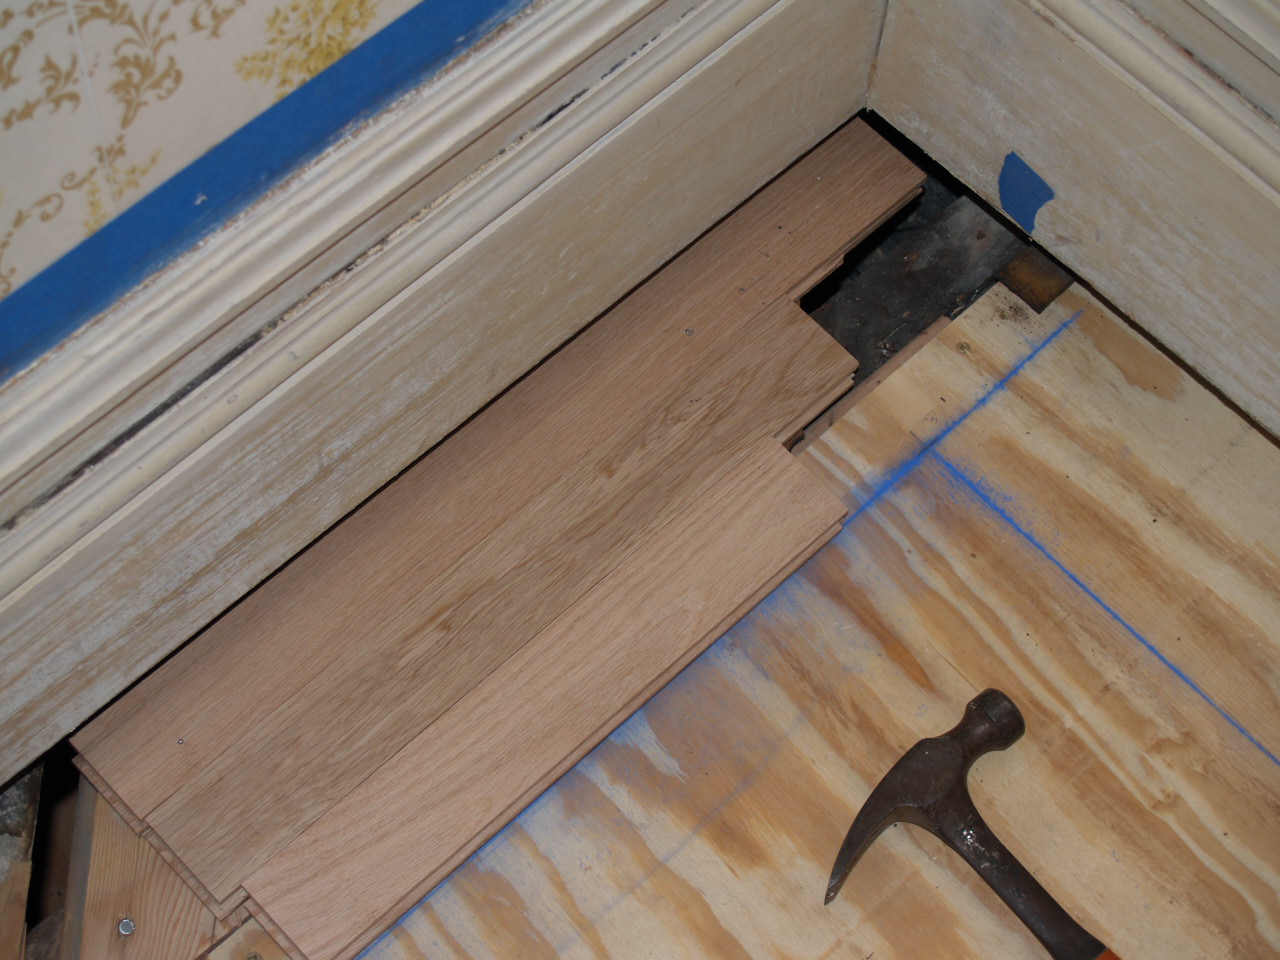
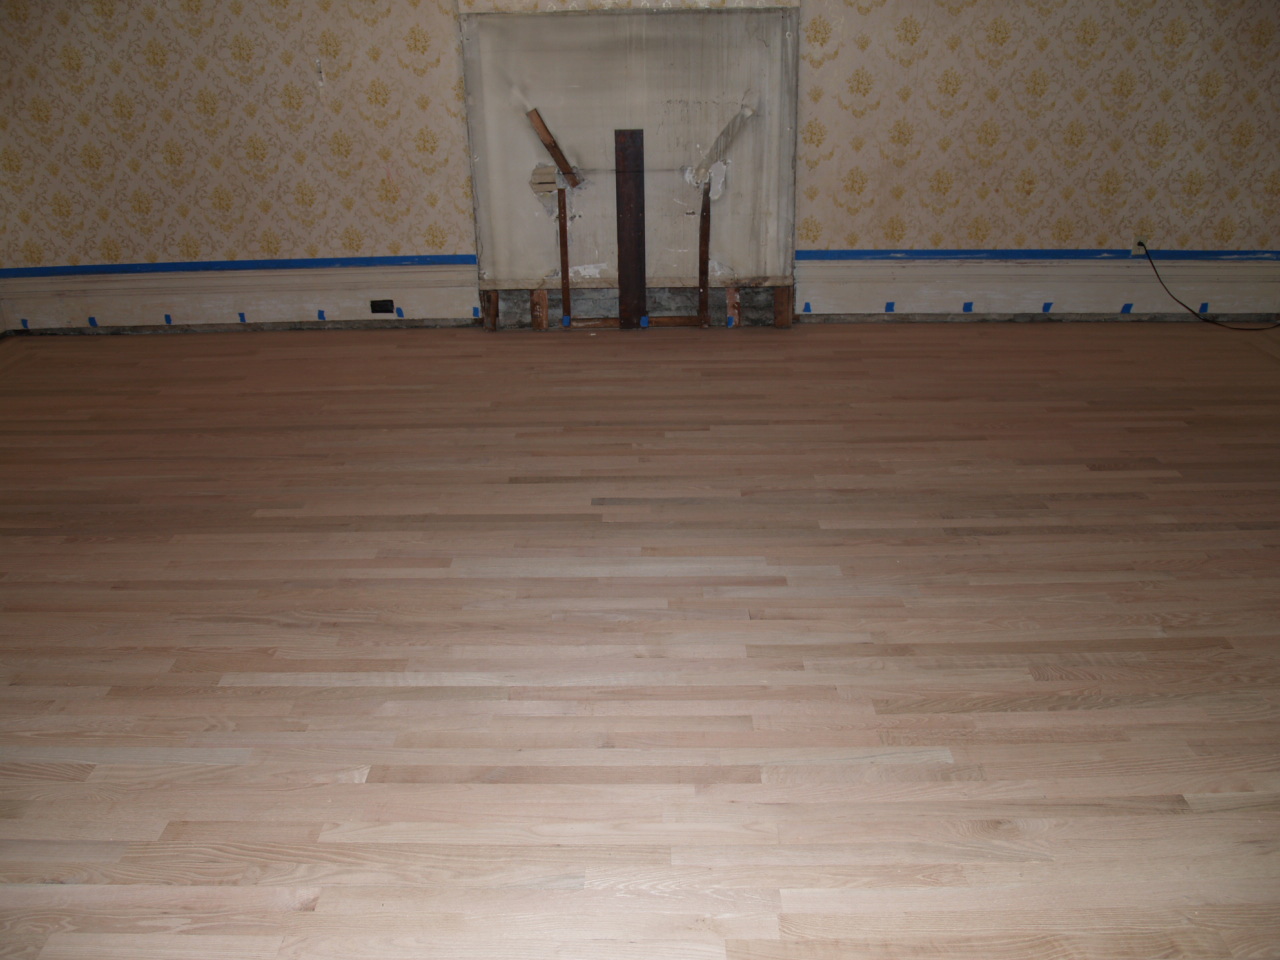
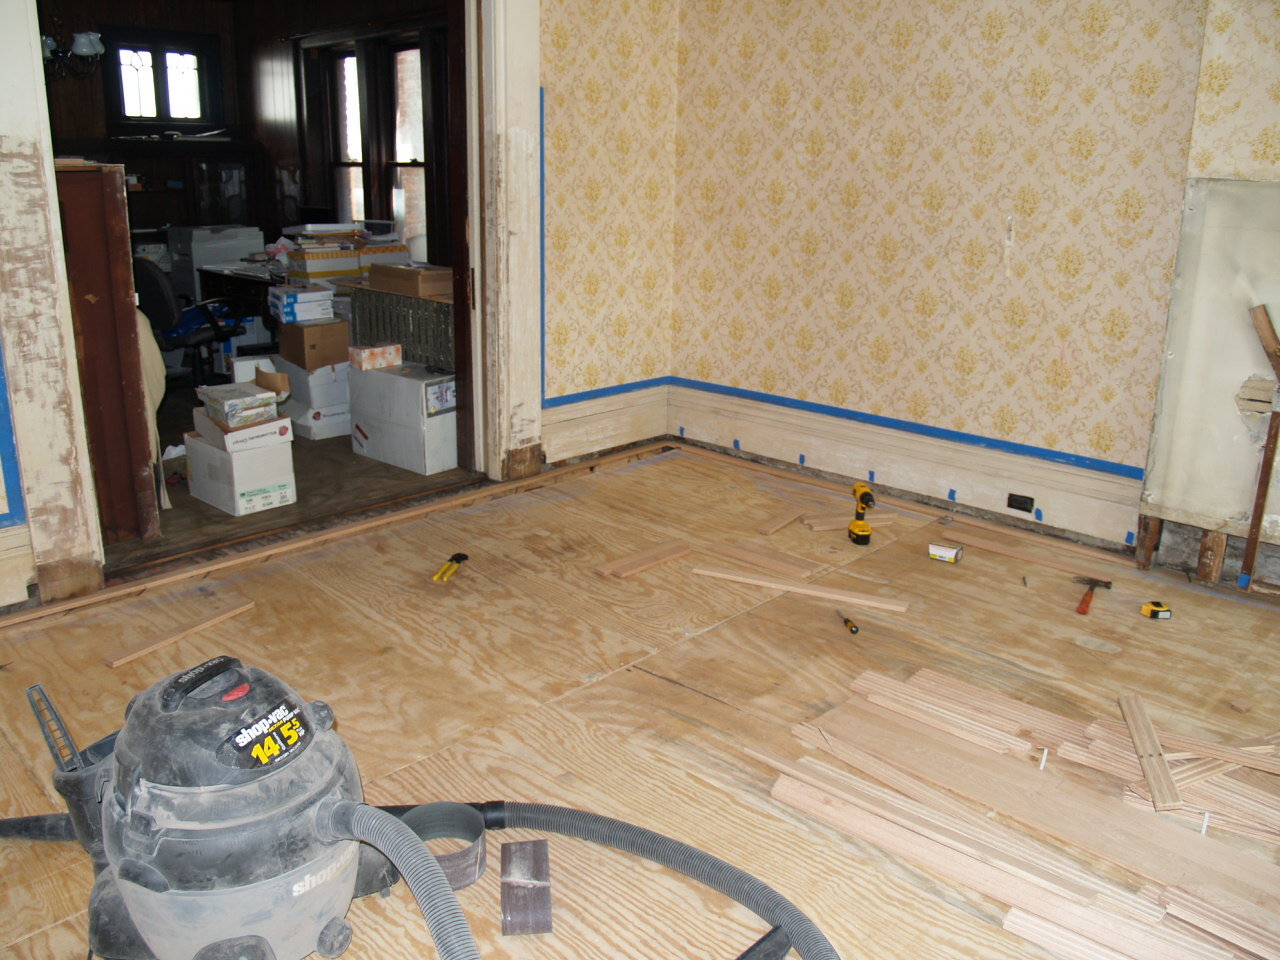
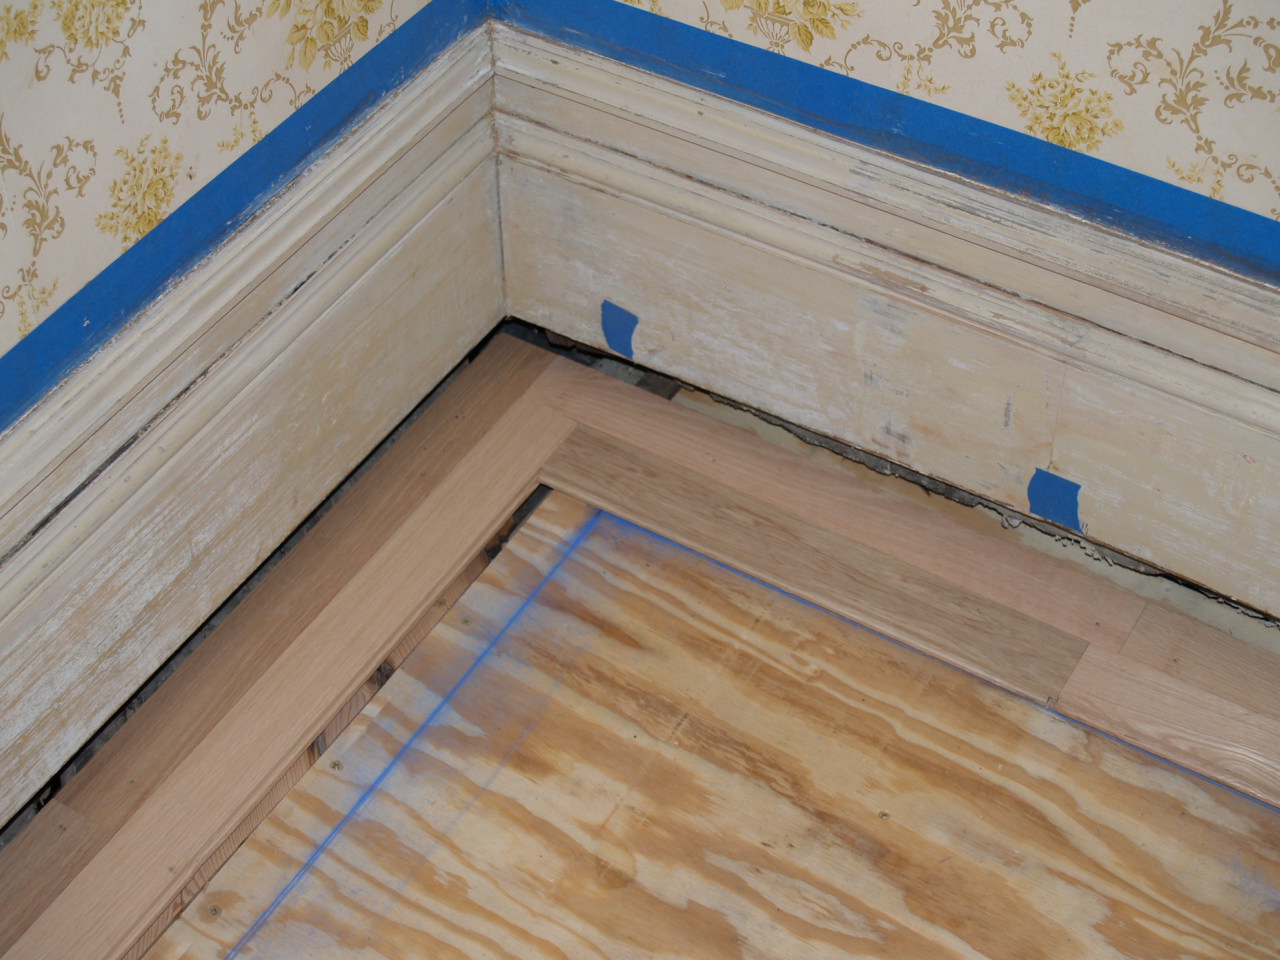
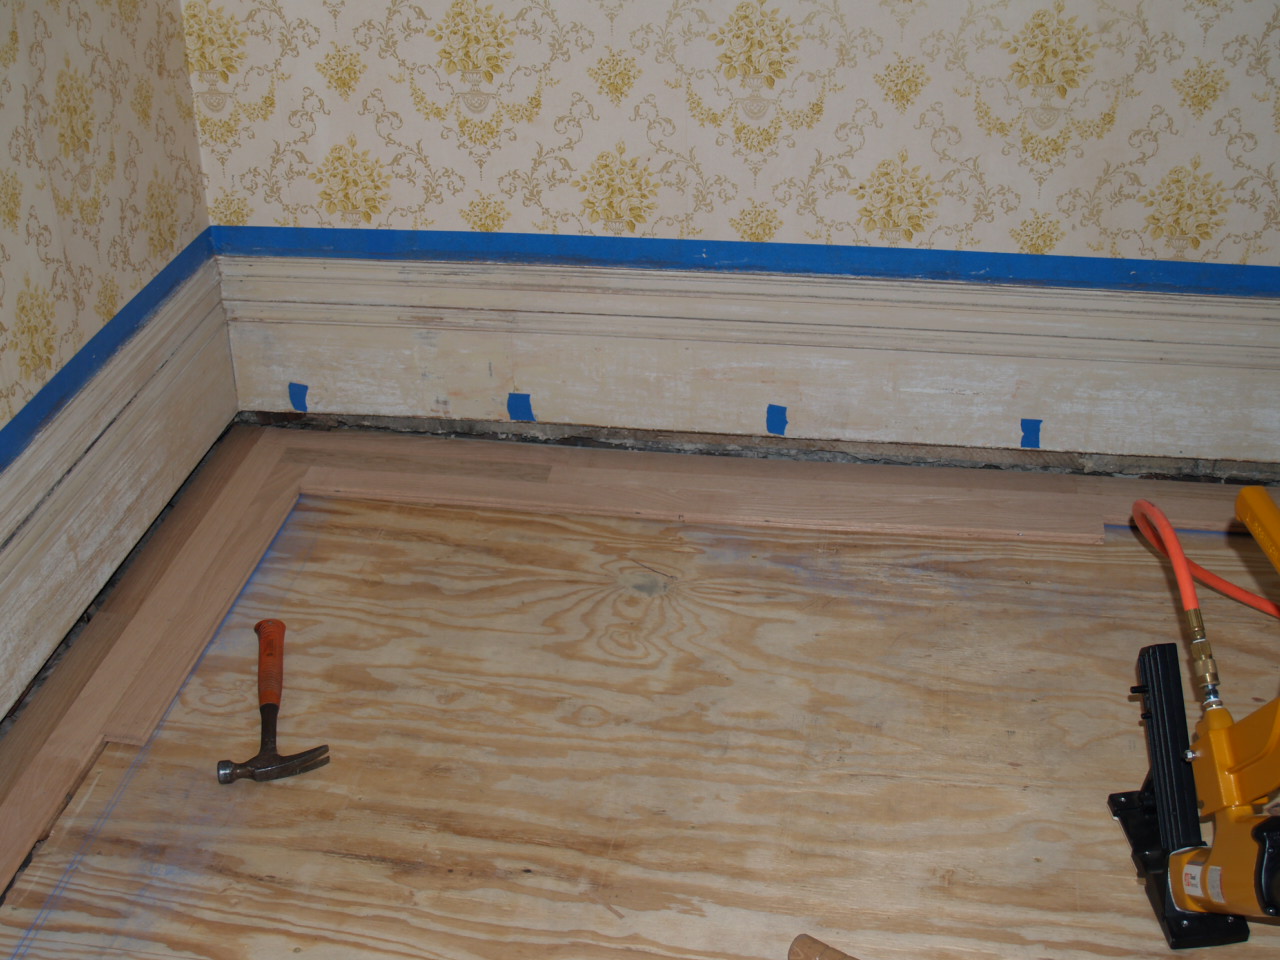
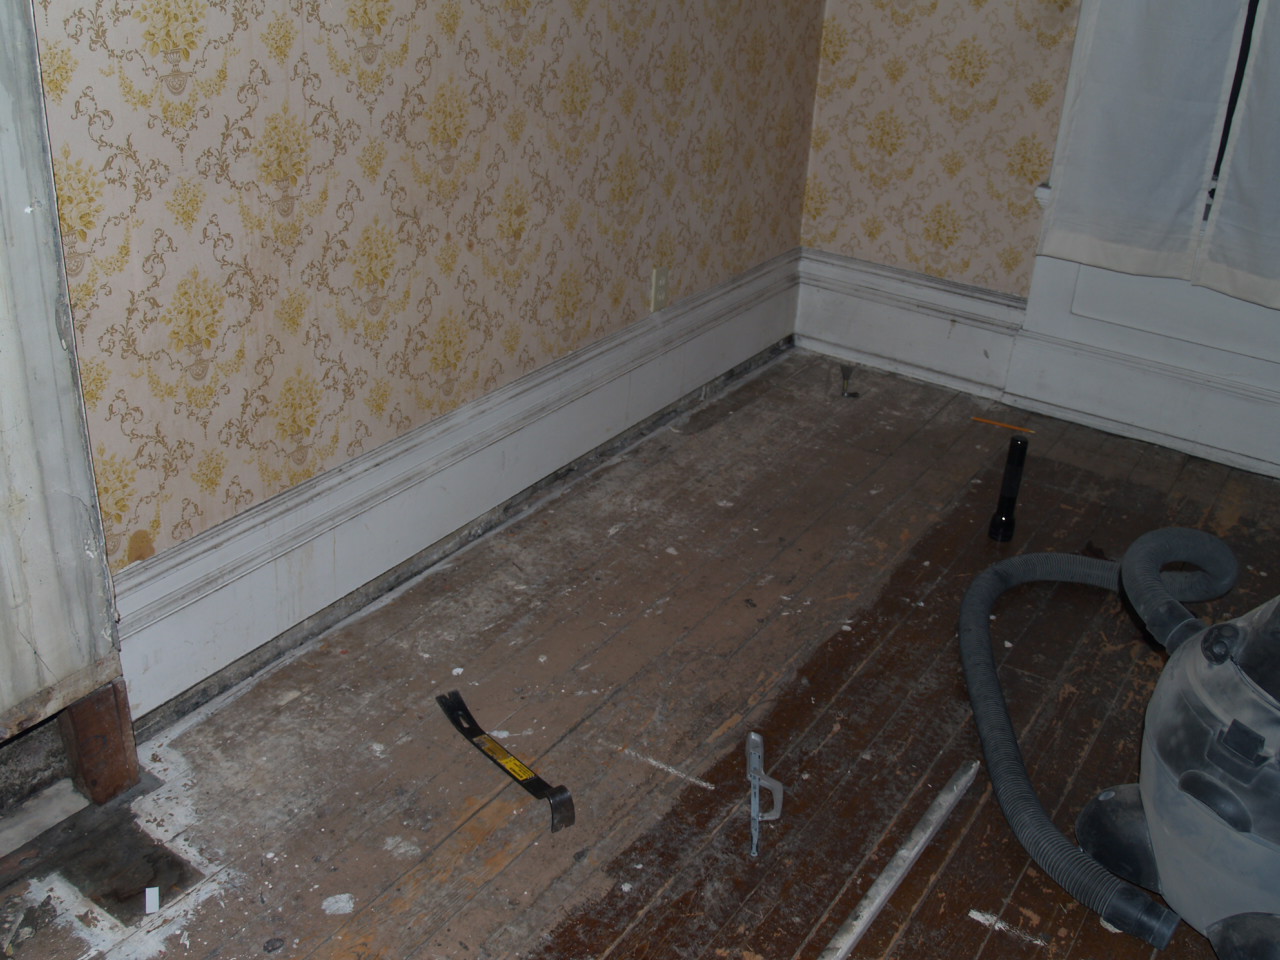
A few shots of installing the first two boards. The chalk lines are two boards from the wall on one side and three on the other due to obstacles of various sorts, thus the stack of boards. The edges of the room are nailed in with finishing nails driven straight in and will be covered with wood putty later.
One shot showing just how off the room is. It's kinda hard to see, but the blue chalk line is parallel to the chalk line at the other end of the room and is perpendicular to the side wall of the house... and is clearly NOT parallel to the wall it is right next to.
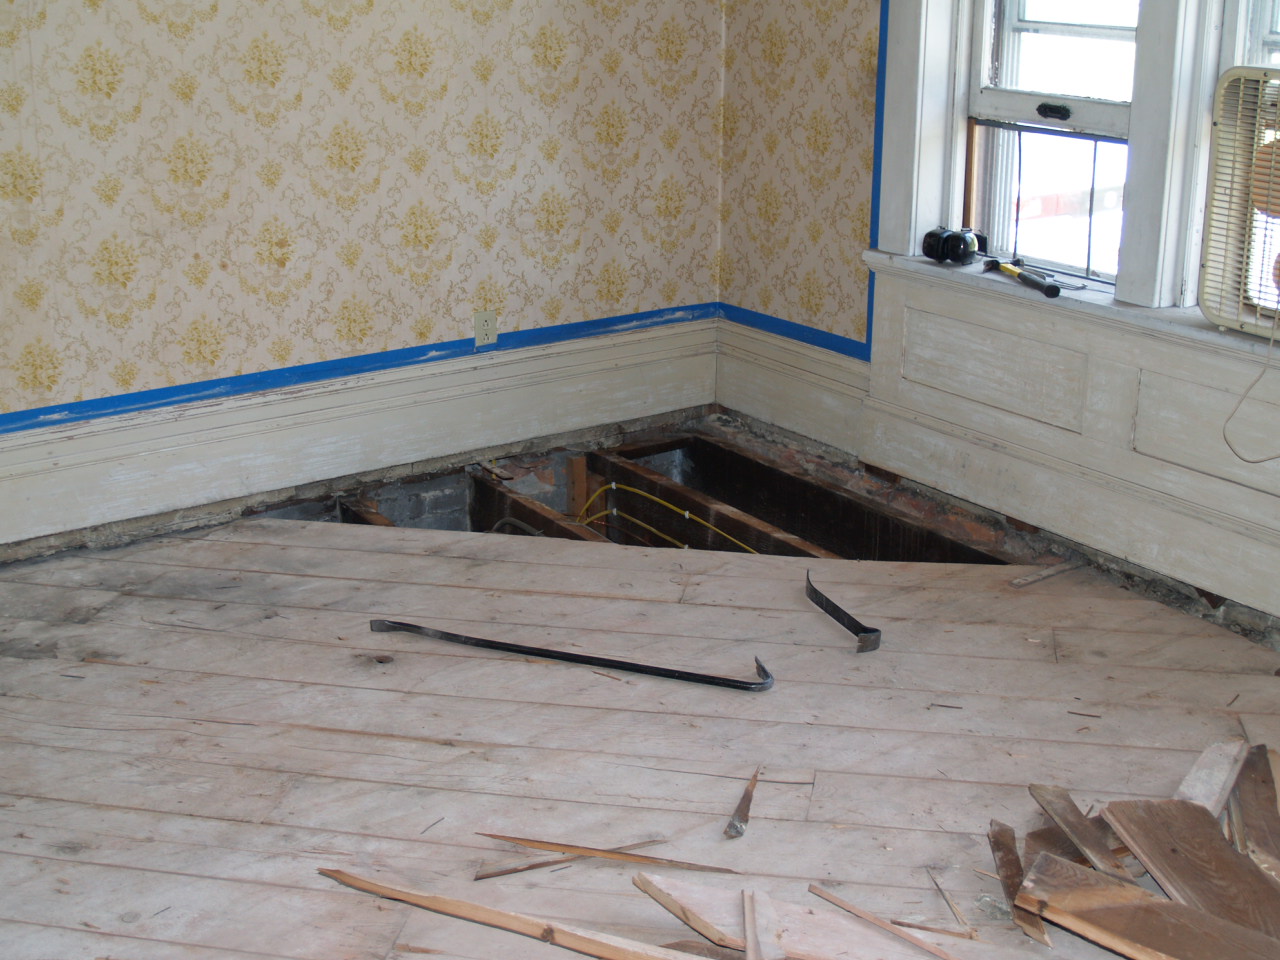
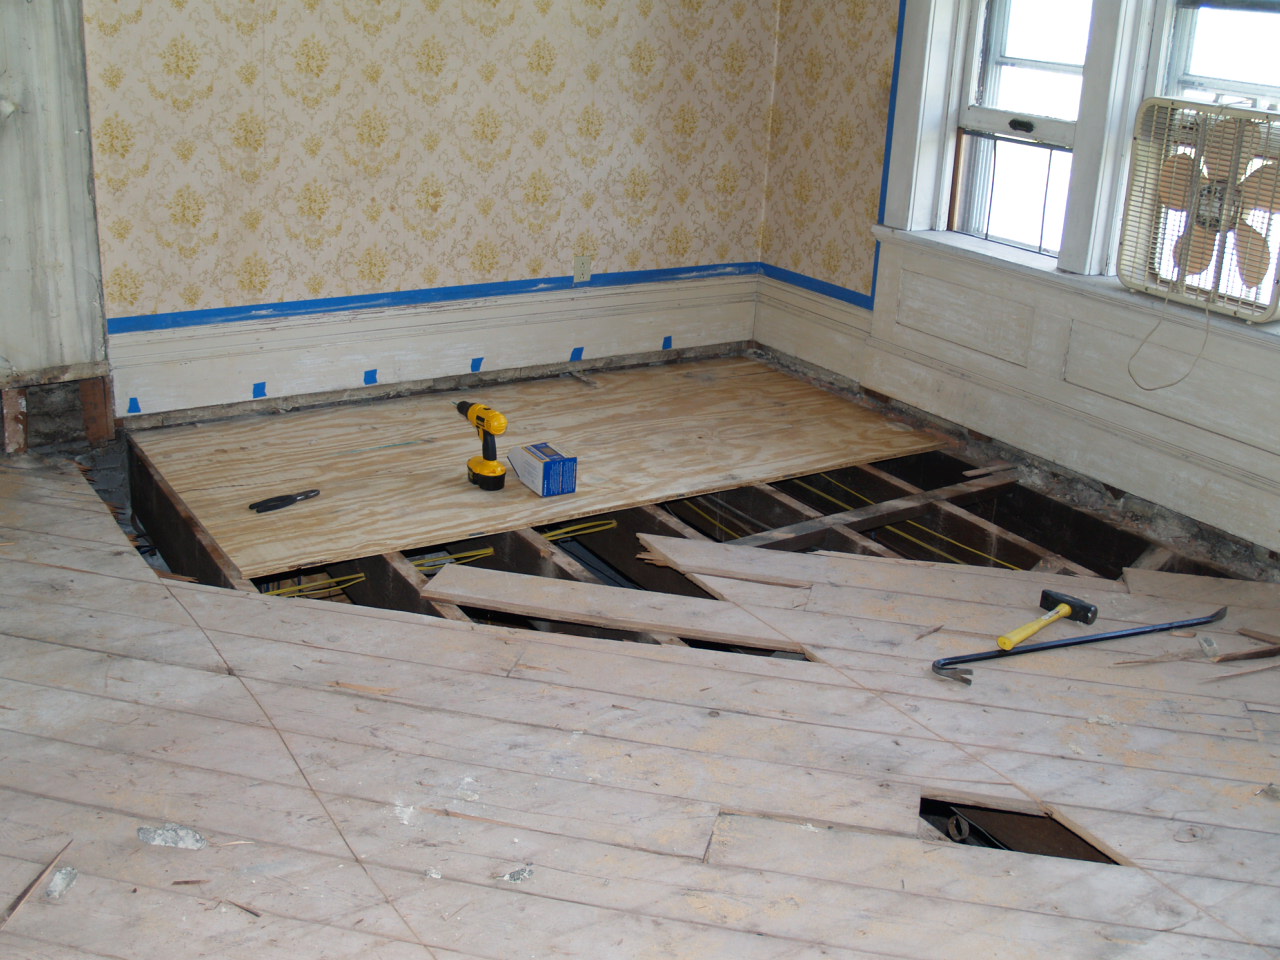
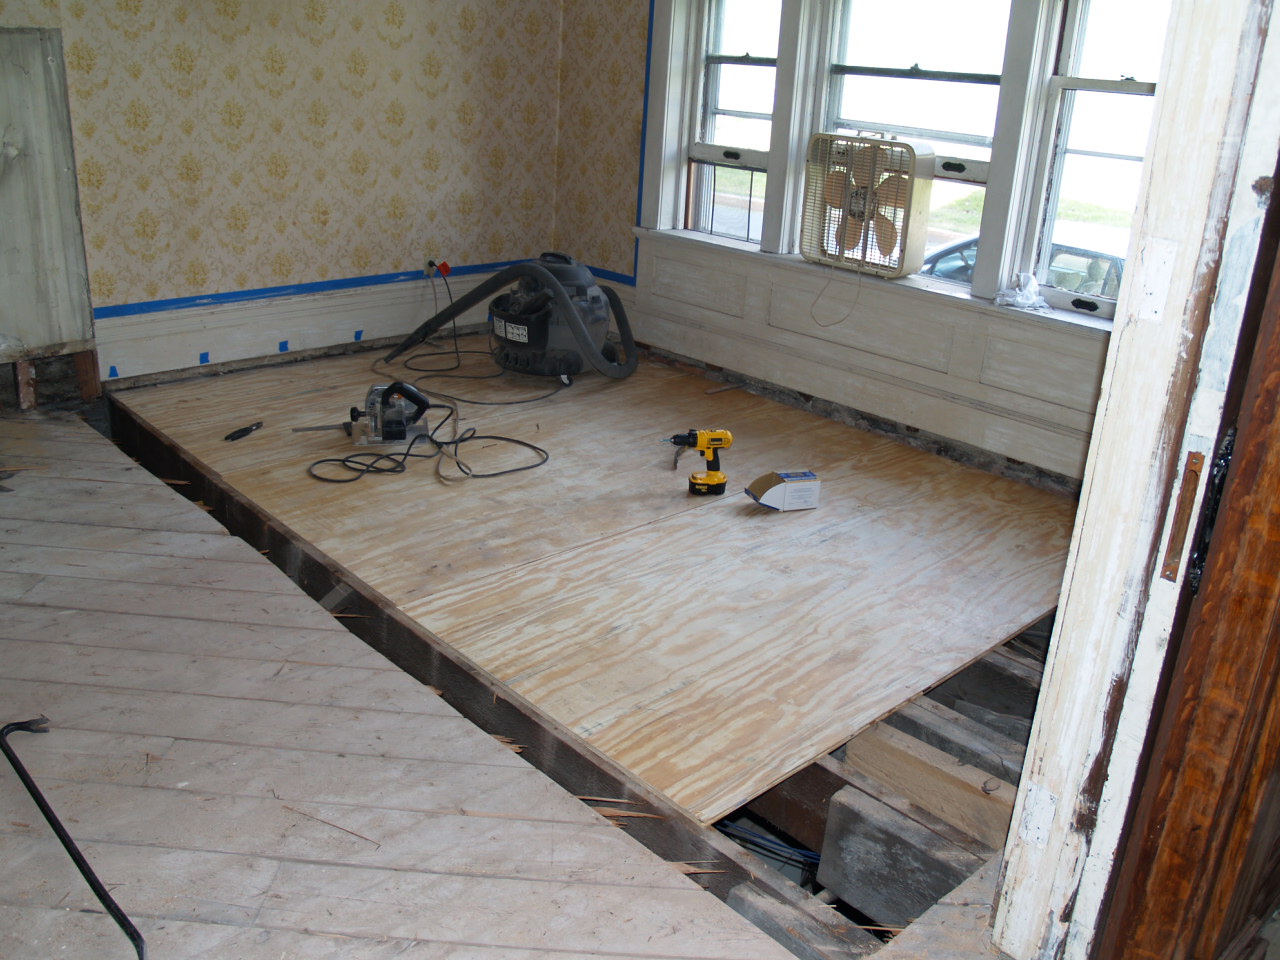
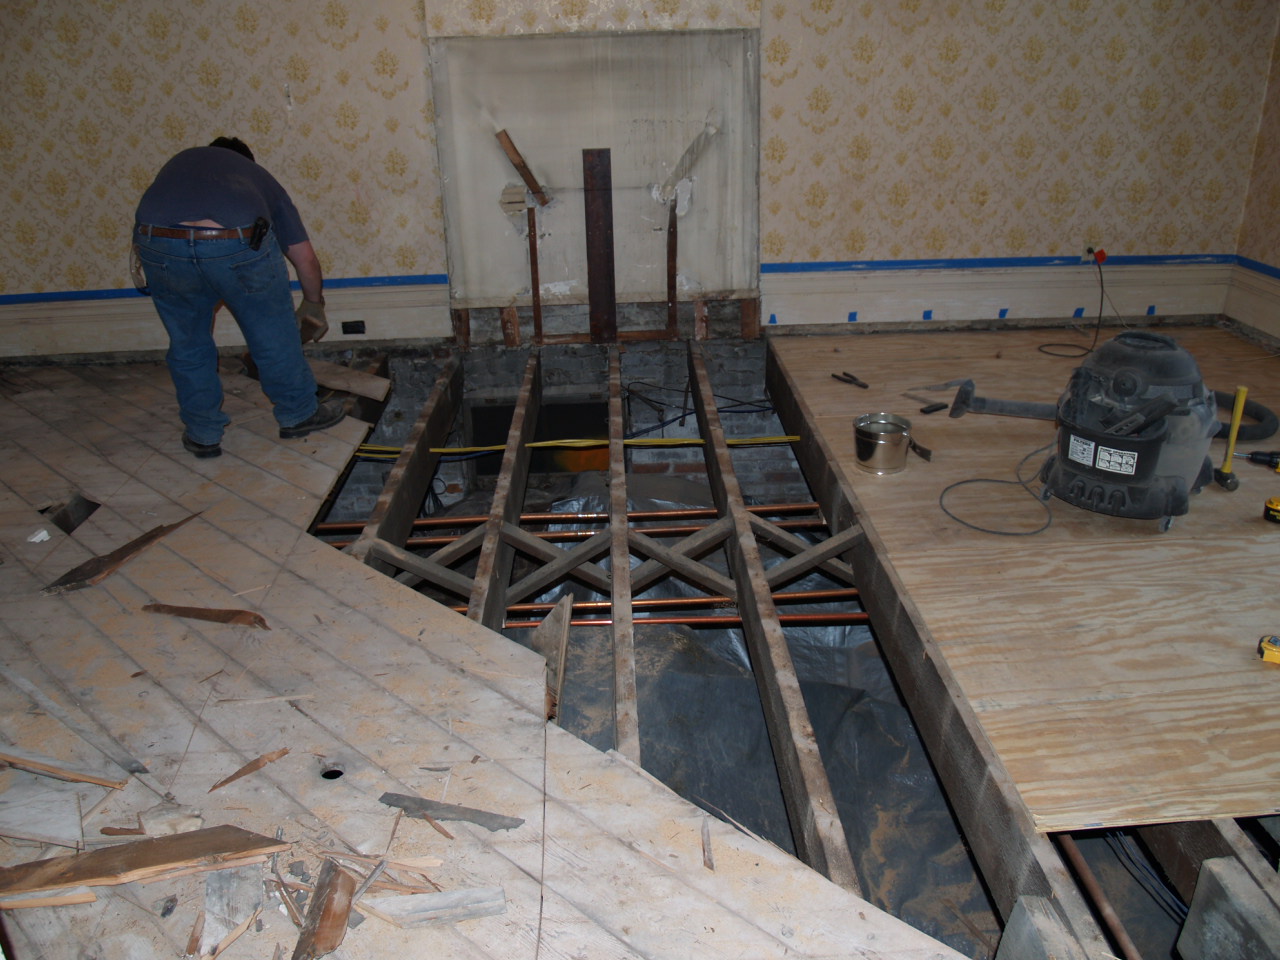
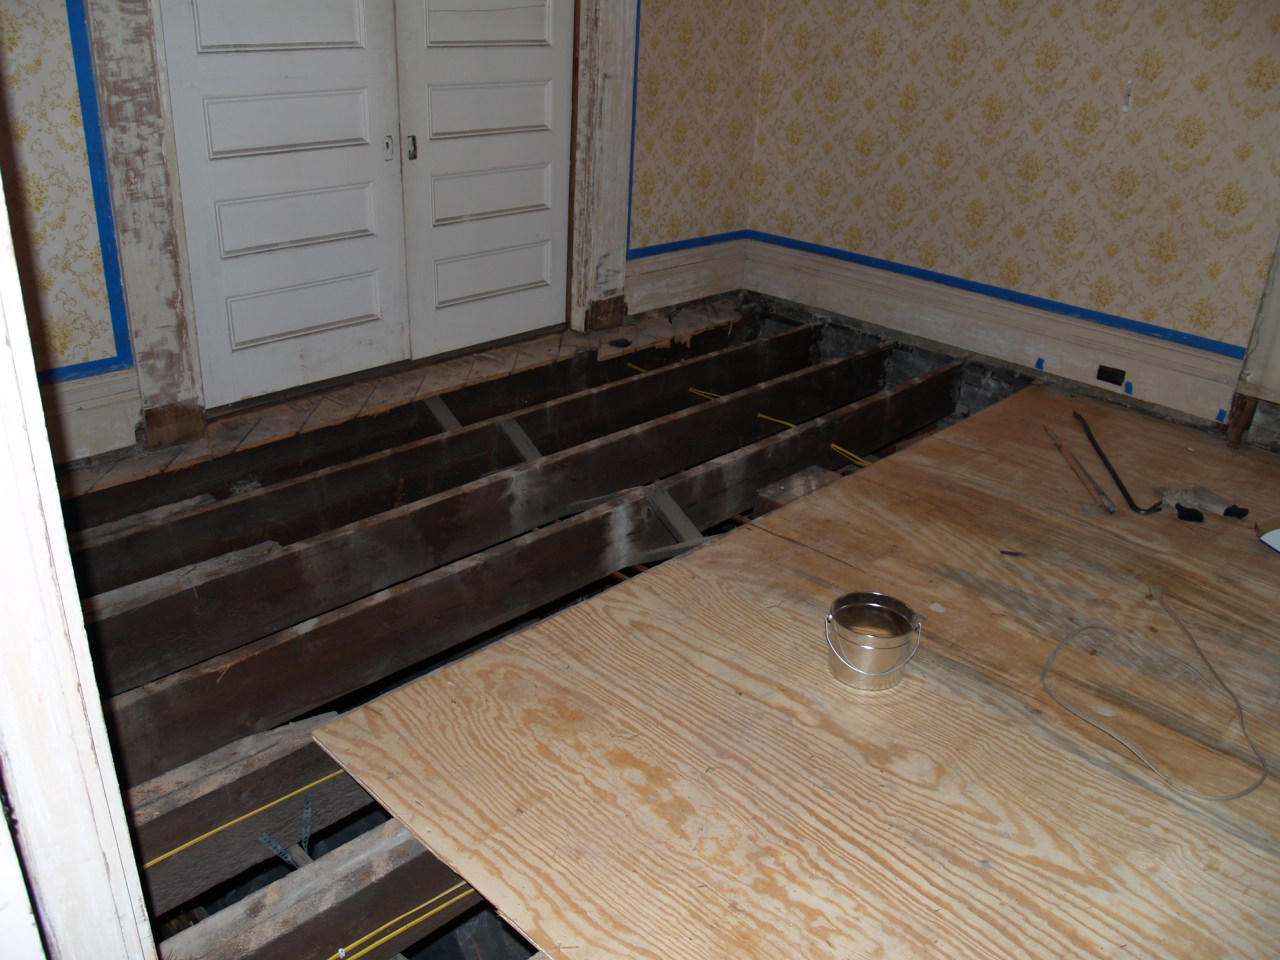
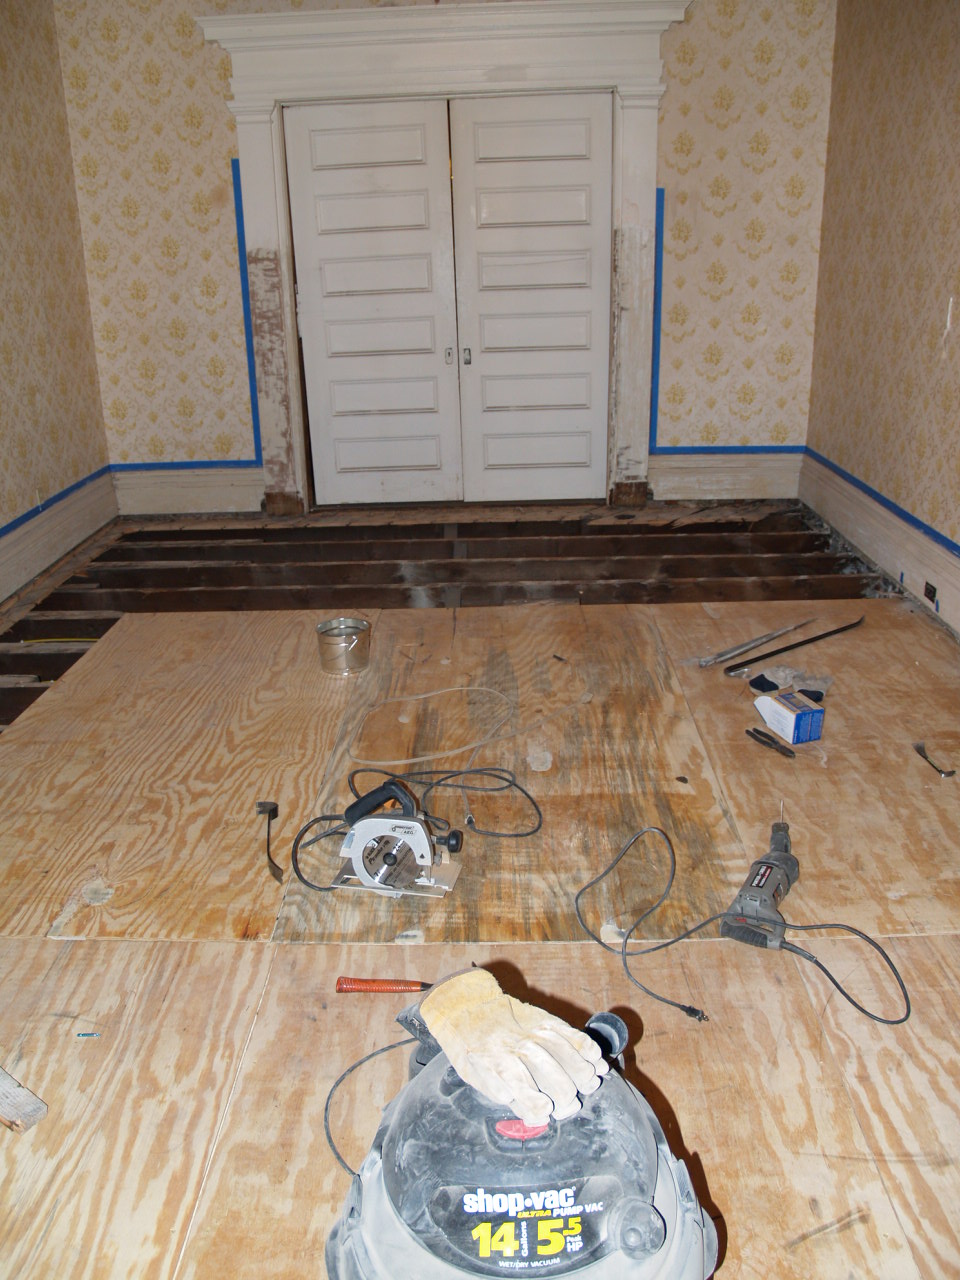
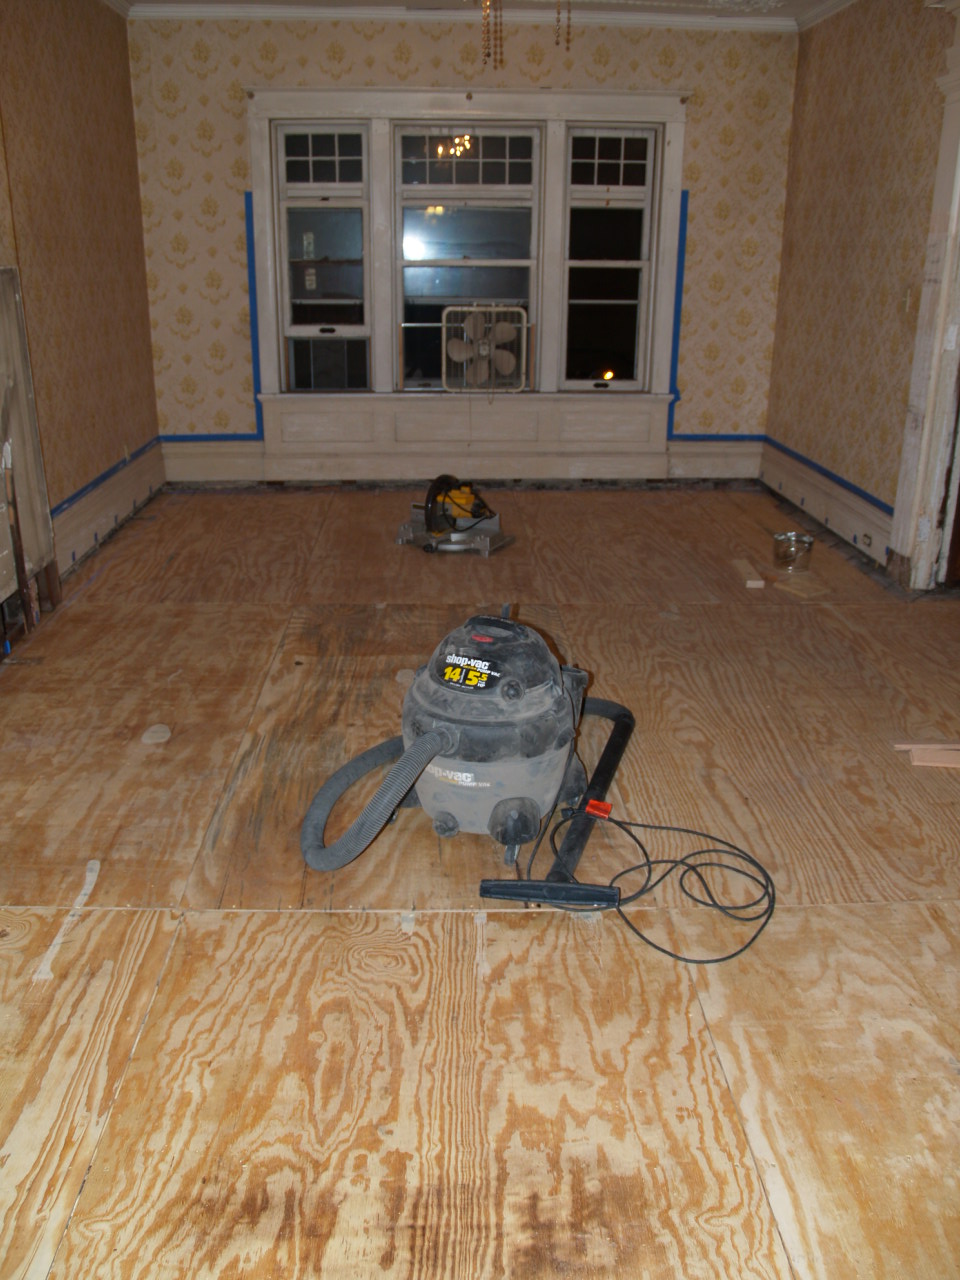
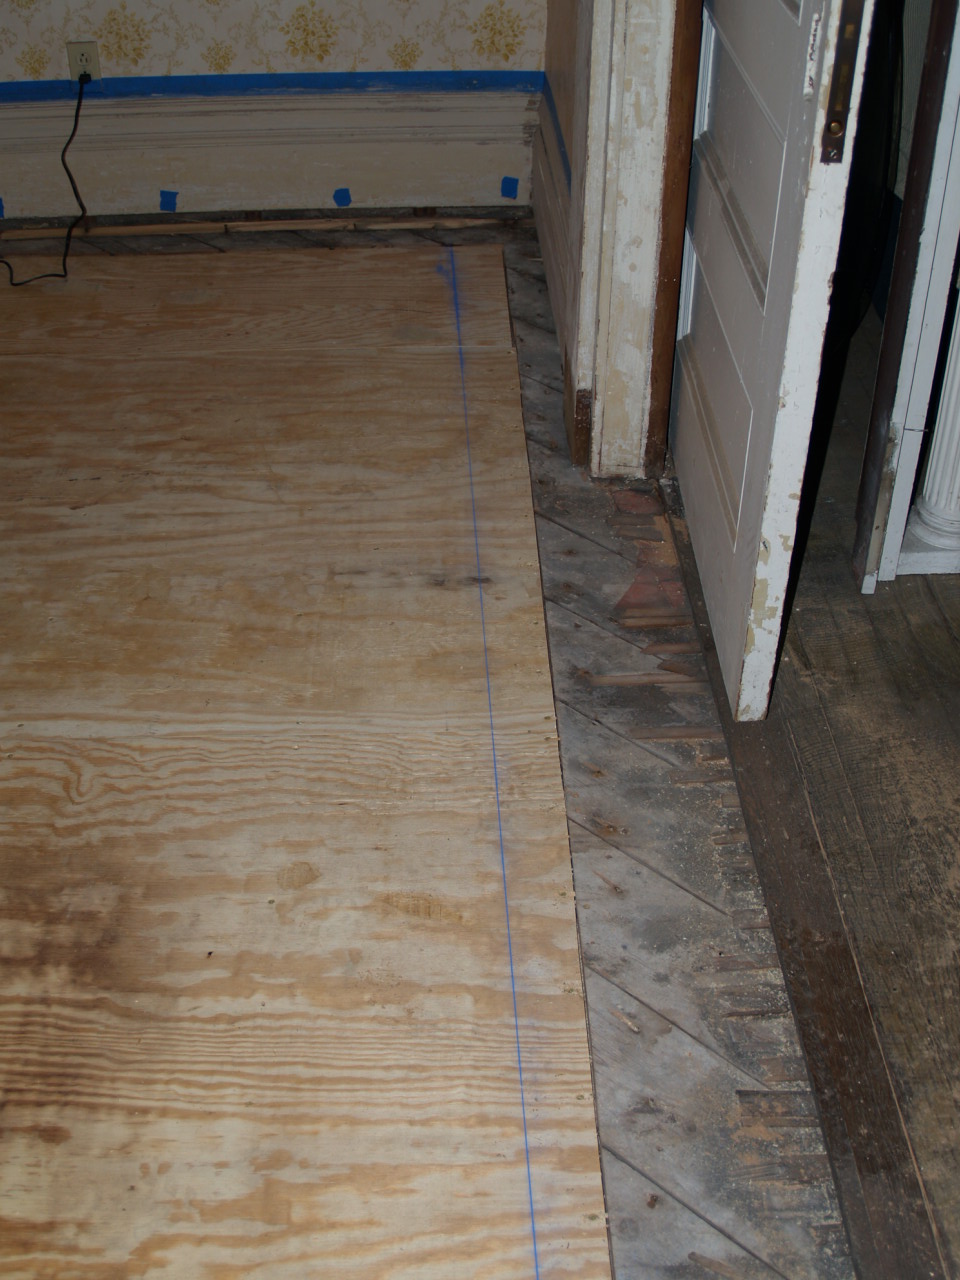
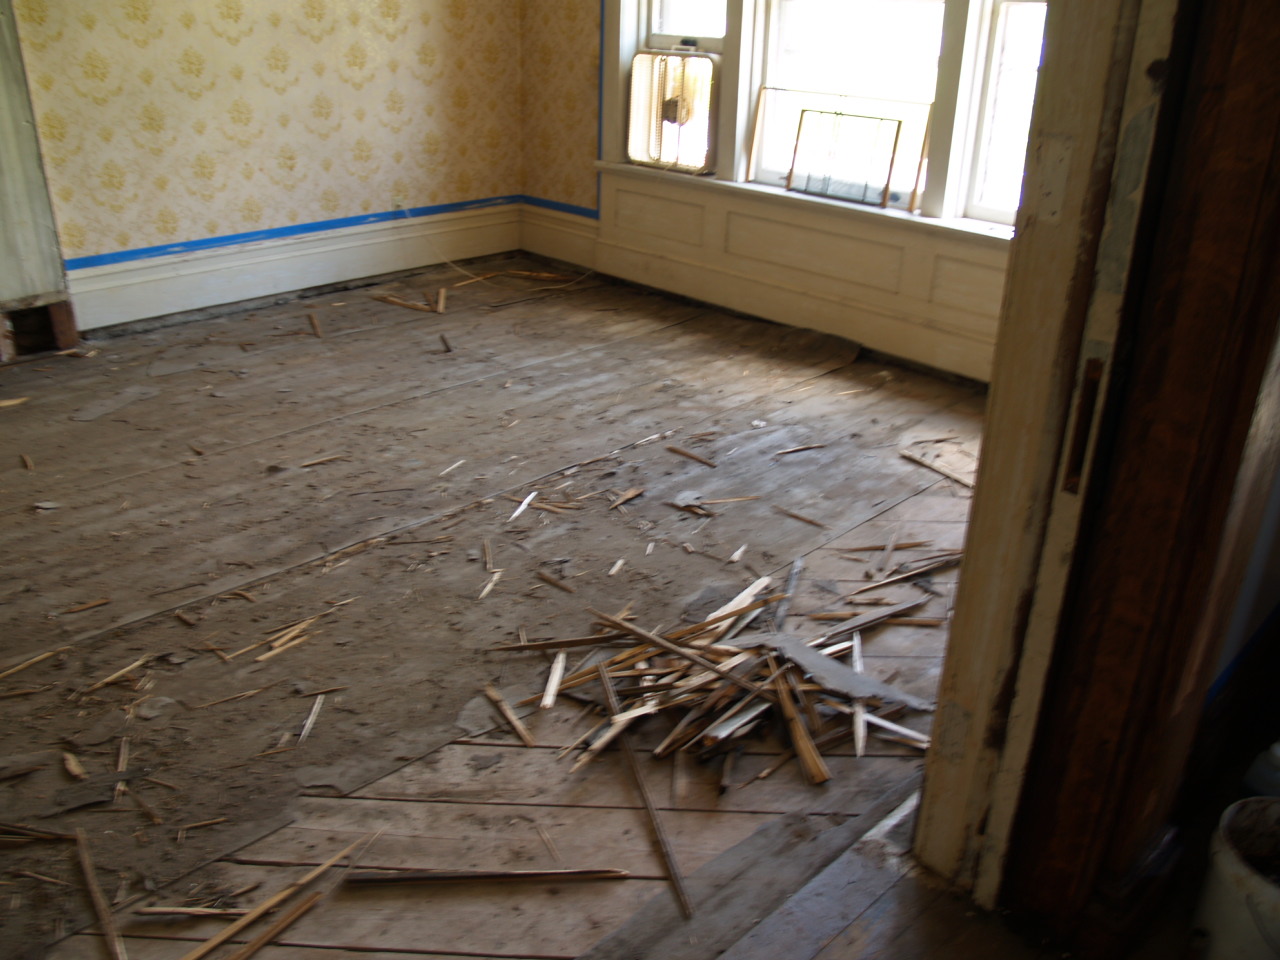
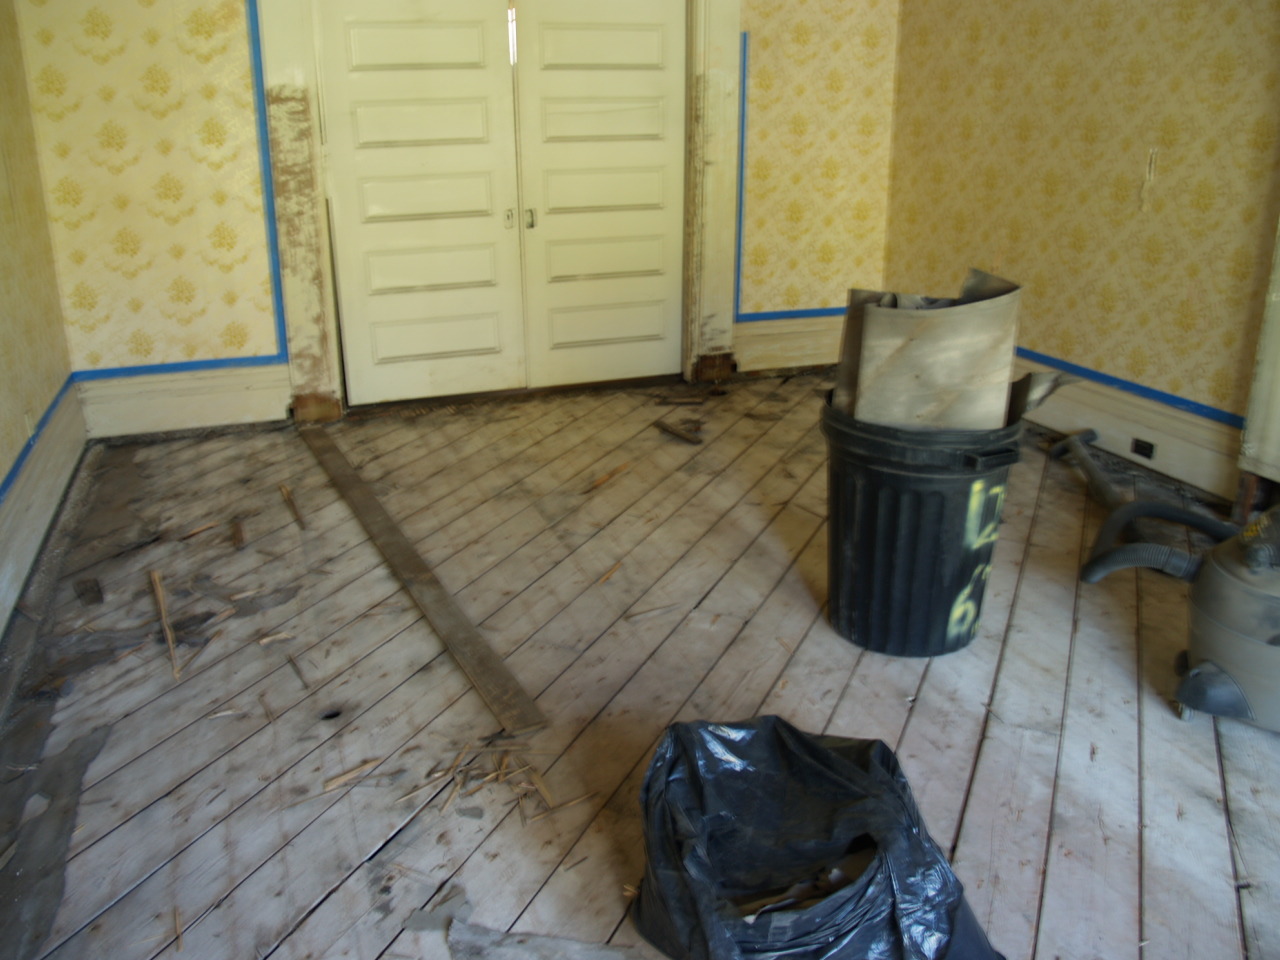
A series of shots as the subfloor gets ripped out and replaced with new plywood. Only a couple shots where you can see down into the basement, and even those are indistinct due to the grey metallic tarp we draped over everything down there to try and keep the dirt out.

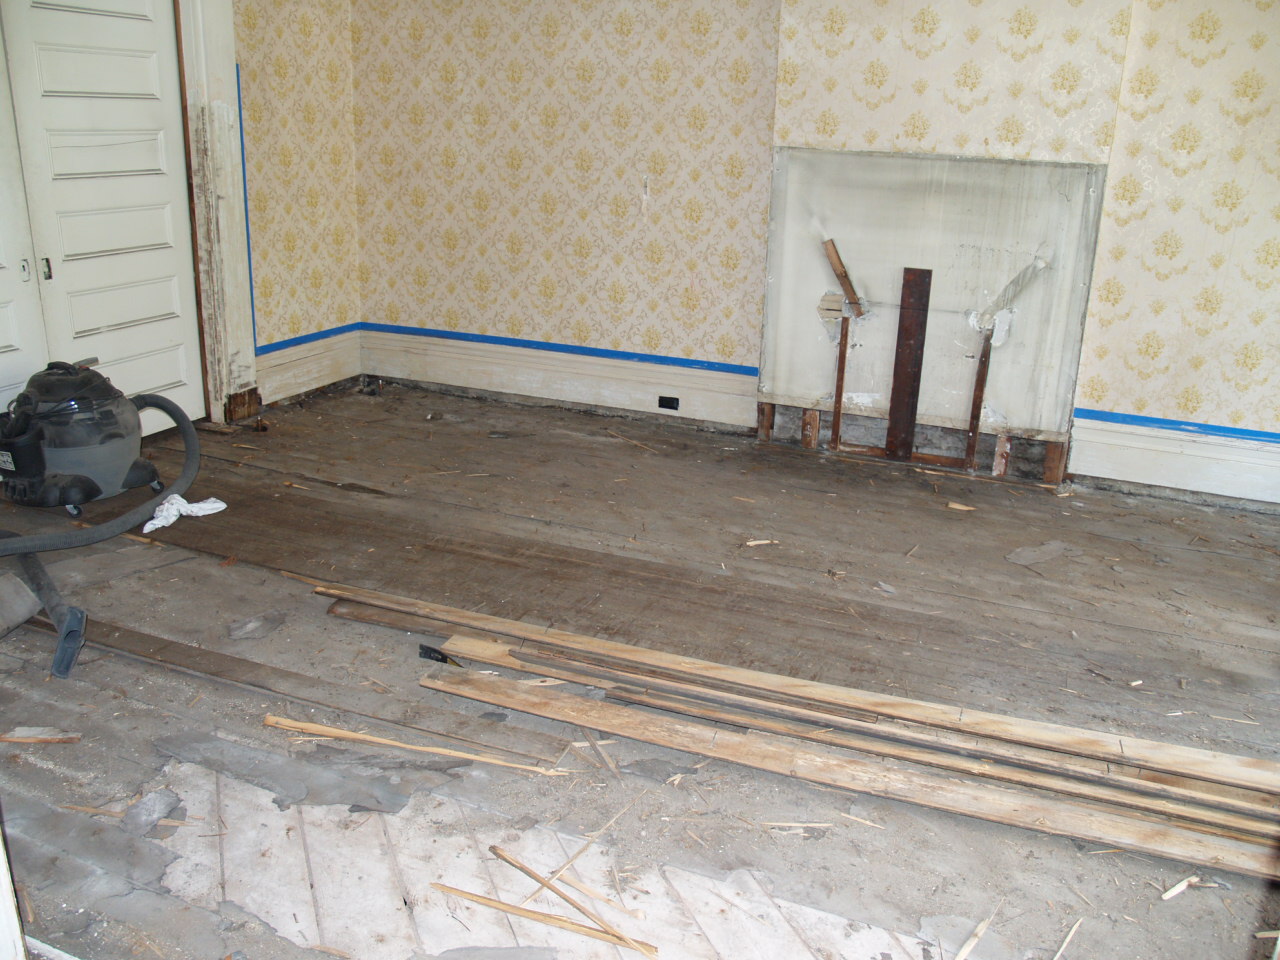
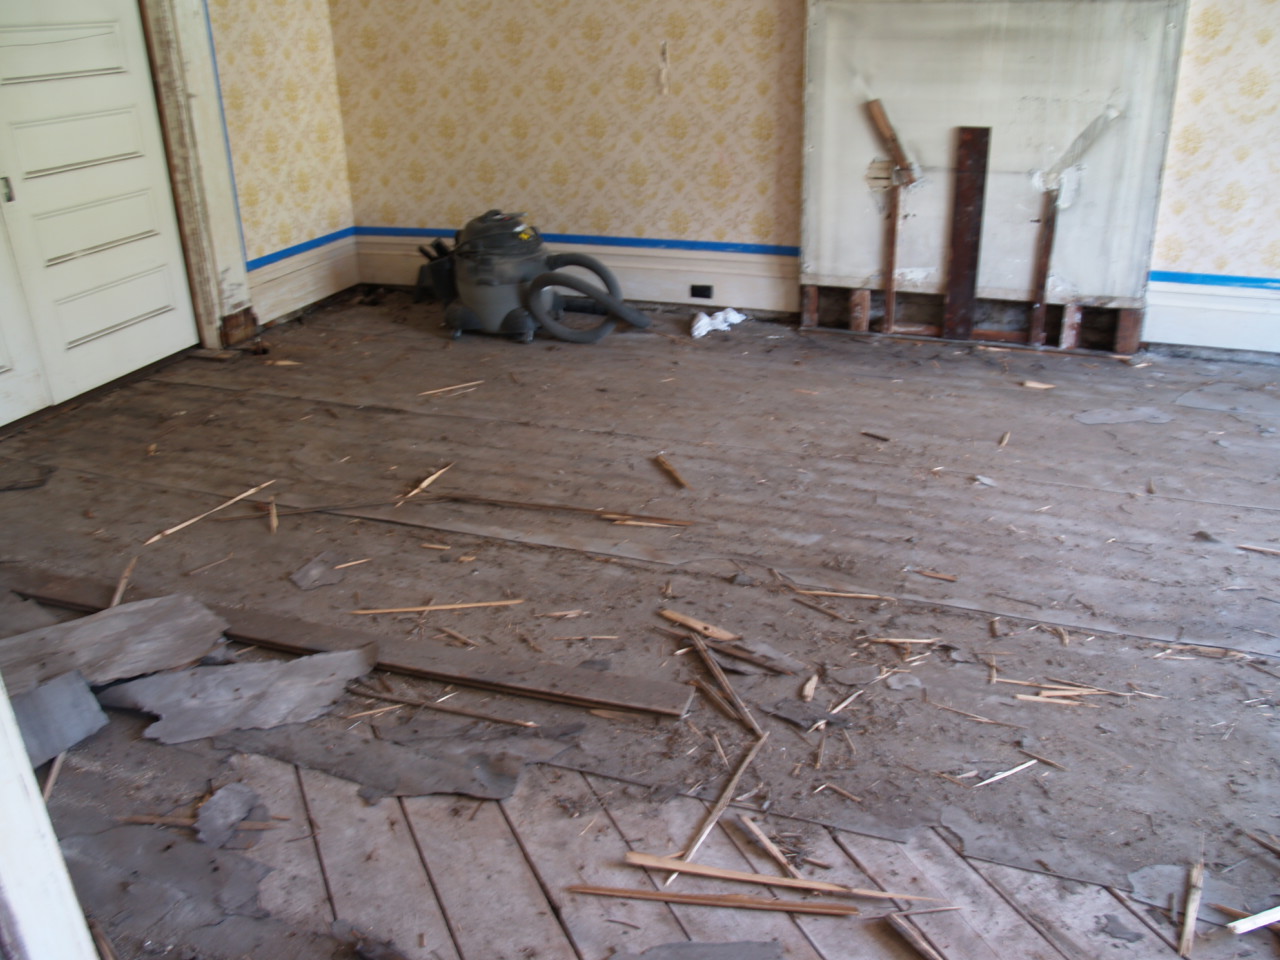

A few shots over the course of the day. It took 15 minutes to remove about 25% of the floor boards, 2 hours to remove the last 3 boards, and 2 hours to clean up the mess. In the last 2 shots you can see the last 3 boards, where they go under wall bits that caused the problems.

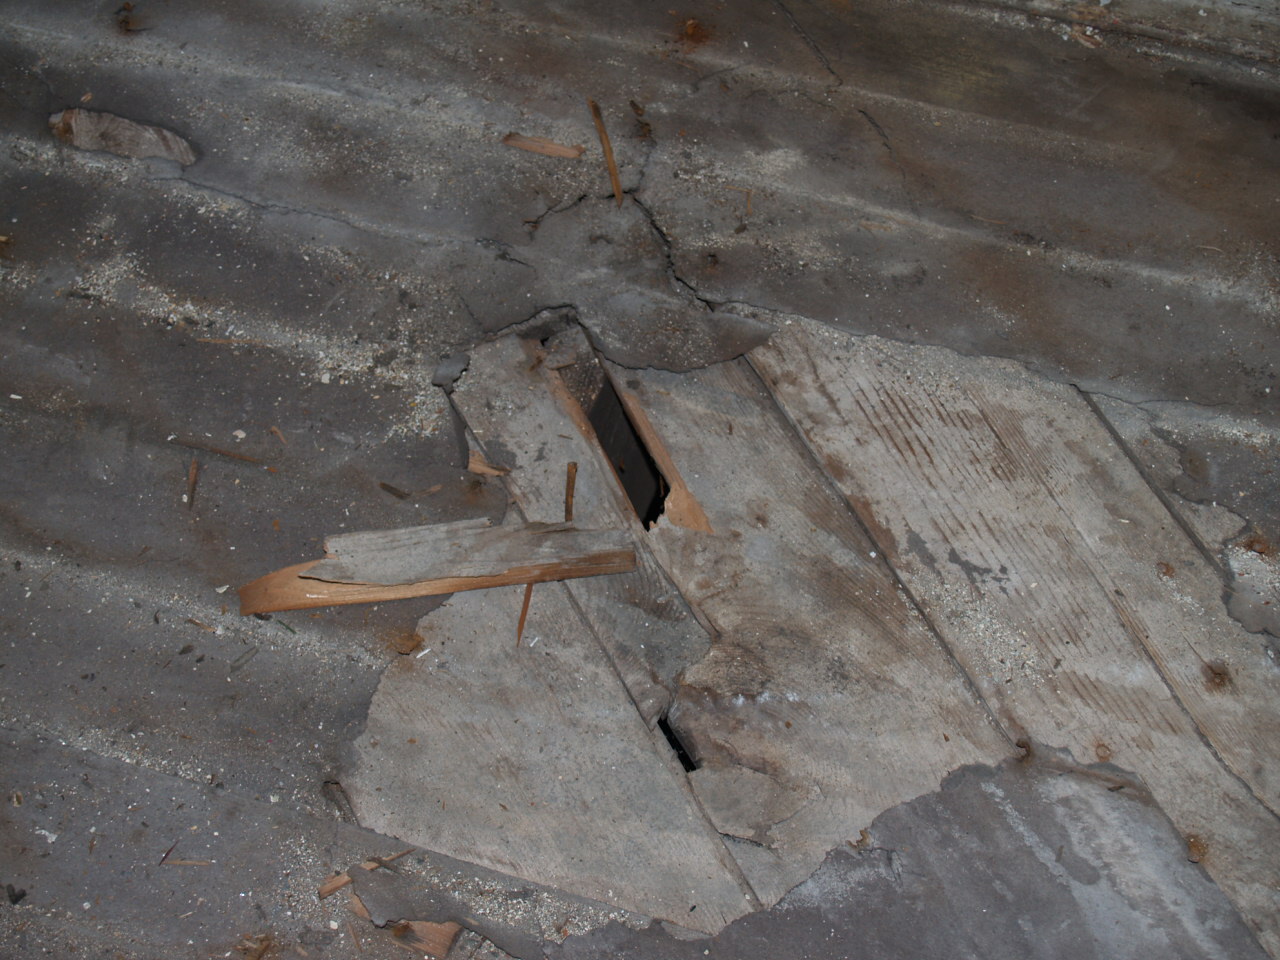
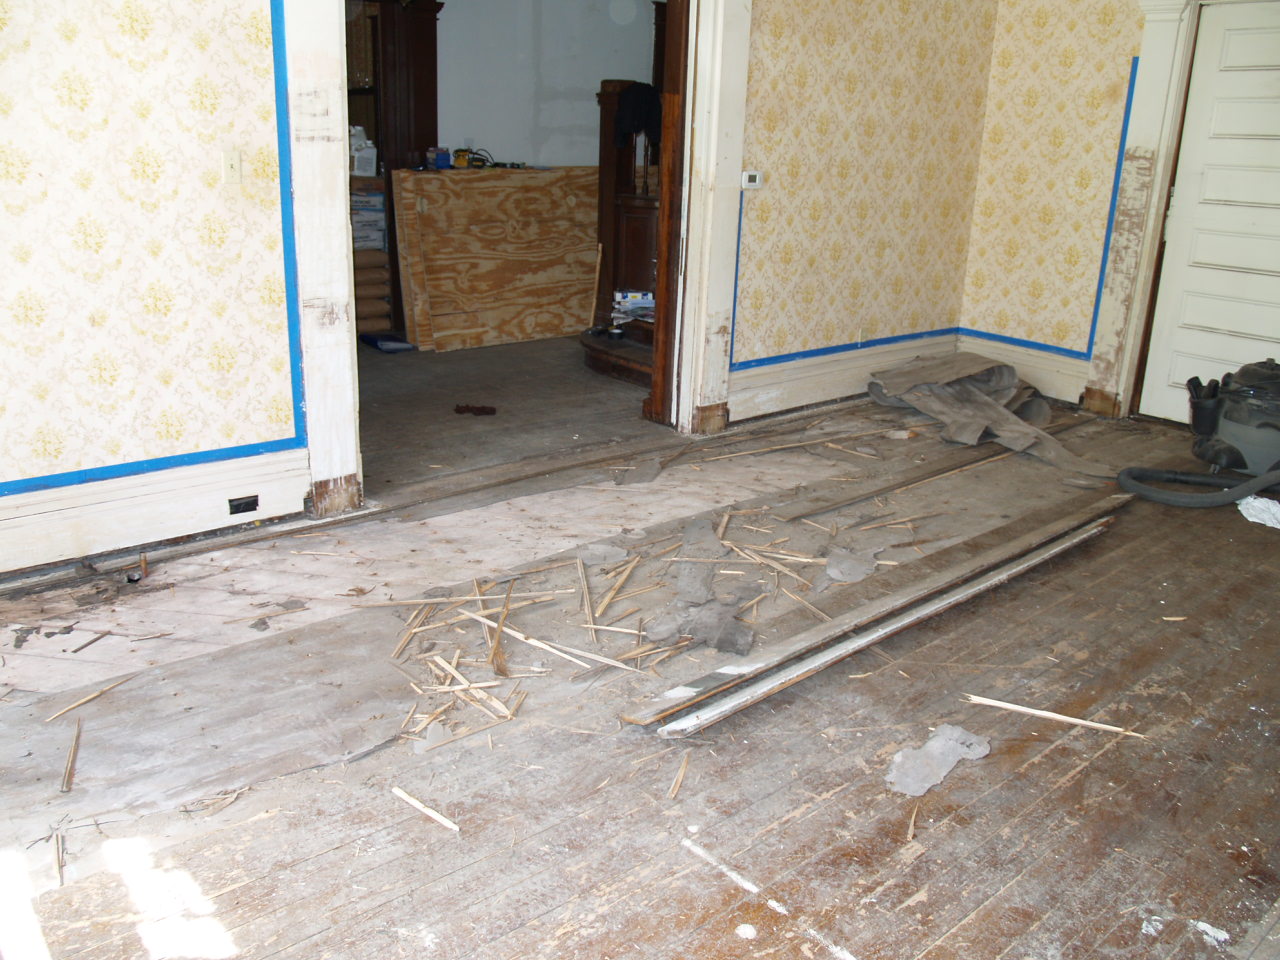
The last "before" shot, followed by the first "during" shot of ripping out the floor. Once I figured out which way the flooring was nailed down it got a lot easier and faster to remove. Then a few closeups - two of some wires I found stuck in a floorboard. I'm guessing telephone, but I'm not sure. Last is a shot of a piece of subfloor that came with the floor board as I removed it. Any qualms I've had about replacing the subfloor went away with this.
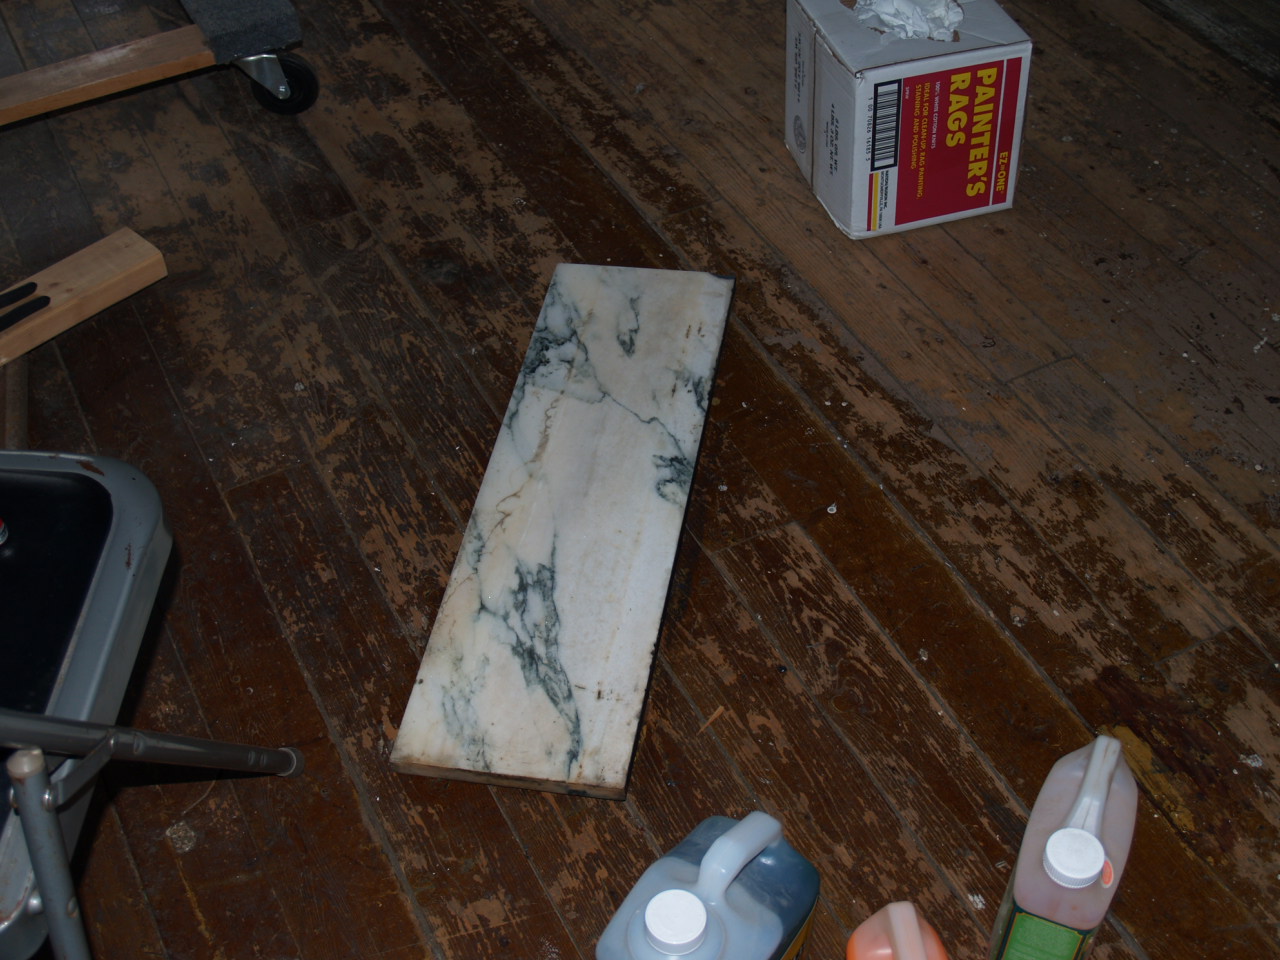
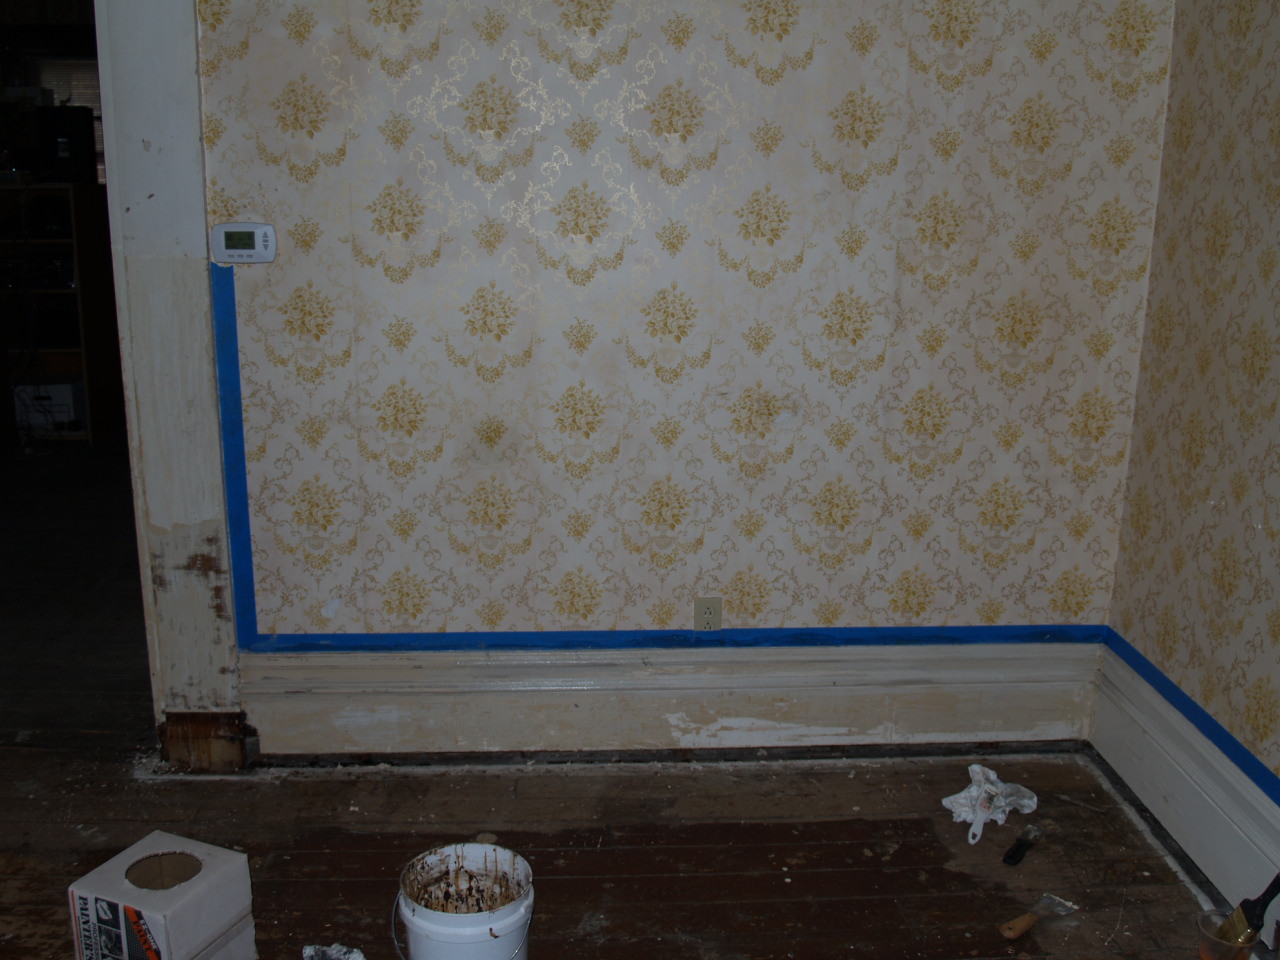

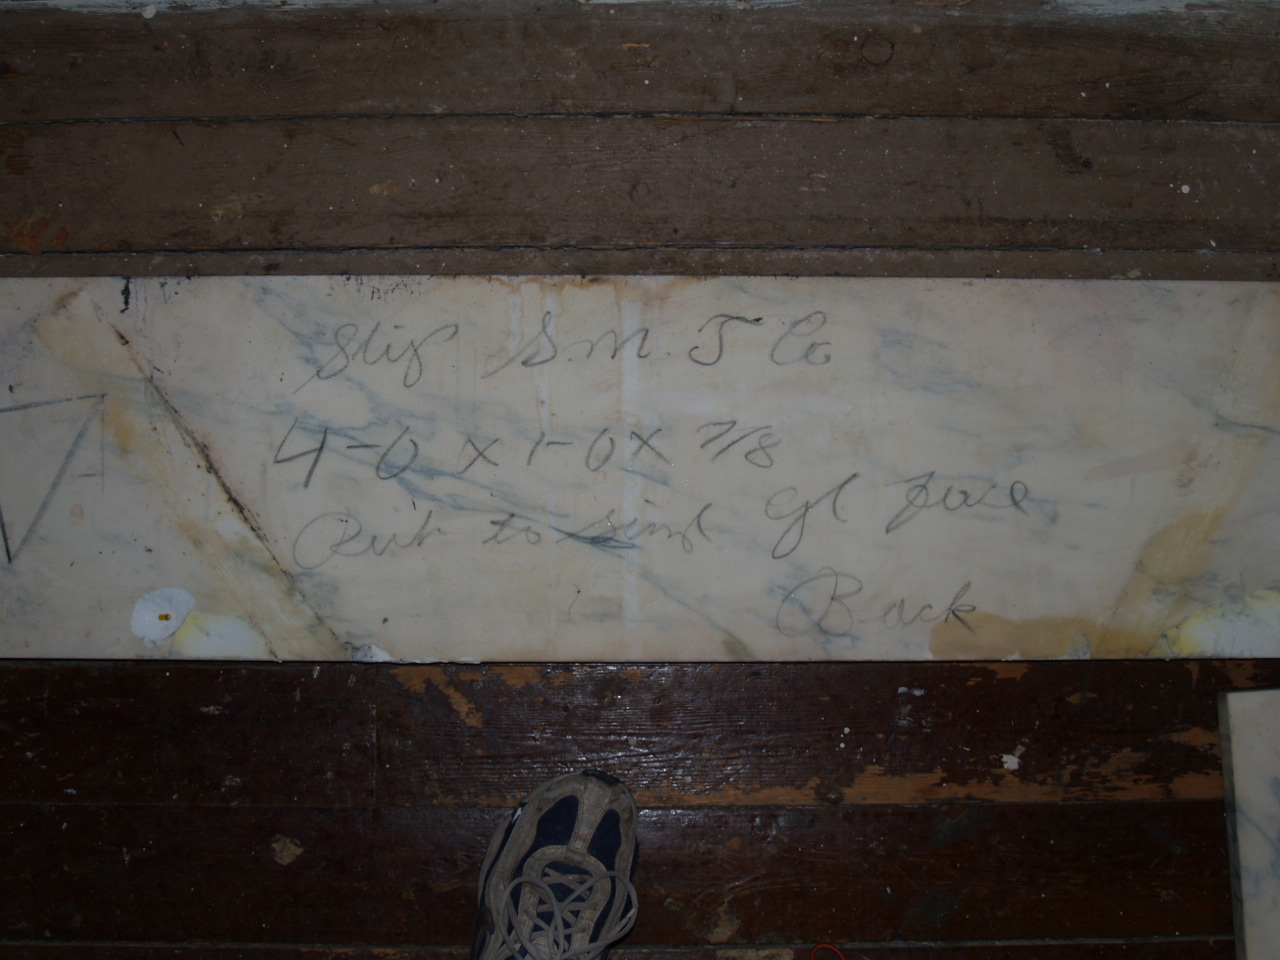
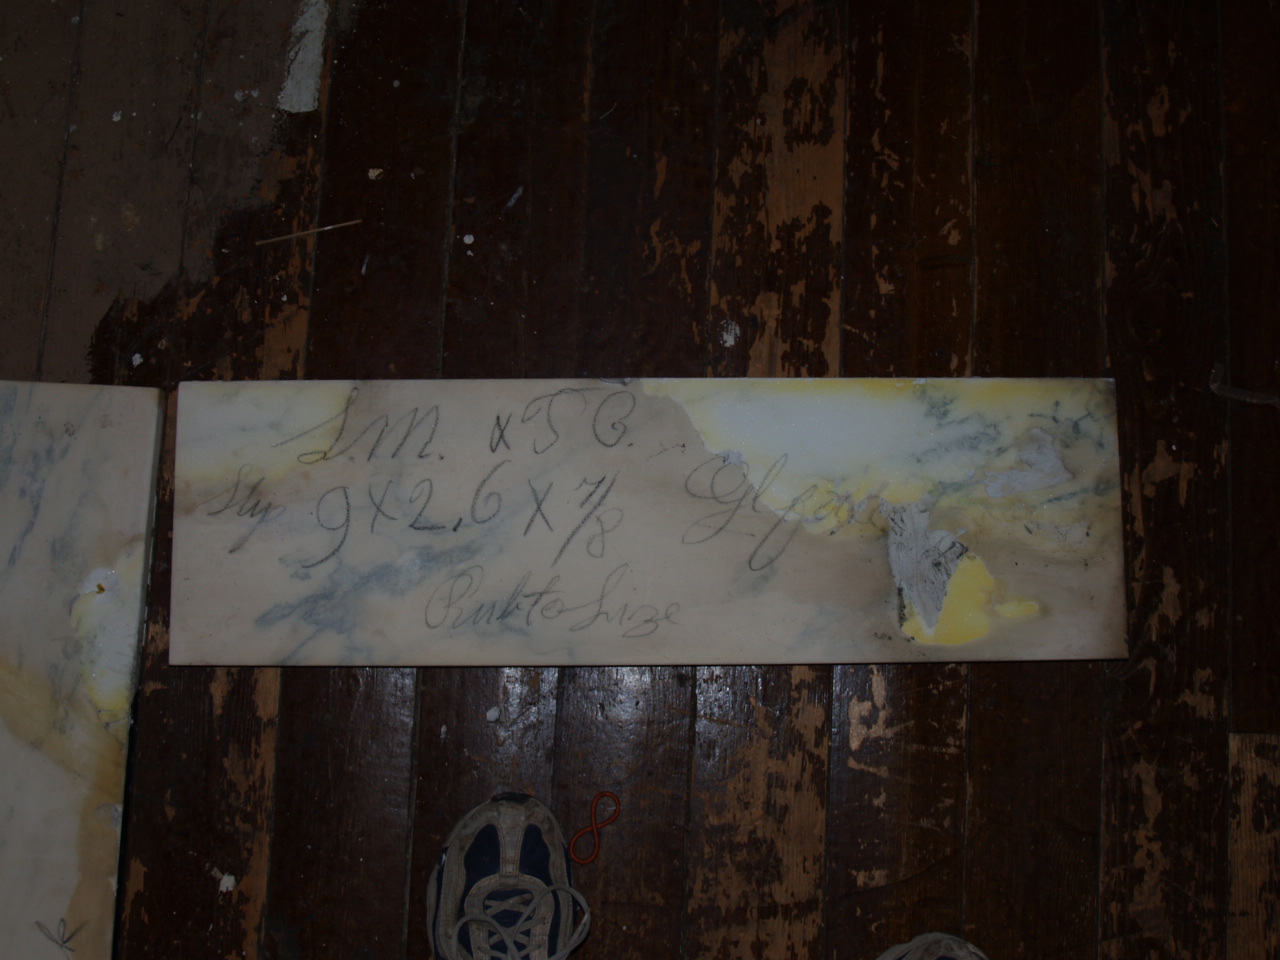
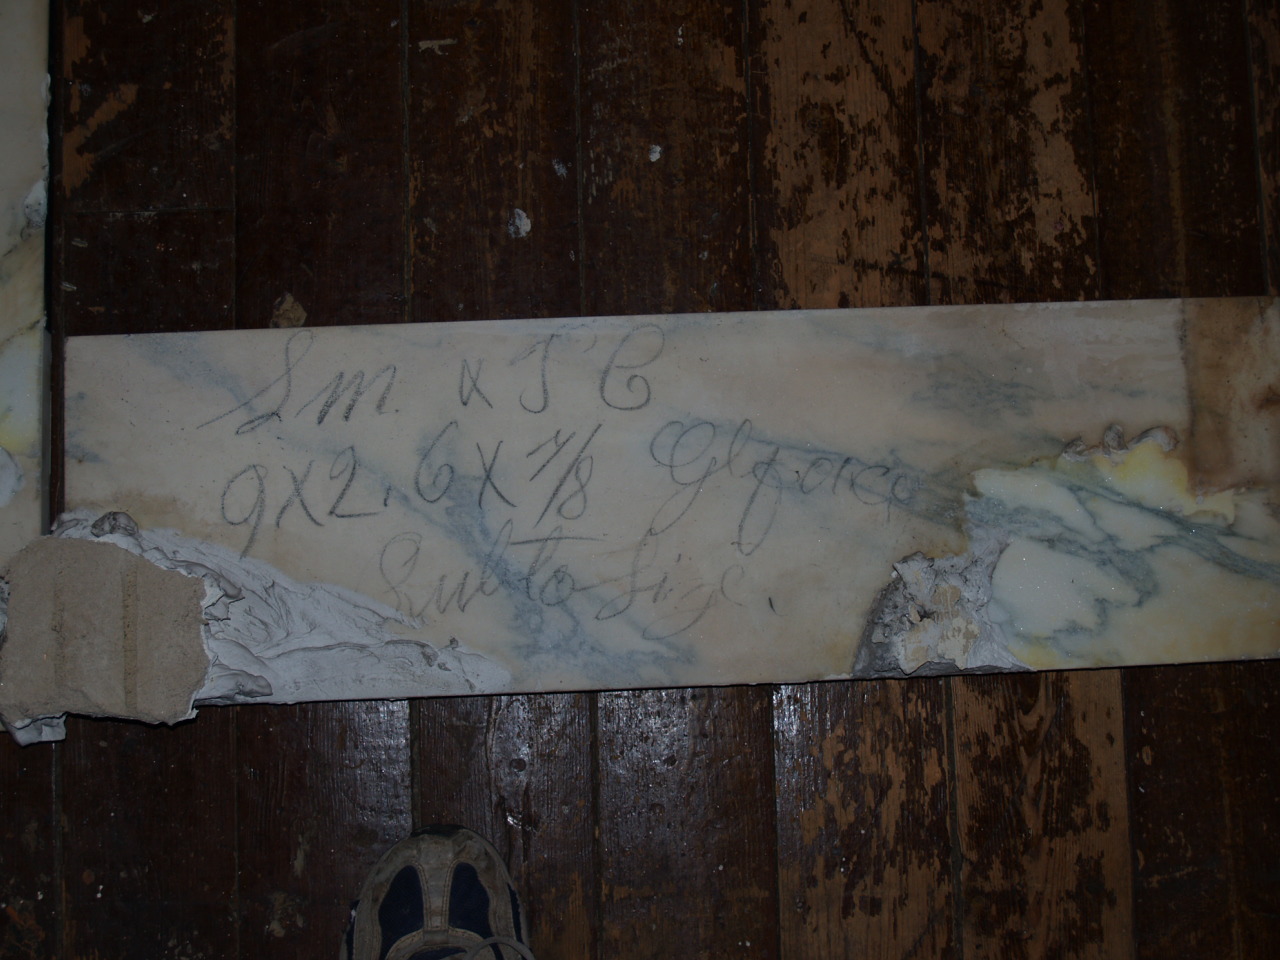
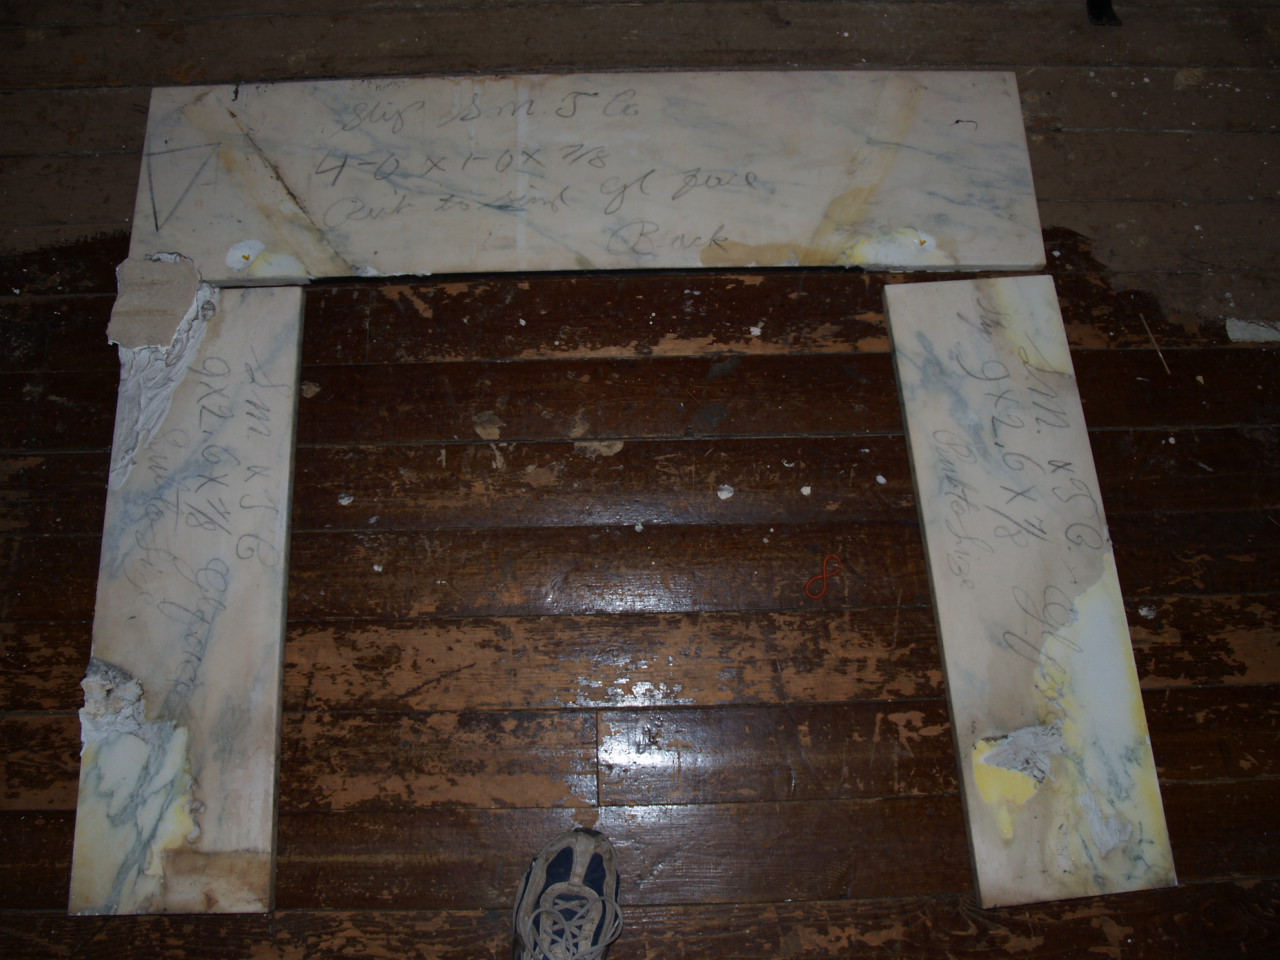
Three shots from the stripping project. First, a piece of the marble from the faux fireplace that had been spraypainted black. The paint stripper I'm using took the paint off, now there are just some stains in the marble. Not too bad. Next is a shot of some stripped mouldings - to the left is stripped twice, to the right on the same wall is stripped once, above the thermostat and on the rightmost wall aren't stripped at all. Last is a closeup of the pattern of the wallpaper so I can try and match it online. I've found a place that has the right pattern in the wrong colors, so I think I may actually find it.
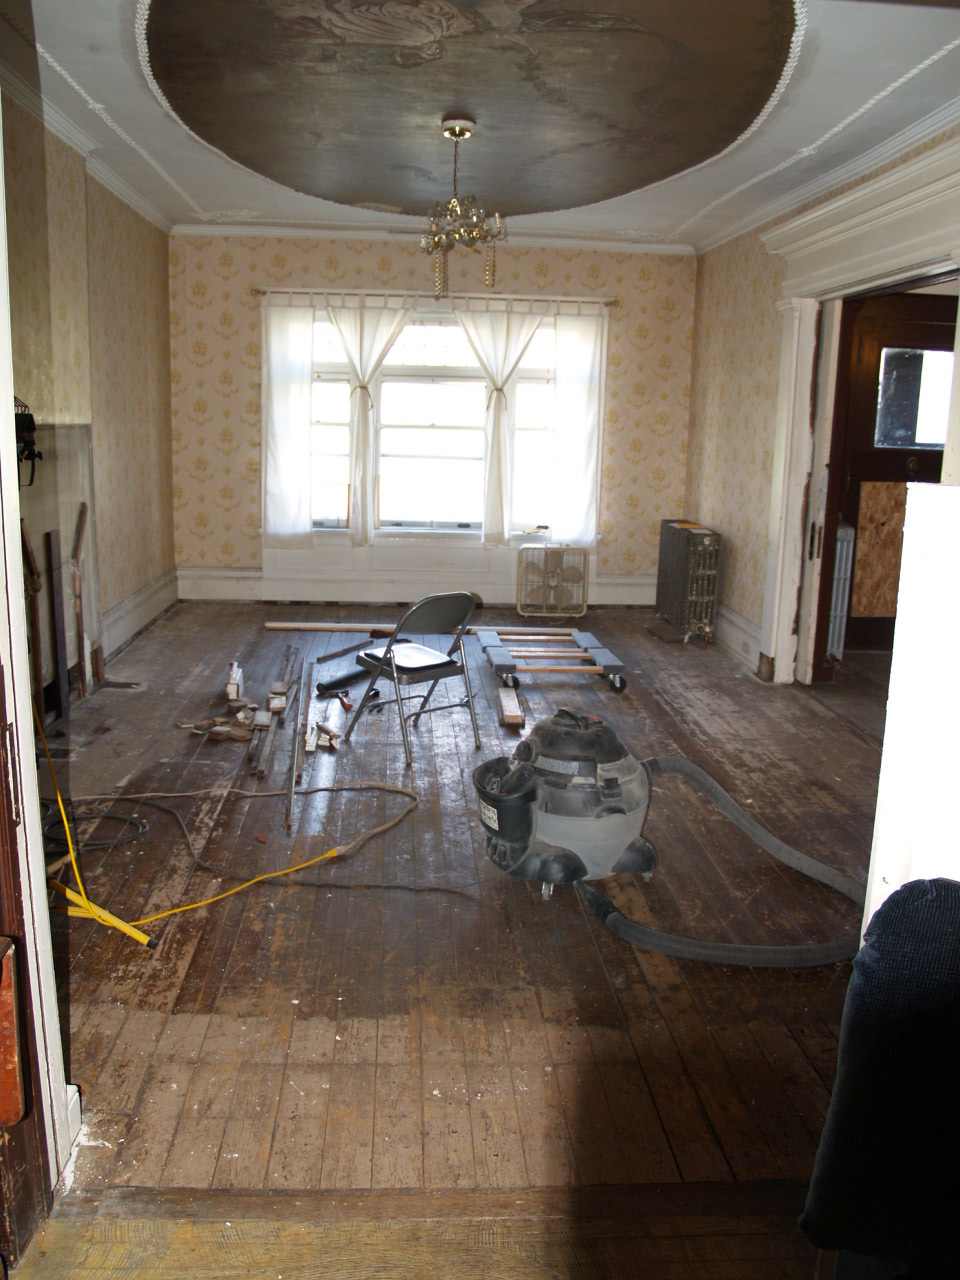
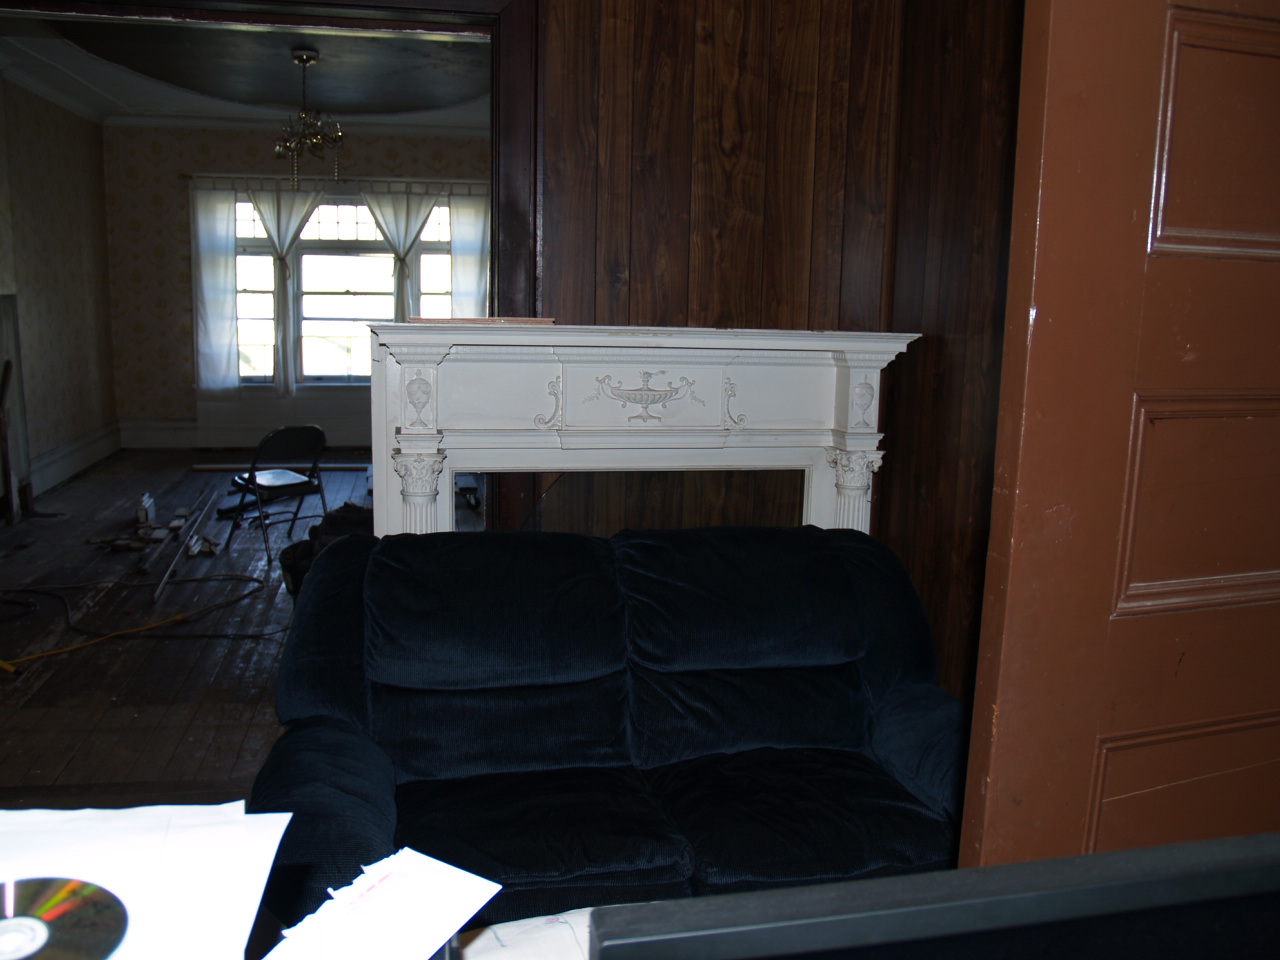
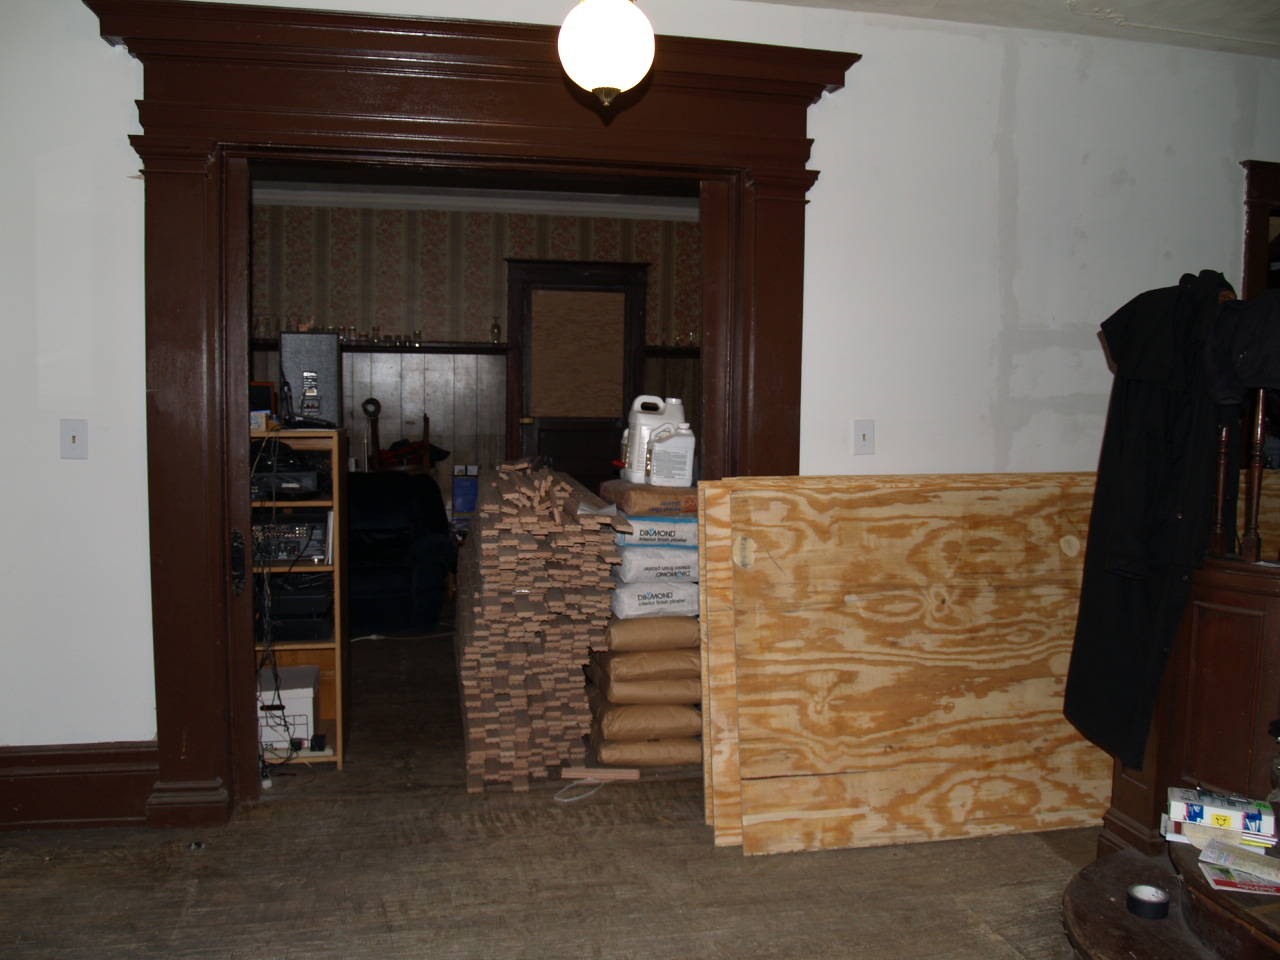
Three shots of almost completely empty living room, including the landing site of the mantle (the study) and the pile of new flooring in the foyer.
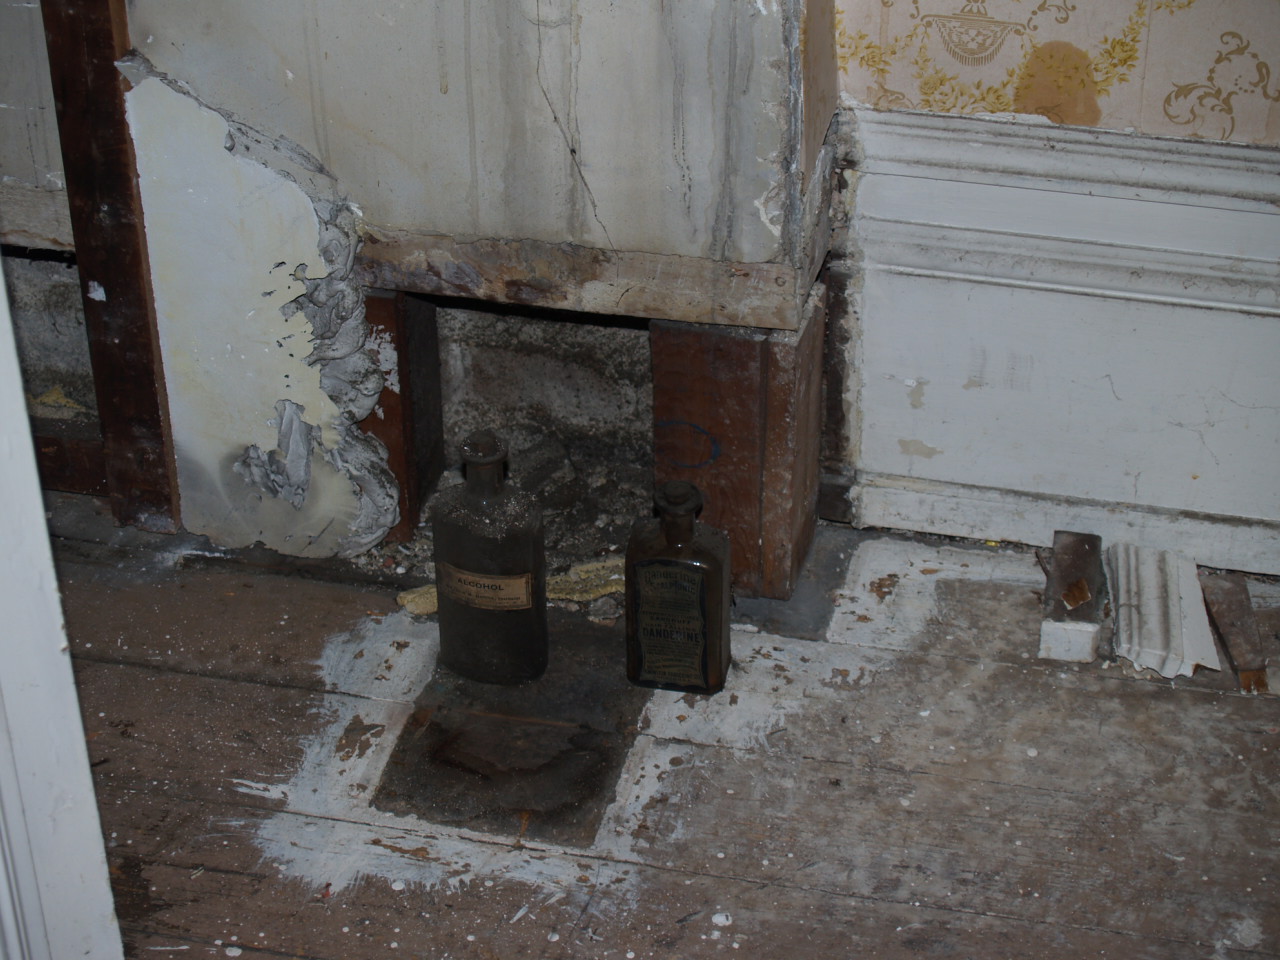
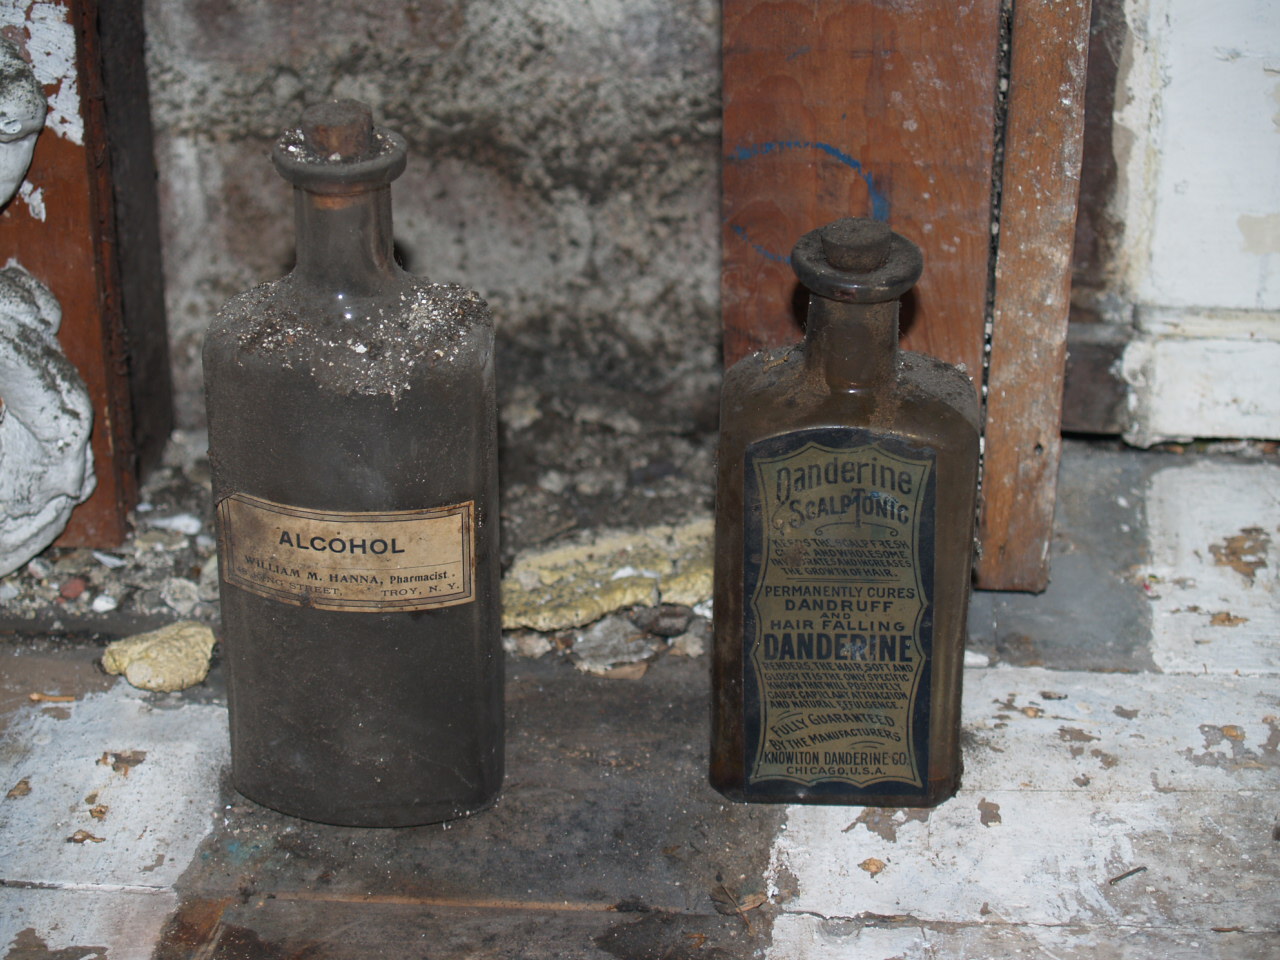
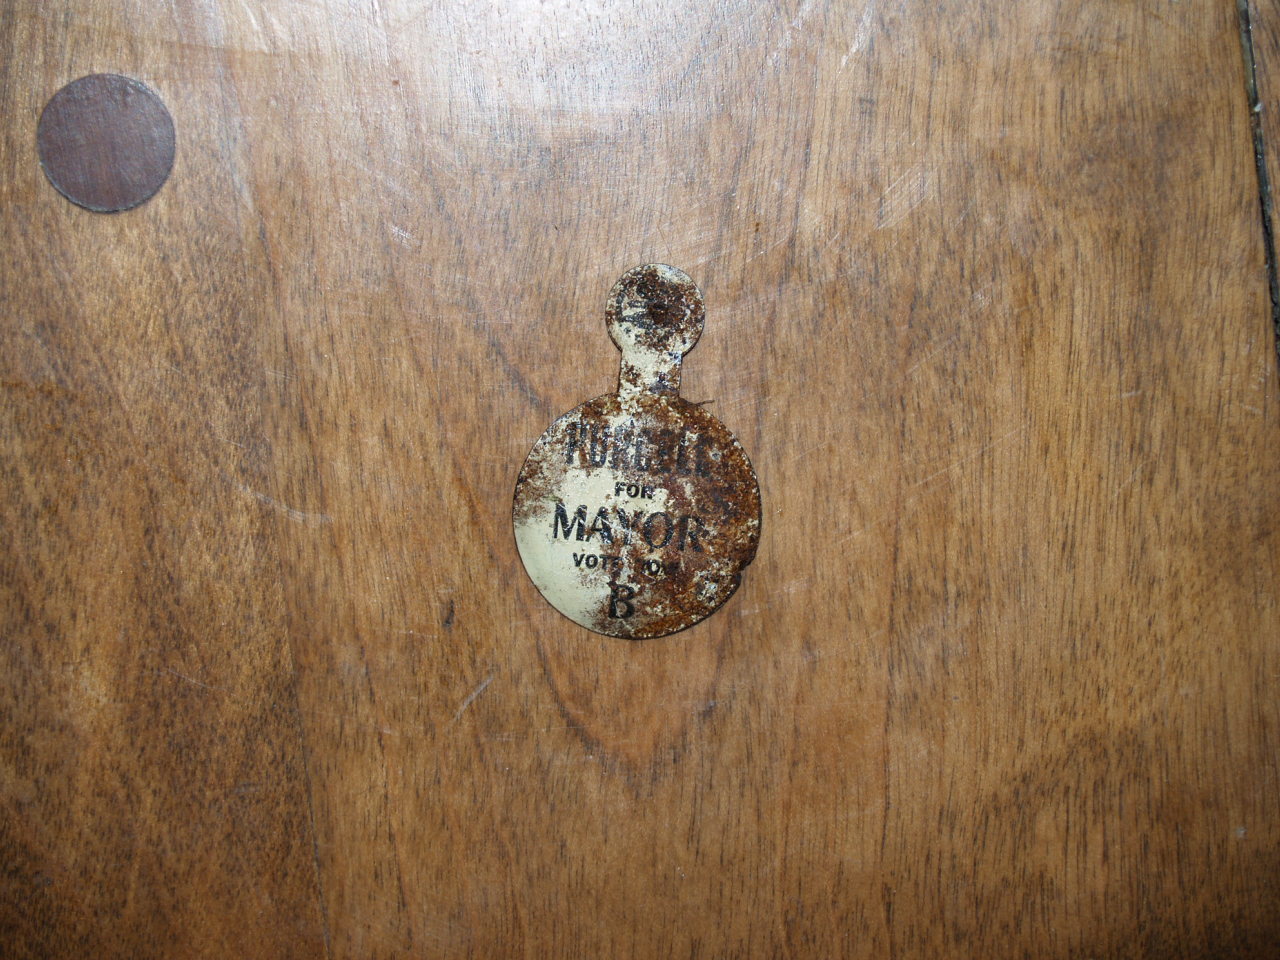
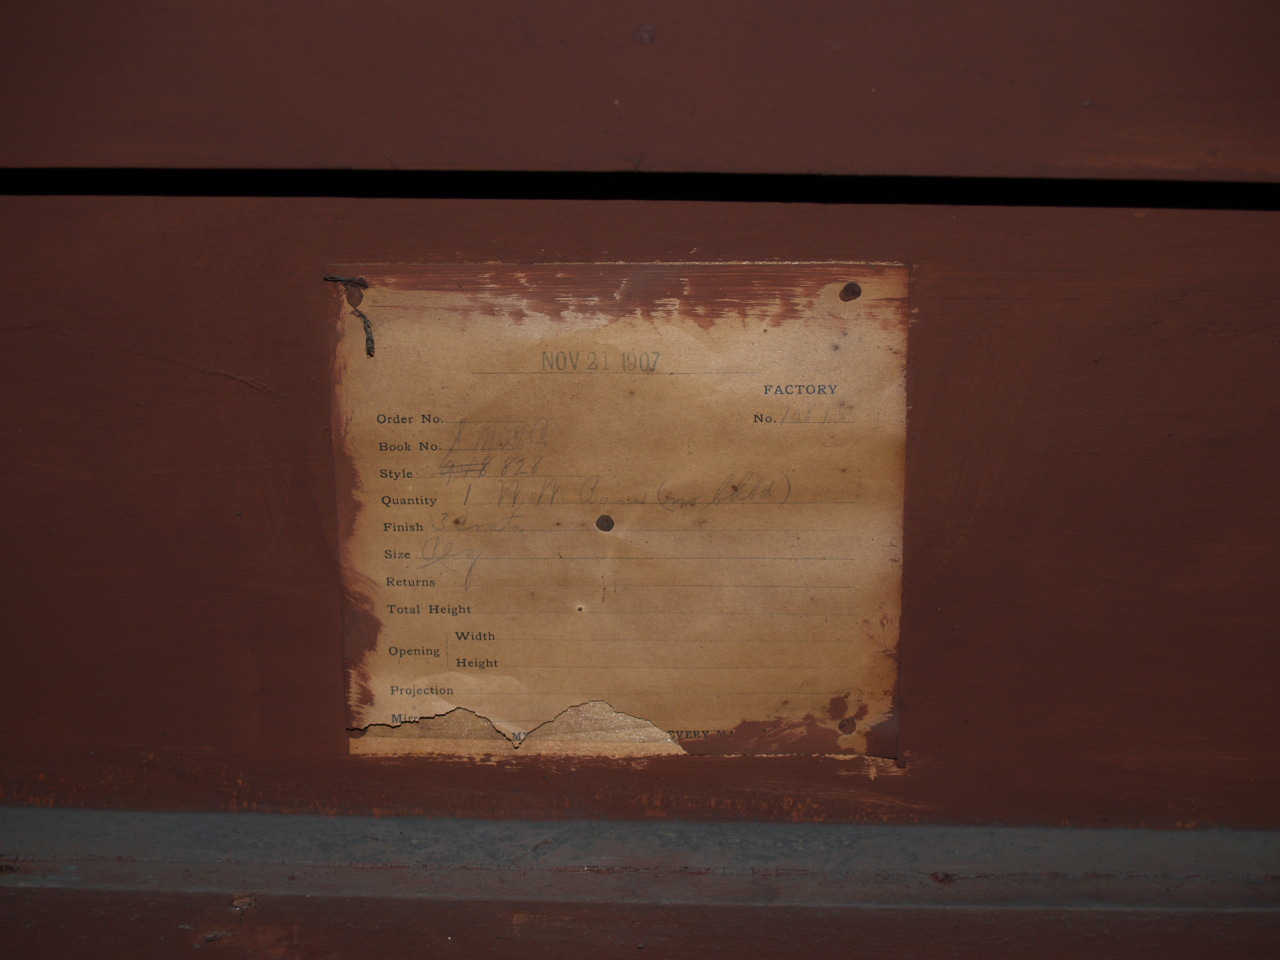
Some particular stuff I found behind the mantle, and the first shots of parts of the room really getting dismantled. A couple bottles of parmacy-type stuff (snake oil?) and a campaign button for "Purcell for Mayor". So, Karen, which of your relatives ran for Mayor?
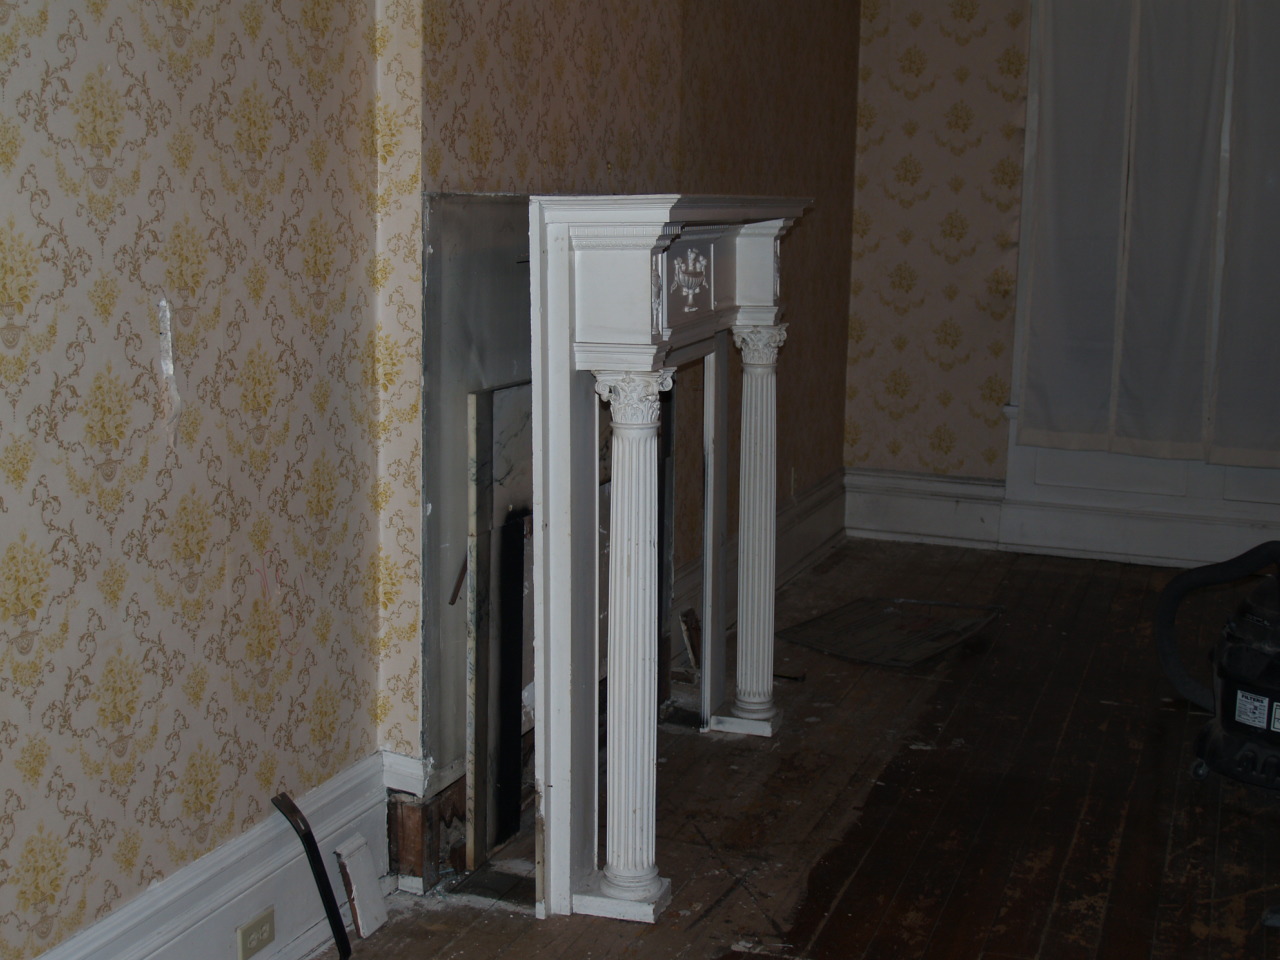

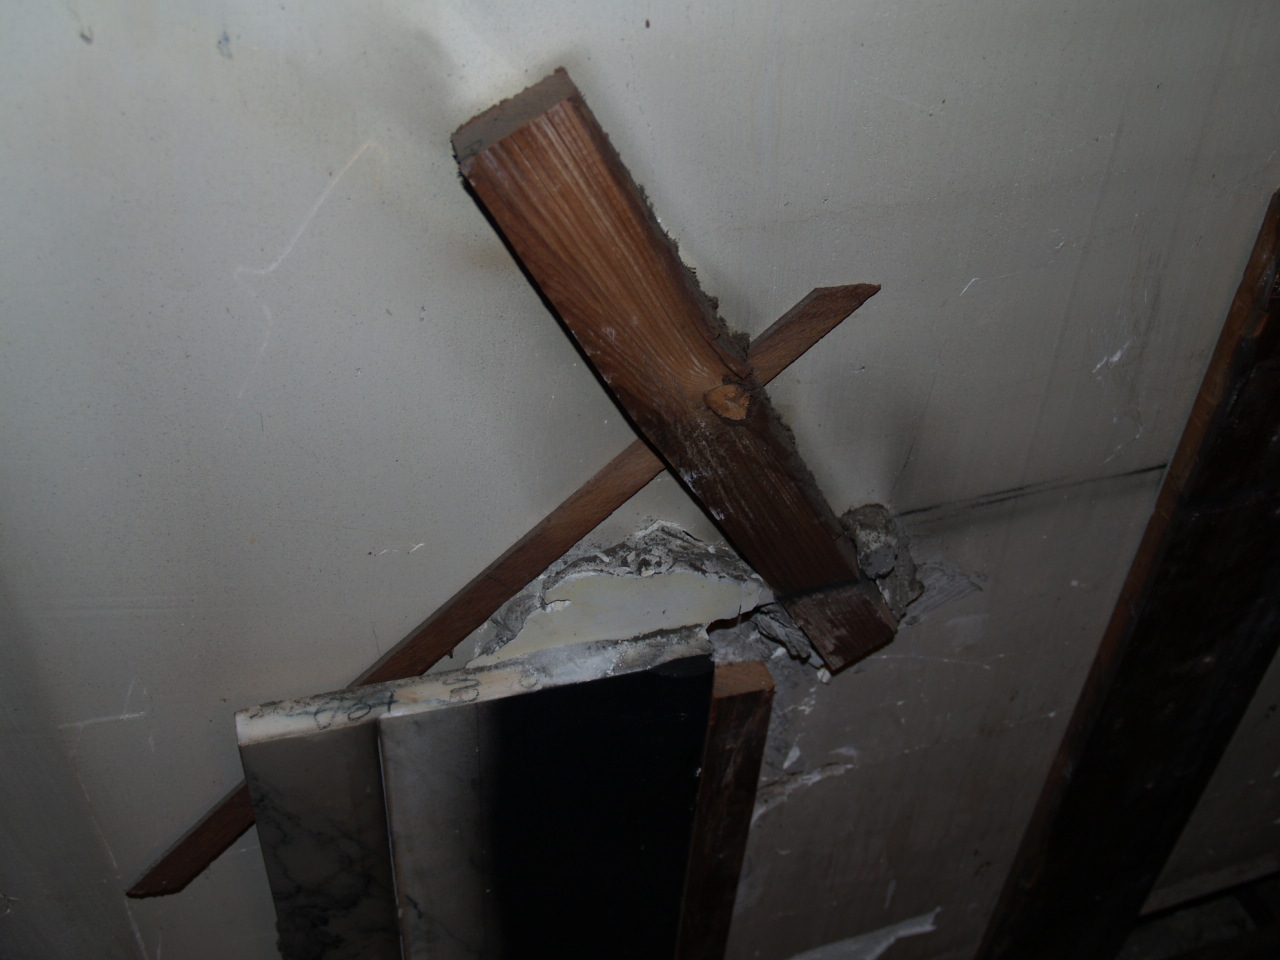
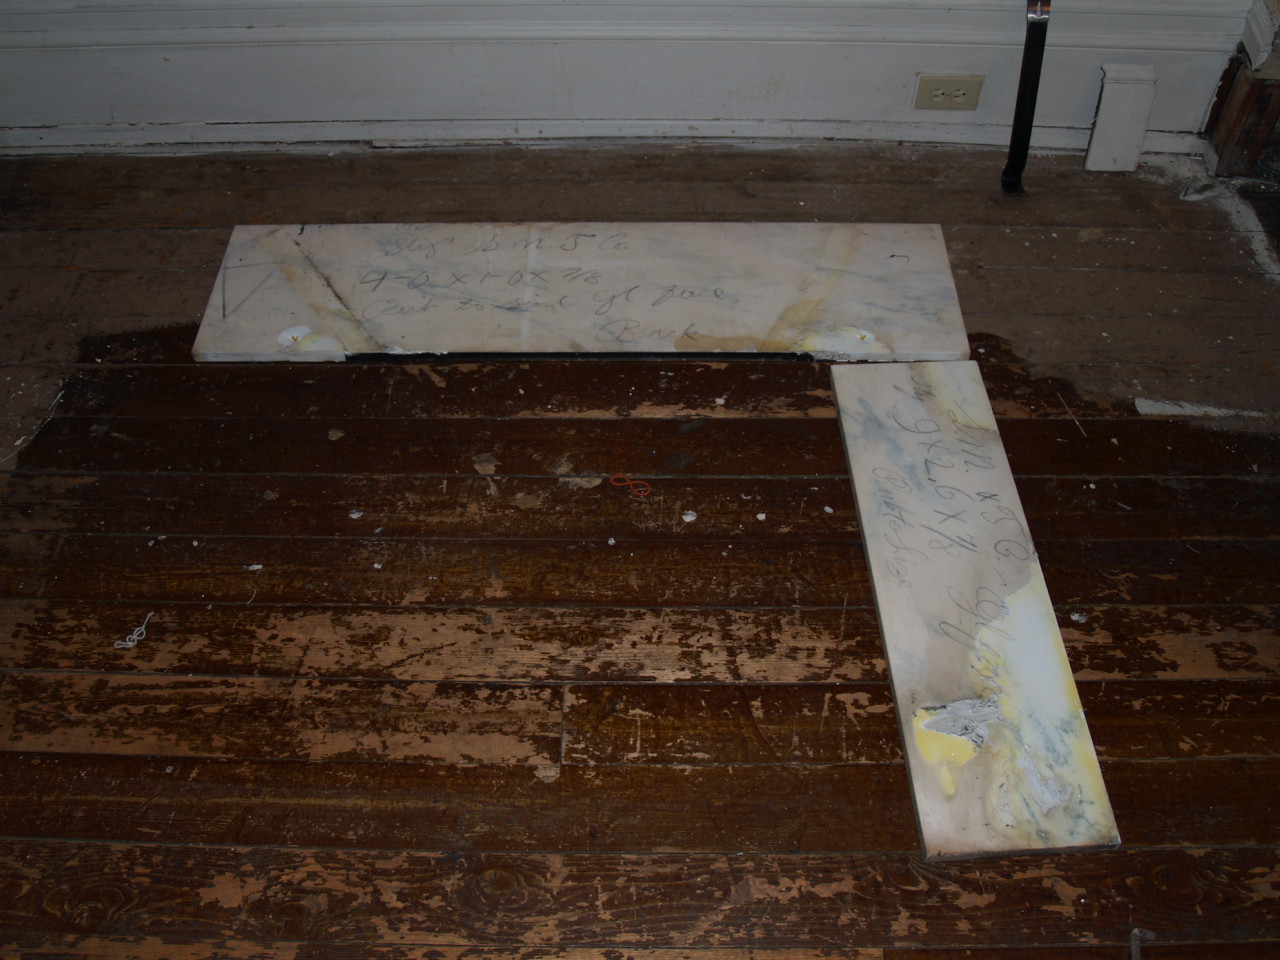
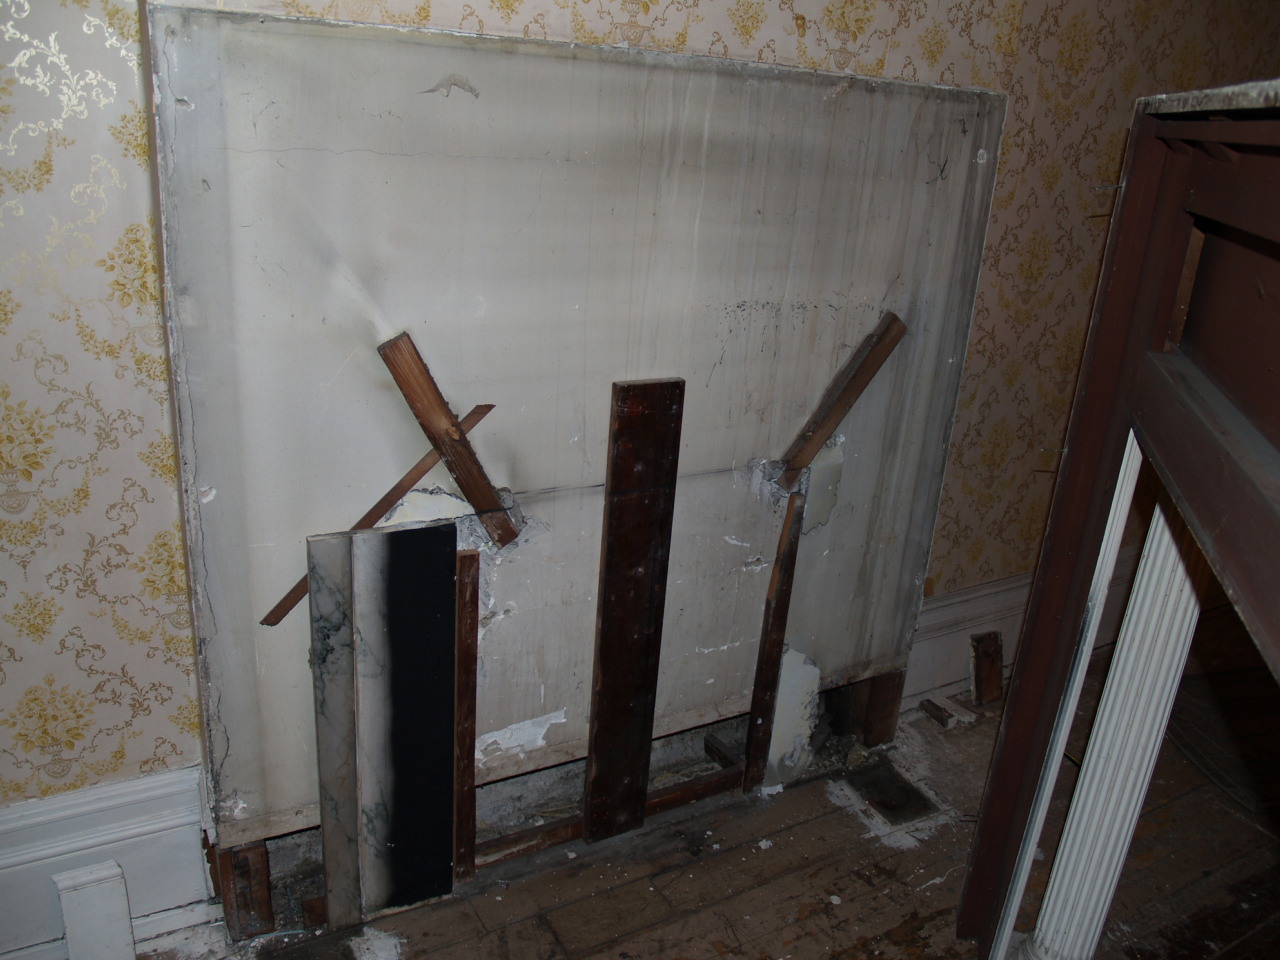
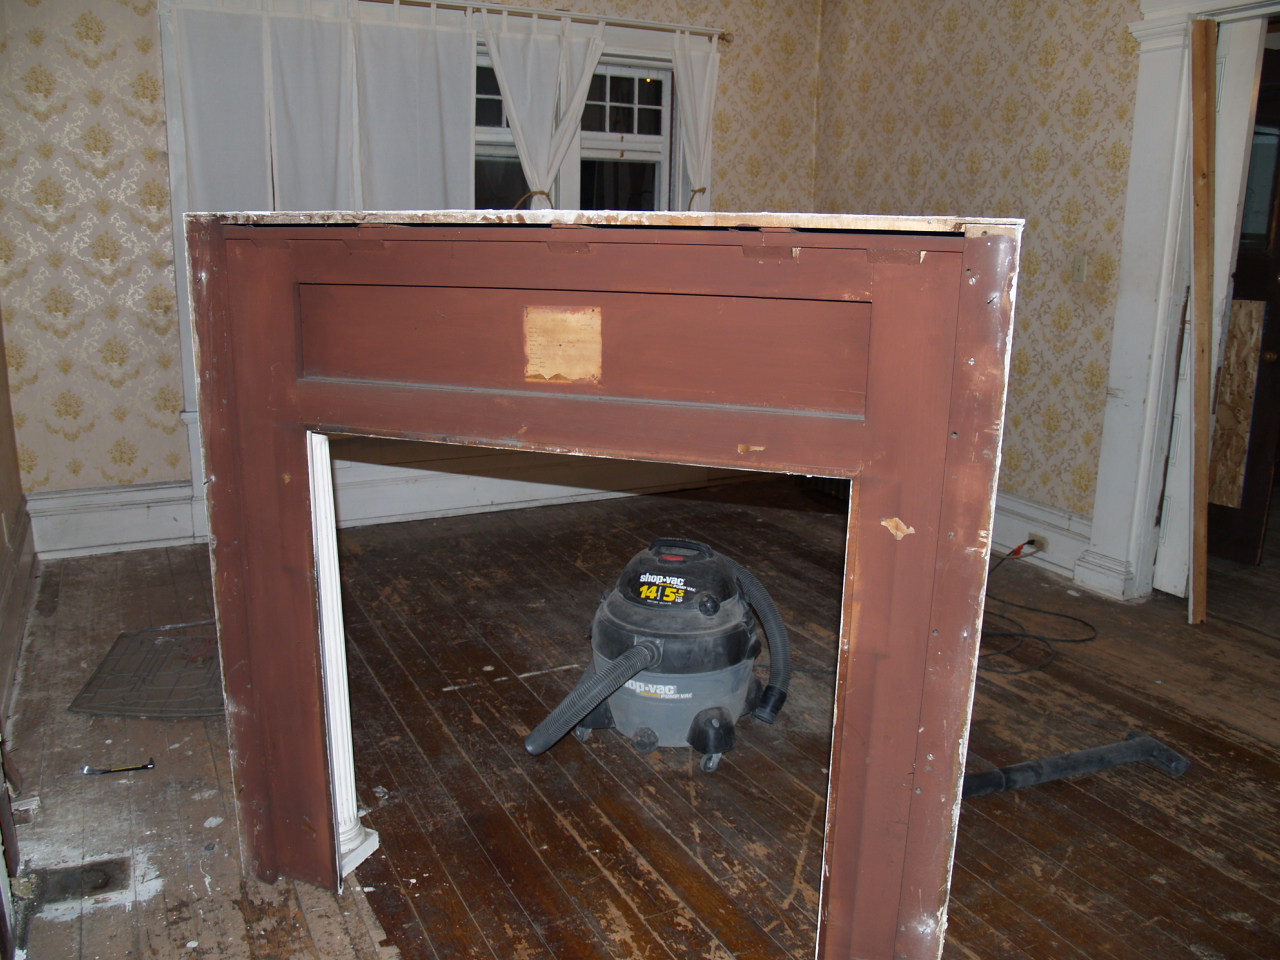
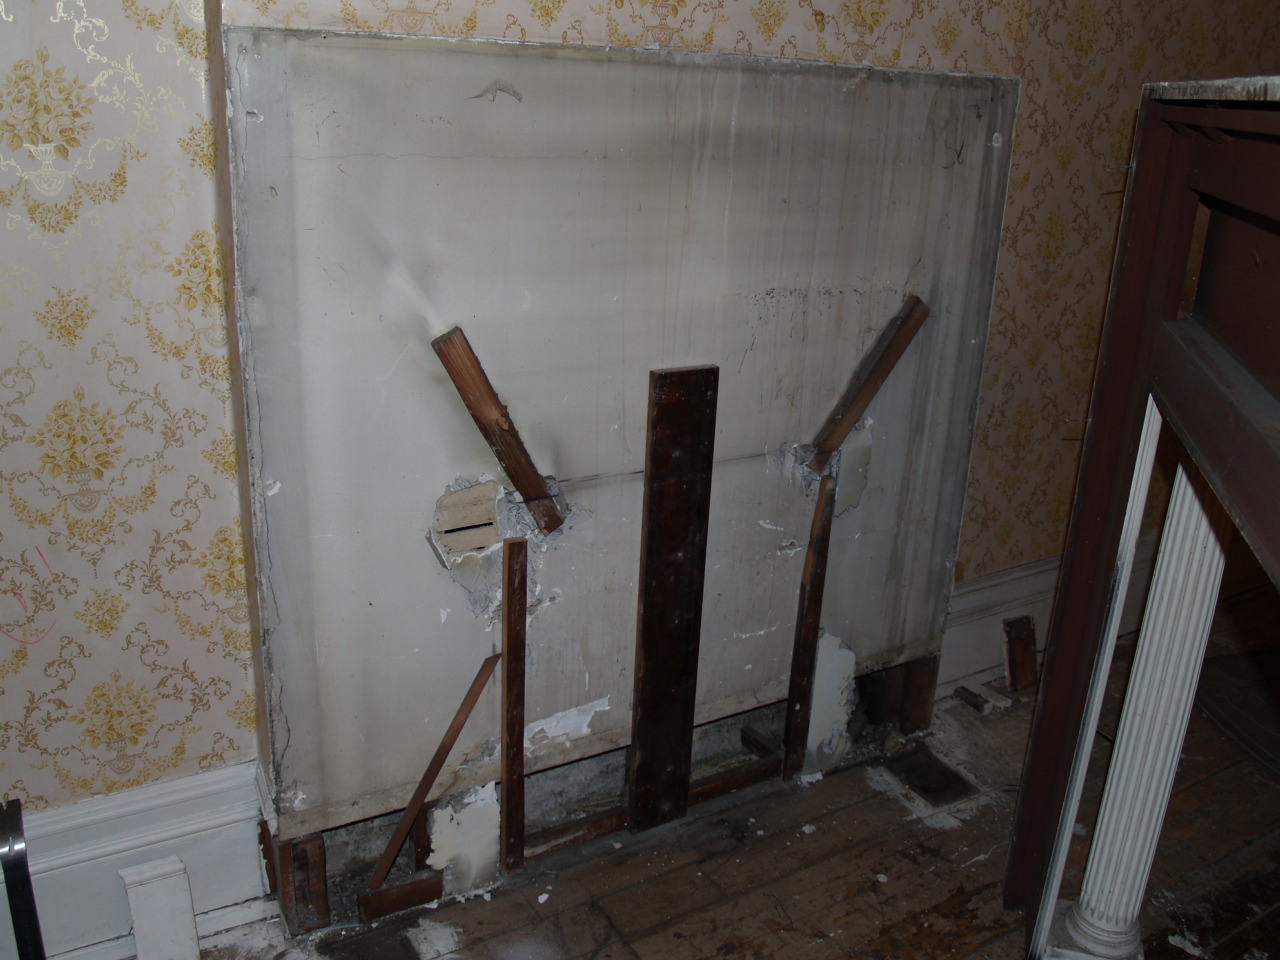
A bunch of shots of ripping the faux mantle off the wall in the living room and the marble slabs behind it. The marble was held to the wall entirely with plaster, as you can see in one of the shots of the pieces on the floor.
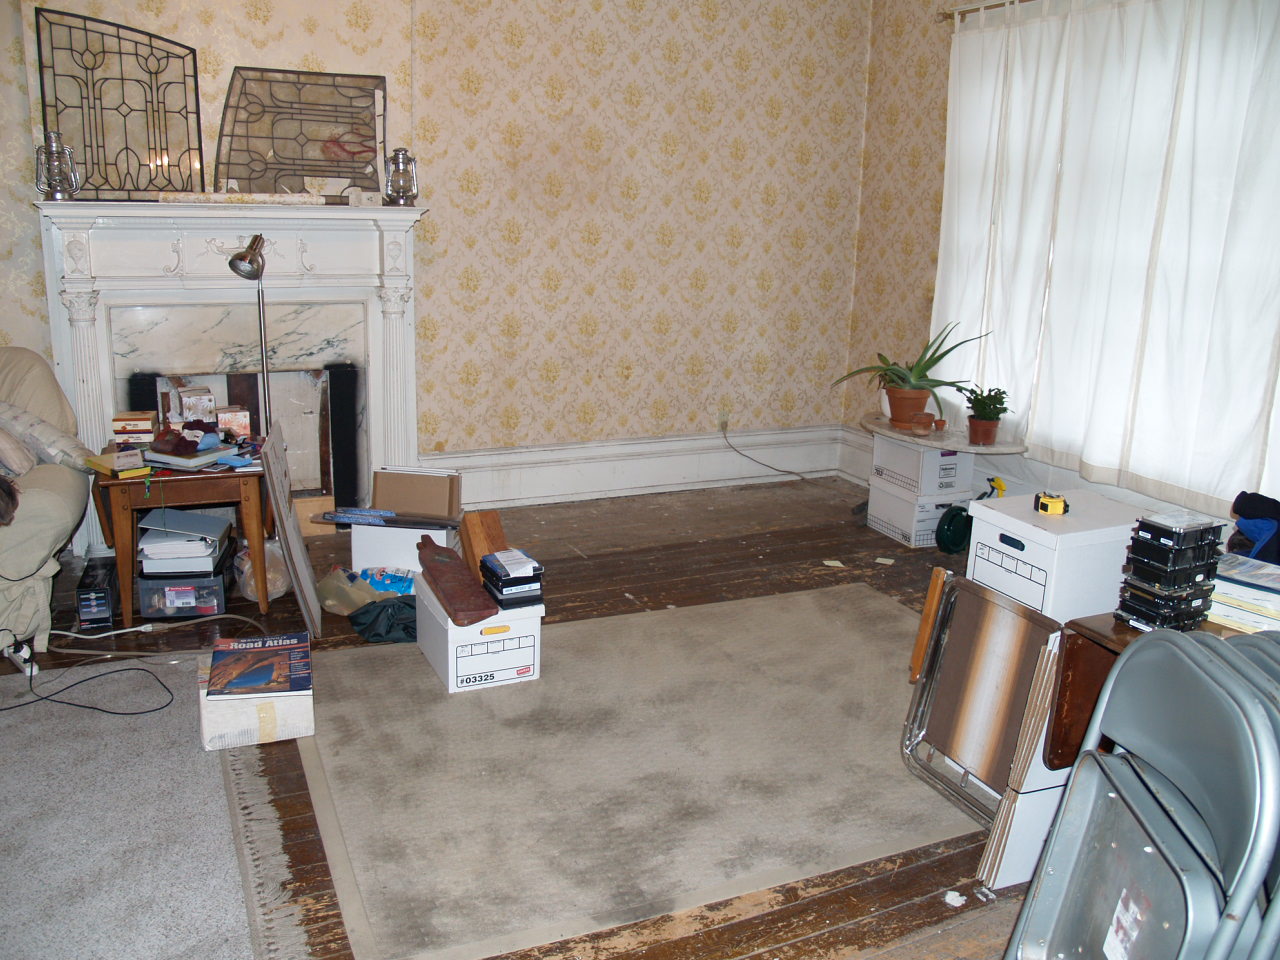
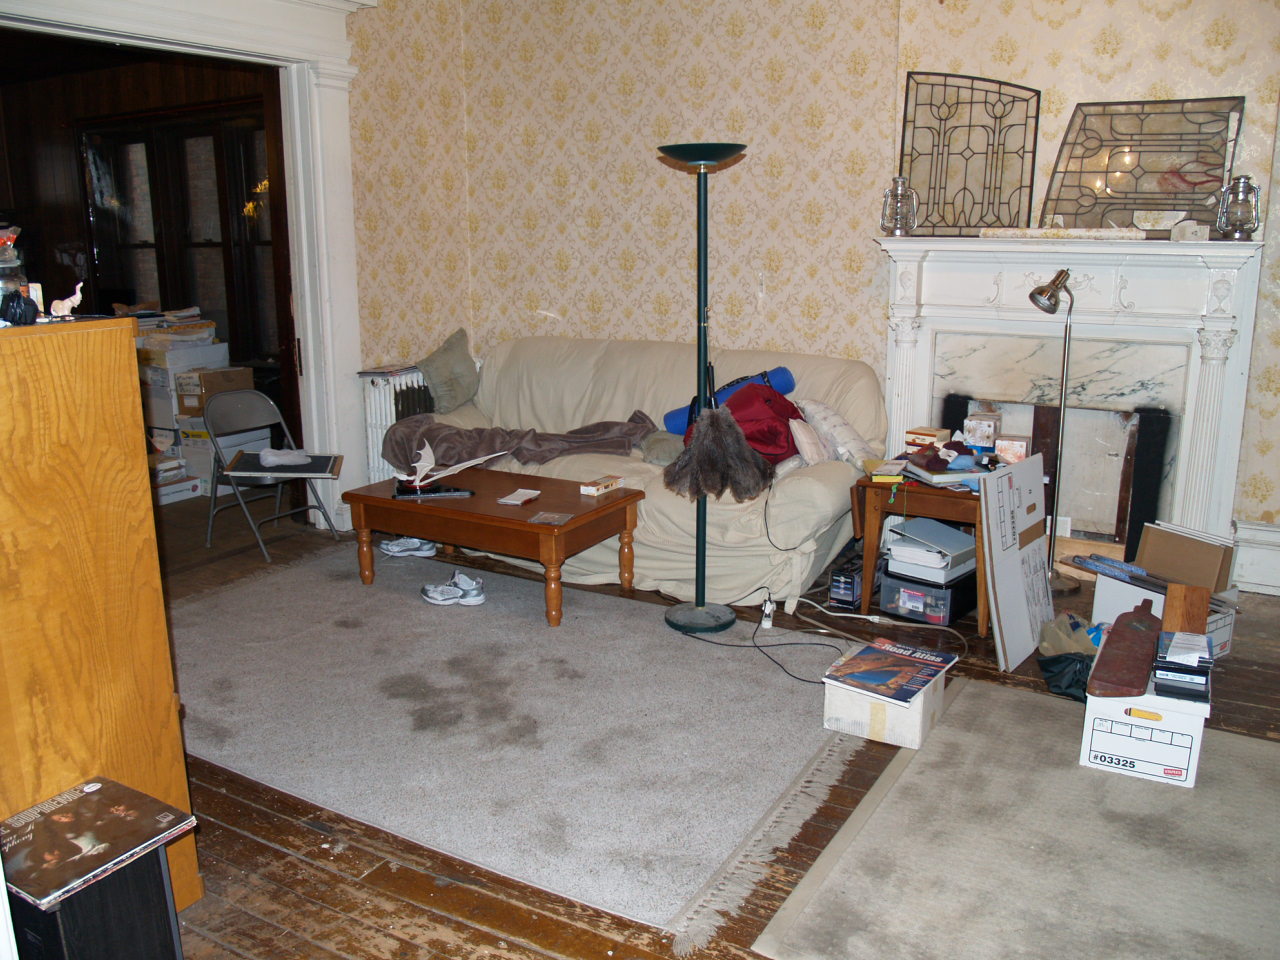
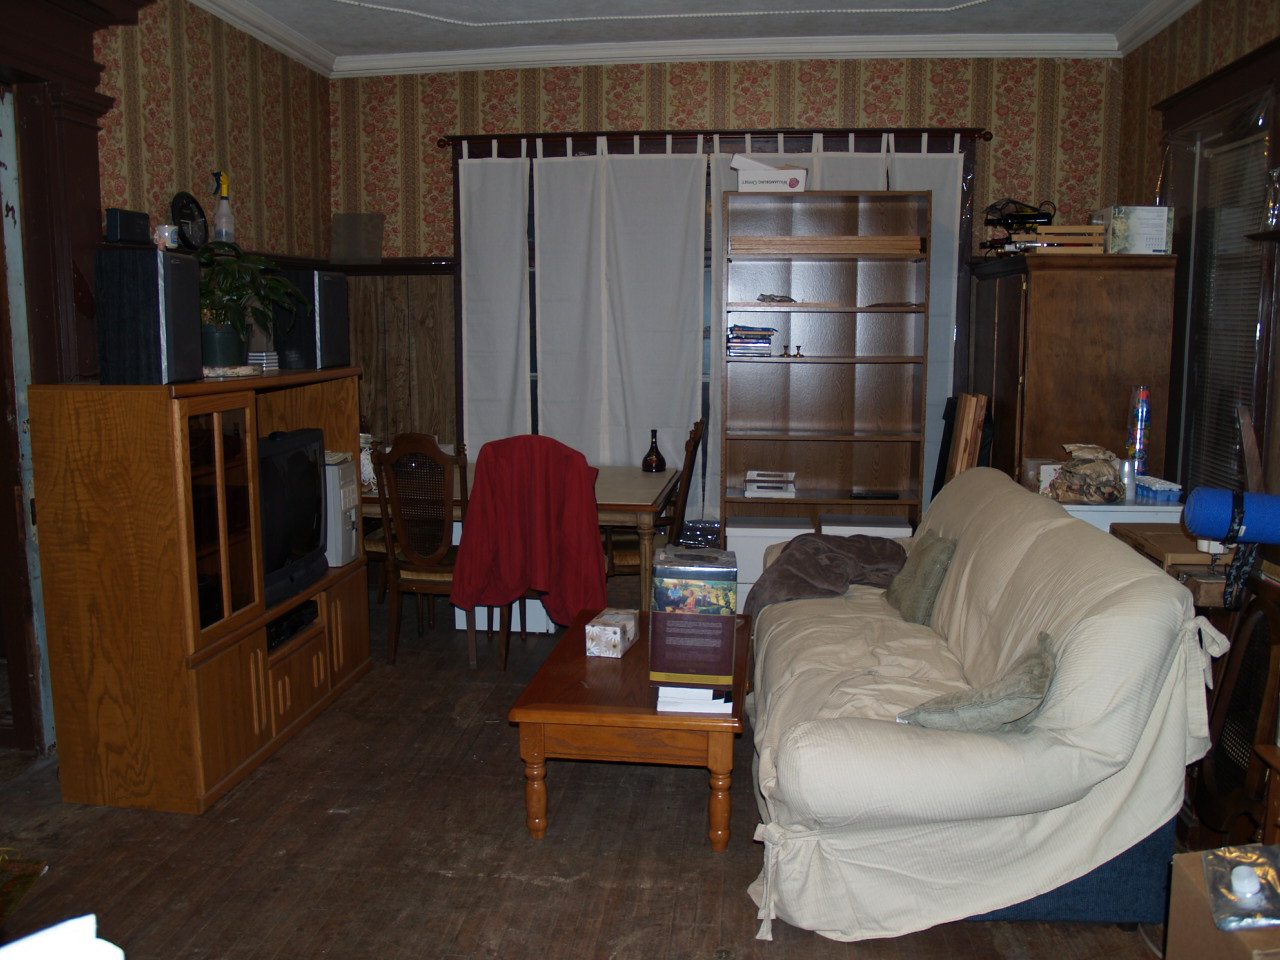
Three shots of the cleaning of the living room, followed by one shot of the "living room in exile" where it has been moved into the dining room.
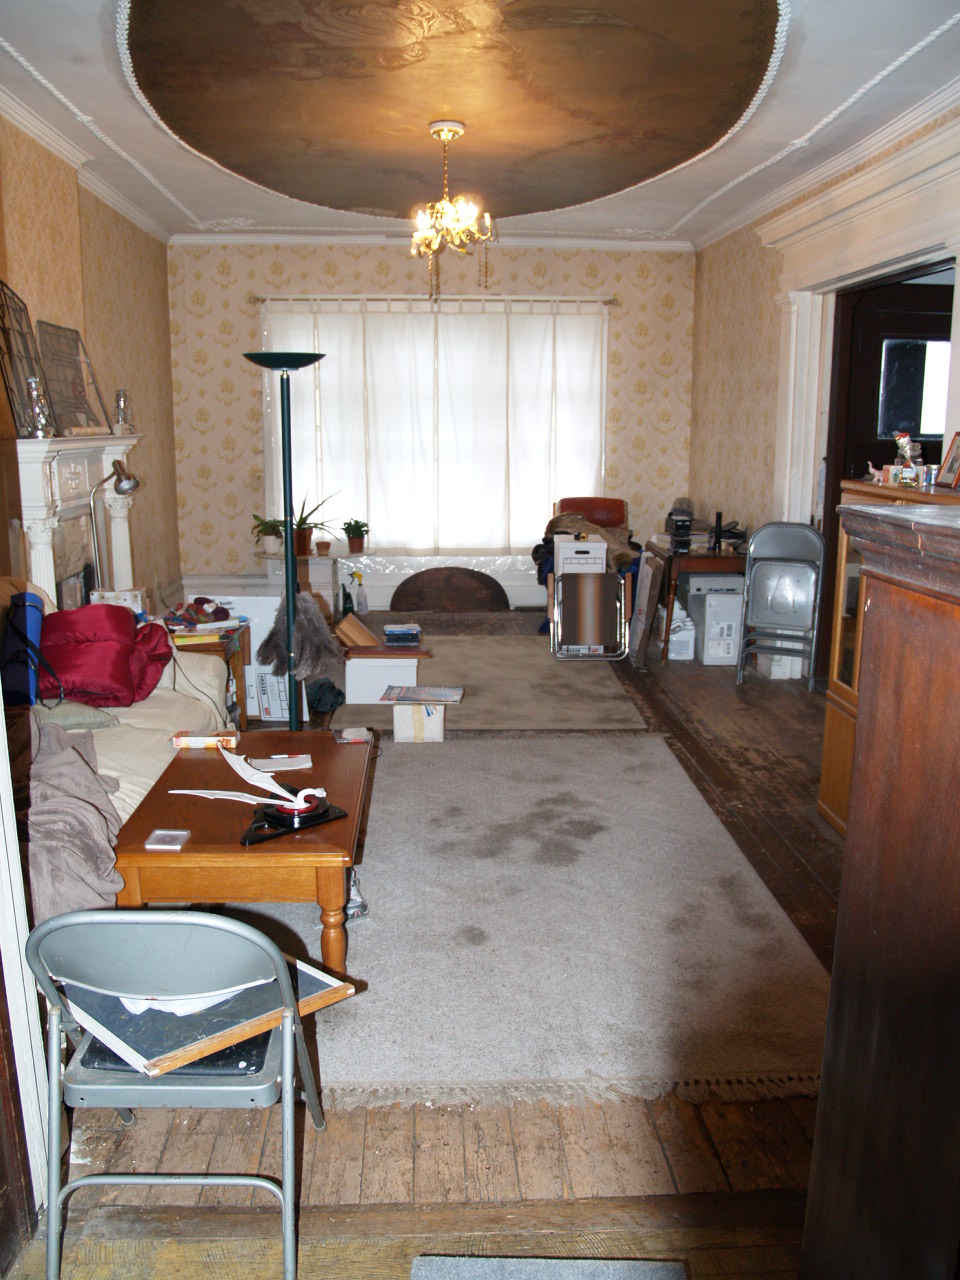

Four shots showing the living room being emptied, then the demolition starting to happen.
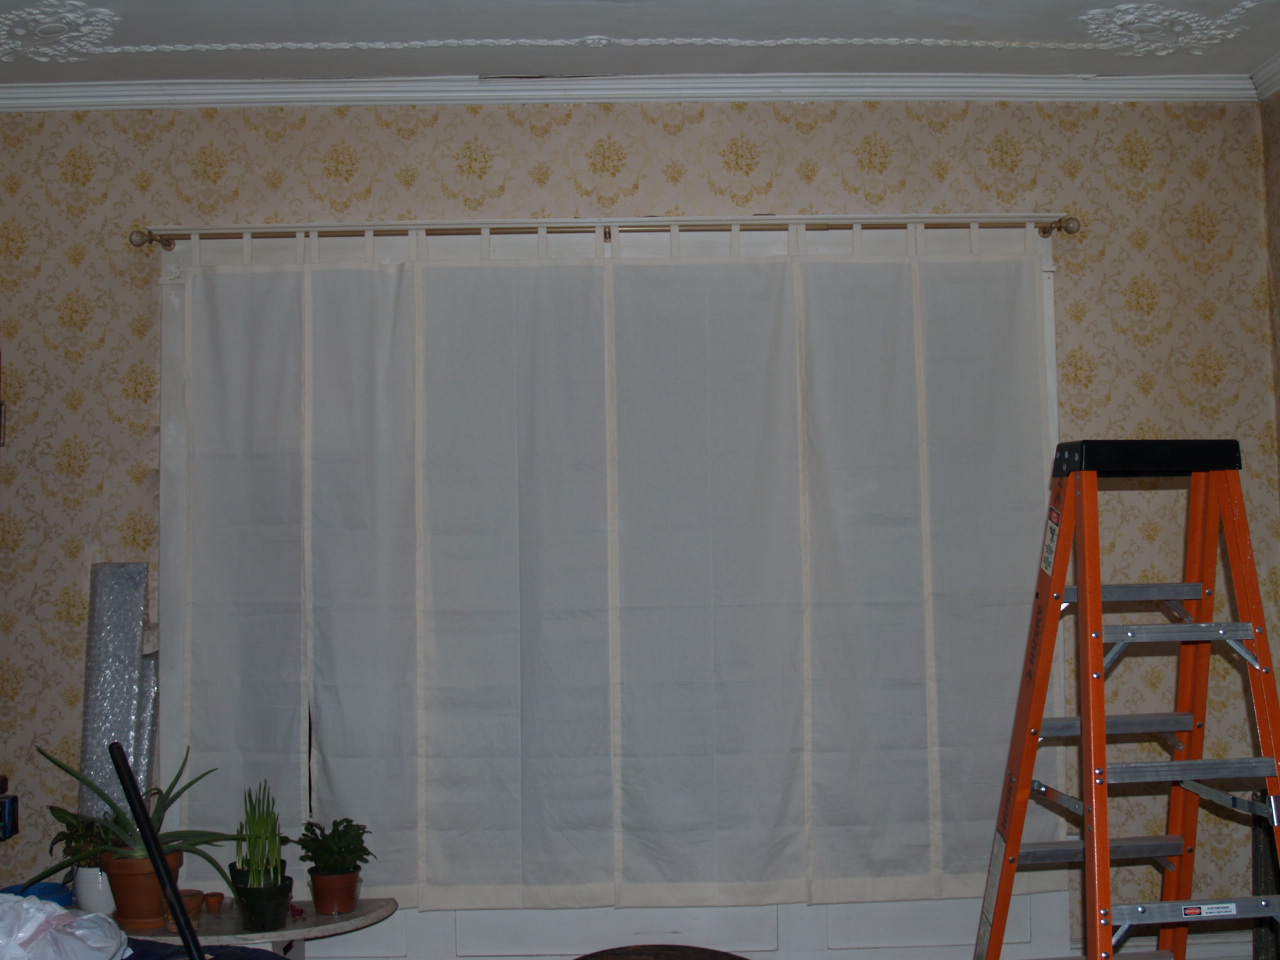
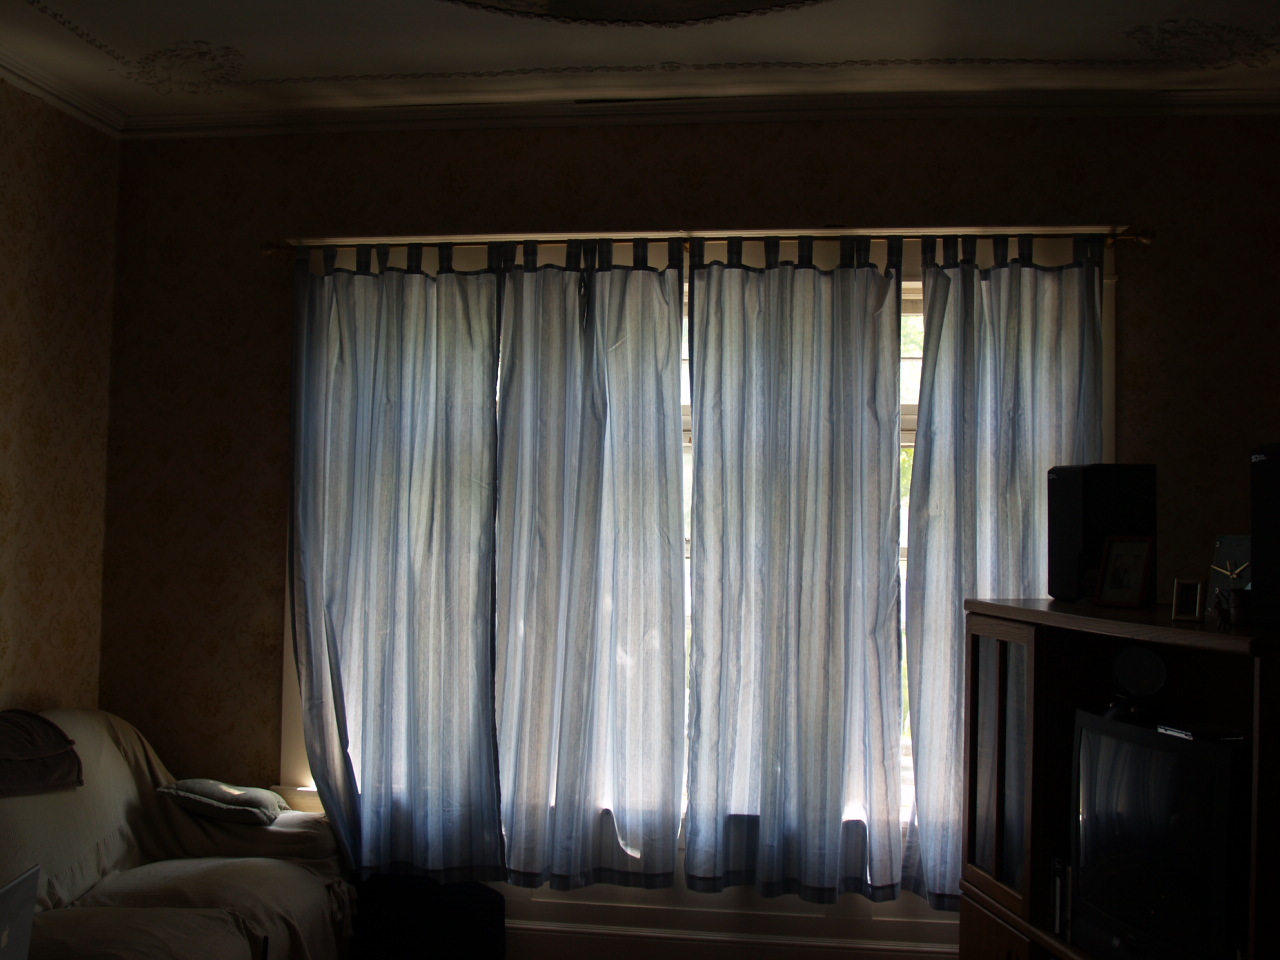
New curtains in the living room! These are more accurately liners for the real curtains, but since John is making them and the real curtains aren't done yet, we put these up. Not bad after almost 4 years...
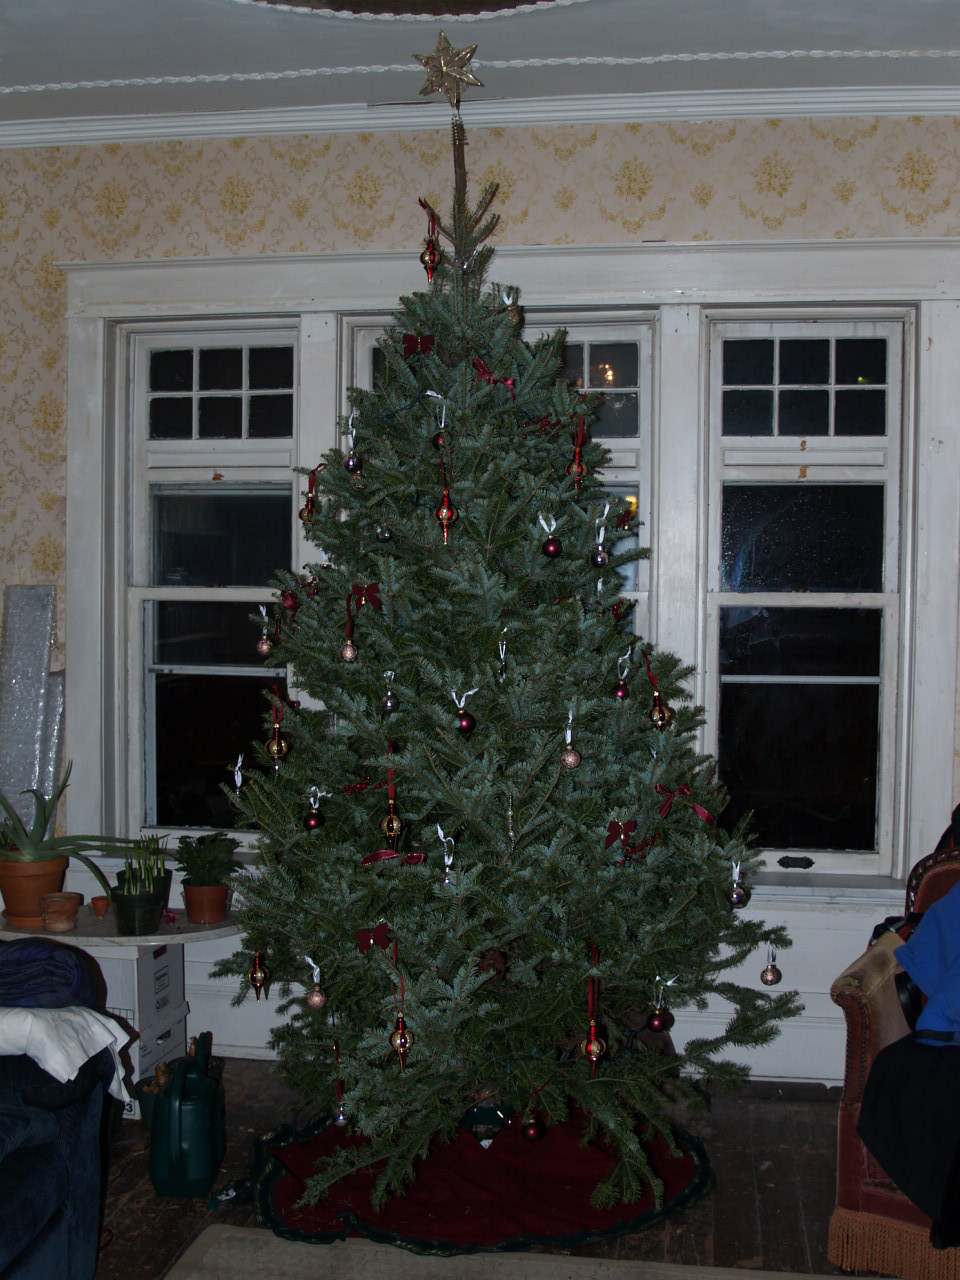
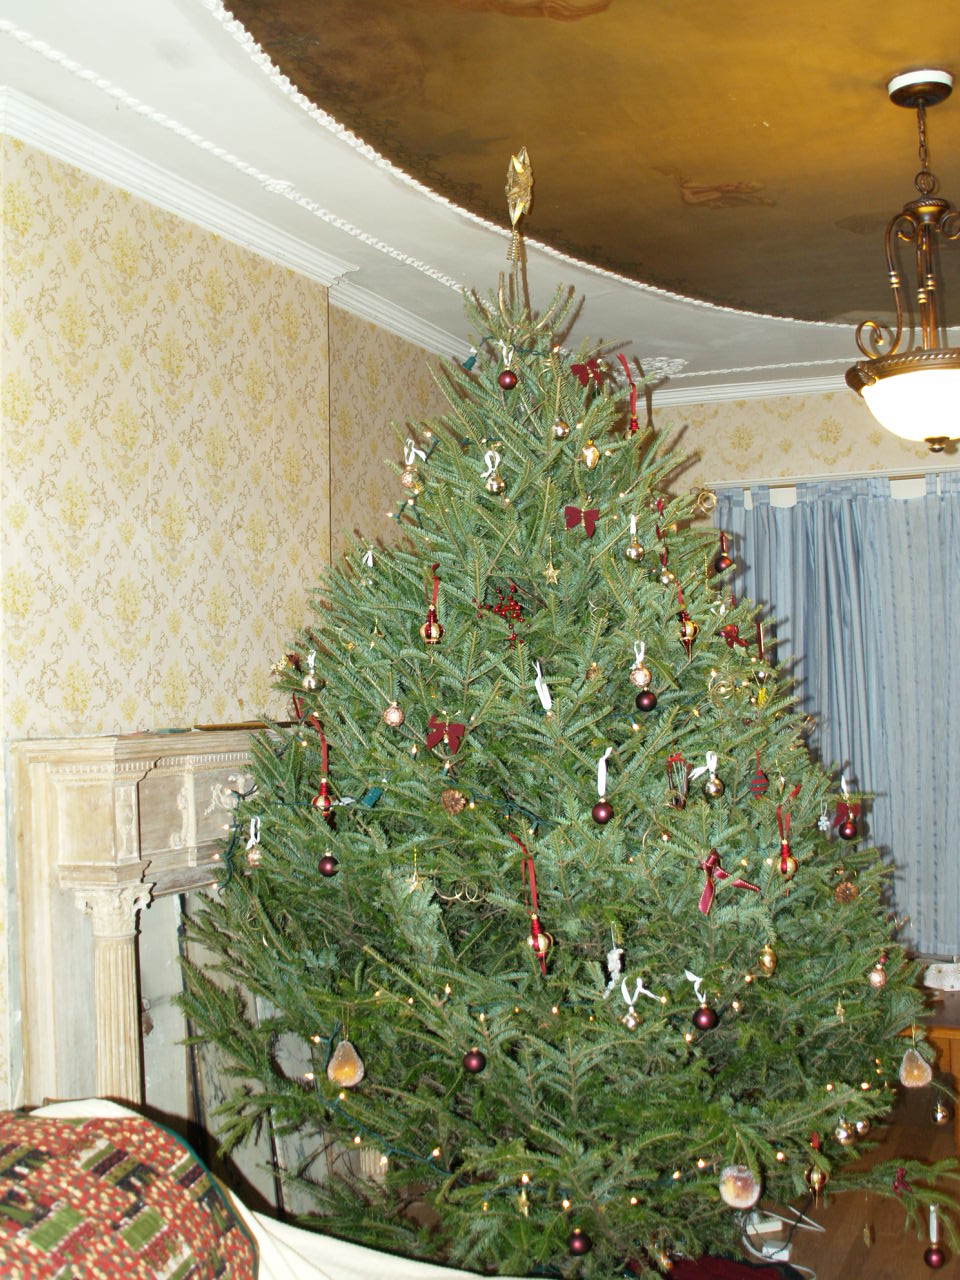
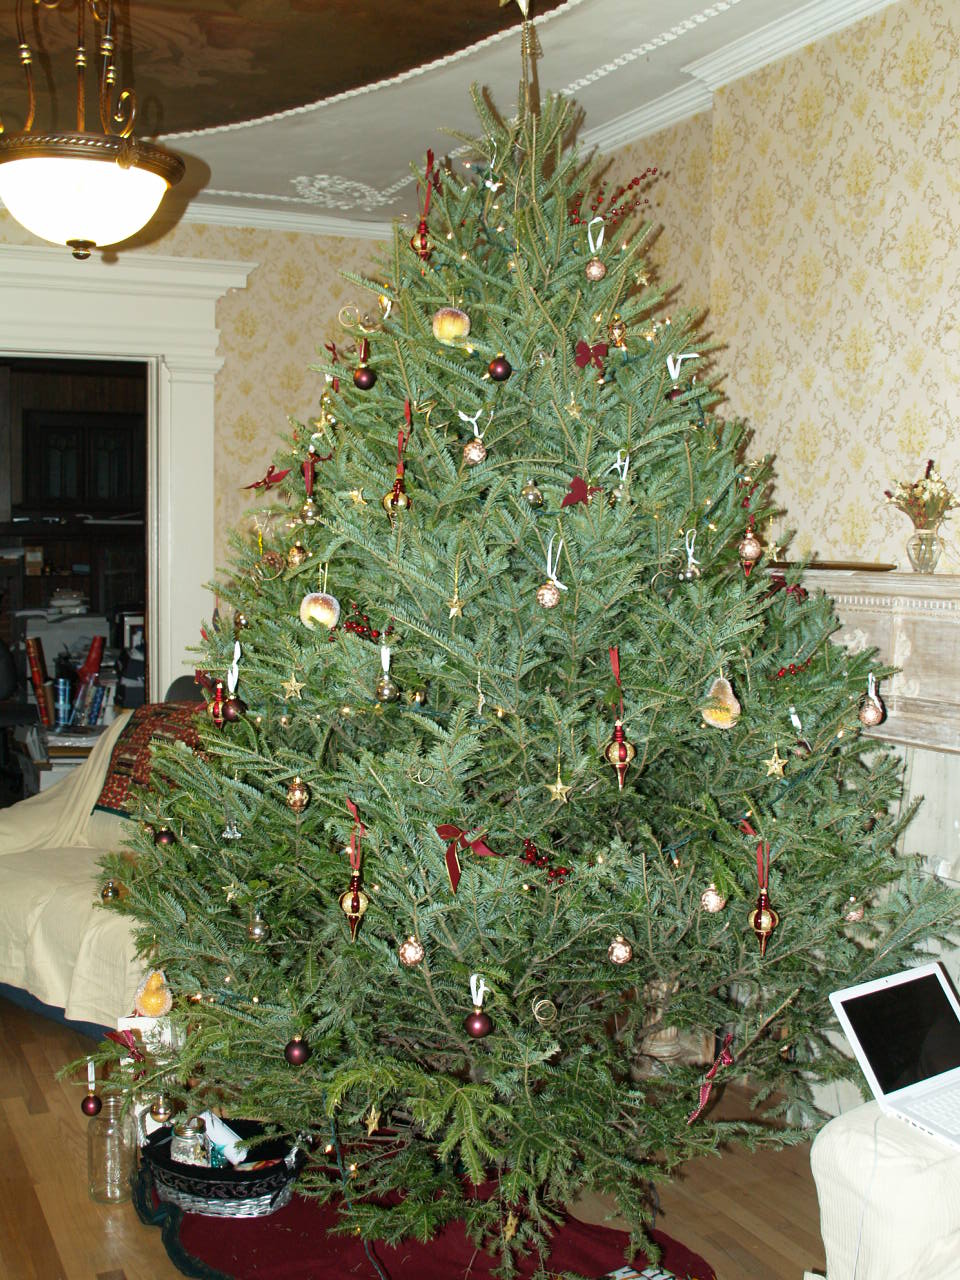
A picture of this year's tree, ironically the first picture after last year's tree. Obviously not much done in the living room this year.
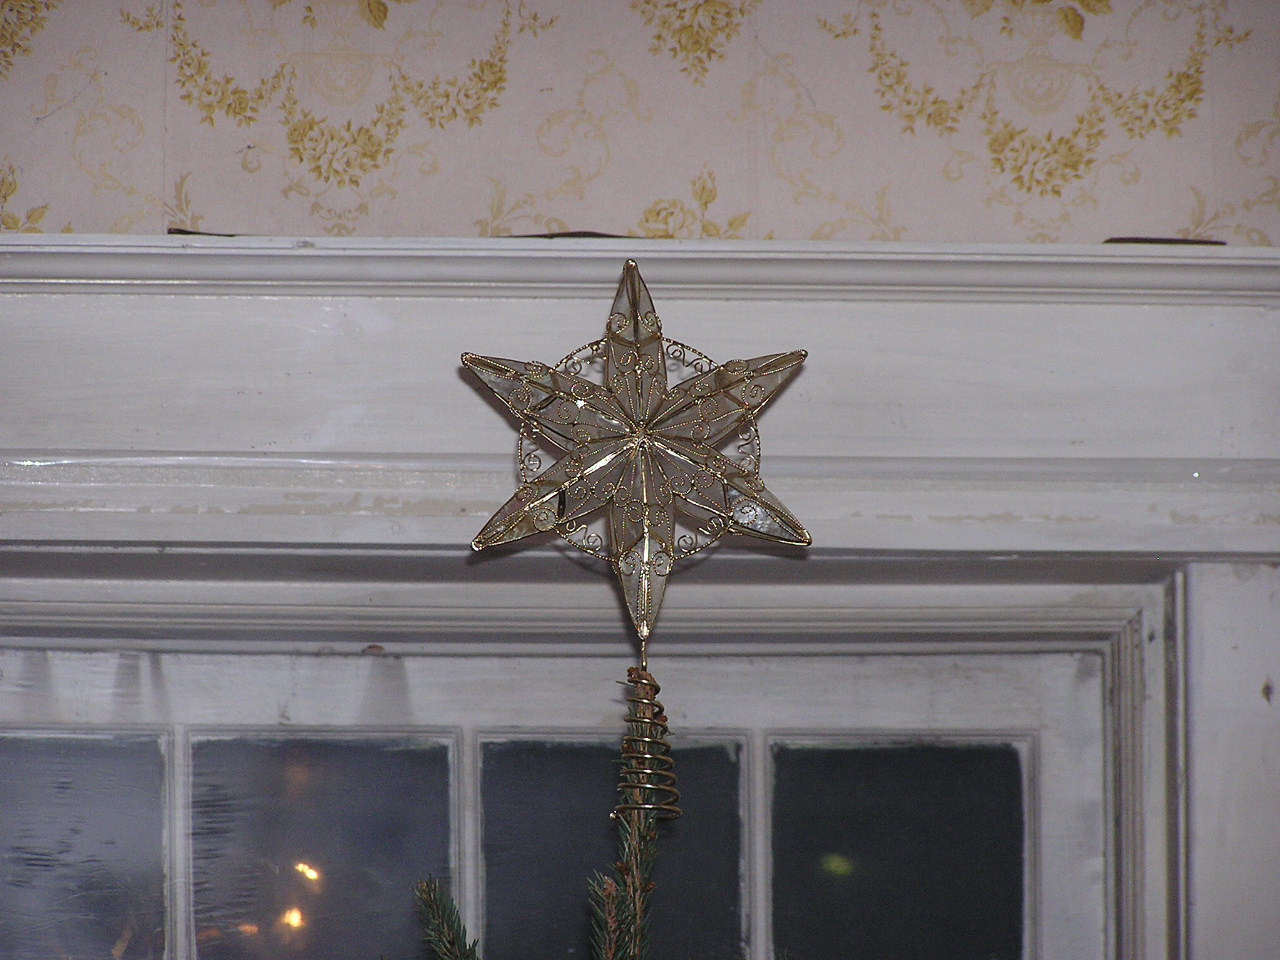
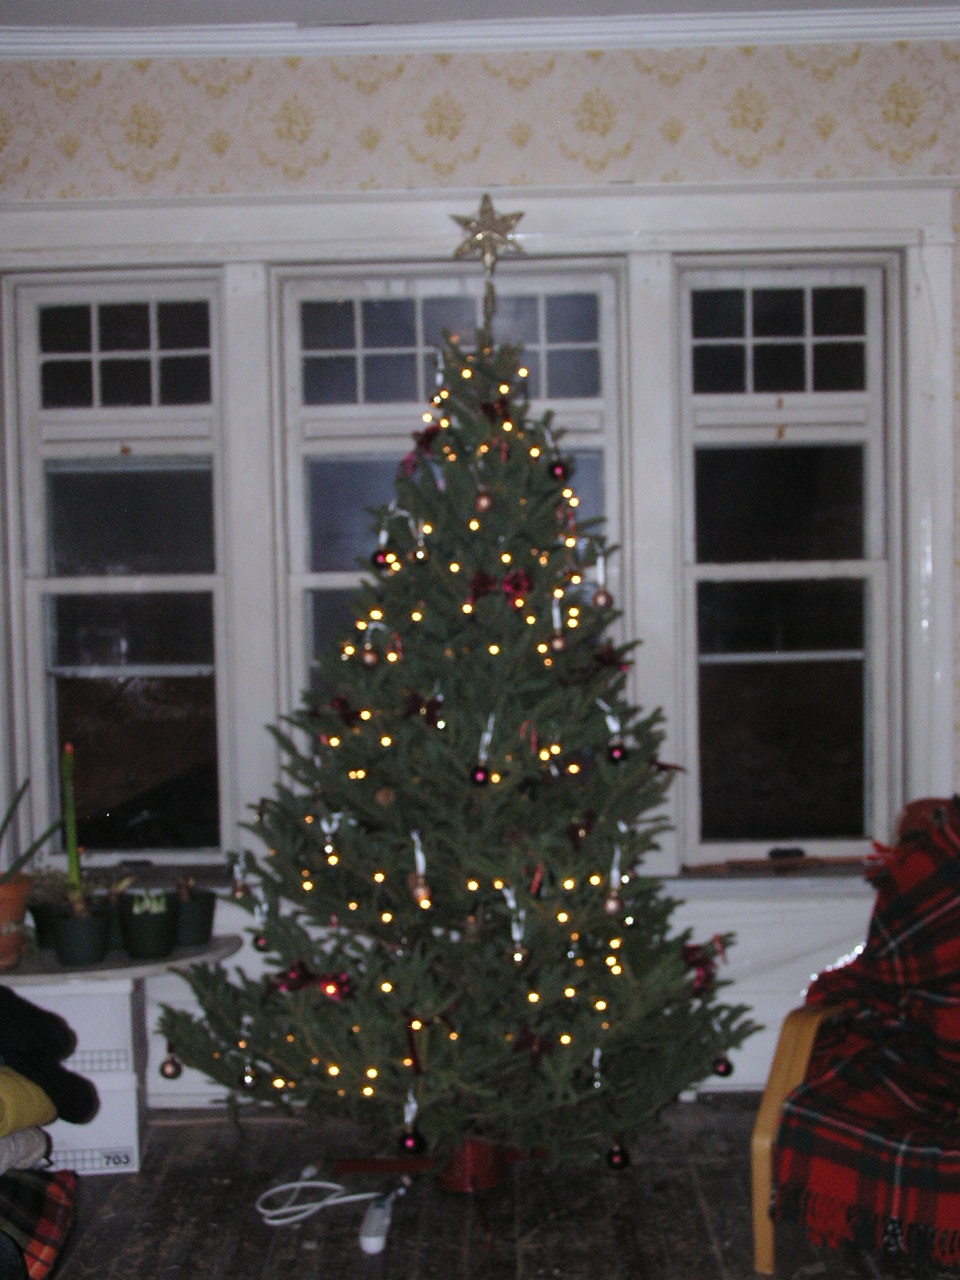
A couple pictures of the Yule tree and its topper. I took 4 pictures of the tree itself, none of them were willing to focus correctly. I have no idea what the camera thought it was focusing on, but clearly not the tree. Yes, it is listing. After a half hour of getting it perfectly straight, it took about four hours for it to settle back to this slant. The base of the trunk wasn't cut quite perfectly square. I figure whoever designs an easy to use Christmas Tree stand will make a mint.
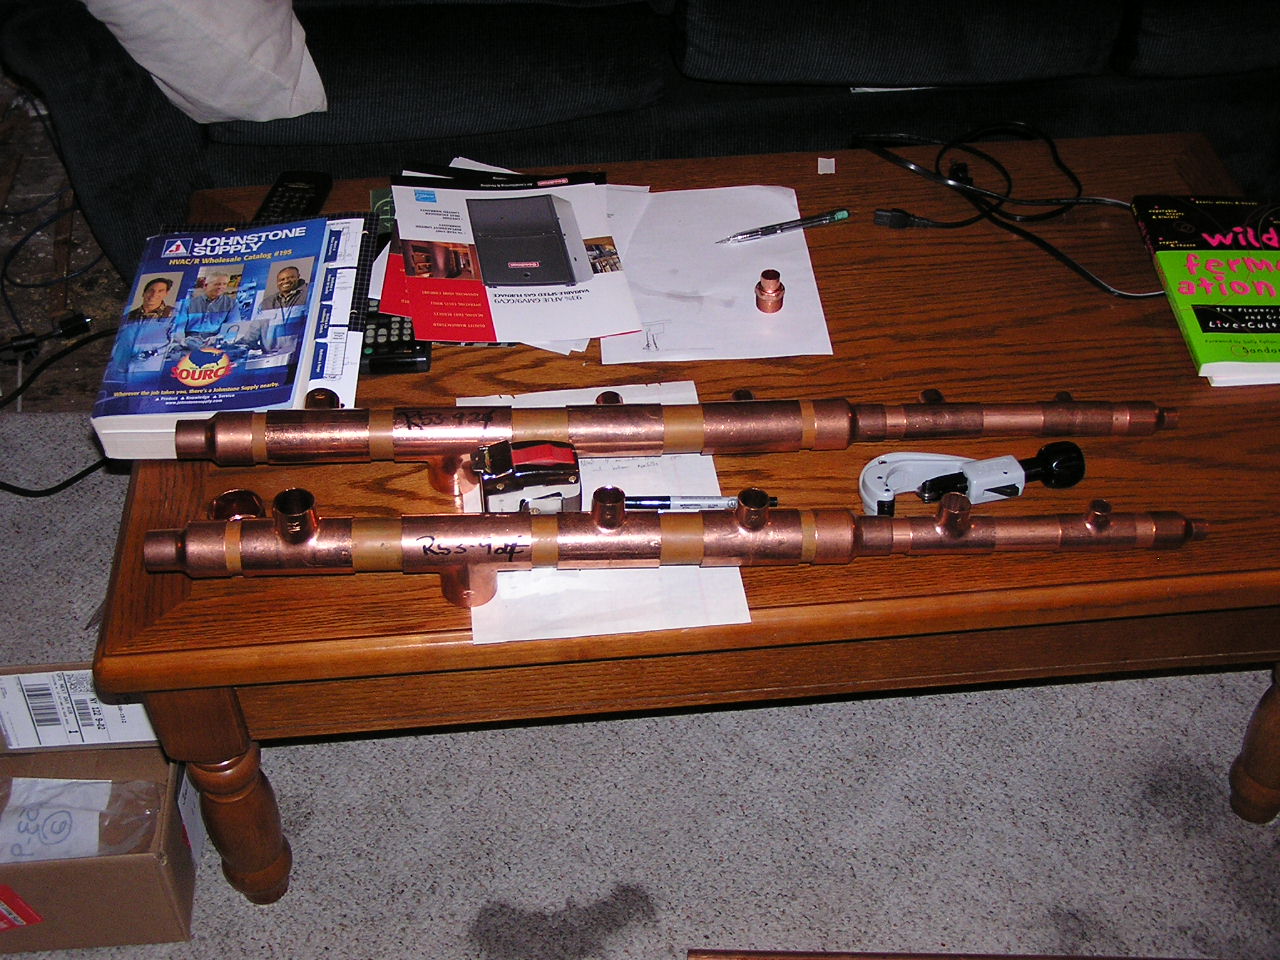
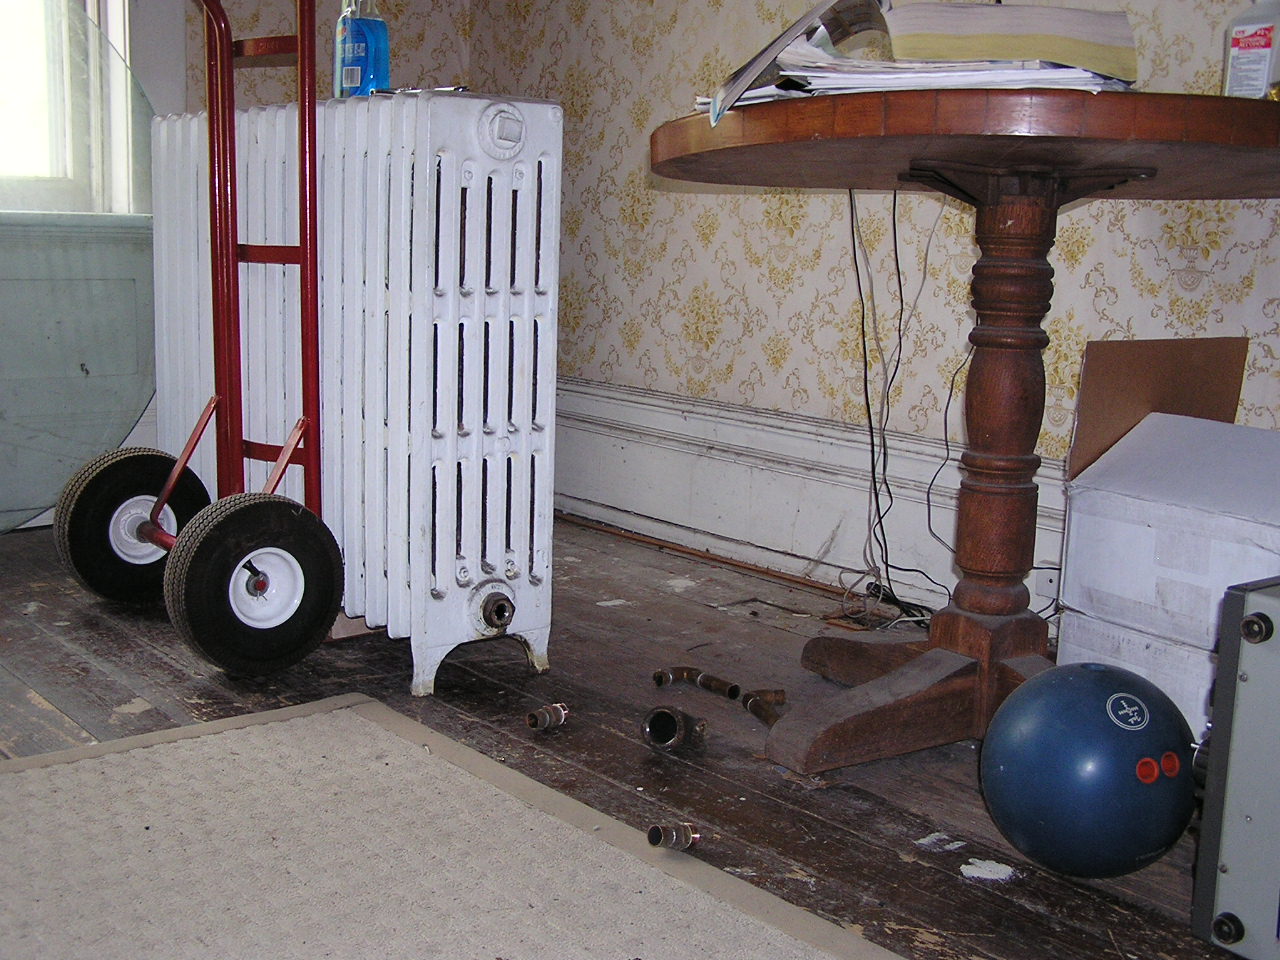
First, a shot of the manifolds for the furnace when they were first assembled. These are the pieces that take a big pipe of water from (or back to) the furnace, and on the other side is broken out into all the heating zones. The big pipe facing down goes to the furnace, each of the 7 others will be its own zone.
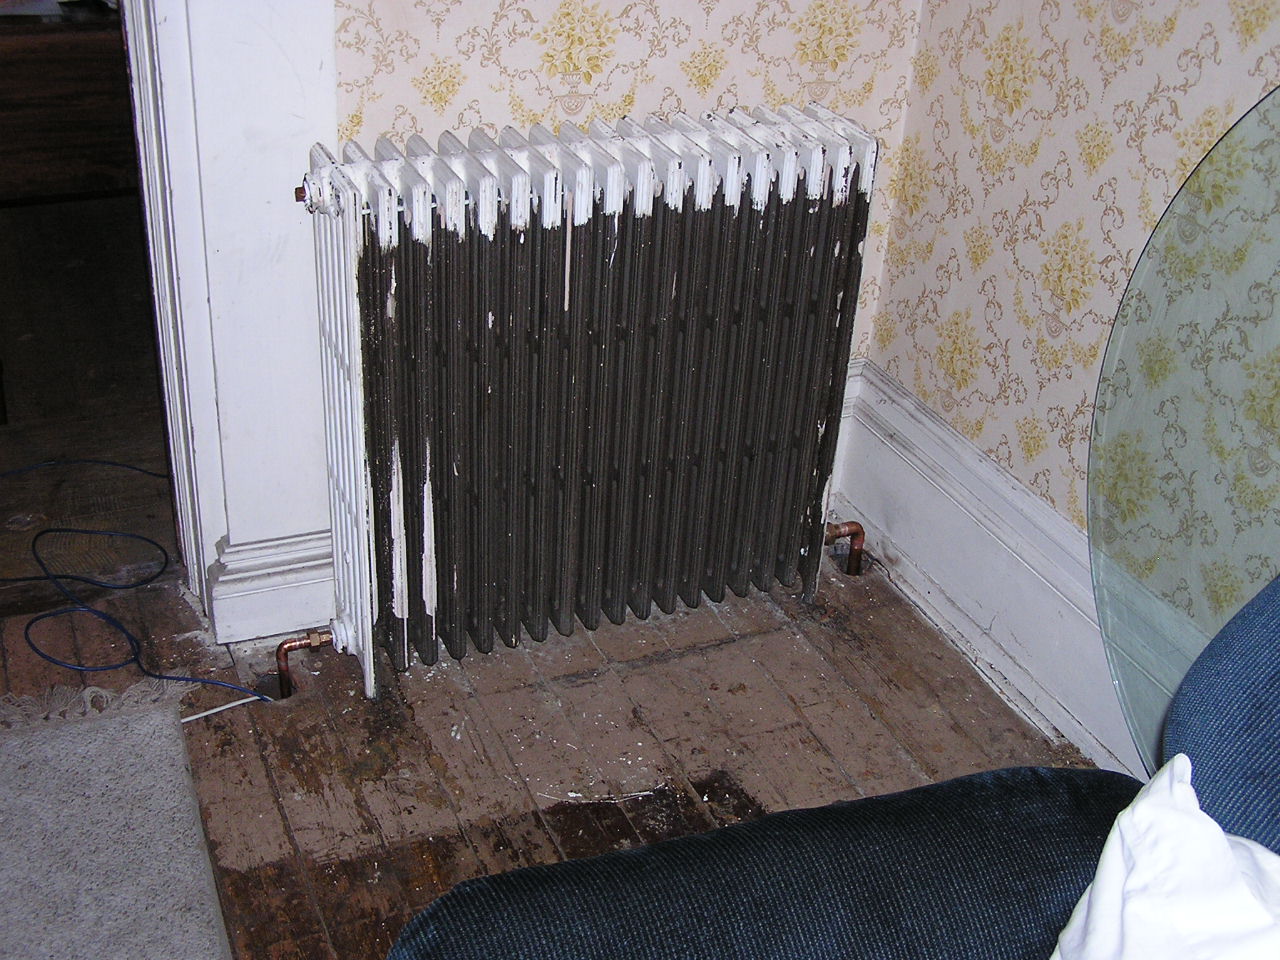
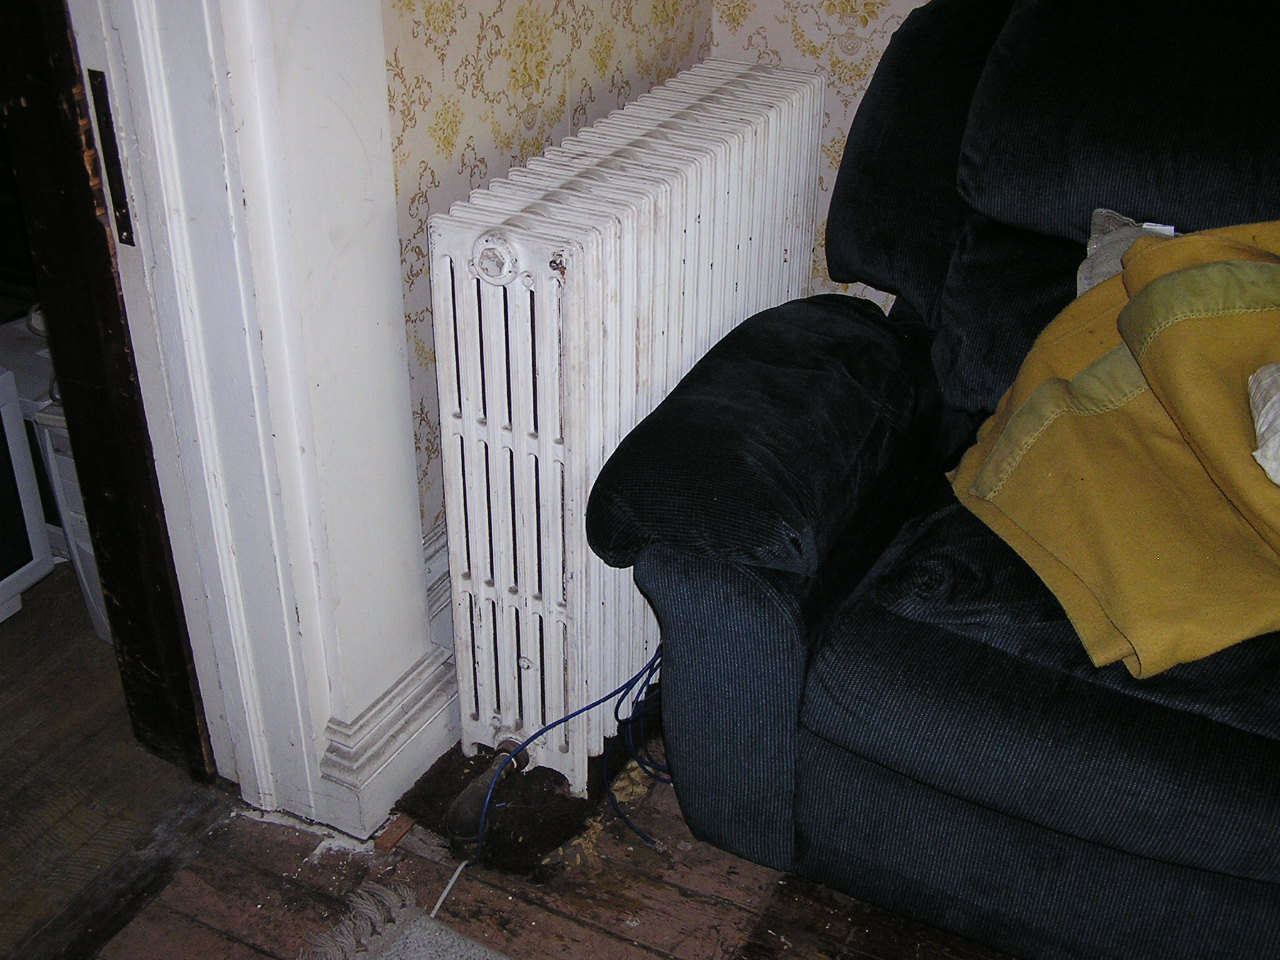
The second shot is newer, and is of one of the living room radiators which has all of its fittings in place, sweated together even. They wouldn't hold together by friction alone, so I had to start playing with a torch just to fit things.
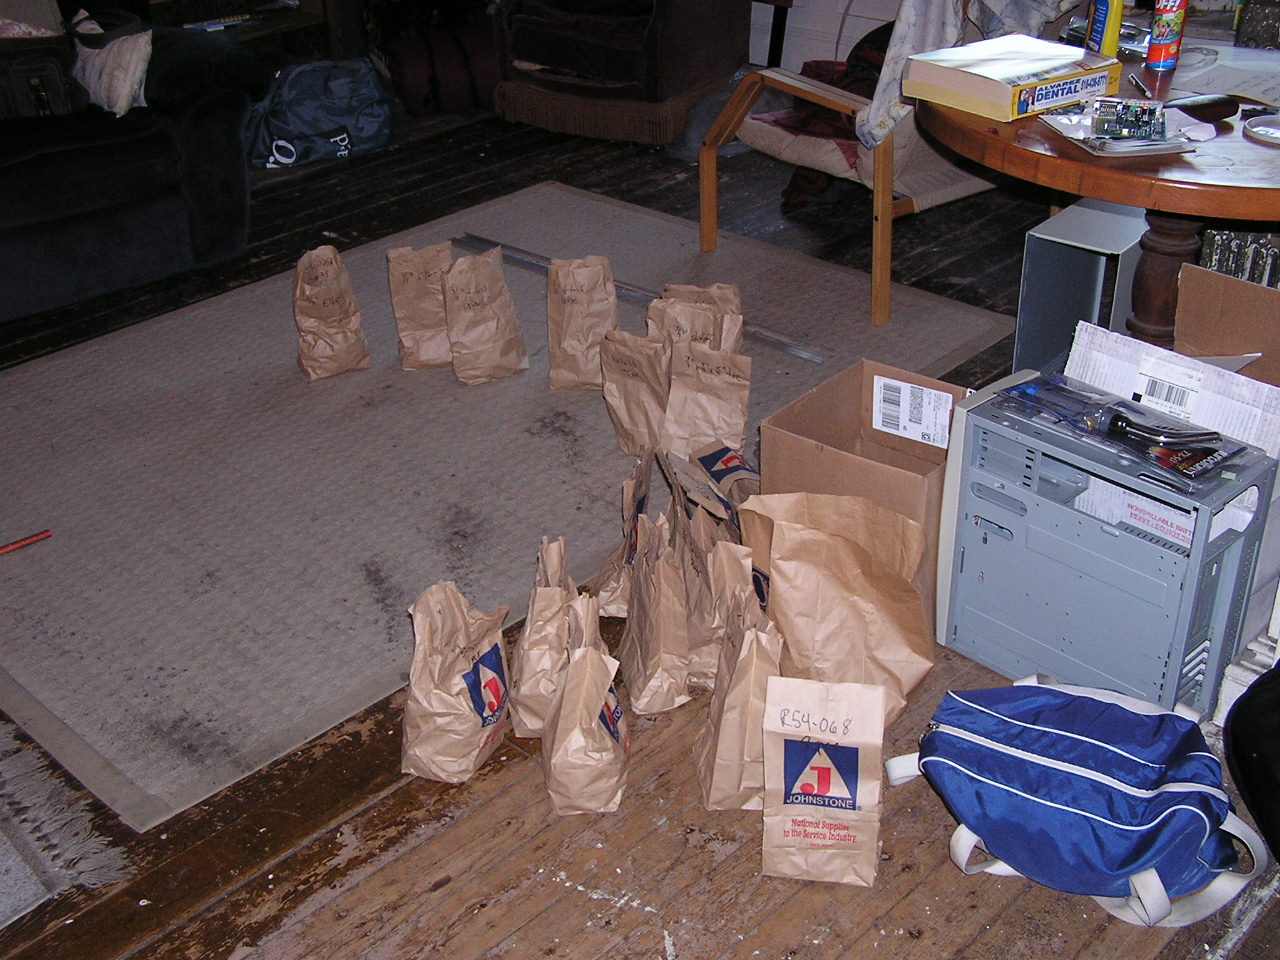
These are the bags of parts from Johnstone supply, all sorted and now labelled with something more useful than "R54-068" - on the other side of that bag it says "1/2" s-s unions". Now I can find things.
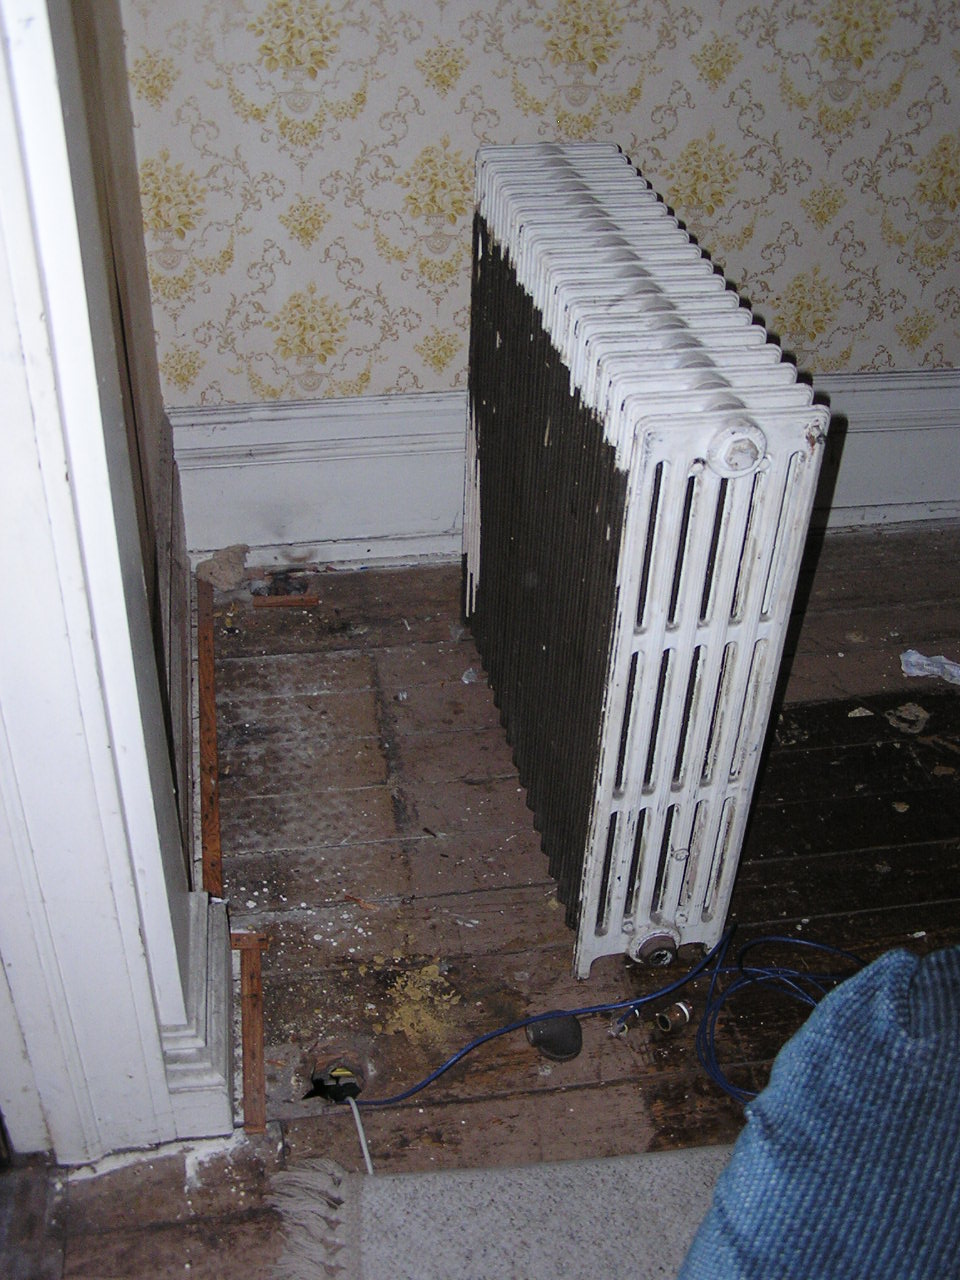
The two radiators in the living room, with no pipes through the floor to connect them to anything. I've also taken the opportunity to get the last two pieces of disgusting carpet out from under them, and these will be the first two out on the sidewalk getting to know my pressure washer intimately. I'm debating whether to paint them silver or white when I'm done. I'm thinking it really needs to be cream, but you can't get that in high-temperature paint. The last picture is what one of the pipes from the radiator by the window did to me - turns out it was turned off under the floor, and the water 1) couldn't drain, and 2) got really nasty. And this was while I has the water in the house turned off. Yuck.
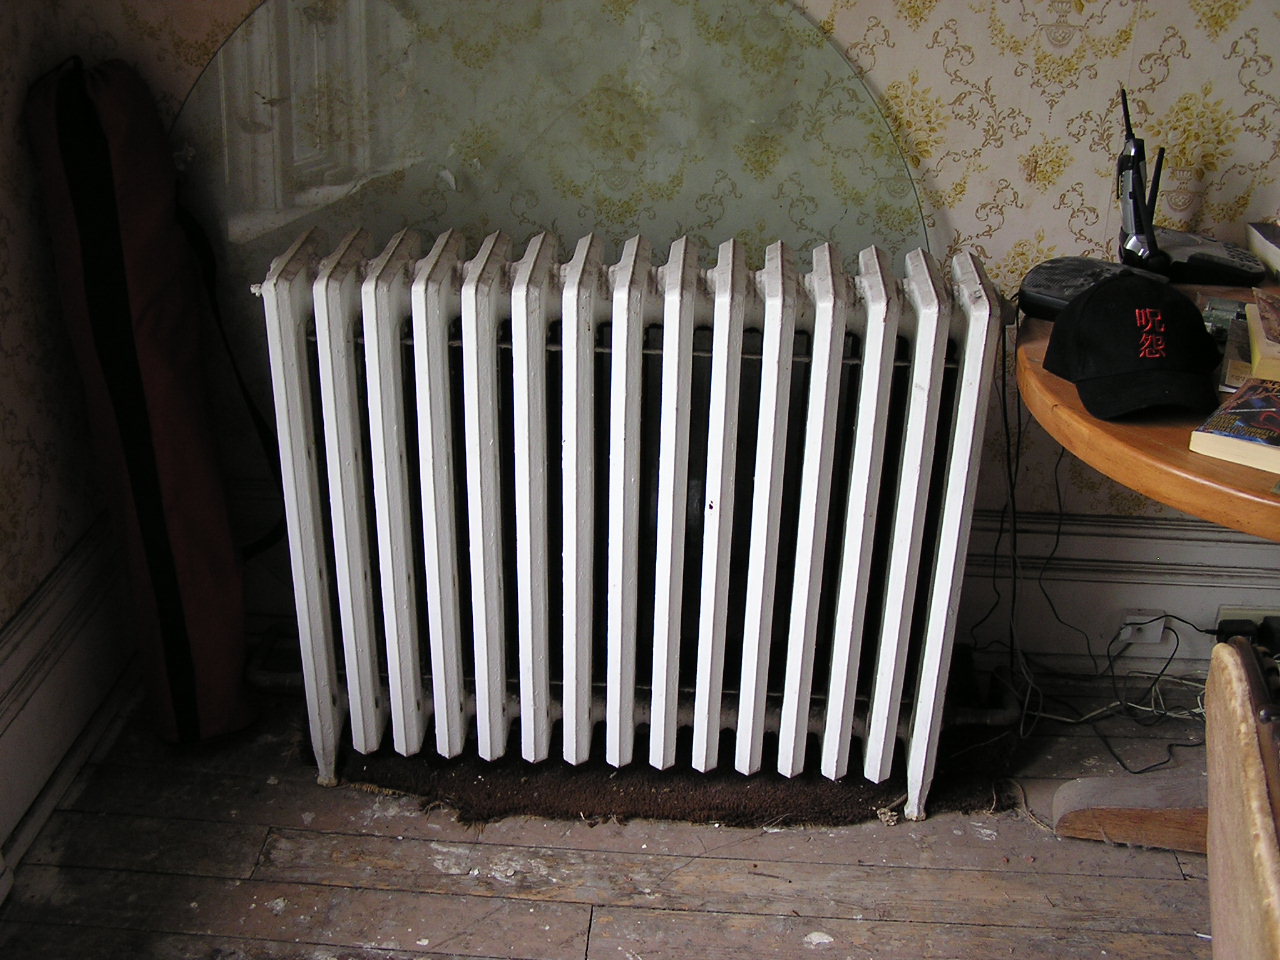
A couple pictures of the radiators in the living room. This is to document what they look like before I rip them out, clean them off, and repaint them.
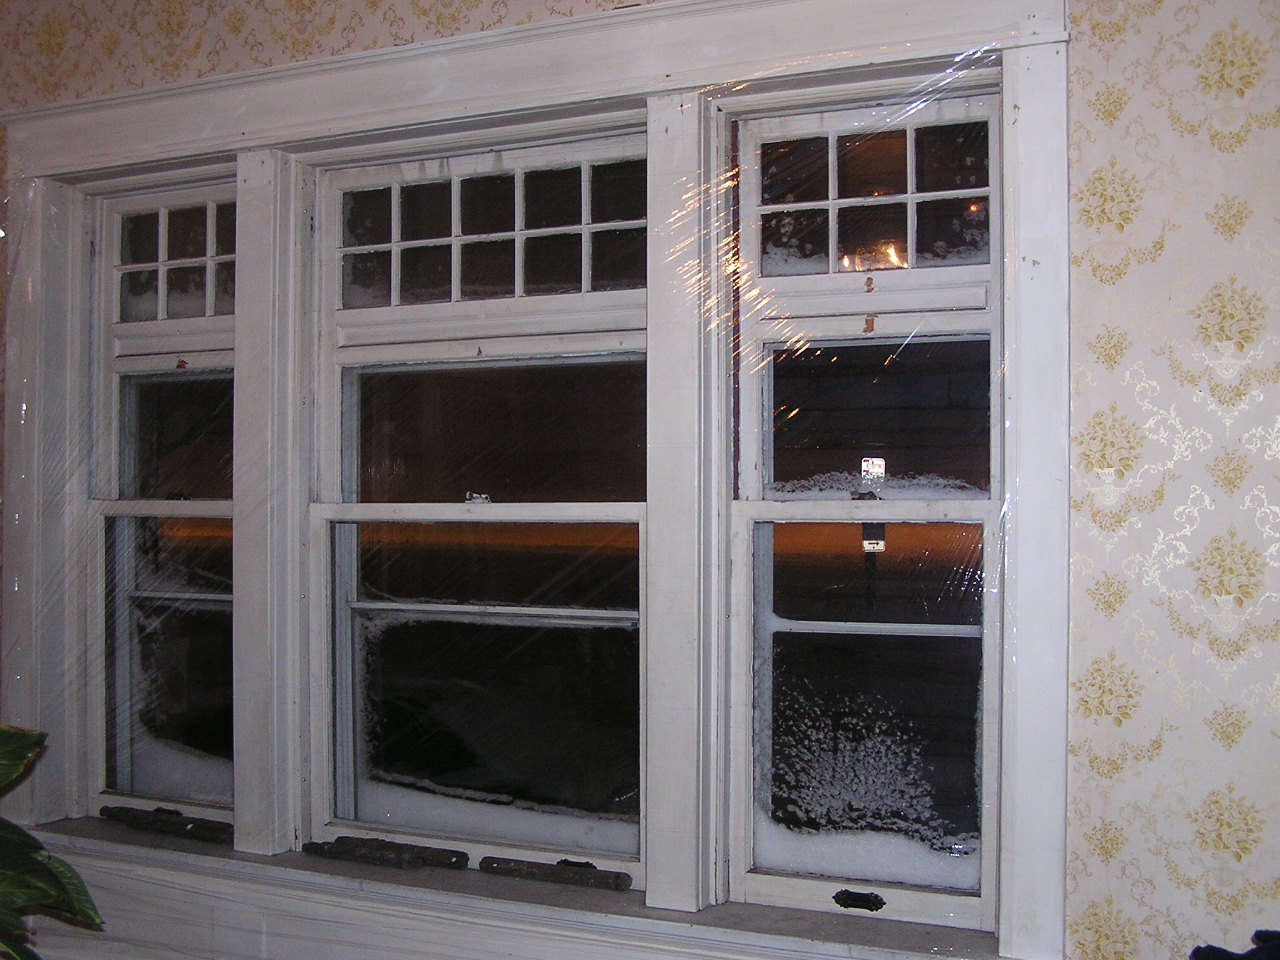
Picture of the window plastic before shrinking. Yes, we sealed the sash weights into the window. No, I wasn't planning on reinstalling them before spring.