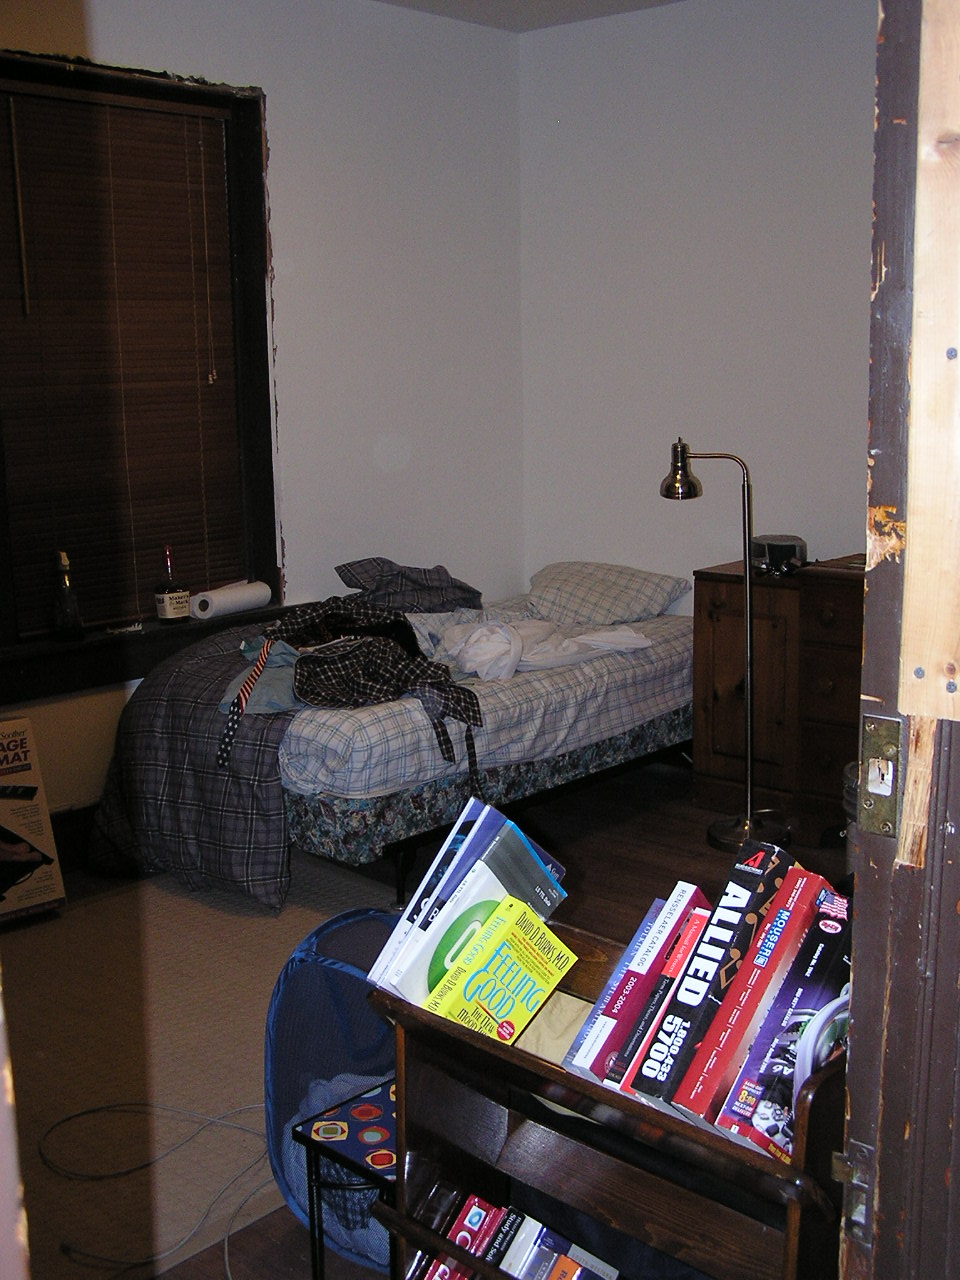
One shot from the doorway of a bunch of Justin's stuff, just to prove the room is occupied. I expect this is the last picture of 3 for quite a long time.
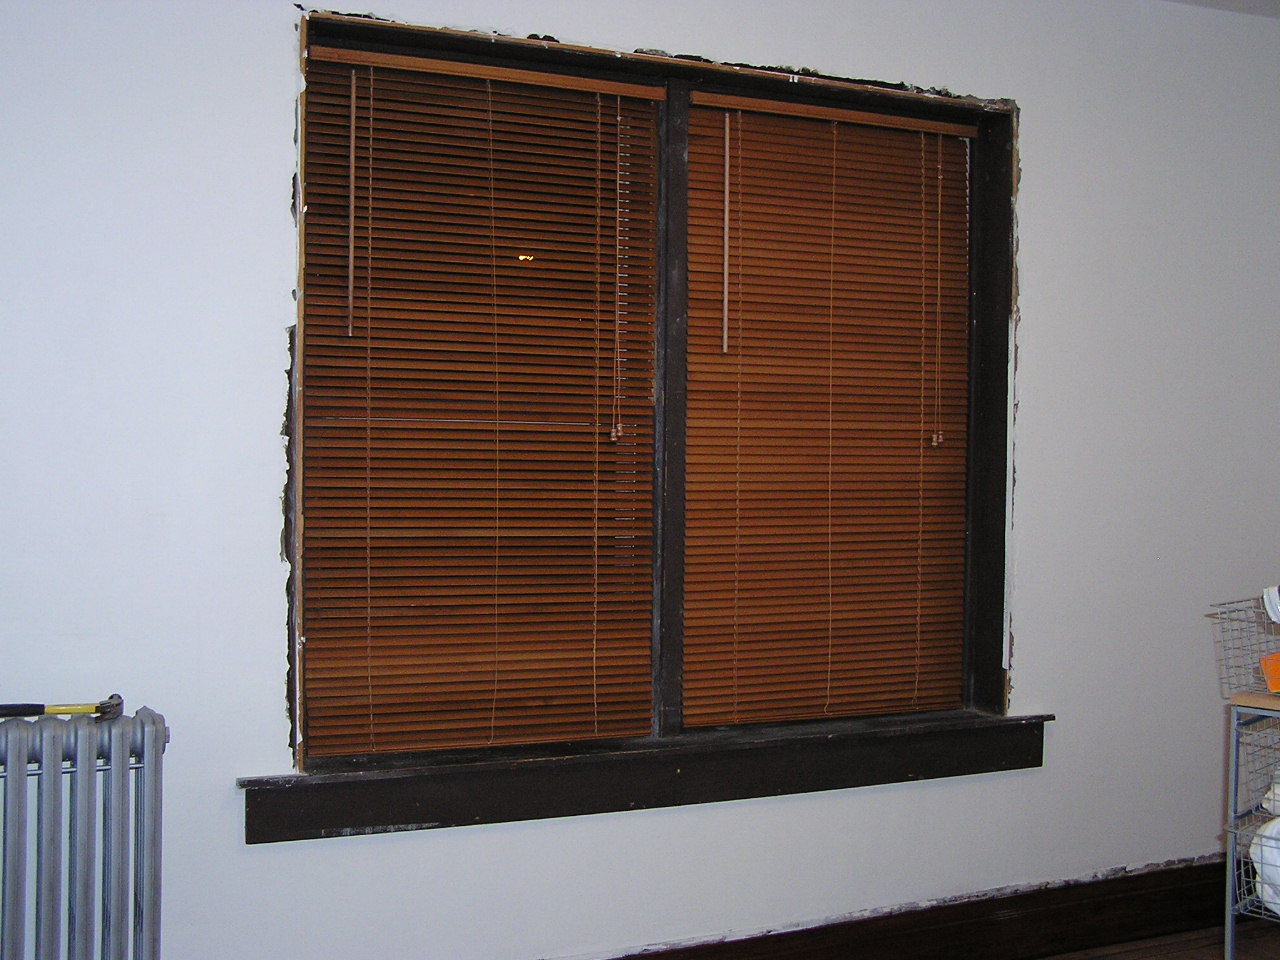
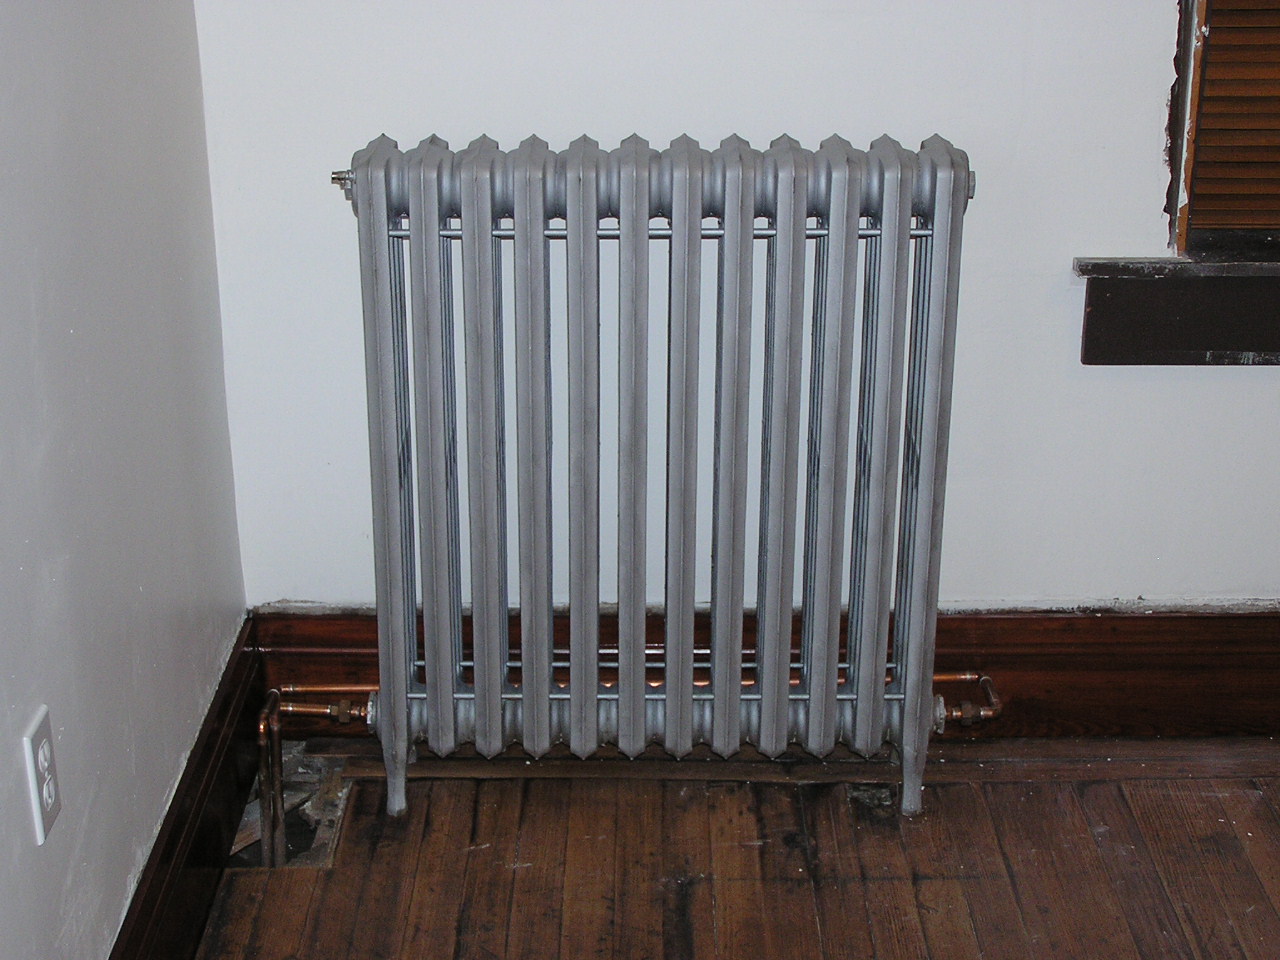
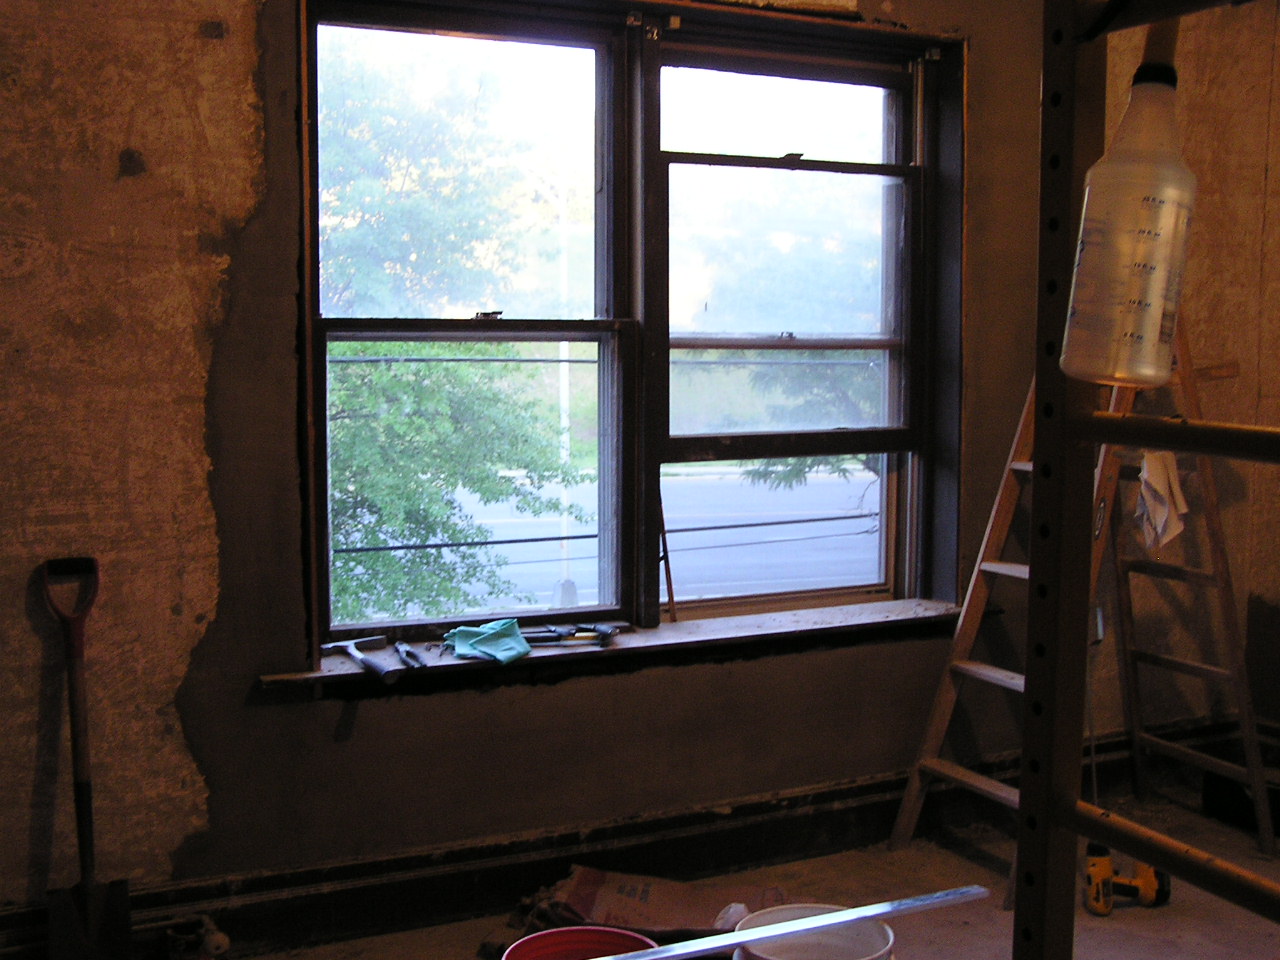
Shots of the new blinds in the East wall, and of the radiator installed in all of it's glory.
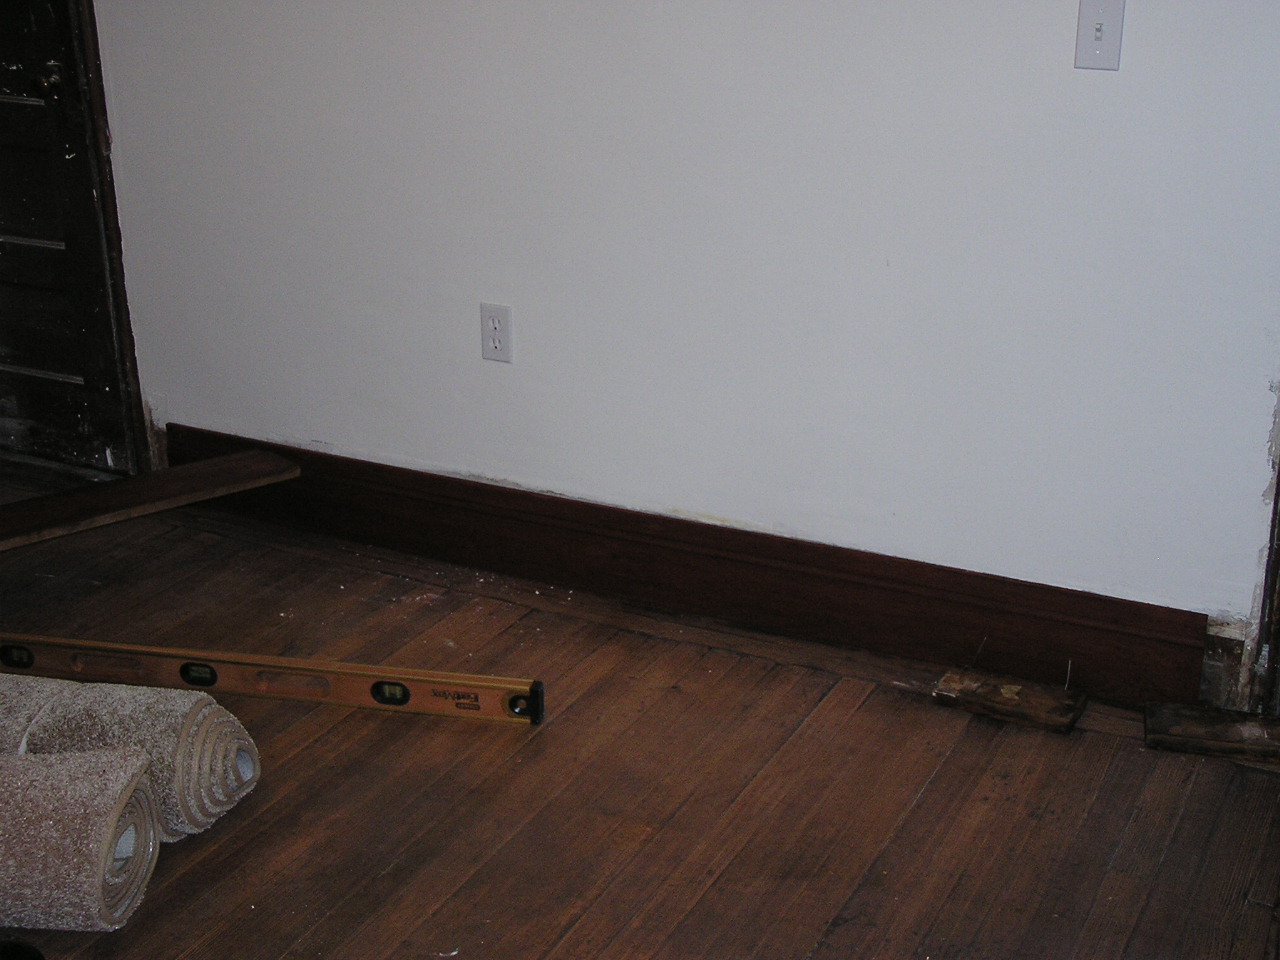
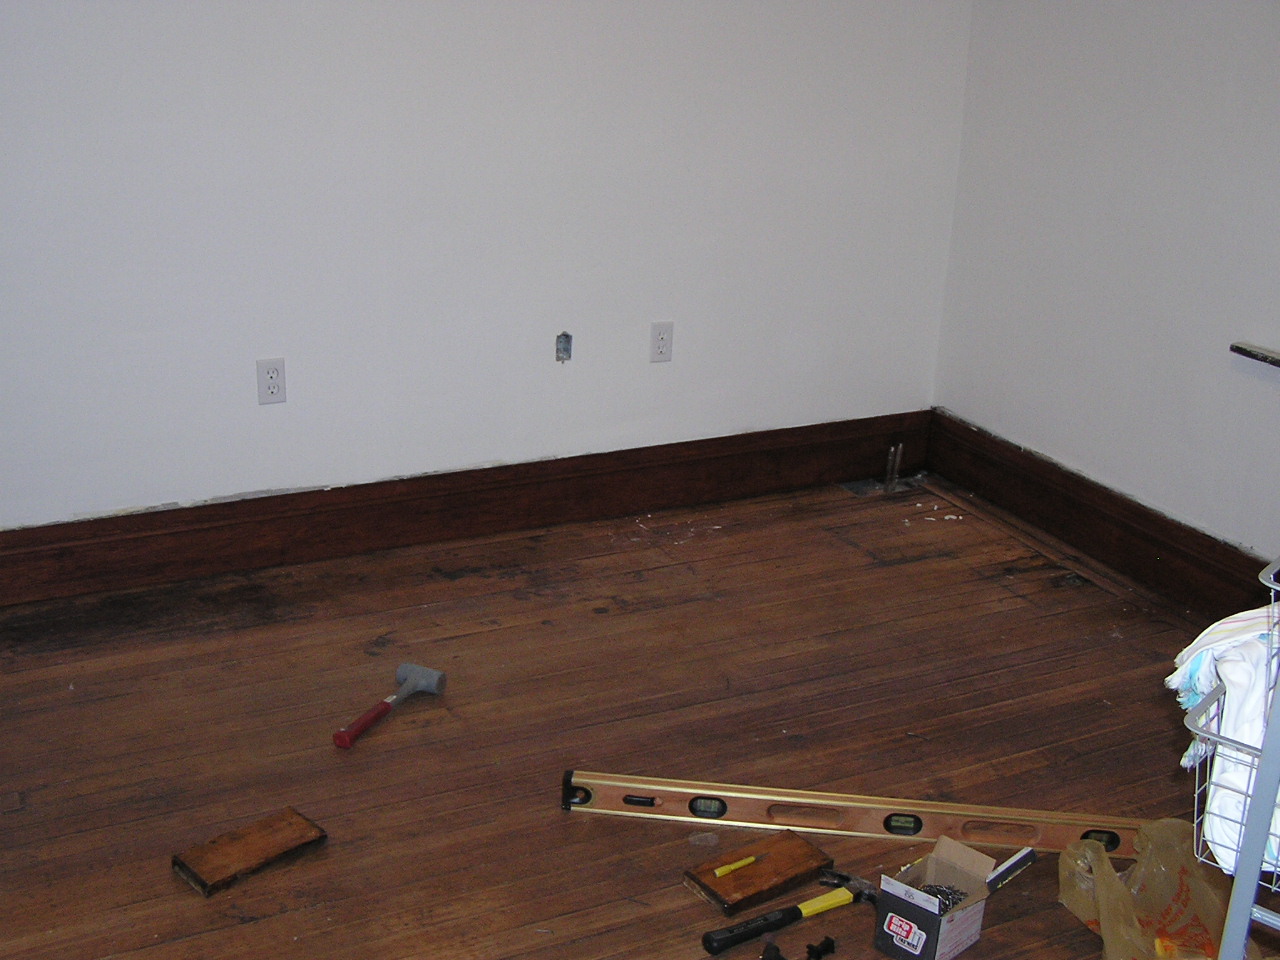
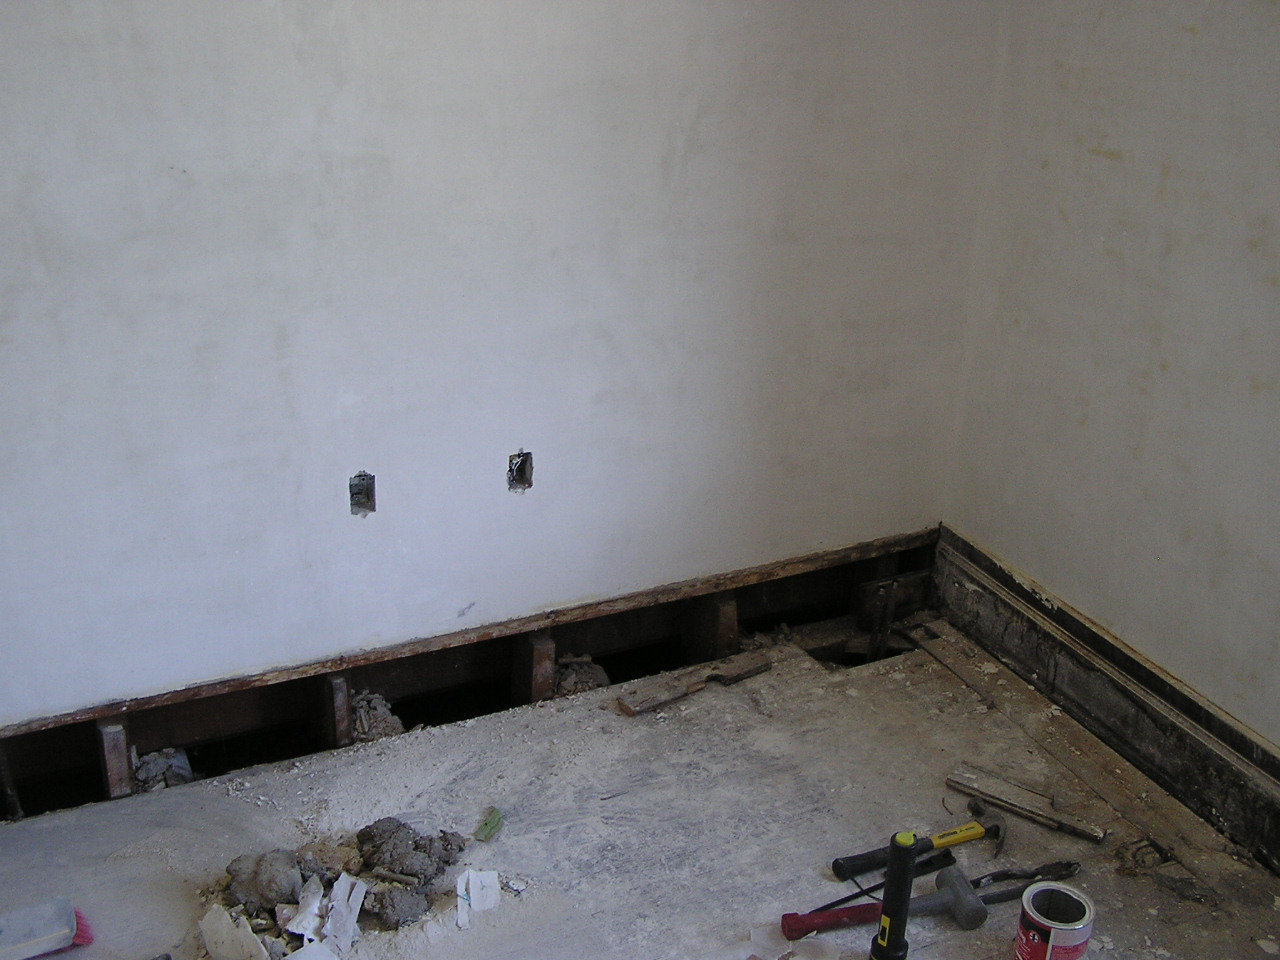
Here we've got baseboards going in, various corners of the room.
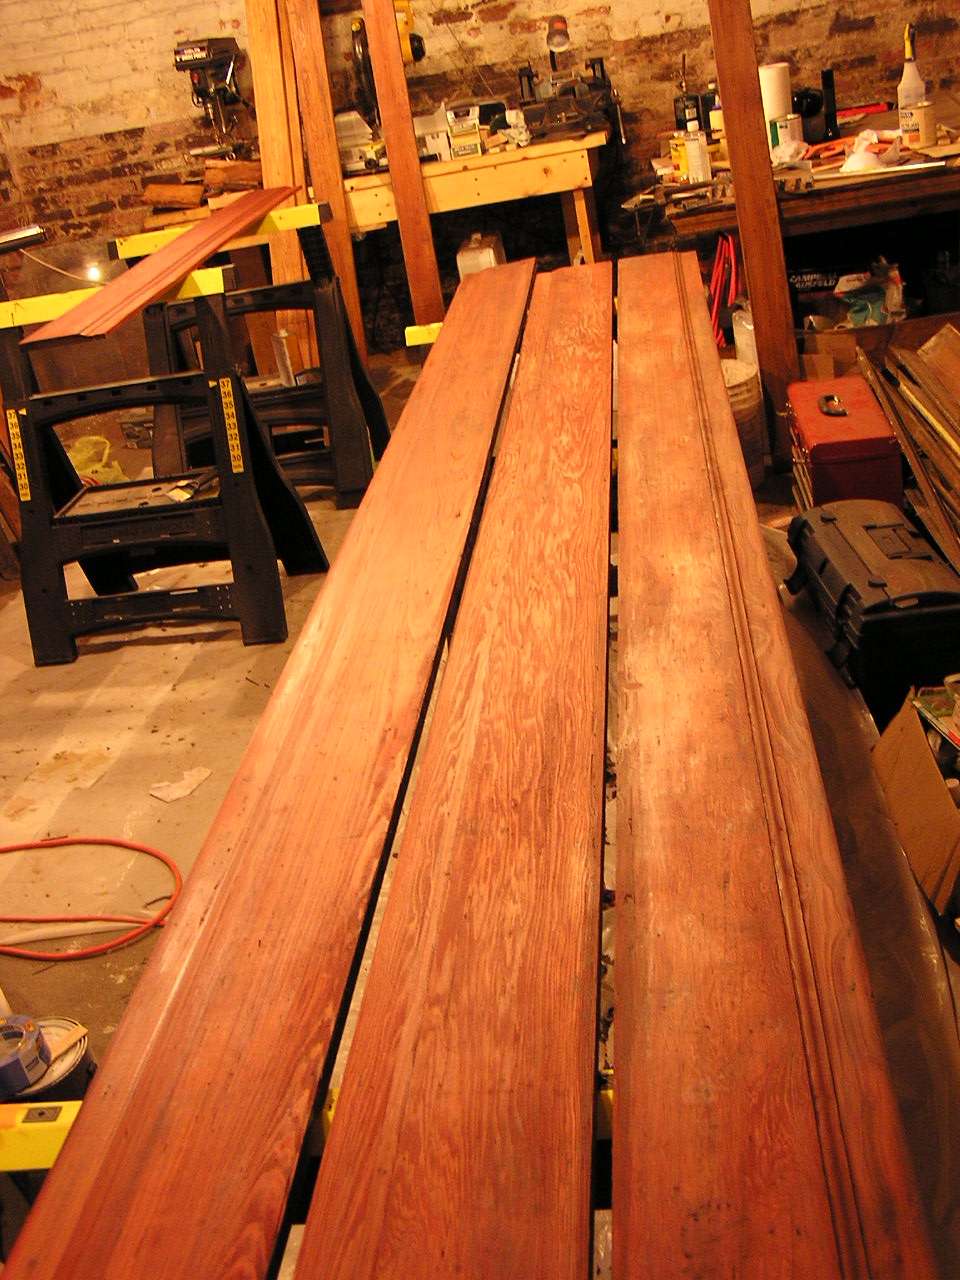
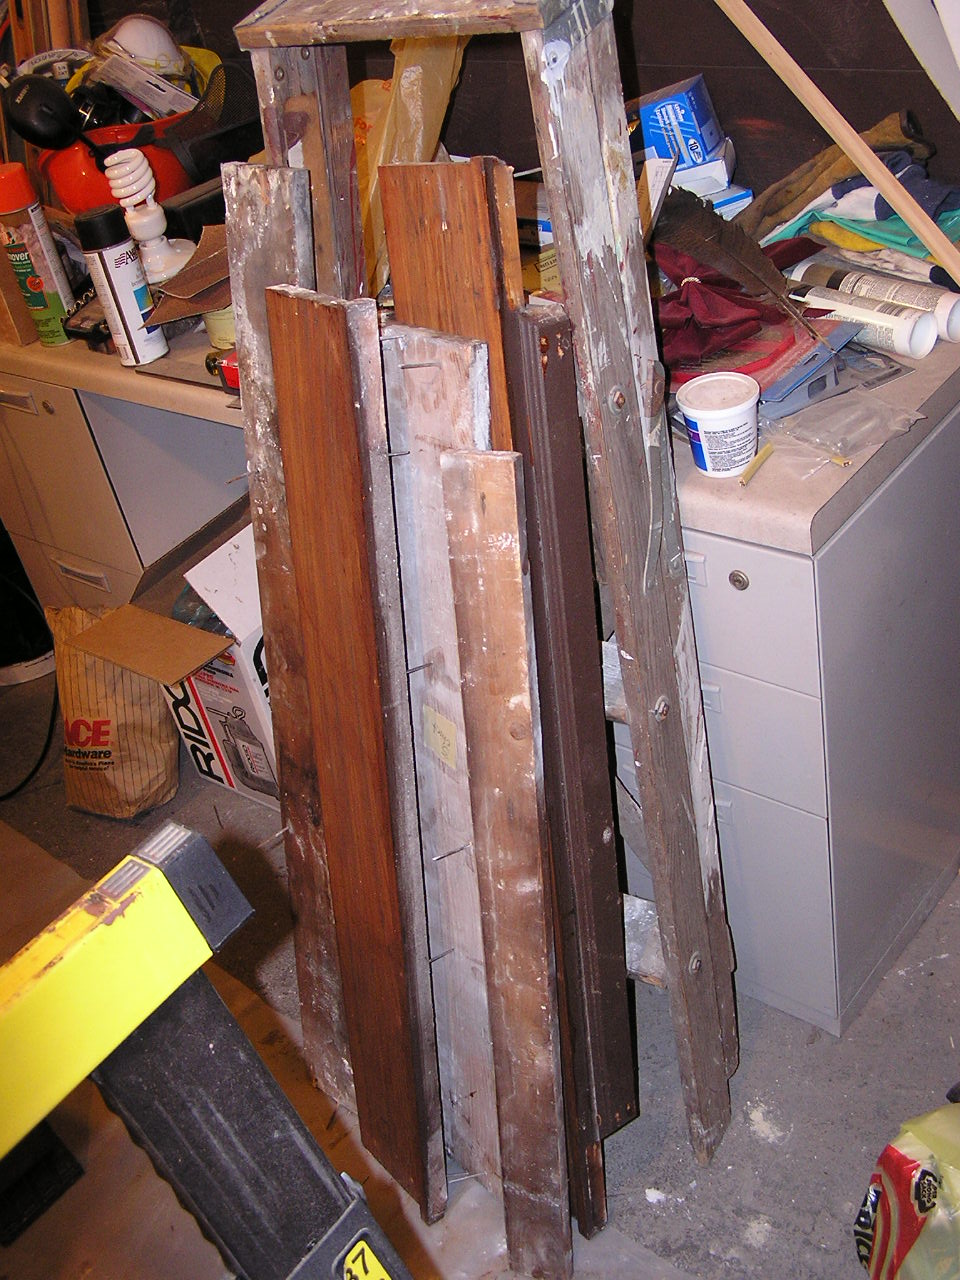
These are the mouldings in the basement undergoing refurb. You can see in some of the older pictures that the baseboards used to be a nasty brown, and here they're moderately red (they're not quite as red as they seem, that's the lights down here). Also, there's some mouldings not so far along, some stripped, and one bit with the paint still on it.

The floor has been refinished. 3 coats of polyurethane, 1 coat of sanding sealer, much sanding, and lots of sore muscles went in to that. But it is done.
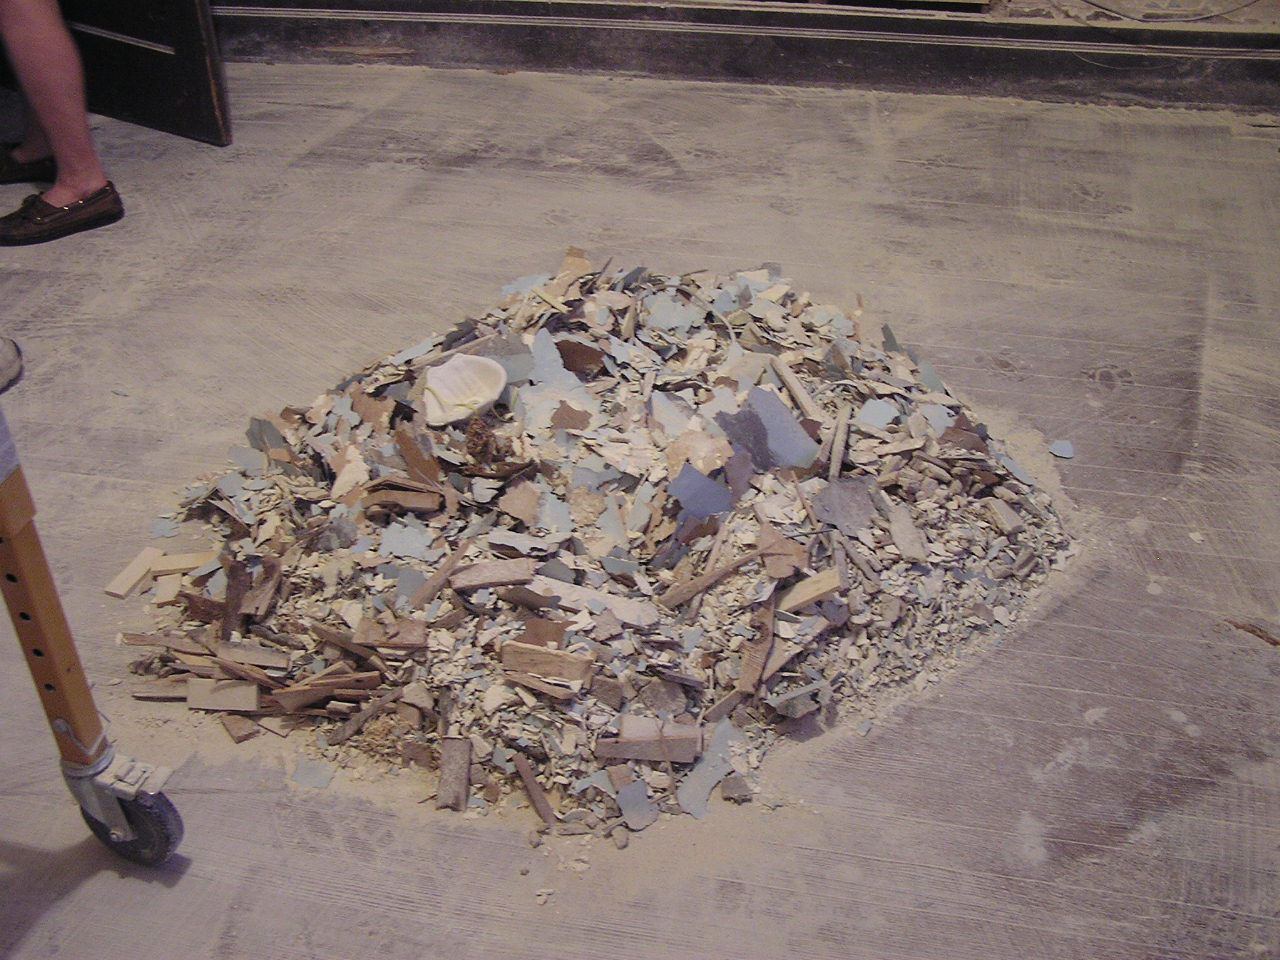
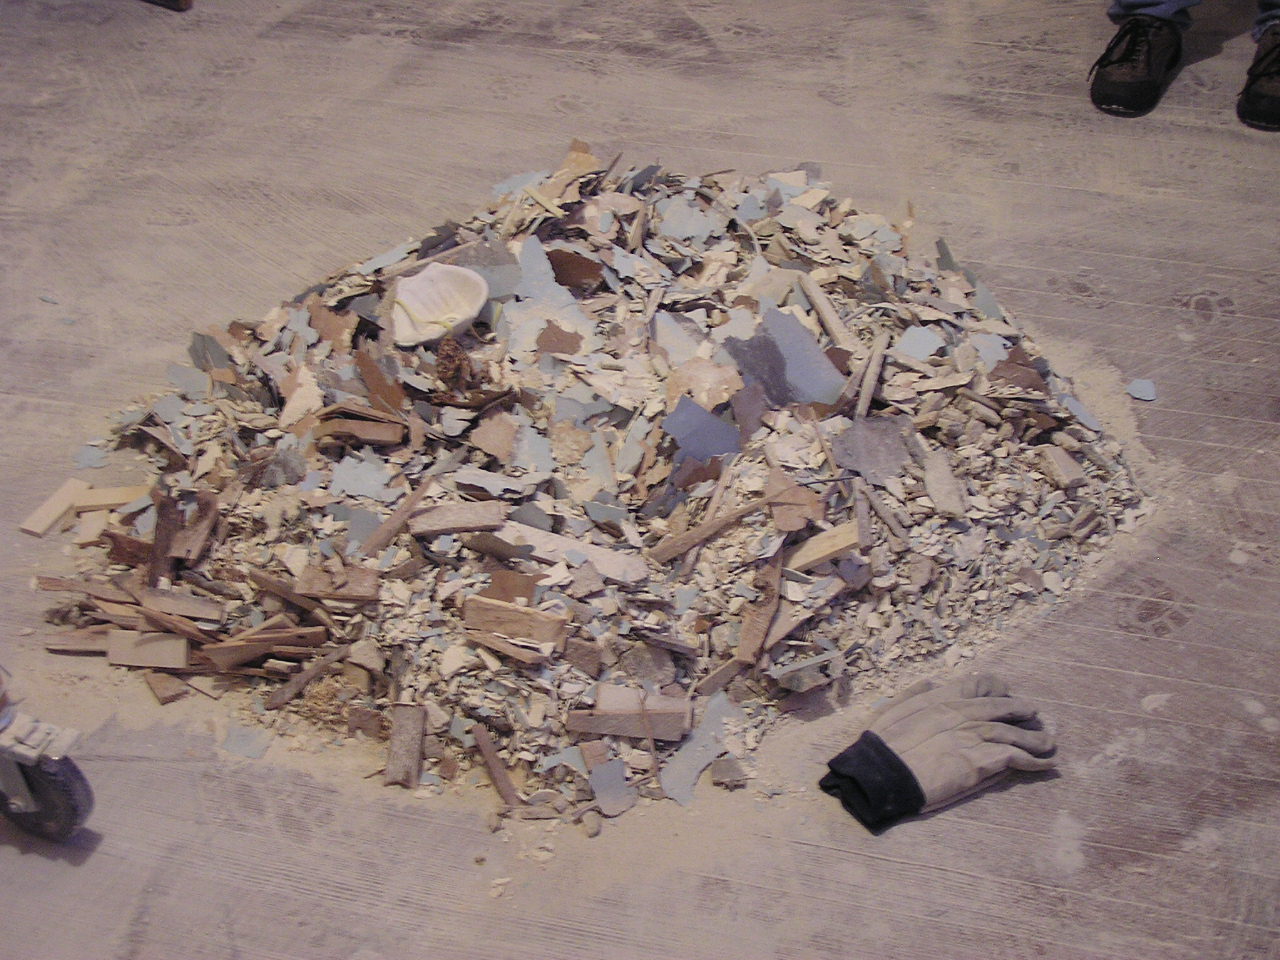
Some pictures of the post-plaster mess.
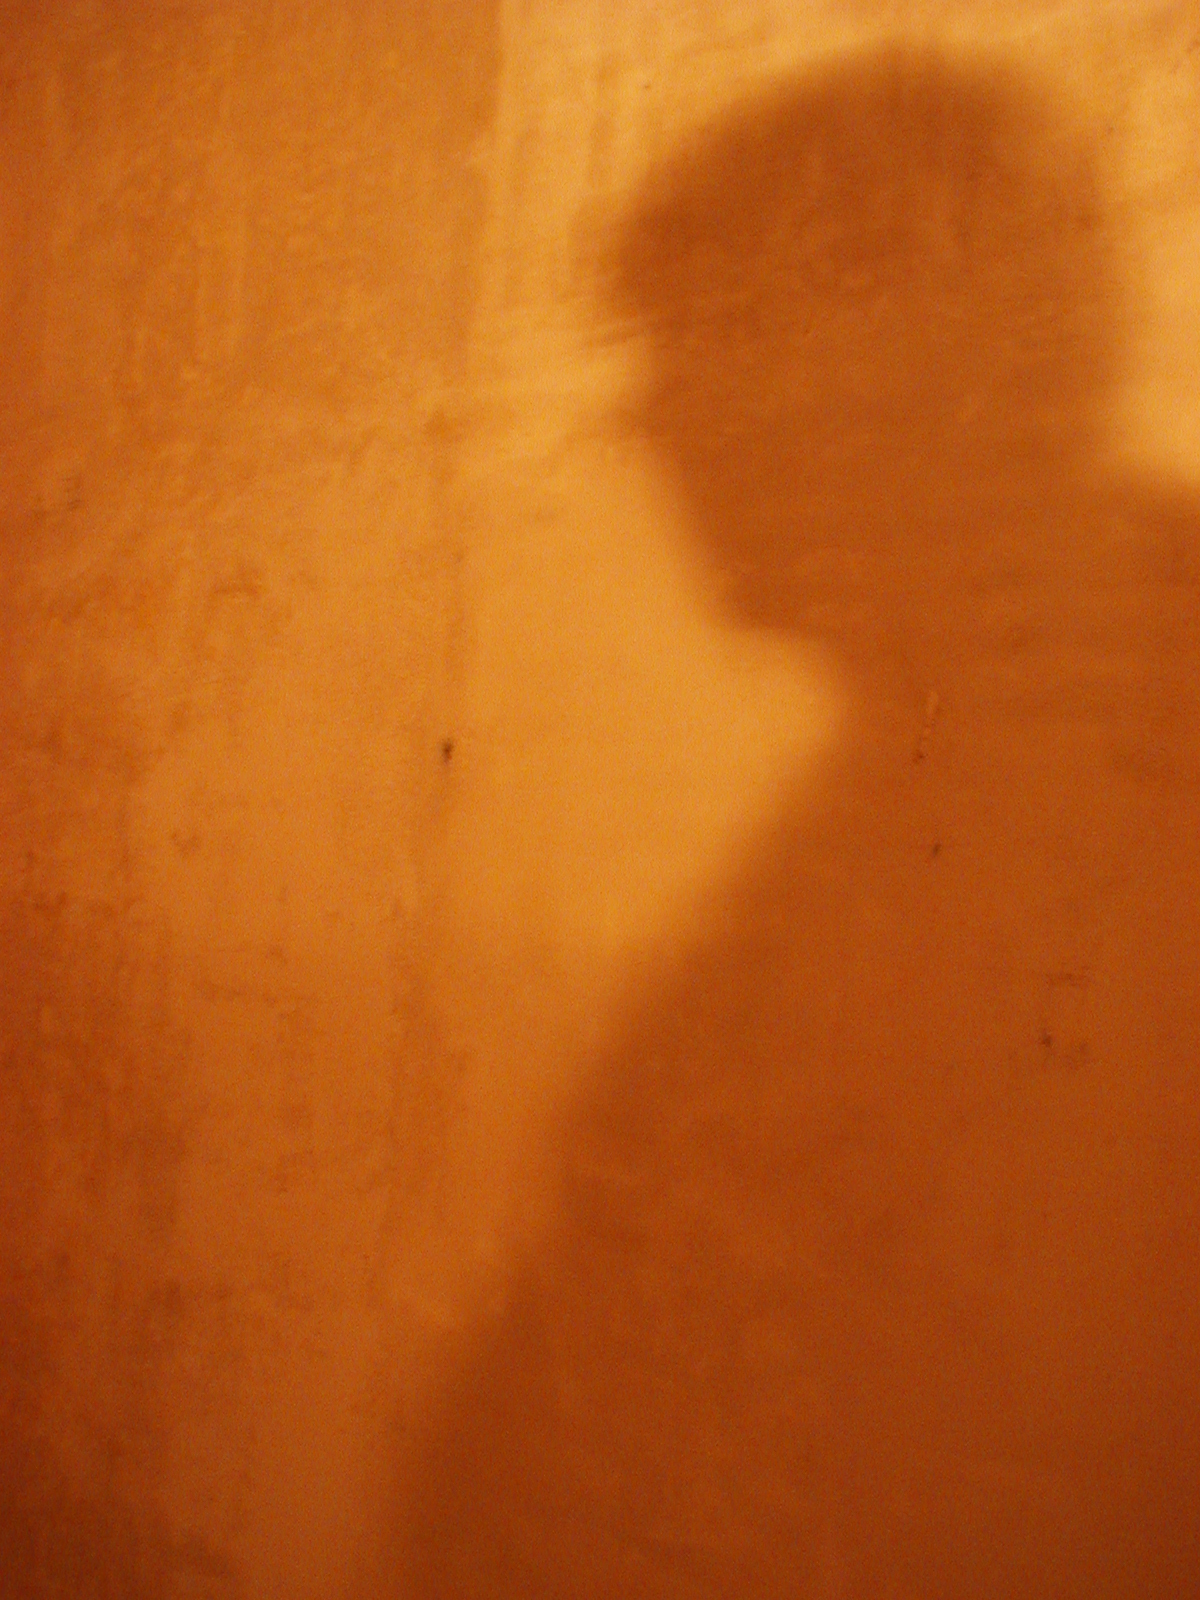
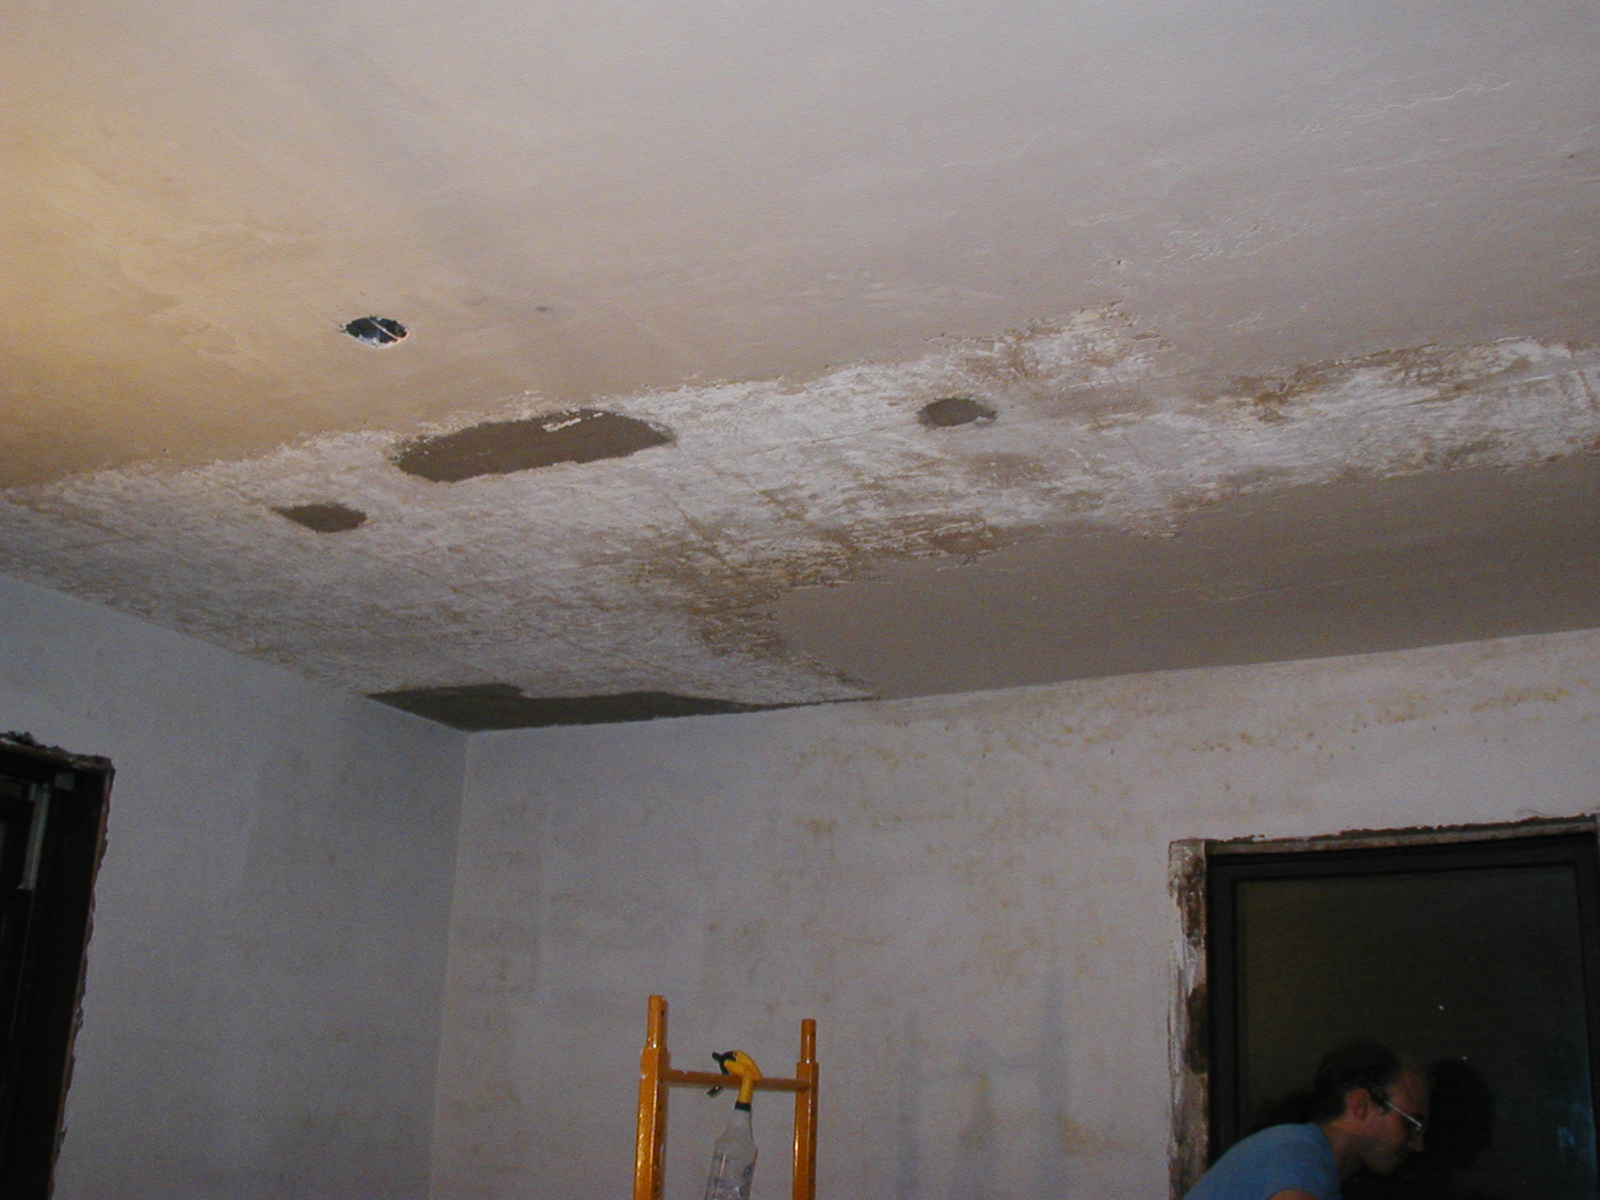
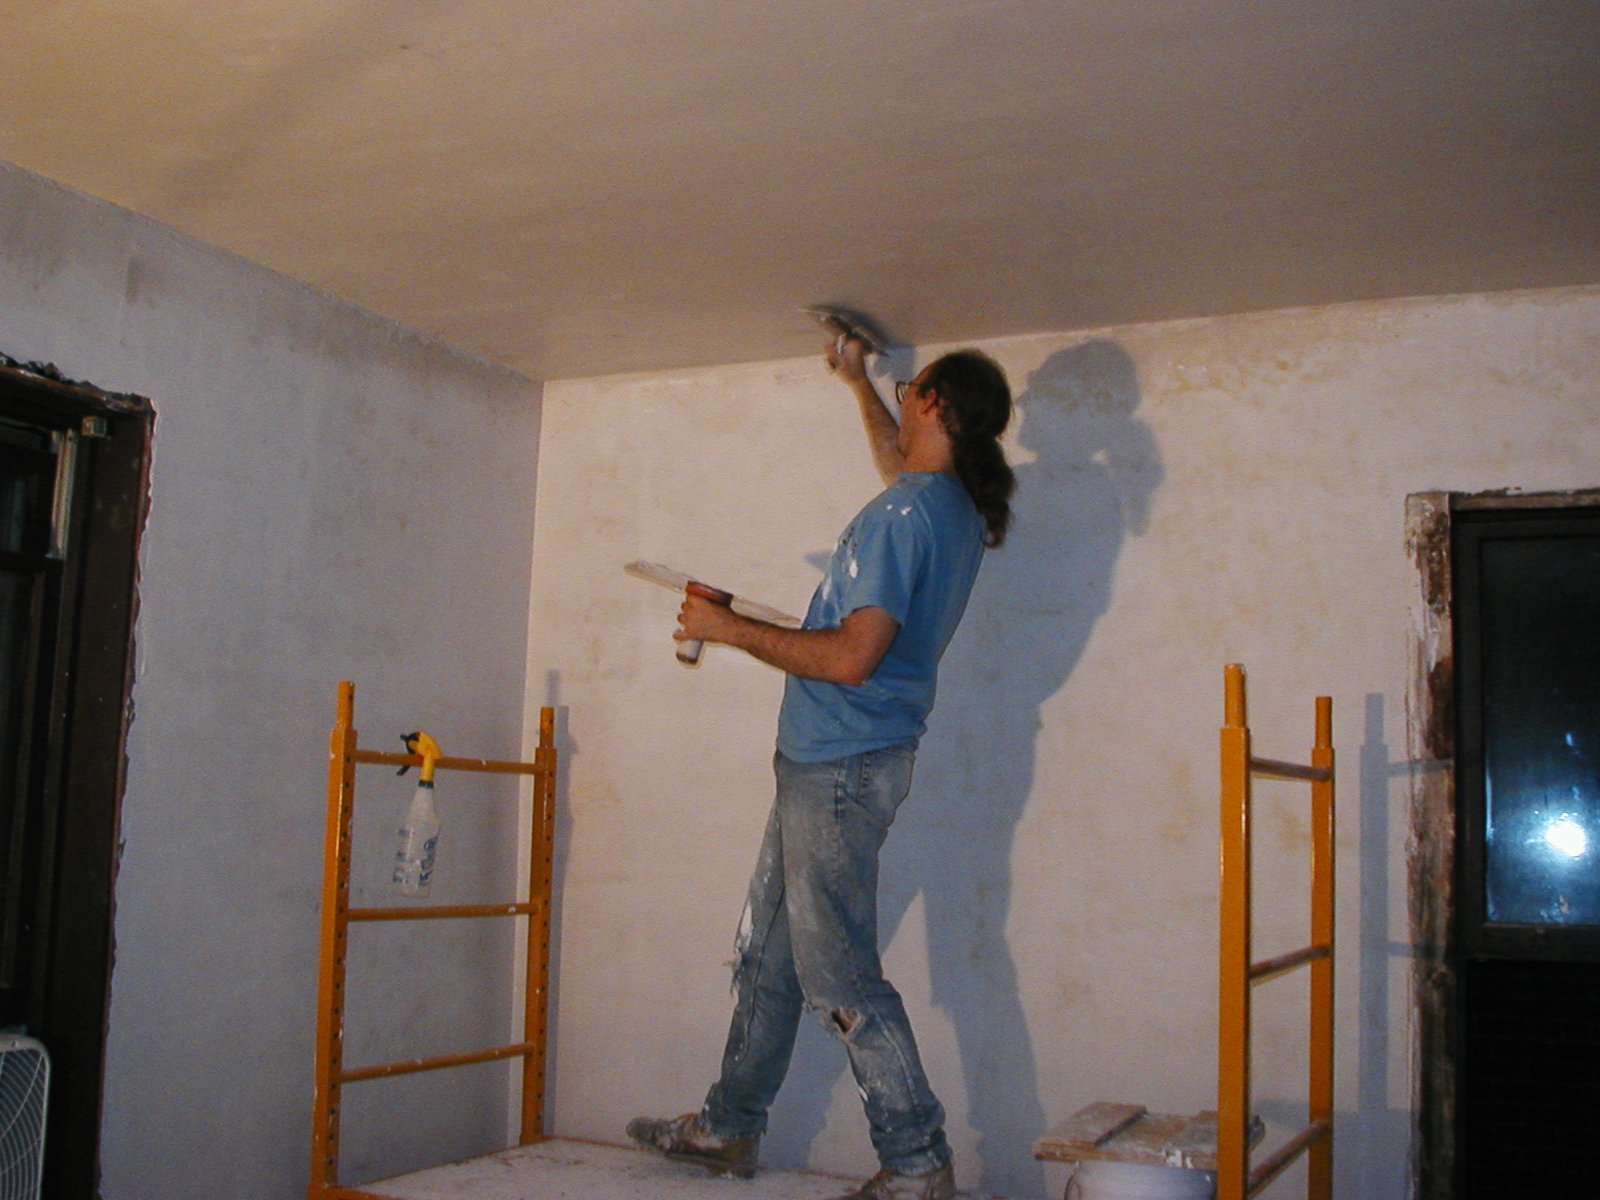
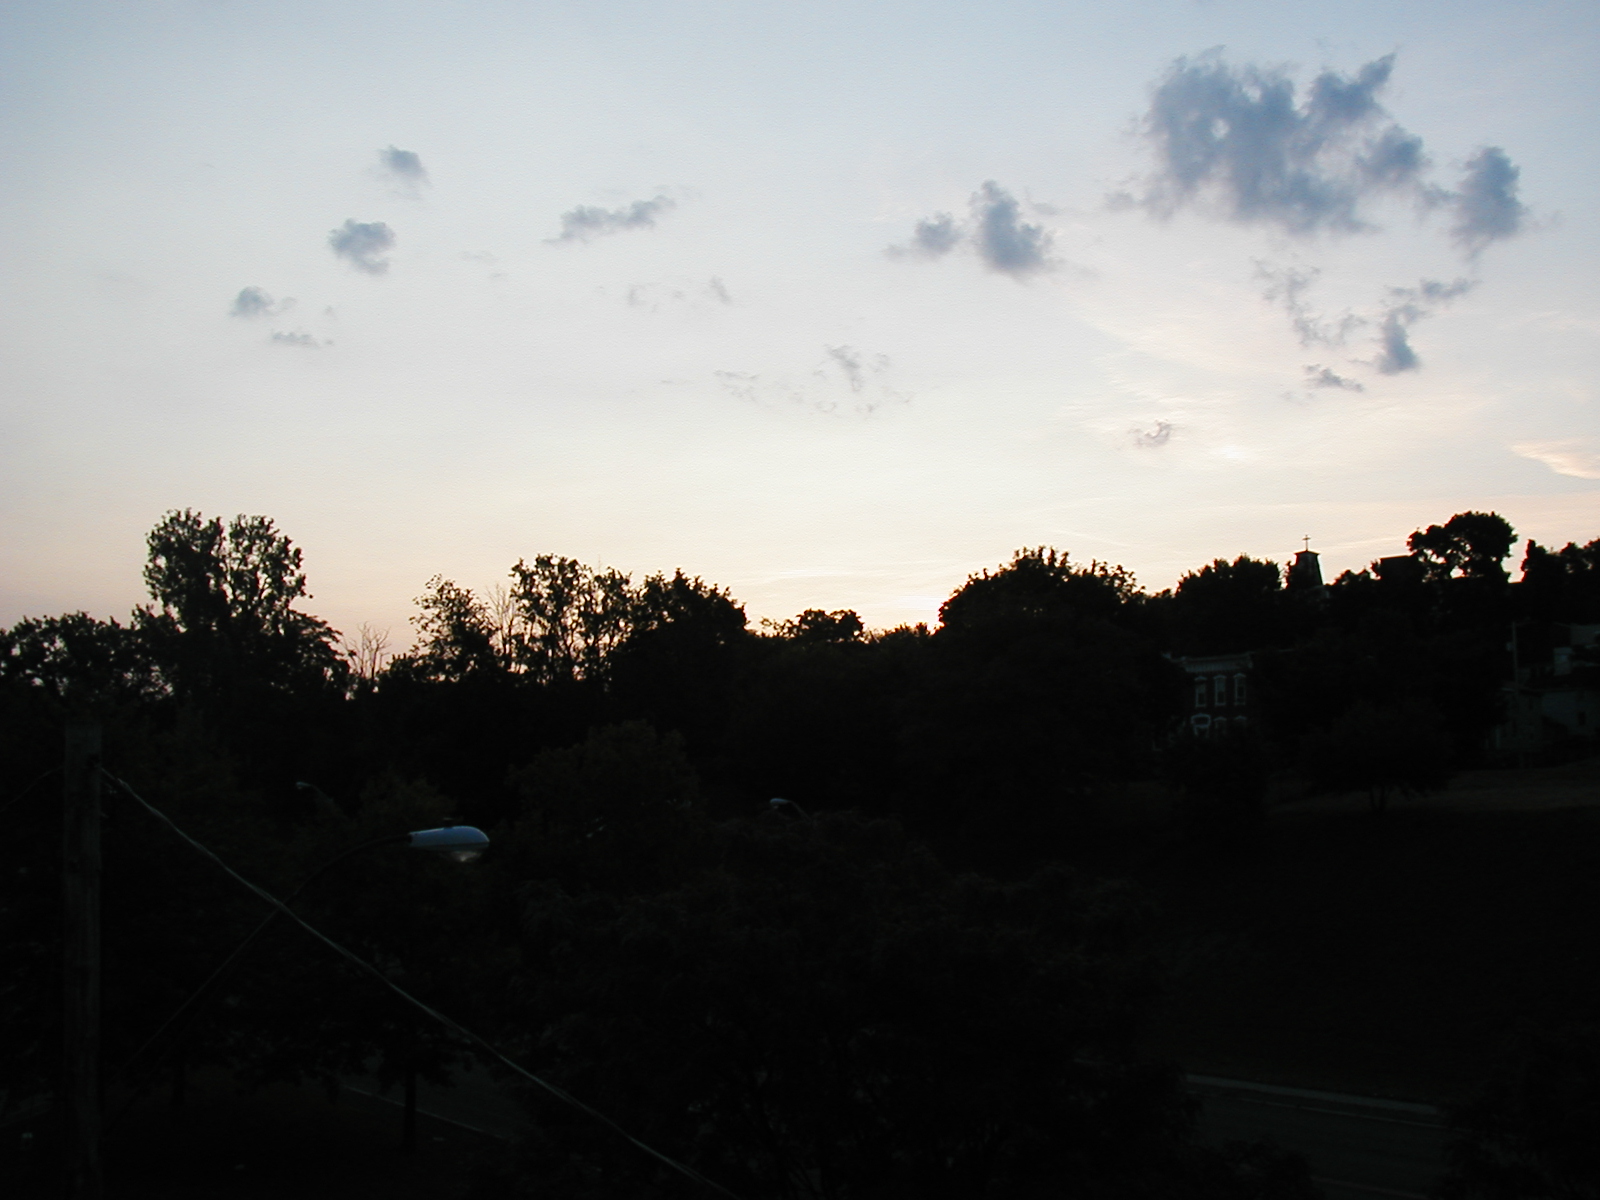
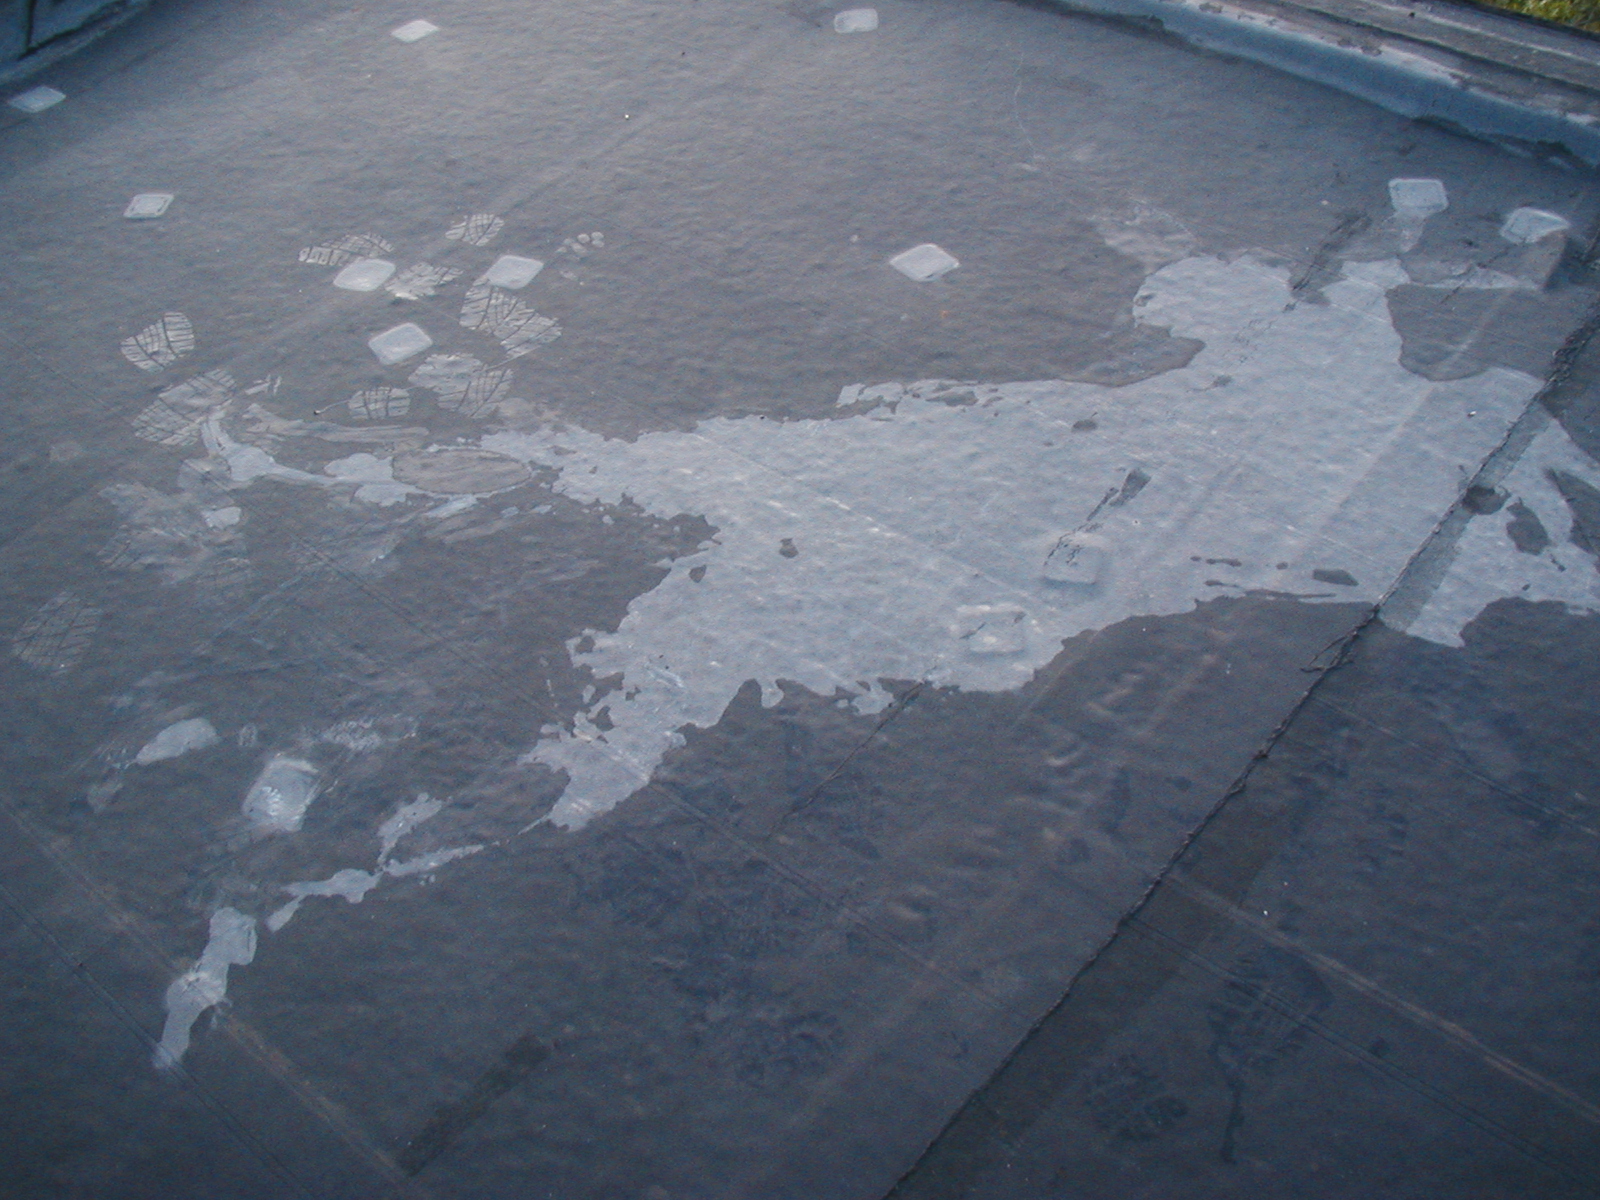
The insanity of the last push to finish the plastering. Justin getting silly with the camera at who-knows-what o'clock (trying to be Alfred Hitchcock). The last bit of the ceiling, John finishing it up, then looking rather deceased, sunrise from the roof, and the outline of Justin on the roof surface from where he was lying down watching the sunrise. At this point John had been plastering for 11 straight hours with only very short breaks each time a new batch of plaster had to be mixed up.
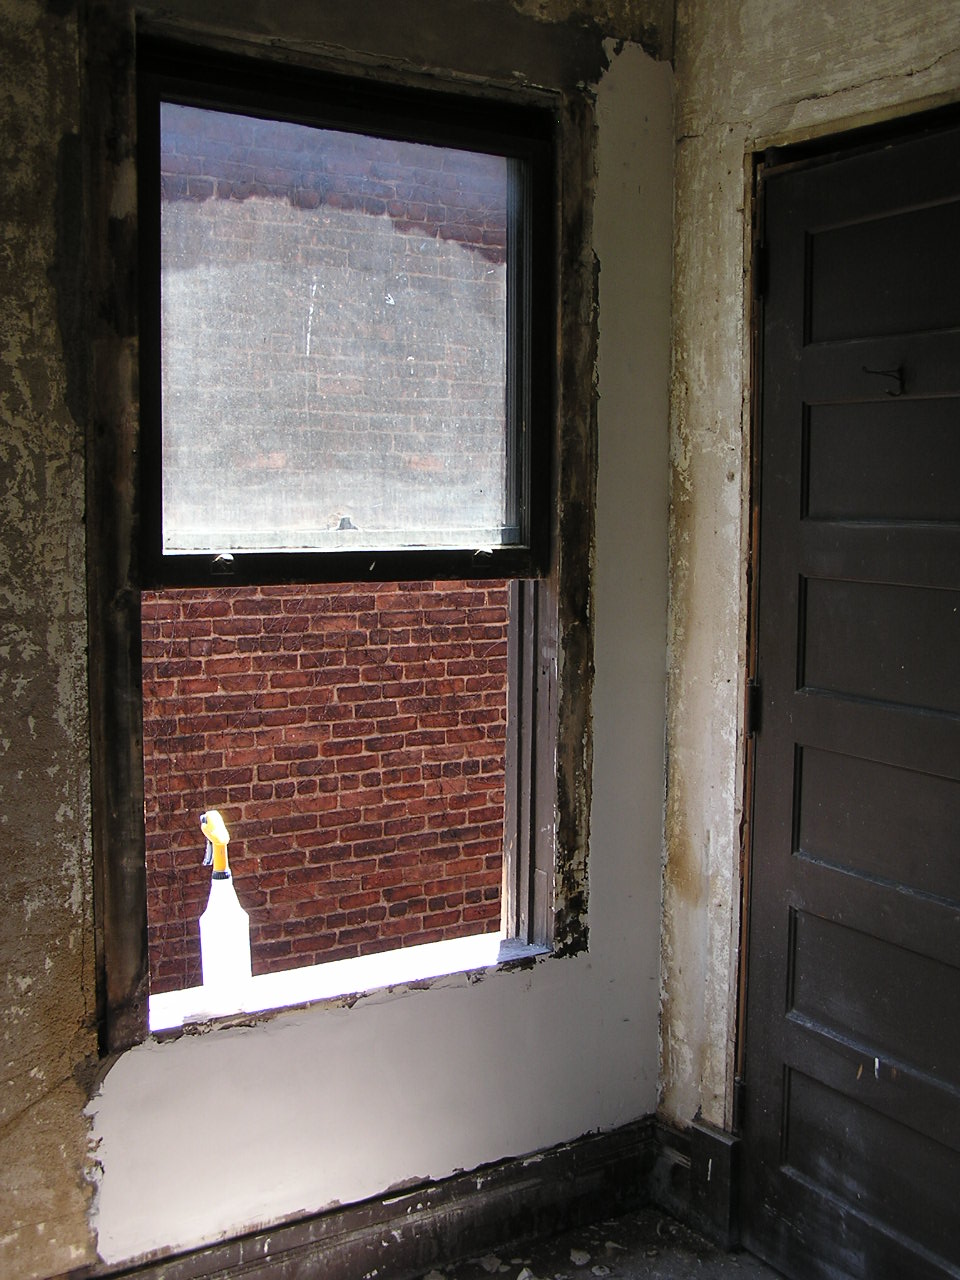
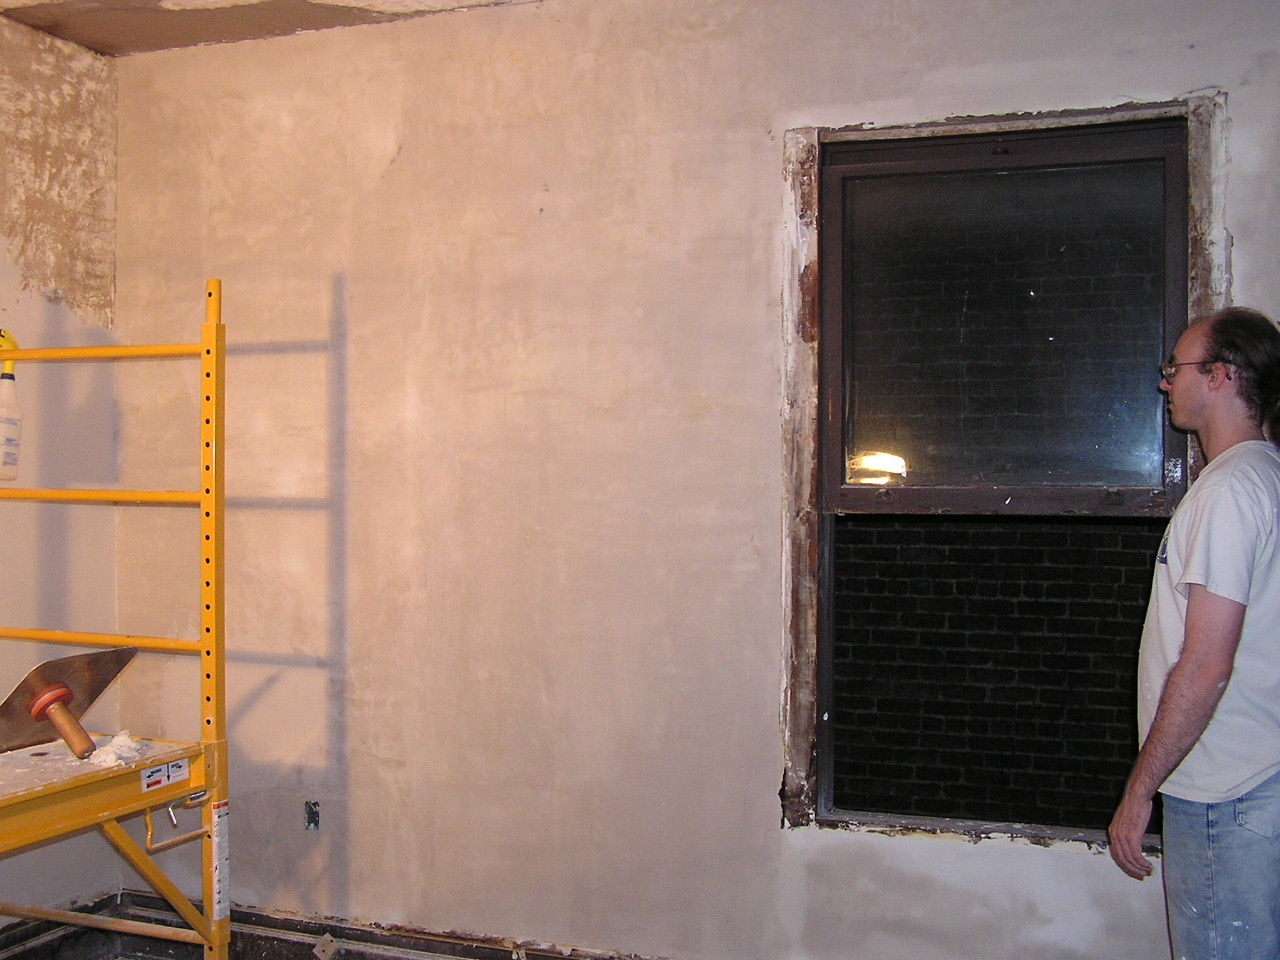
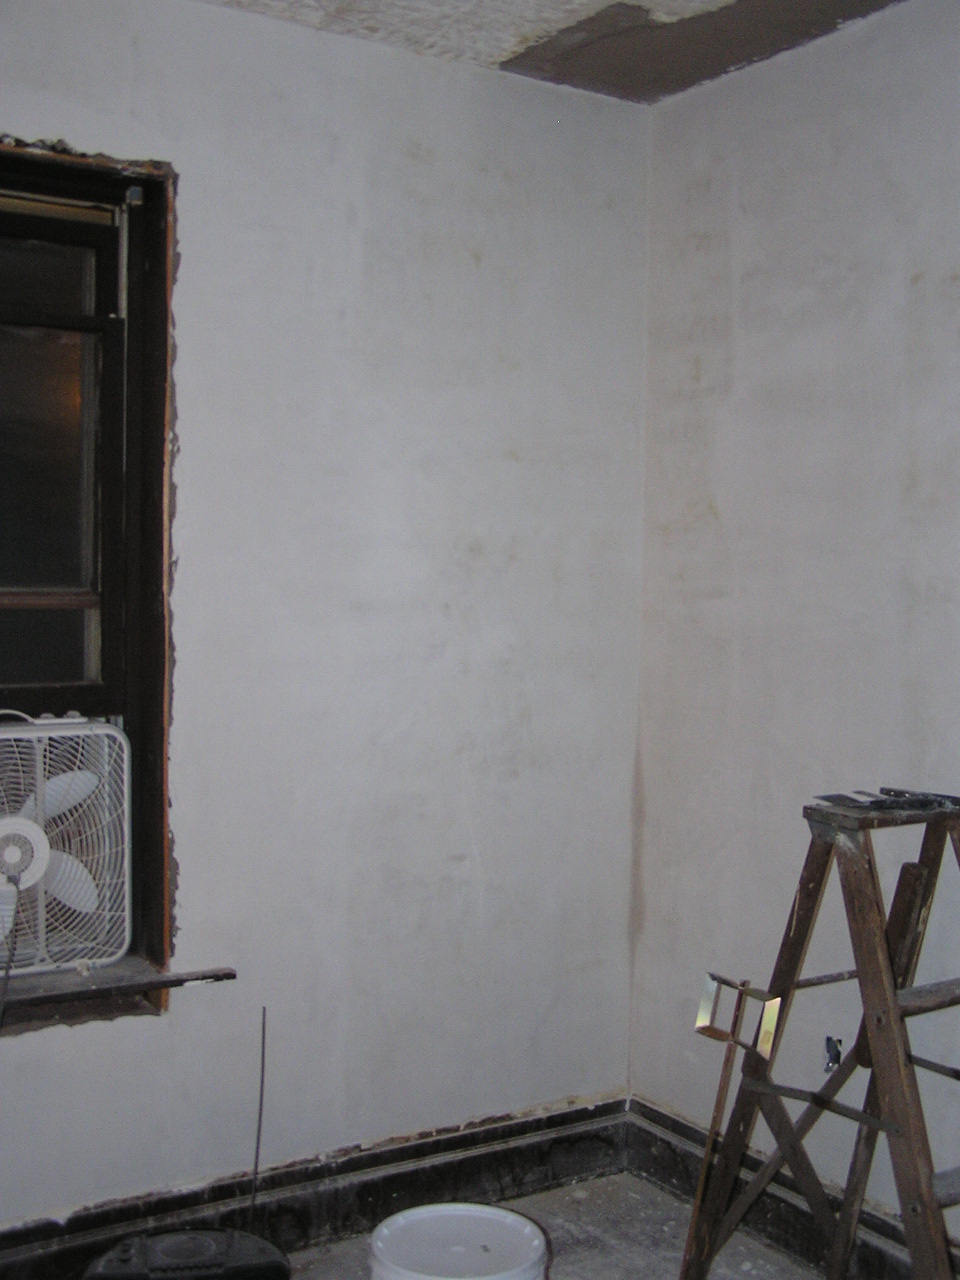
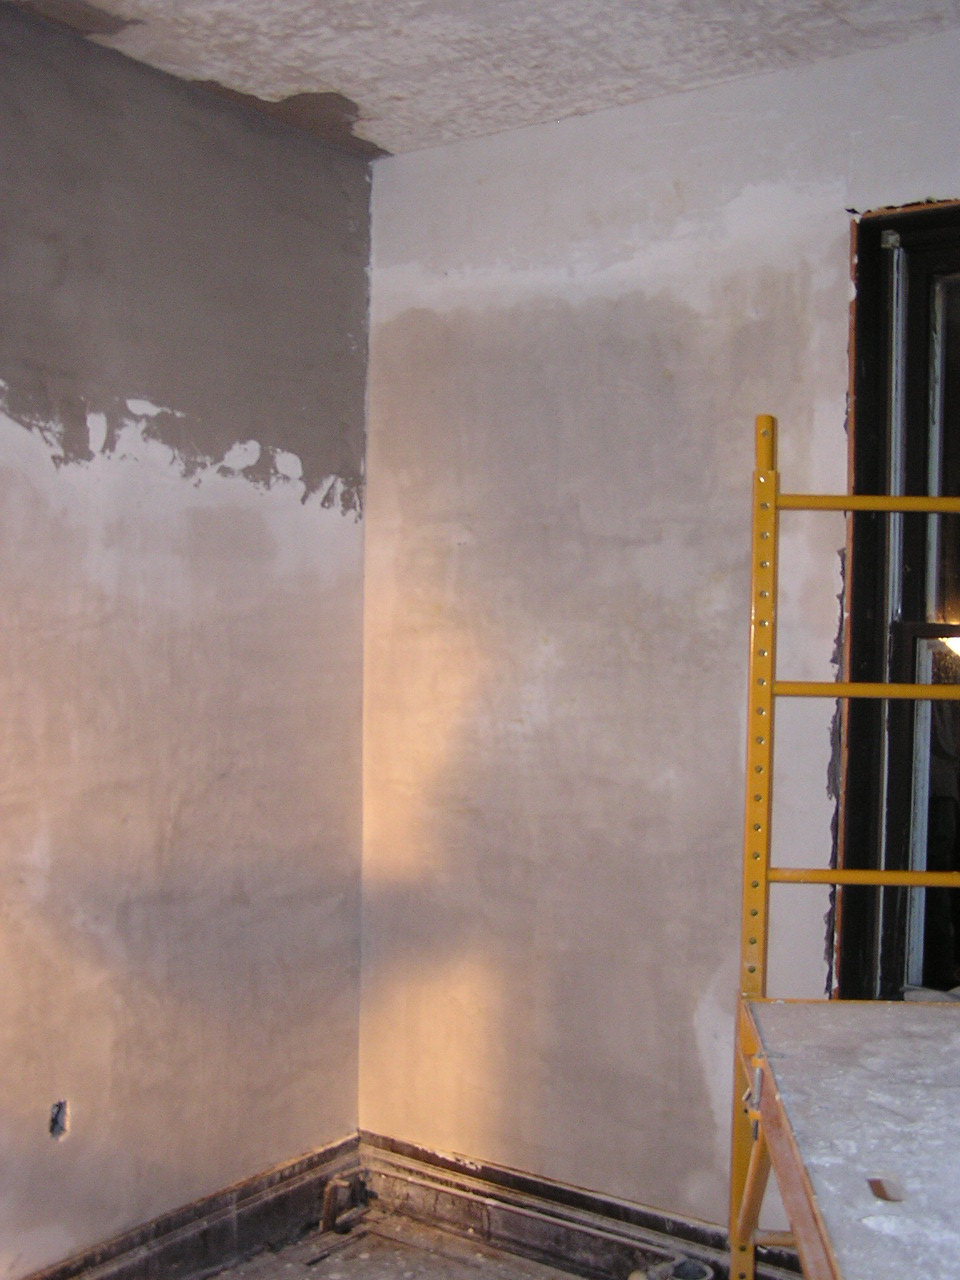
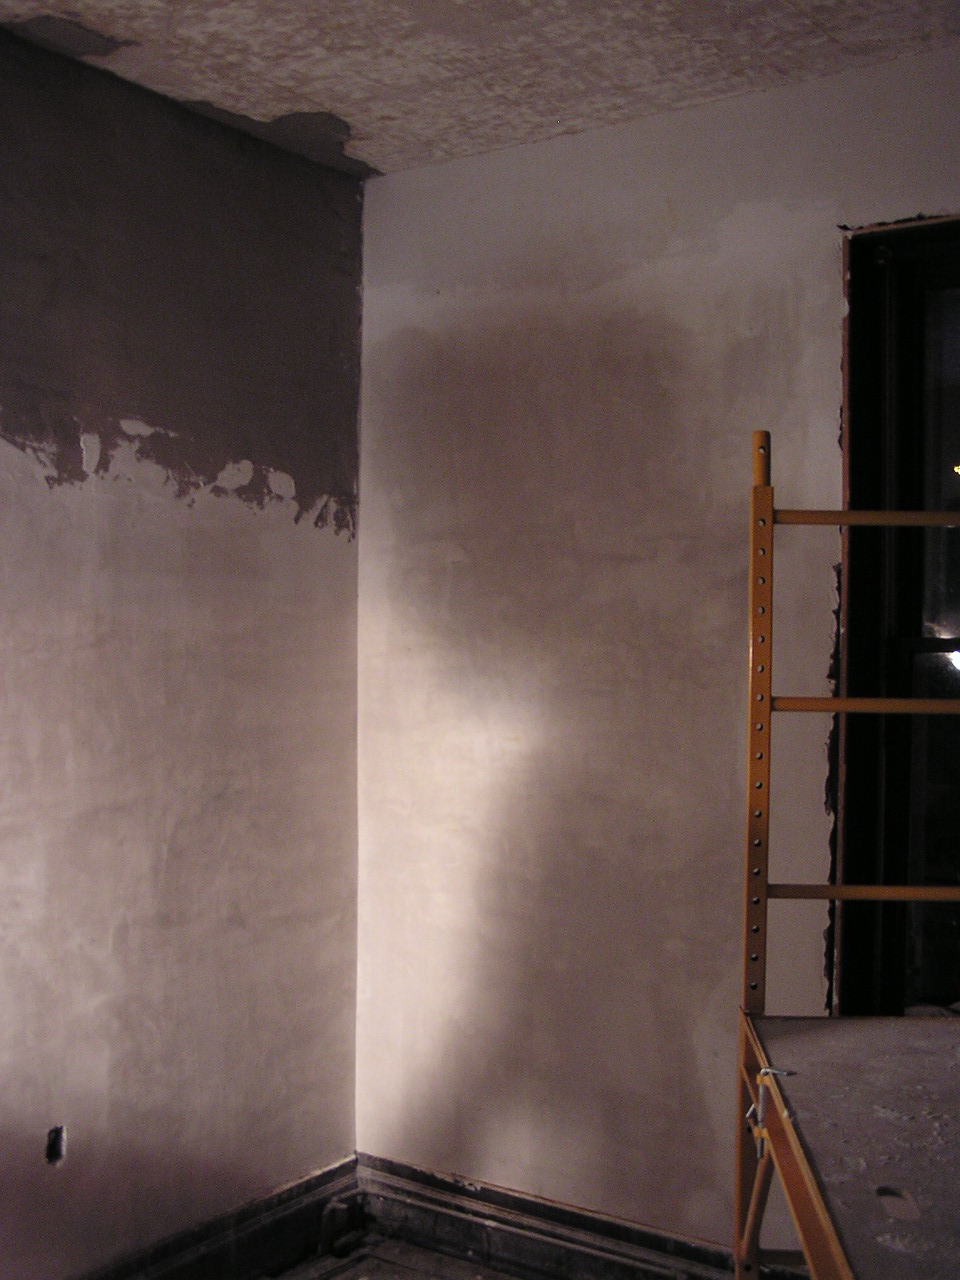
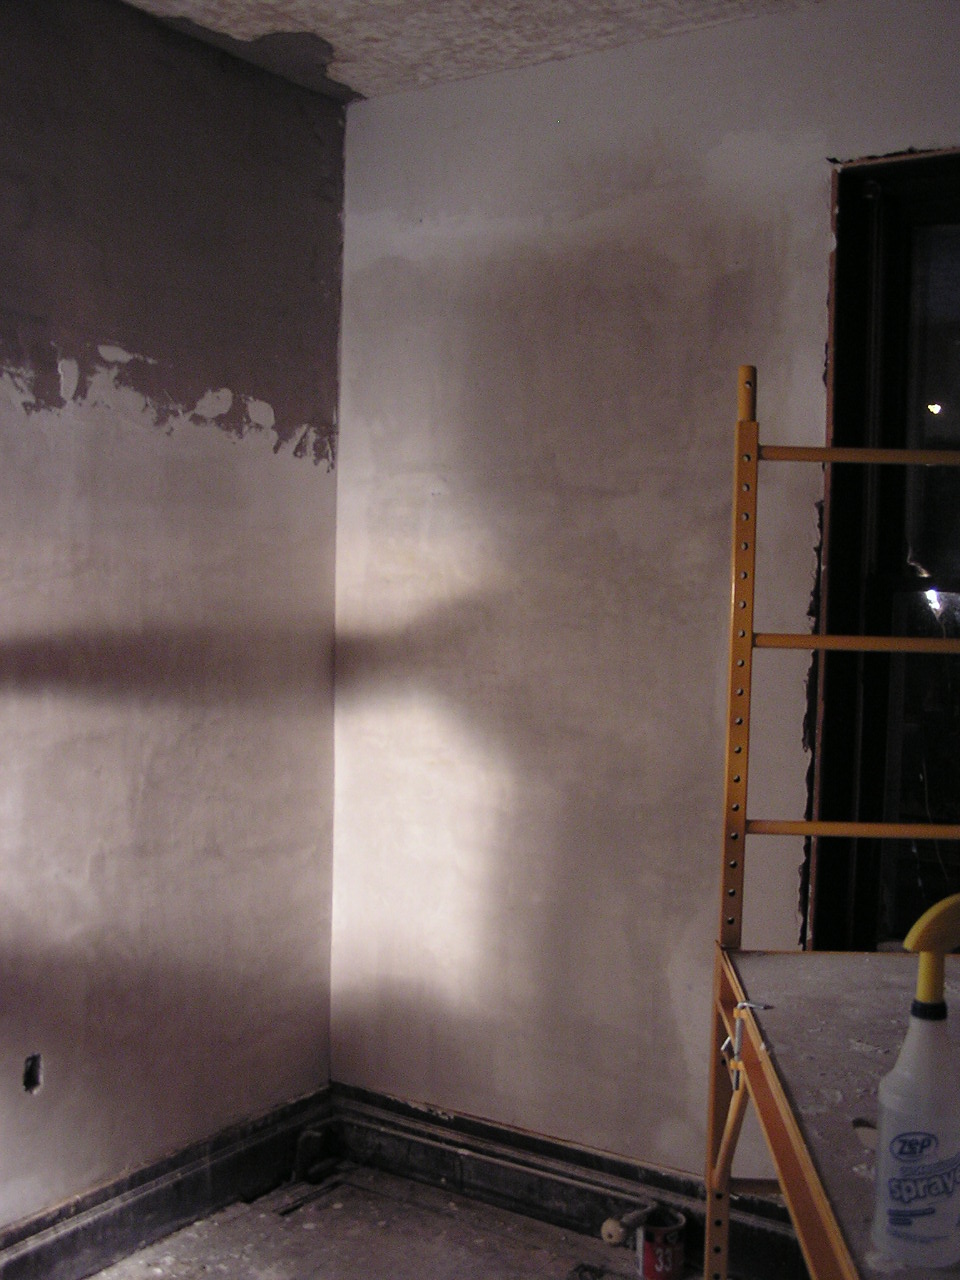
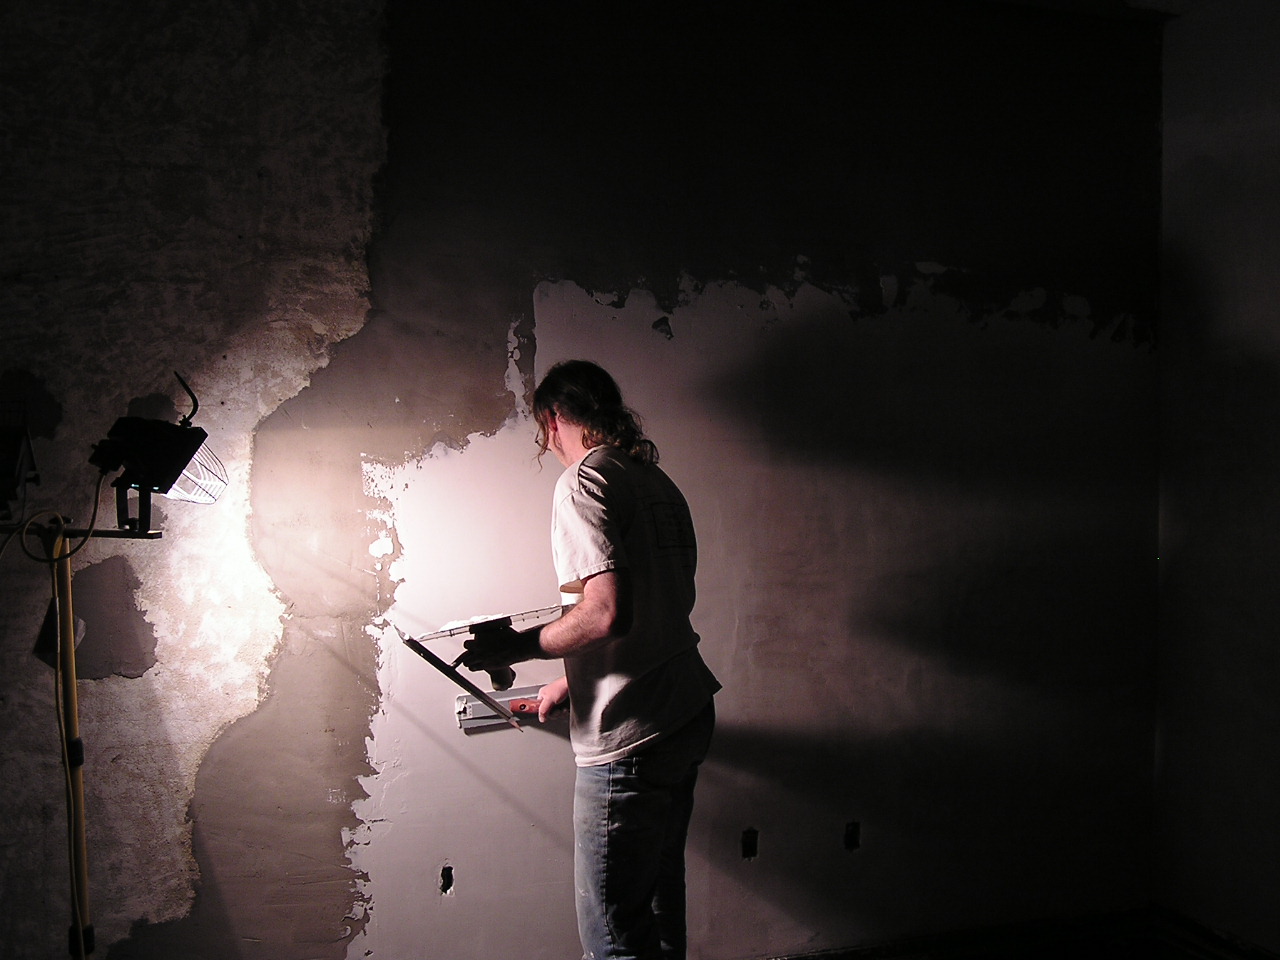
OK, in order... the first is the first bit of cream coat done, around the S window. Then the finished S wall, the SE corner, the NE corner. Then I started playing with shadows and artistry - I was aiming for John's shadow to be him with his arm a little higher, but the room was dark enough the autofocus was taking several seconds after I pressed the shutter, so it was tough. The last one the flash refused to go off because of the halogen work light - I wanted the whole wall with John working on it.
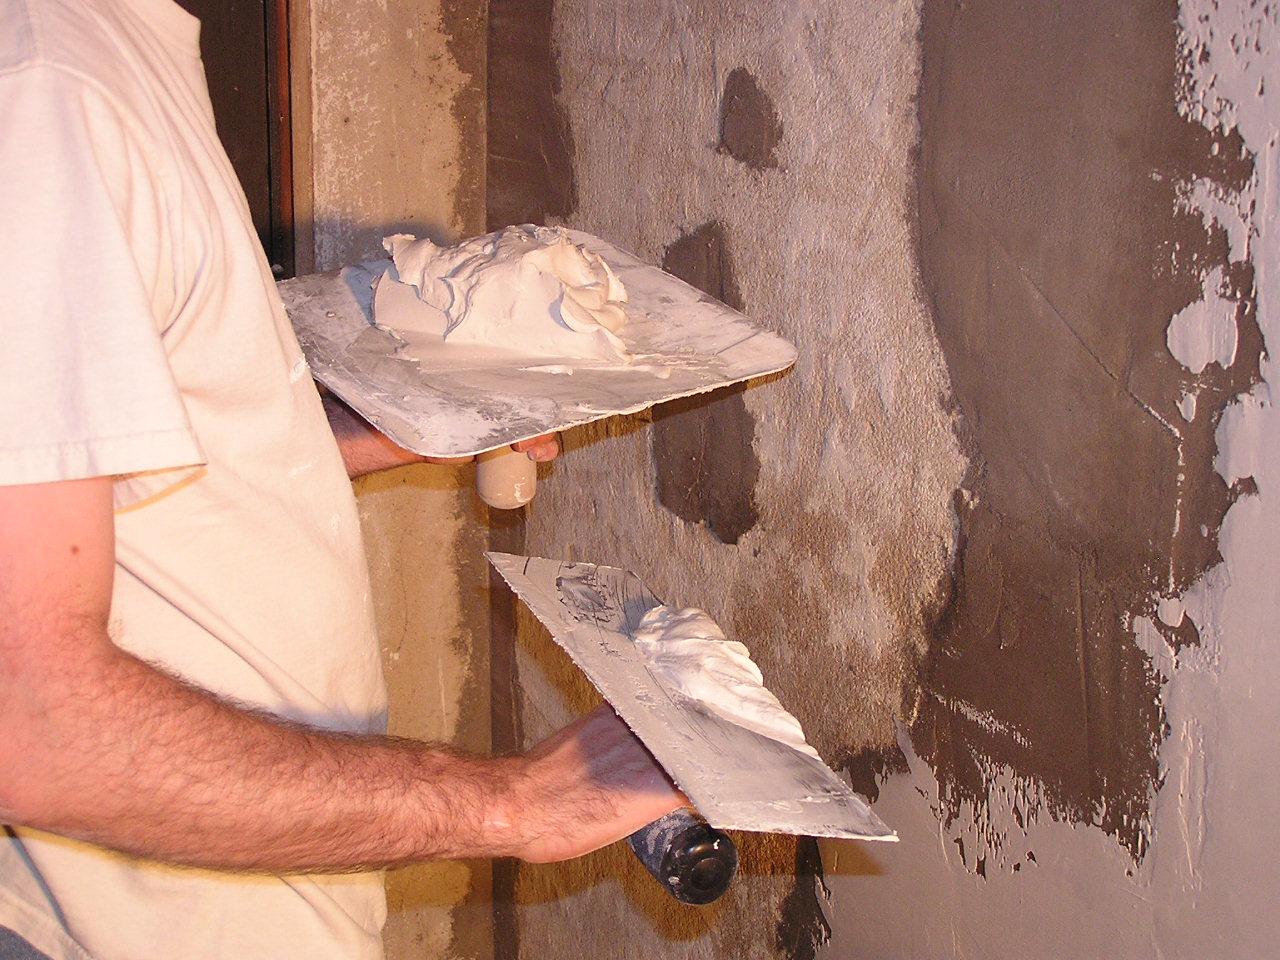
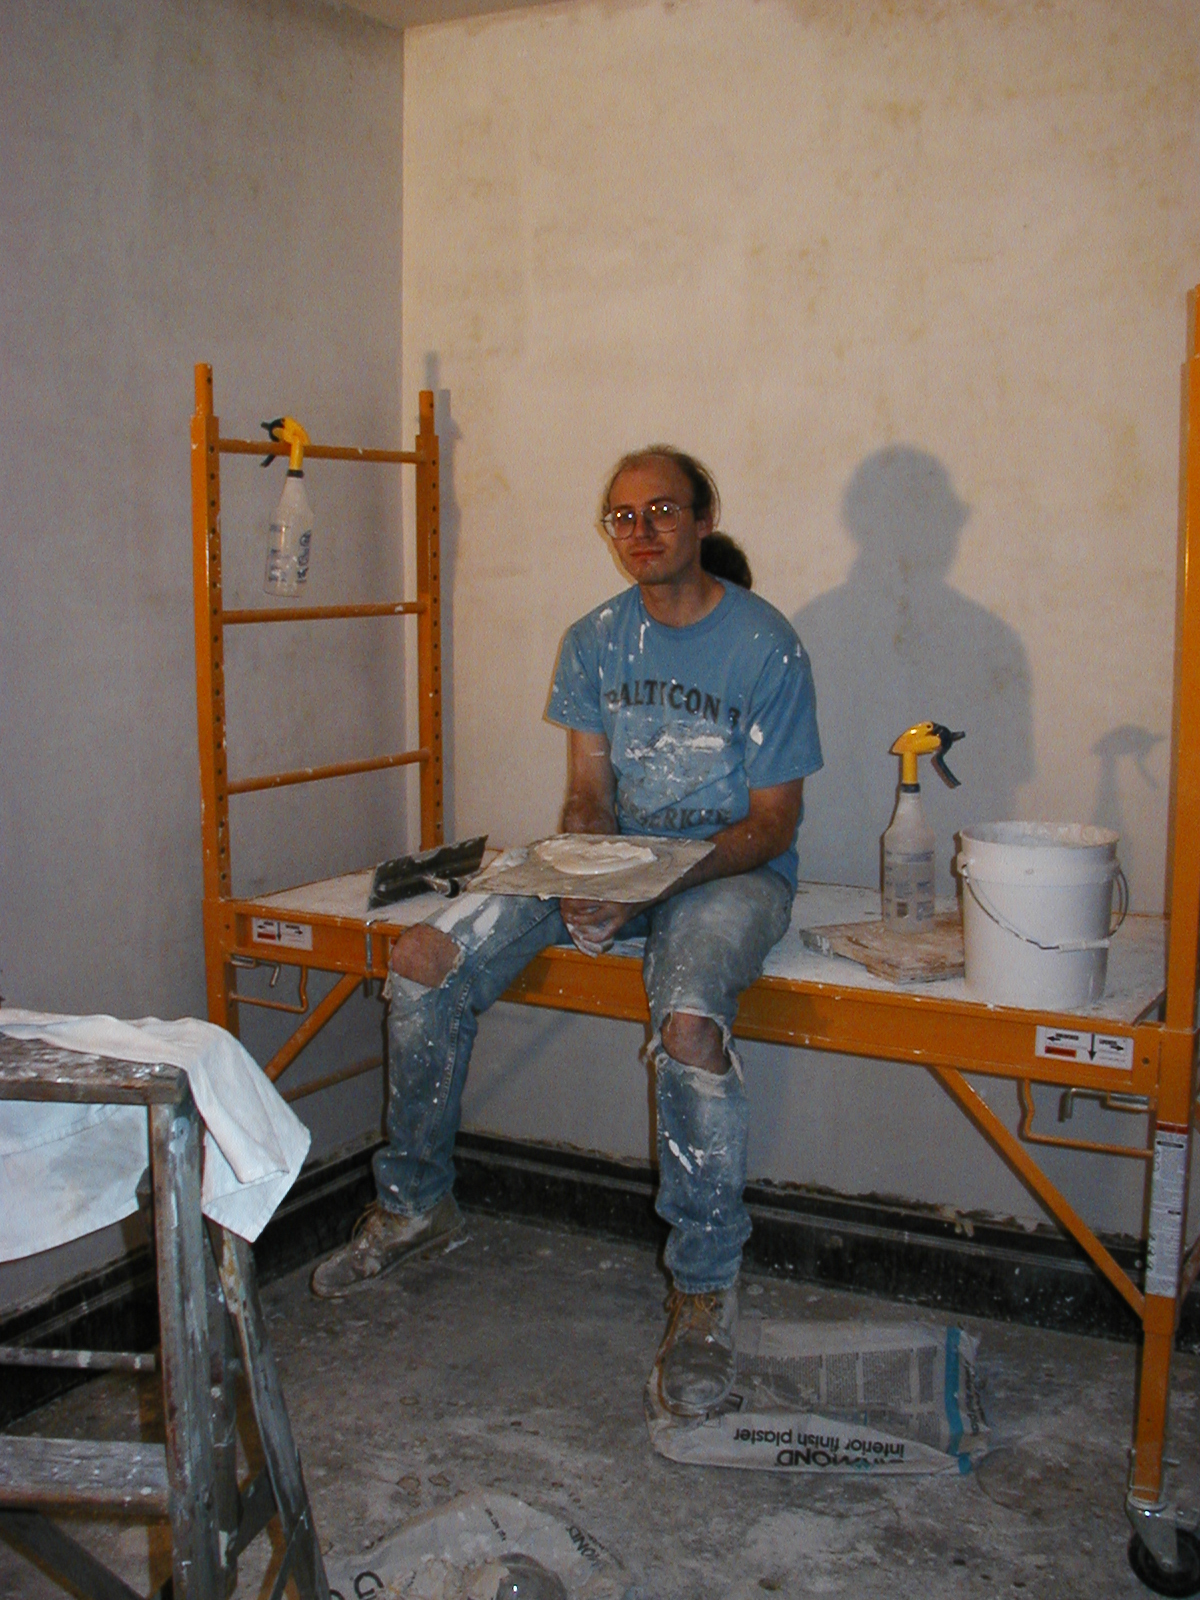
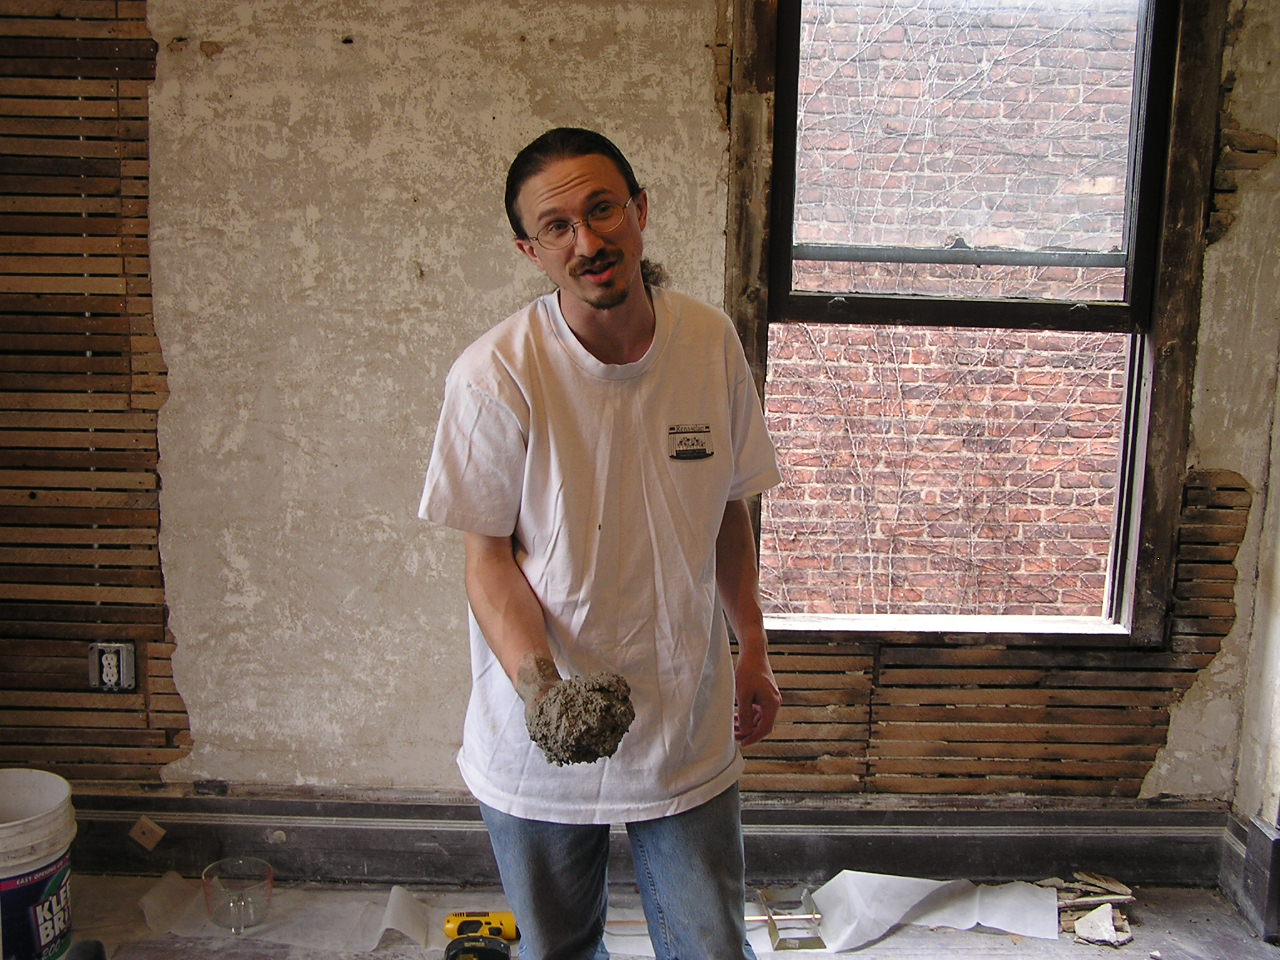
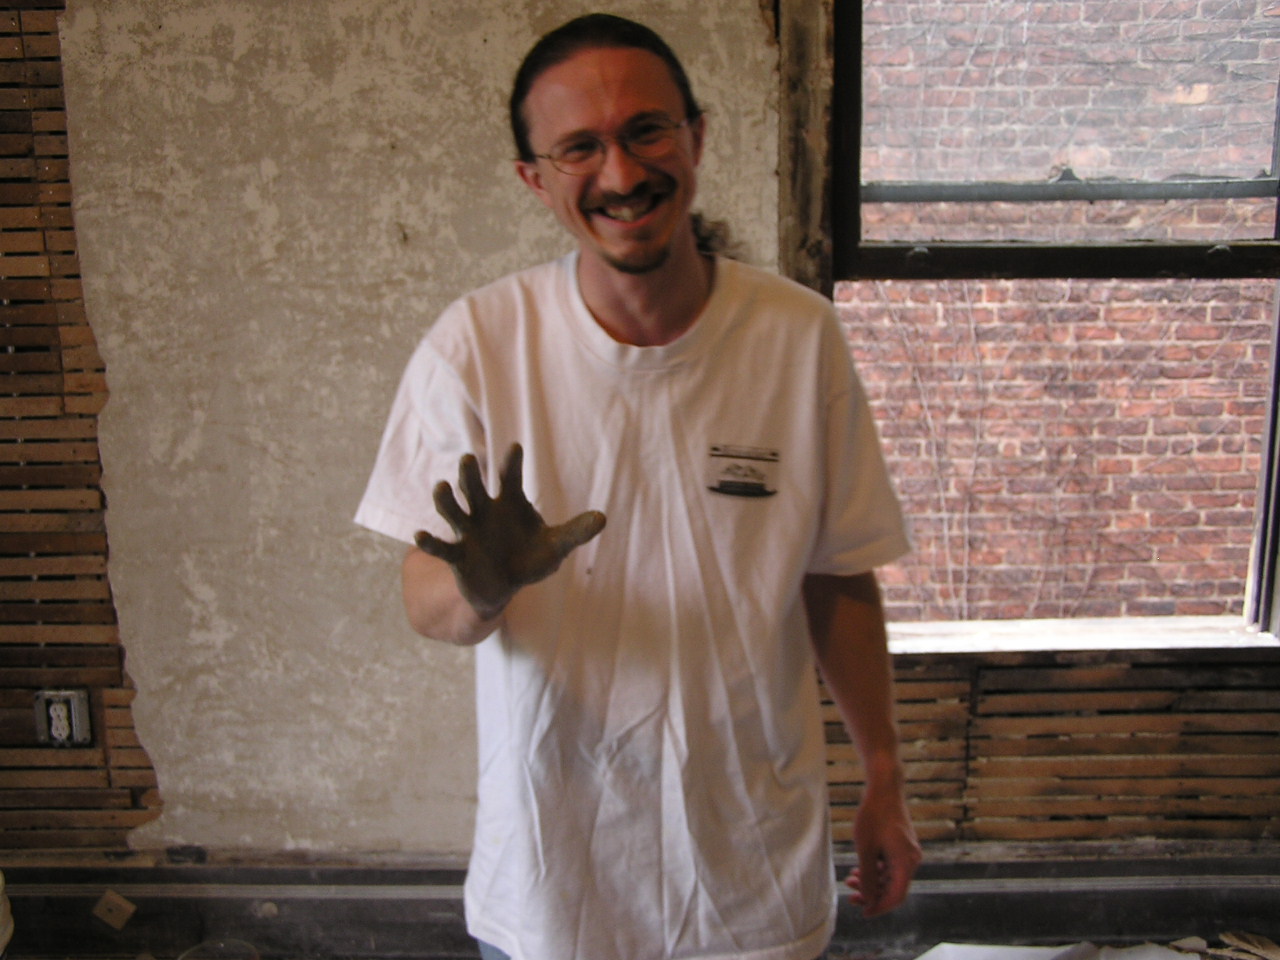
OK, this is the cream coat plaster, and the tools involved. The plaster resembles vanilla cake frosting in consistency AND texture, but probably not flavor. It contains ~50% di-hydrated lime (CaCO3+2H2O) which will cause serious chemical burns. The closest chemical relative most people ever run into is drain opener - Sodium Hydroxide. (Dihydrated lime plus water makes Calcium Hydroxide in moderate quantities, which is quite caustic).
The tools - the square one made of aluminum is the 'hawk', and is used like a painter's palette - to carry around the plaster about to be used. The long narrow one is the 'trowel', and is used to smear the stuff around. It's made of high-carbon steel, so it's flexible and rusts like nobody's business. When I wash it I can *watch* as it rusts if I don't dry it off immediately.
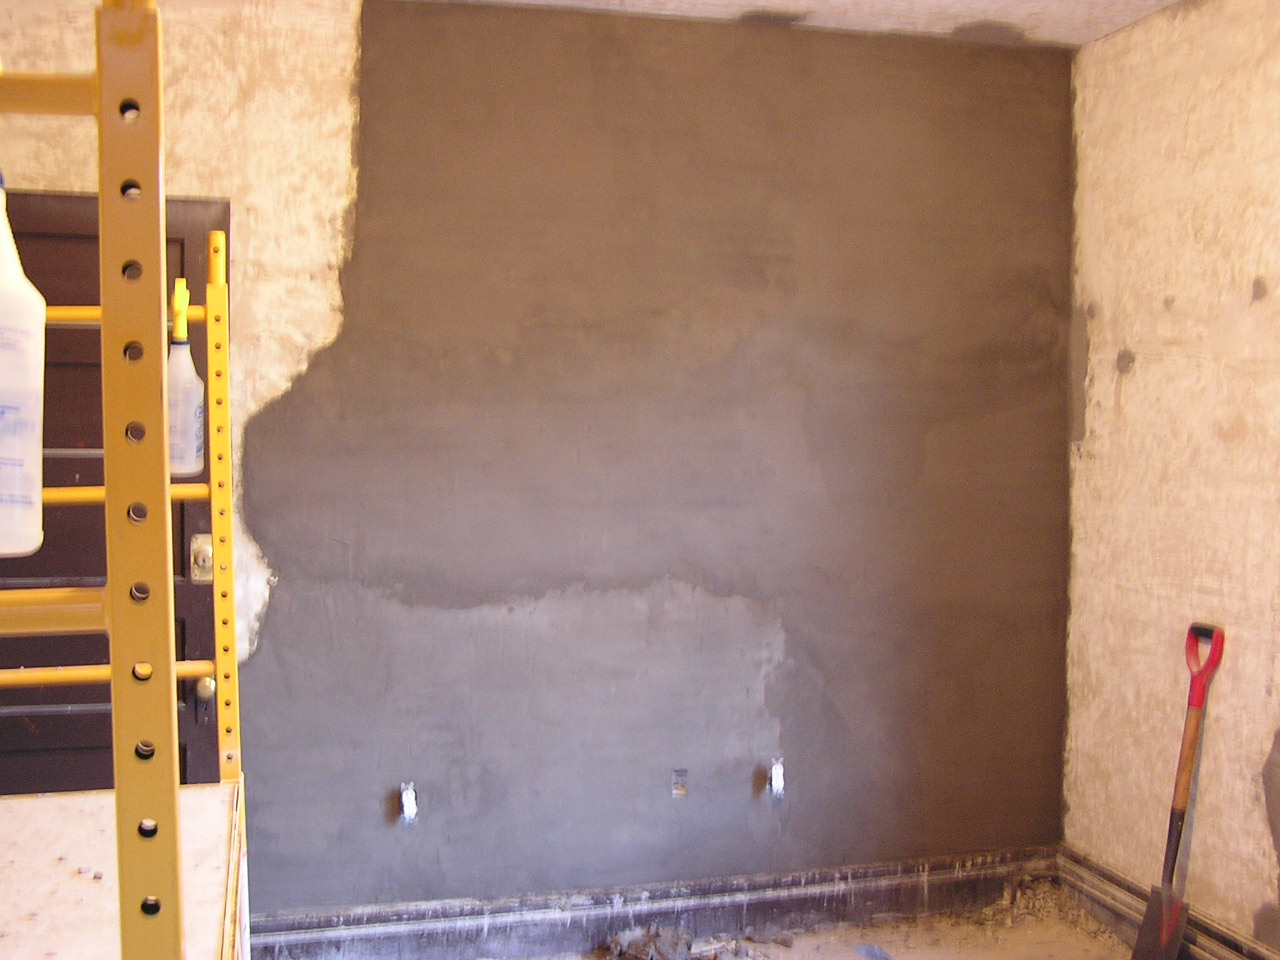
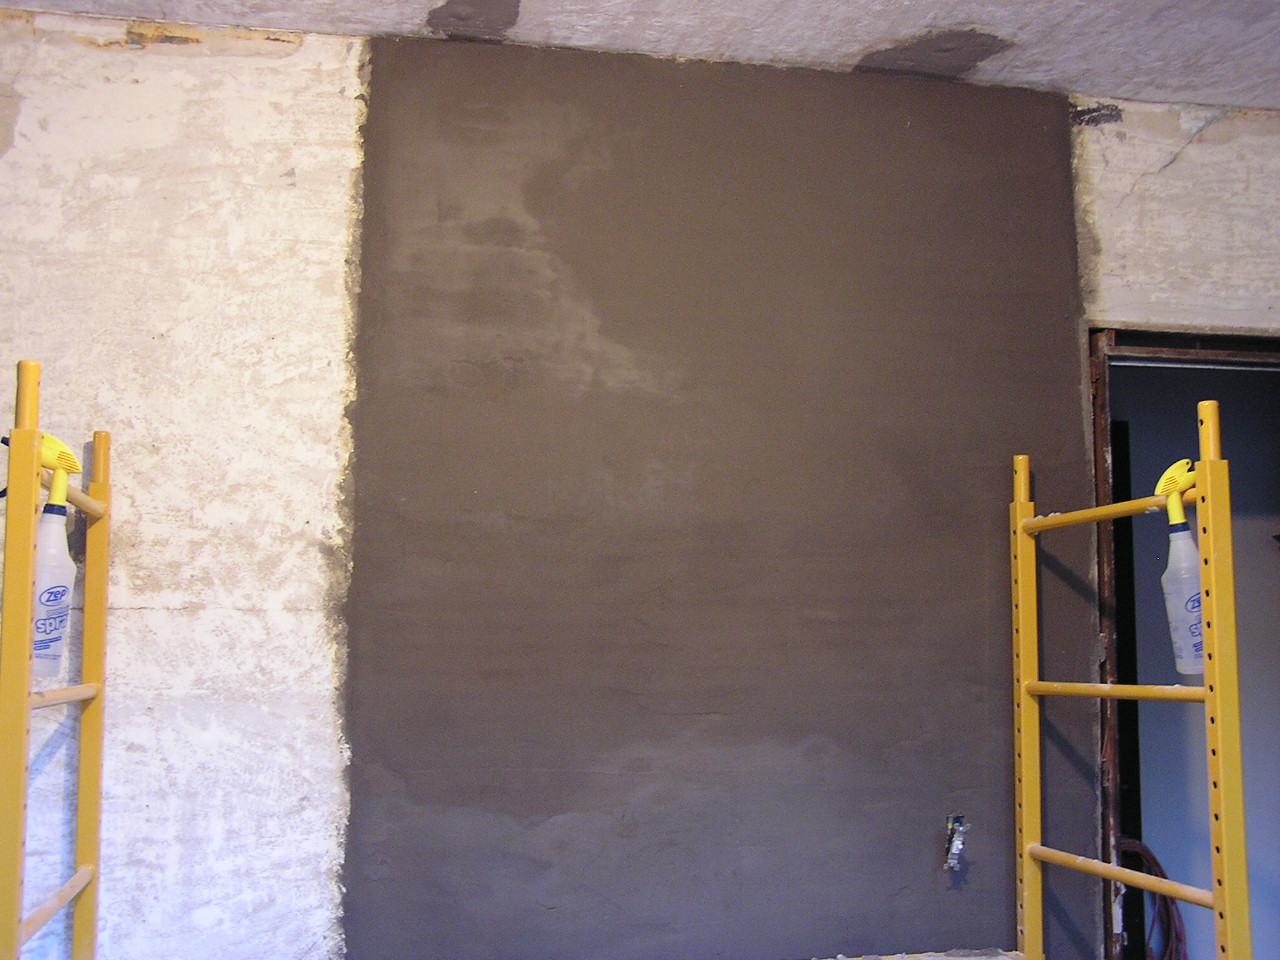
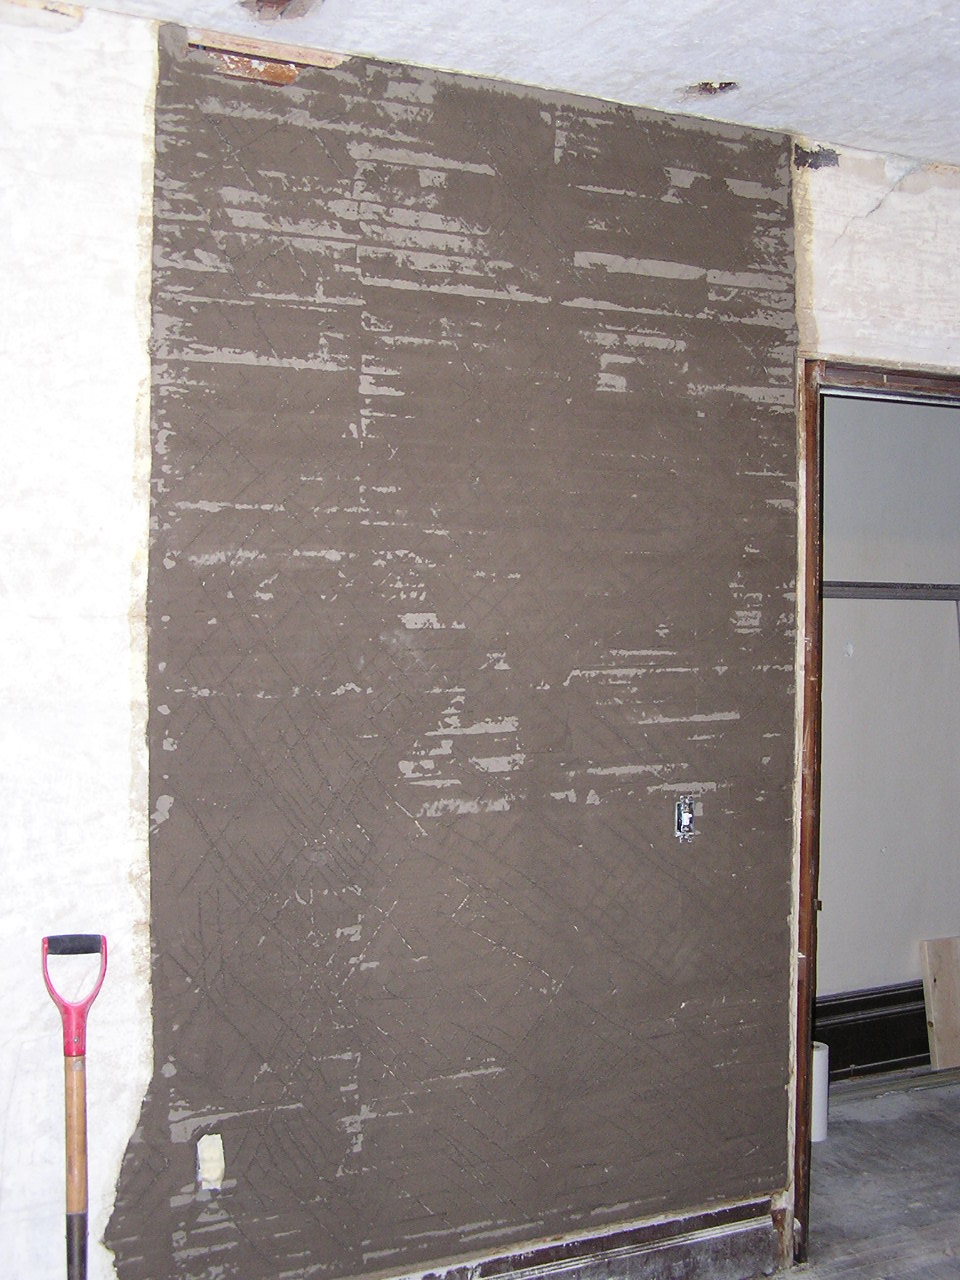
The brown coat is done, and this is what it looks like (N, W, E walls)
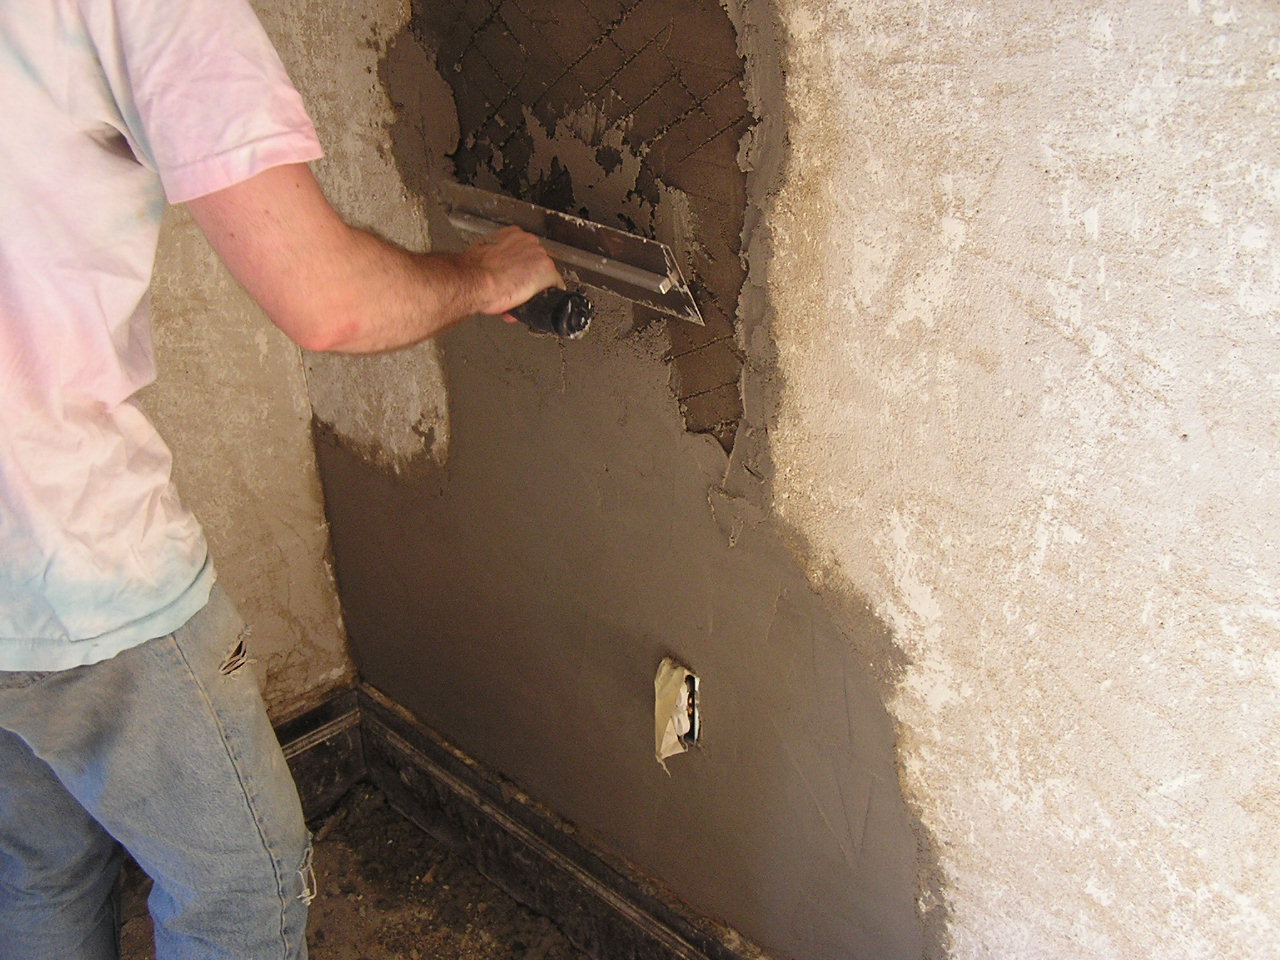

A couple shots of John putting the brown coat up over the scratch coat.
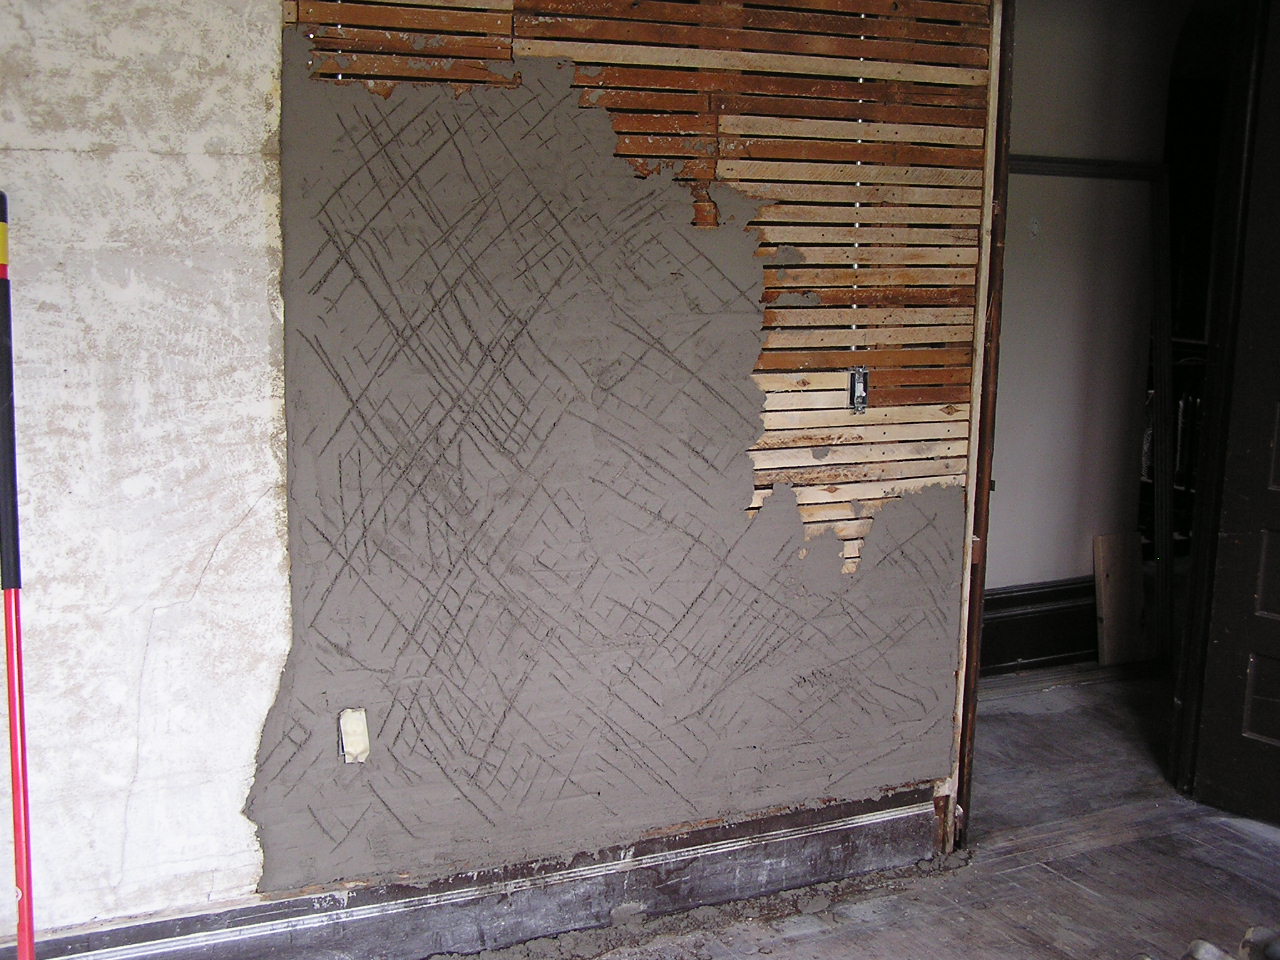
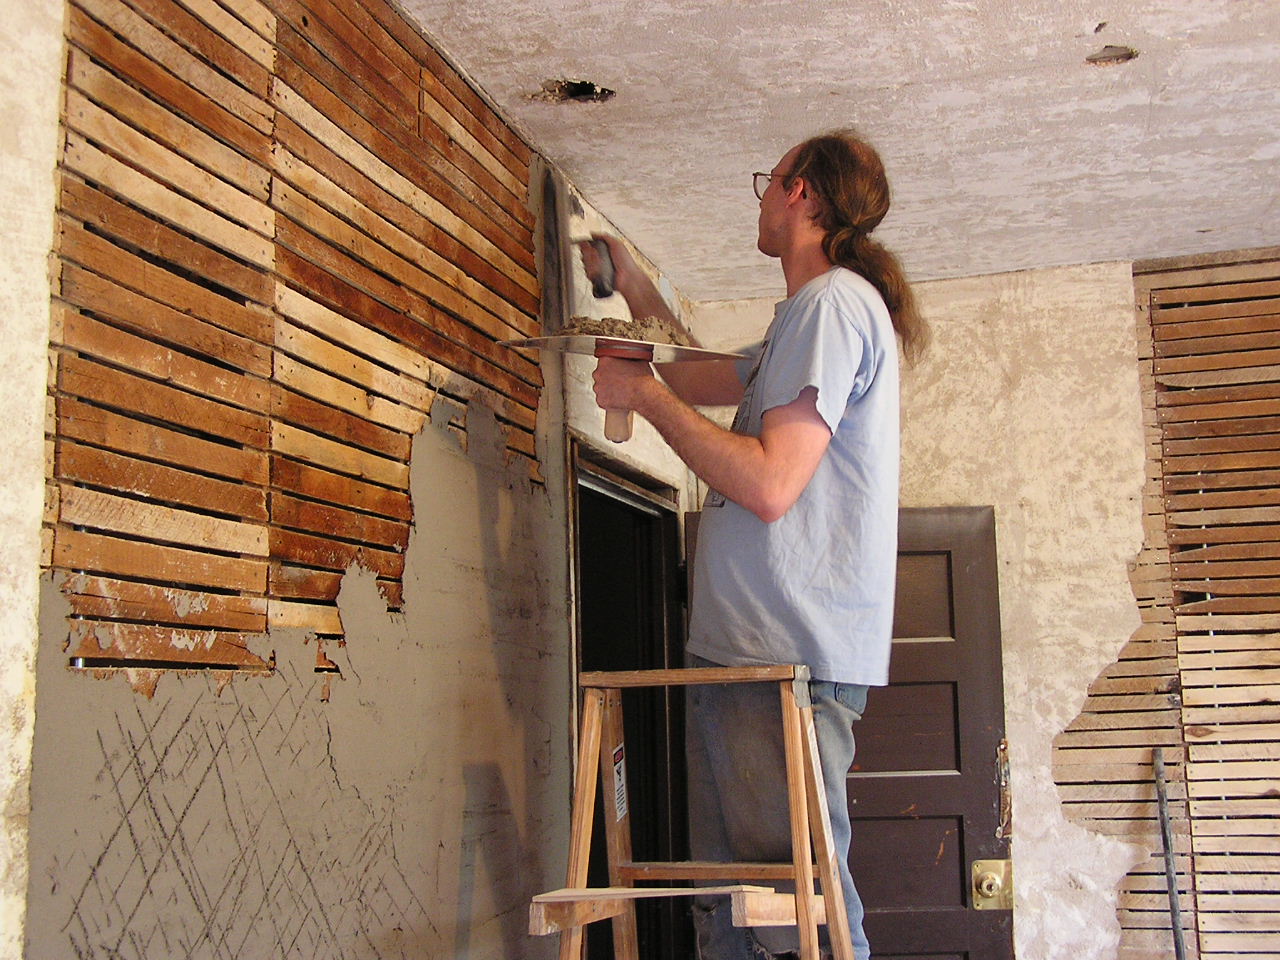
We have here a partially, then a fully "scratch coat"ed wall. The best way to mix plaster is with your hands, so I did. You can easily overmix, and that cuts your working time way down, so this lets you mix thoroughly with the least amount of actual mixing.
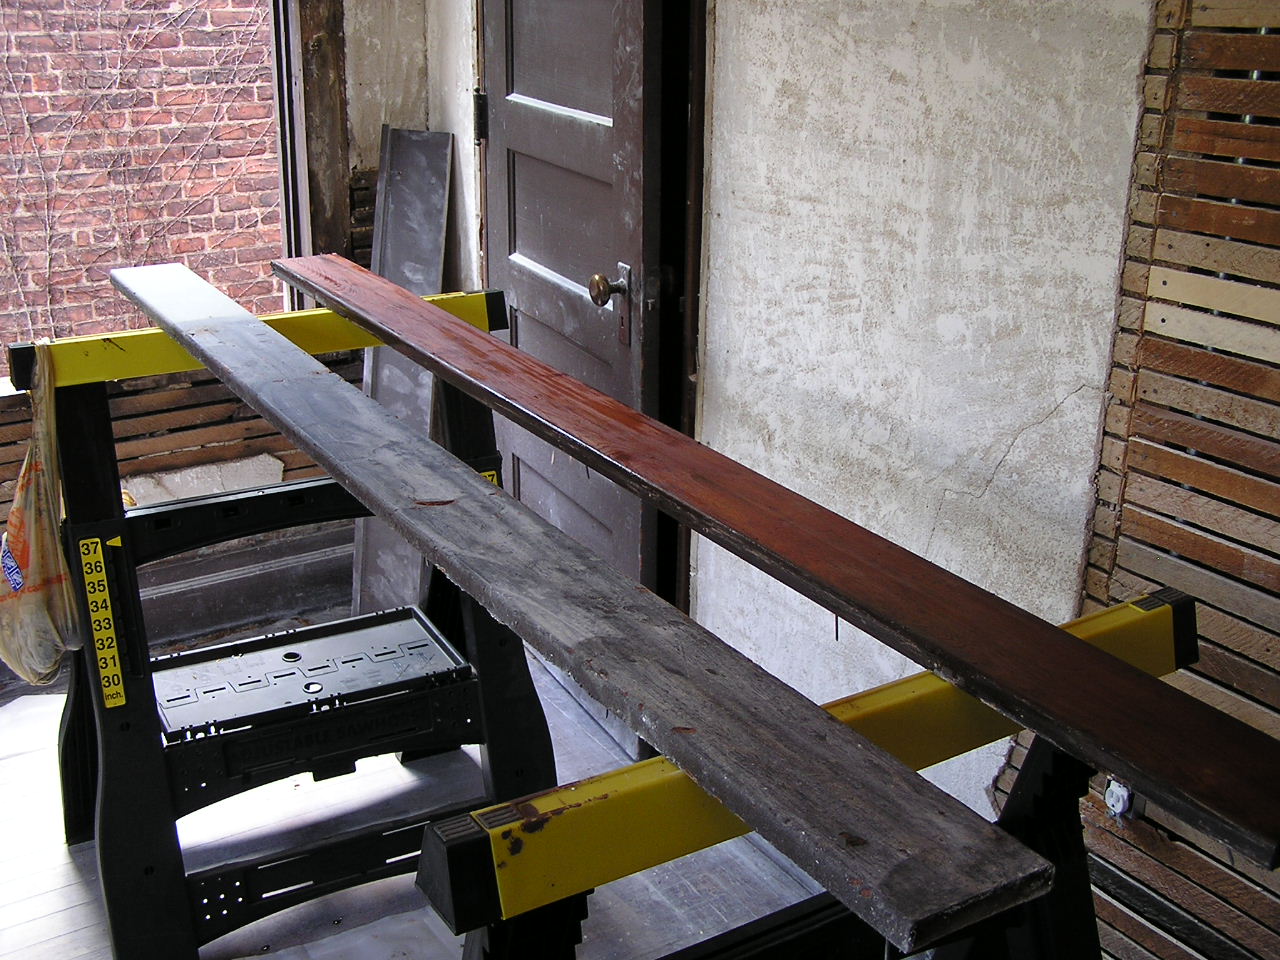
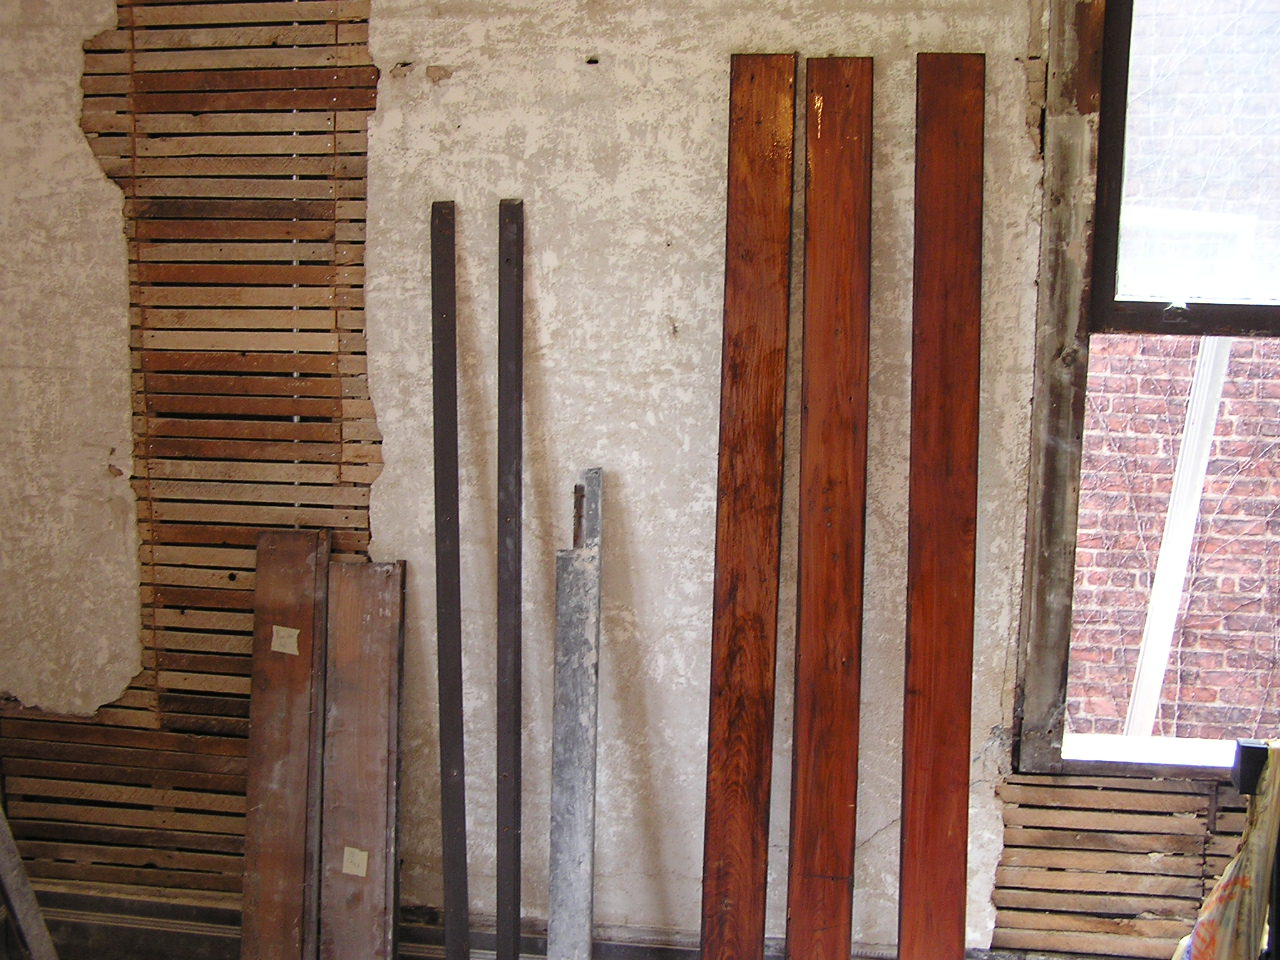
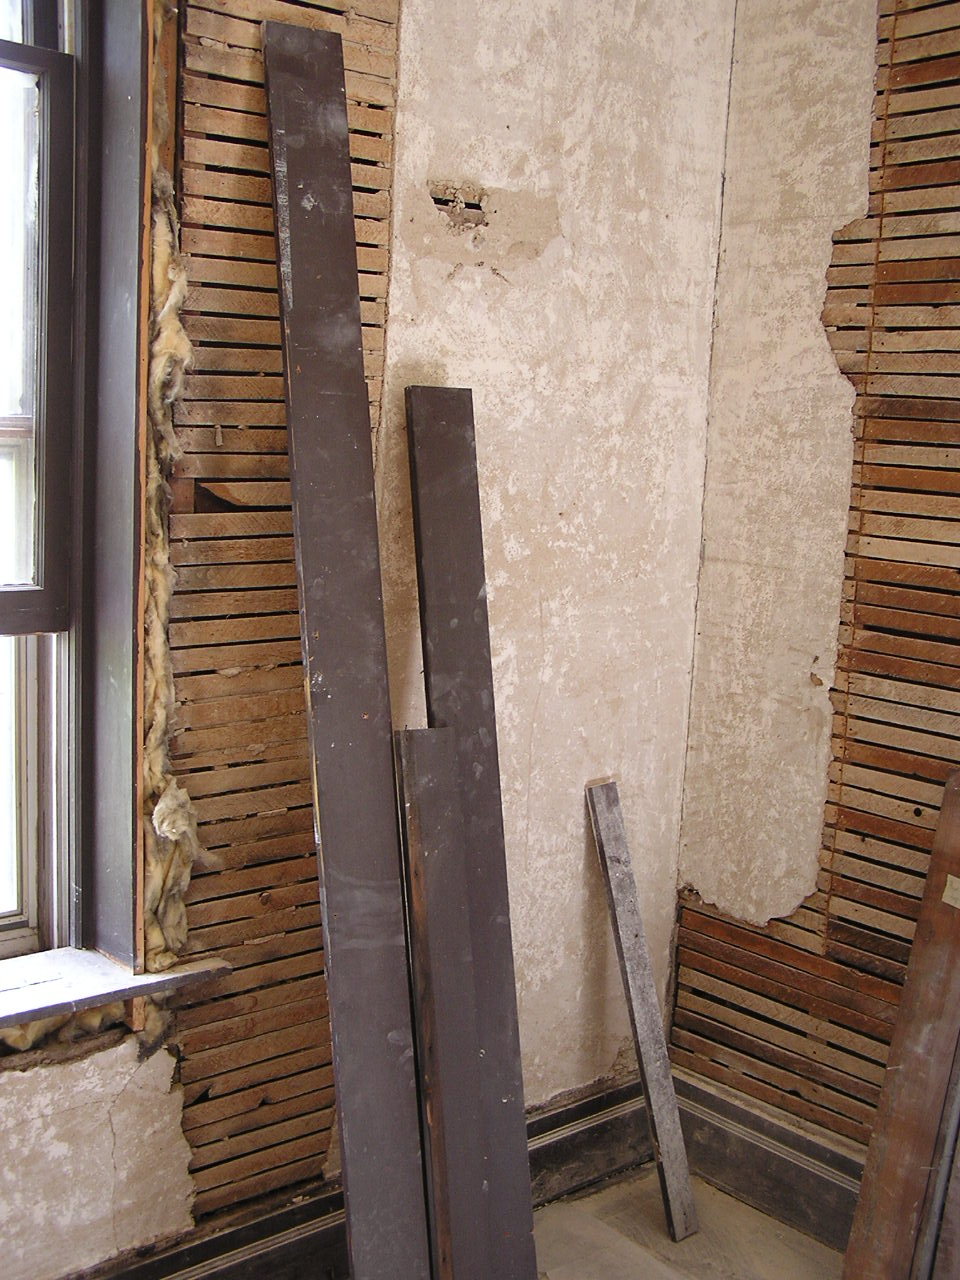
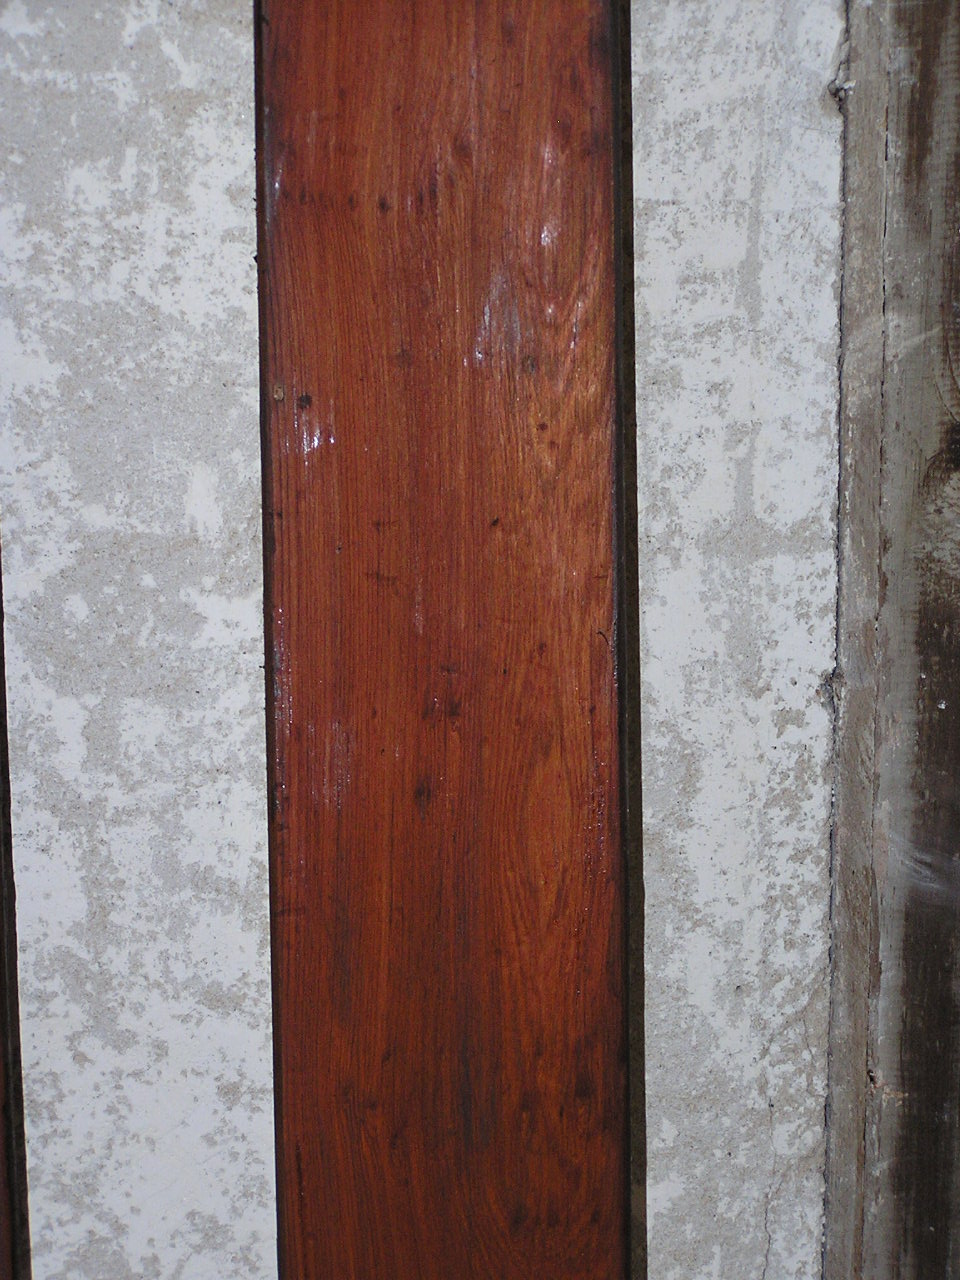
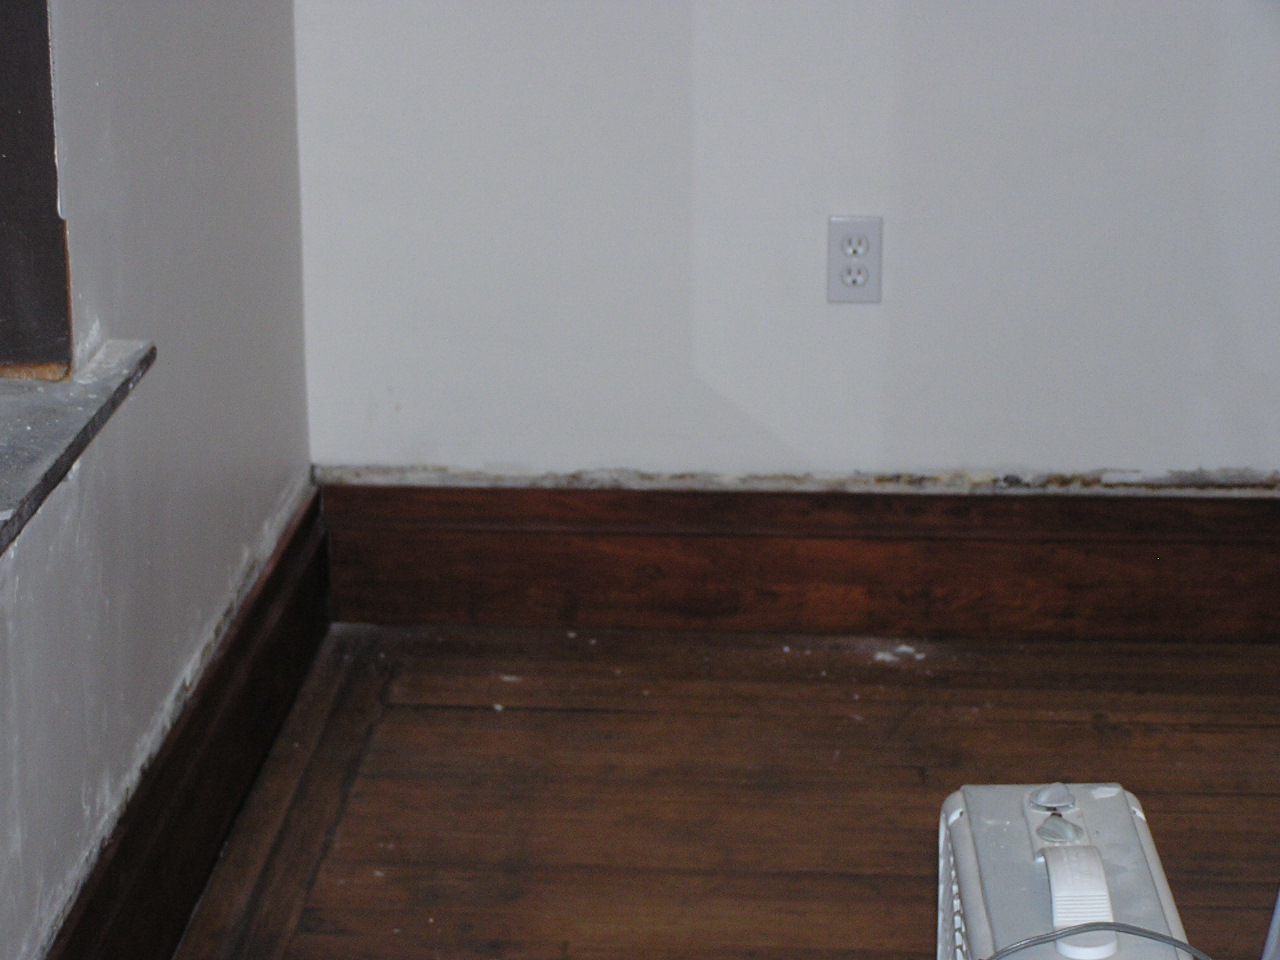
A few pictures of the mouldings I've been stripping. I'm trying to decide whether it's worth the effort, or if I should just replace them. The stripper is $15/qt. and I've used maybe a cup so far stripping 4 pieces of moulding. The new boards would be $11.30 each - replacement is more expensive. Replacing things would take much less time. The old boards have a lot more "character" - I'm not sure whether that's good or bad. Also, the old boards have a great reddish brown color to them, almost a cherry color, and are just very old pine. New boards would be much lighter in color, and not nearly as nice. I'm torn.
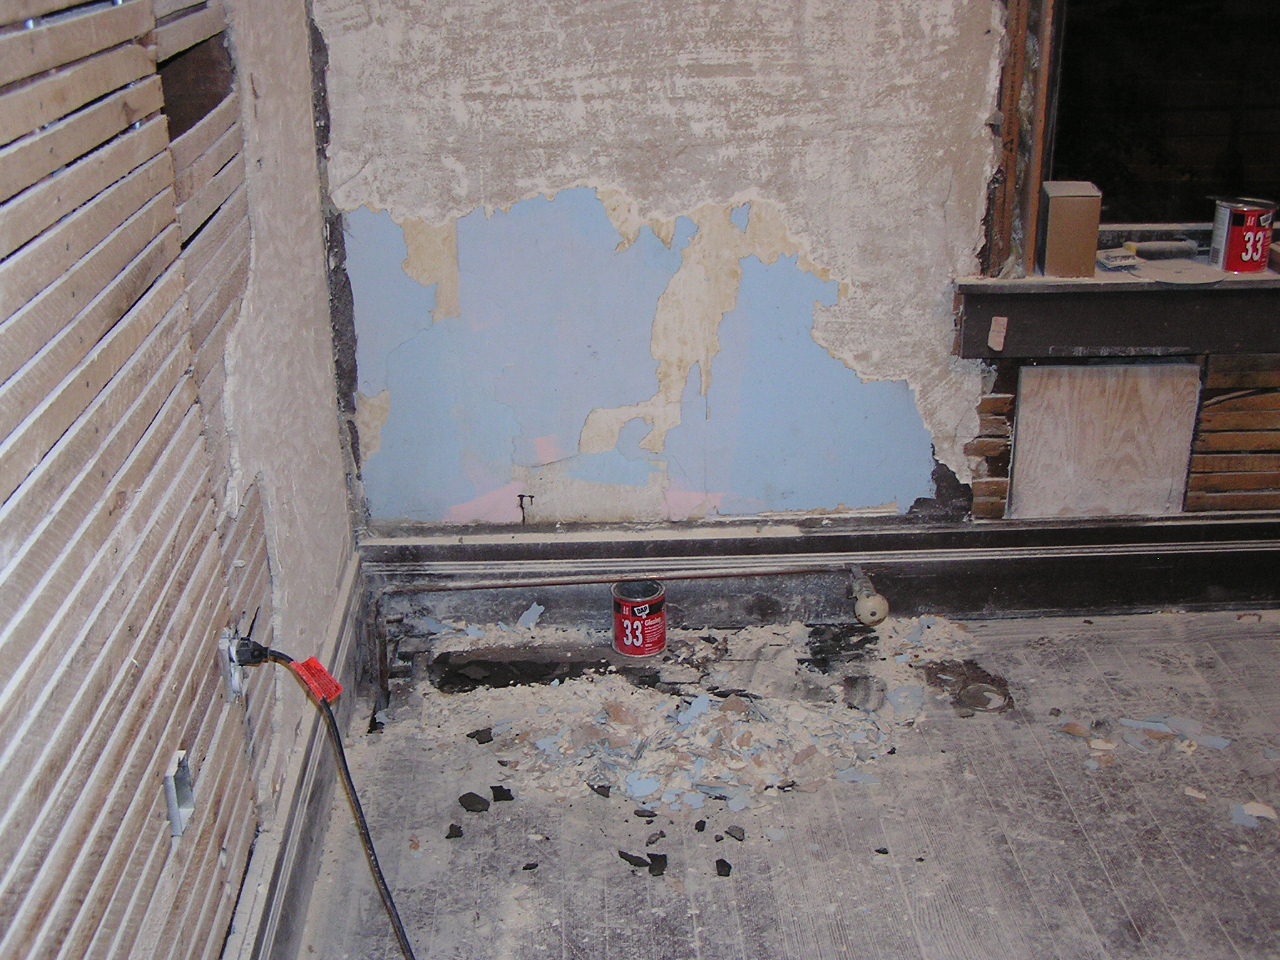
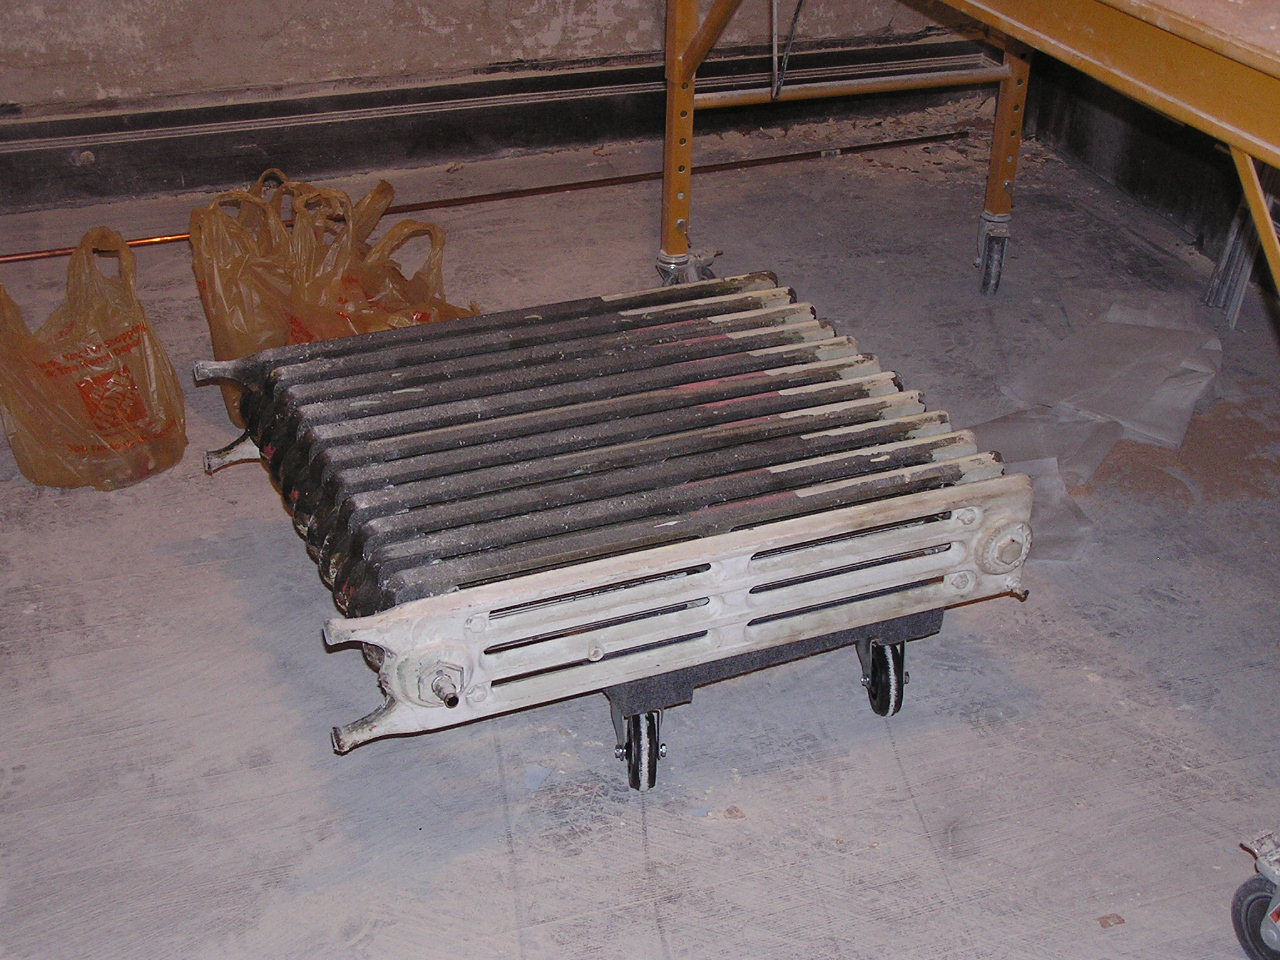
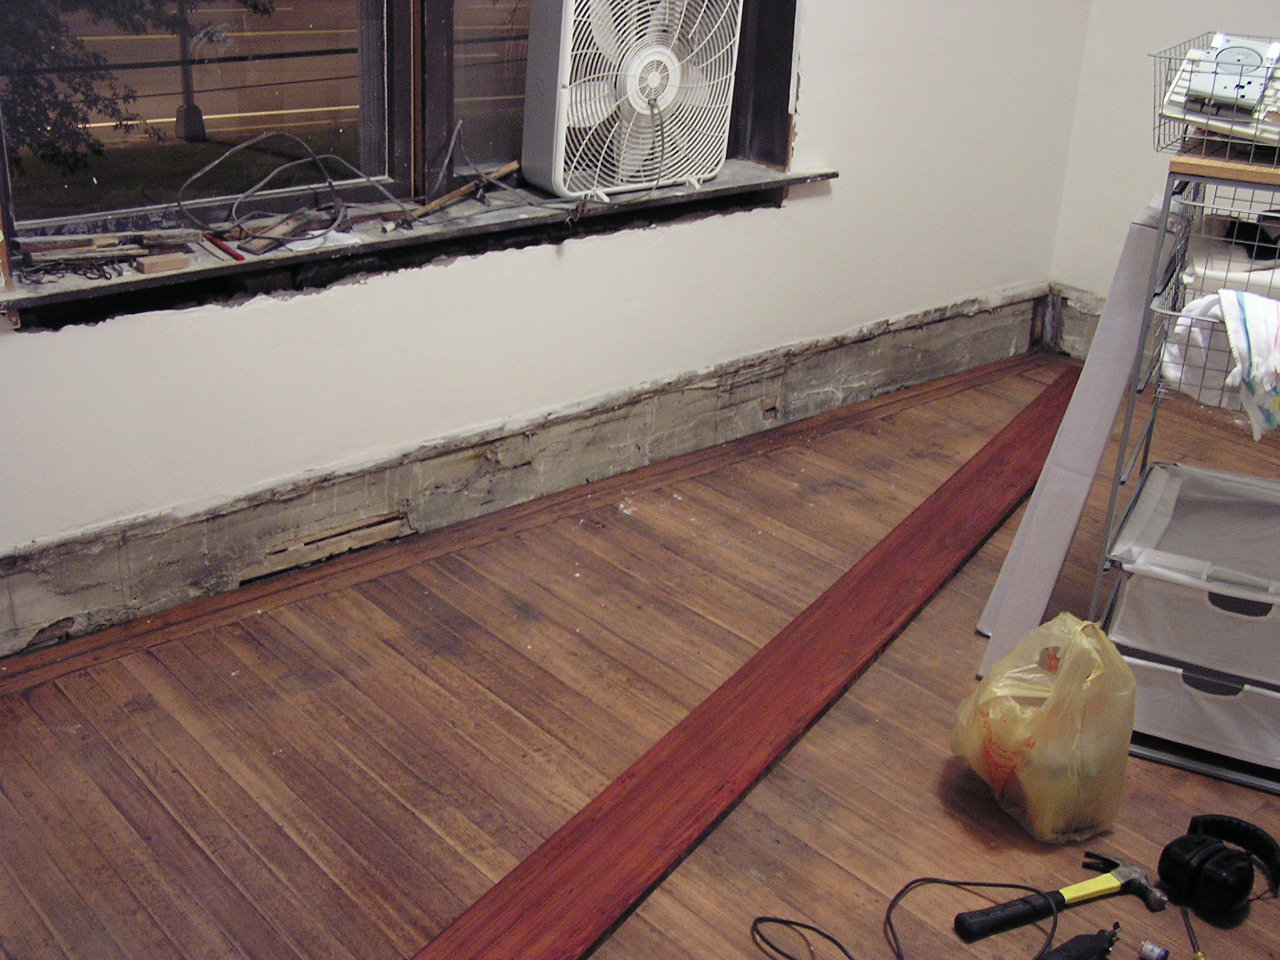
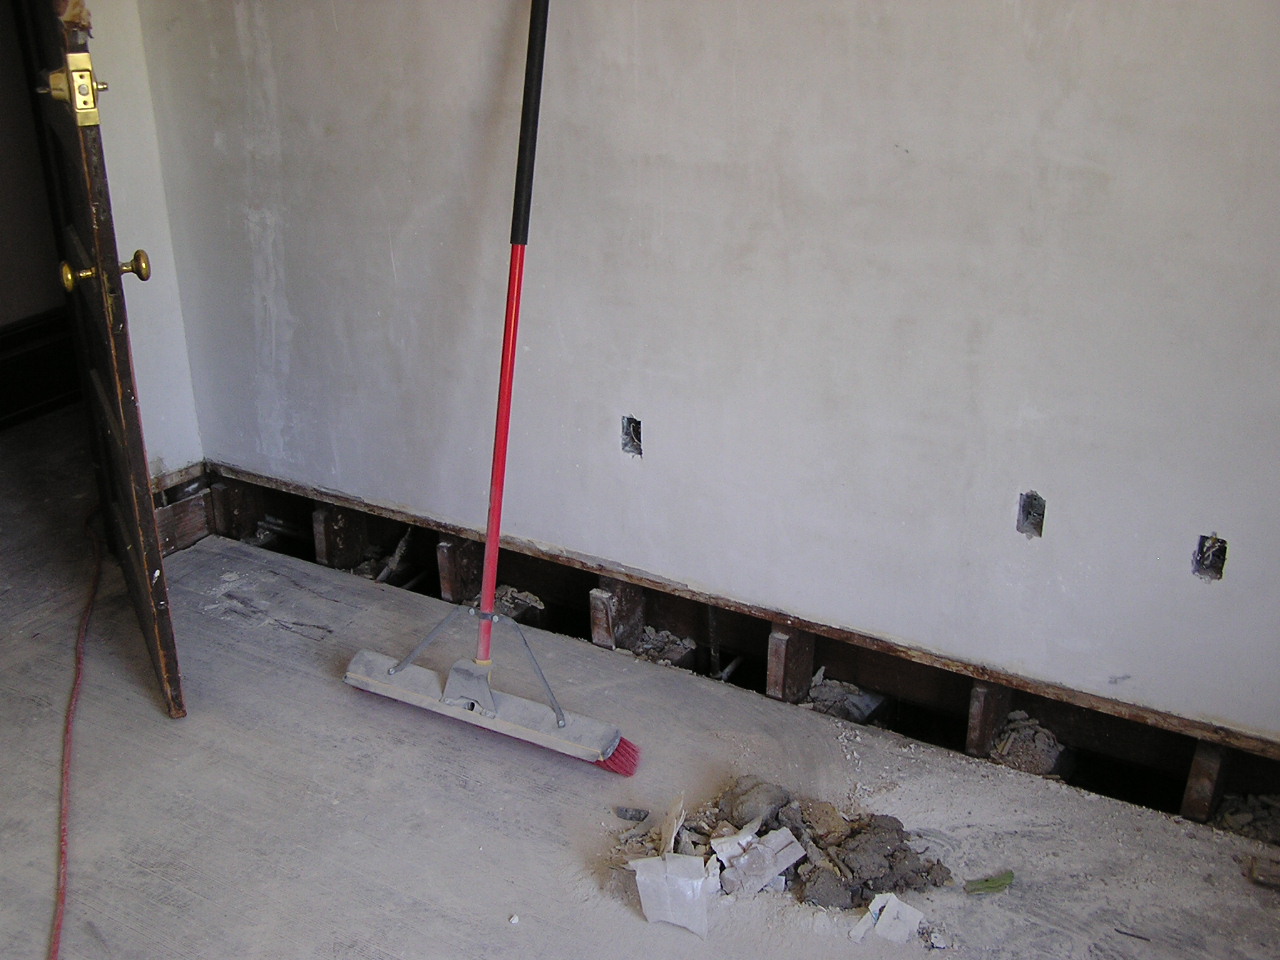
Here we have the space the radiator used to occupy, and the radiator on its side on a furniture dolly. In order to get it out of the room we'll have to stand it up - it's wider than the doorway.