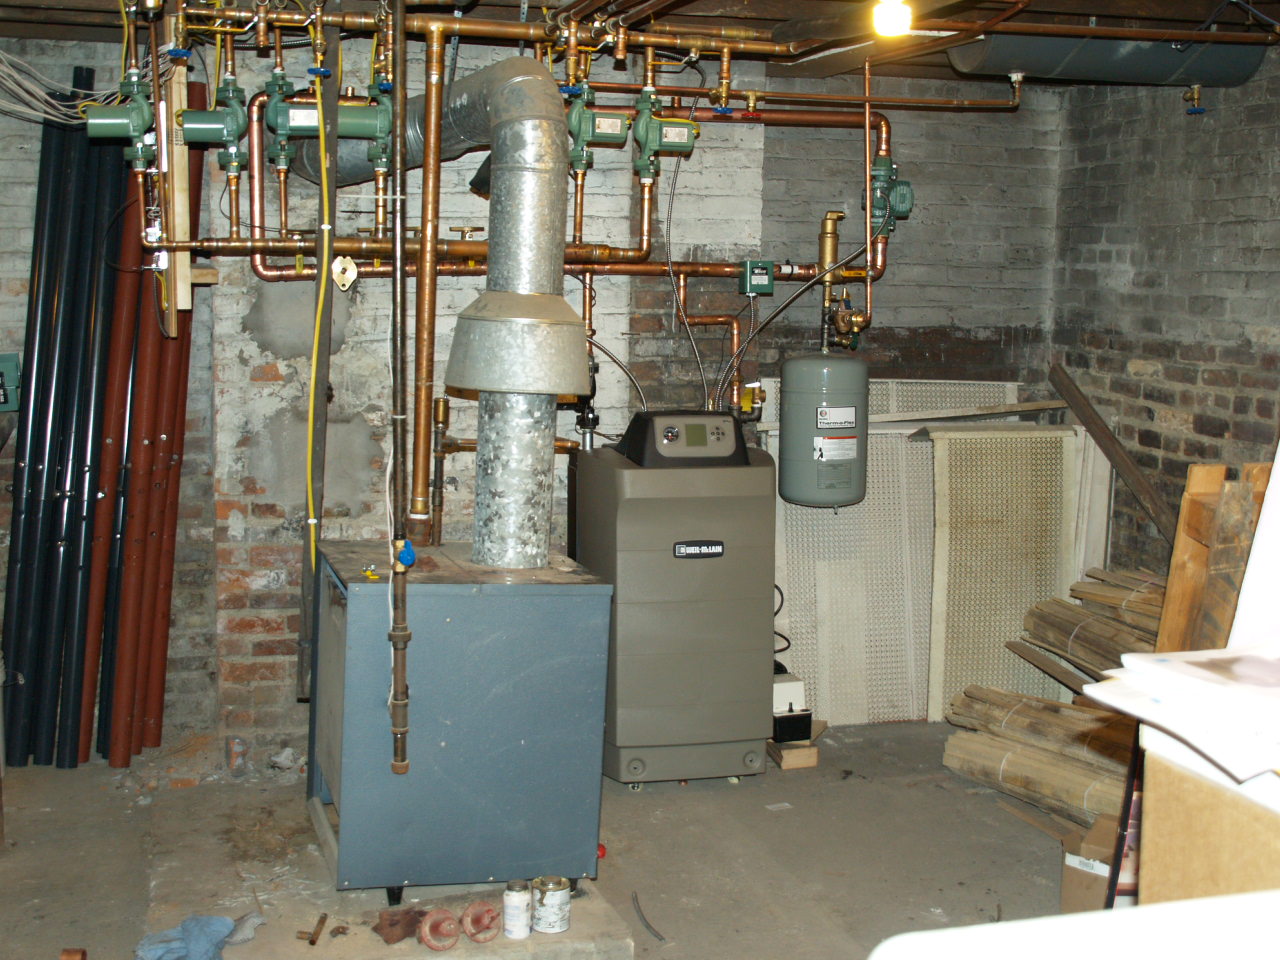
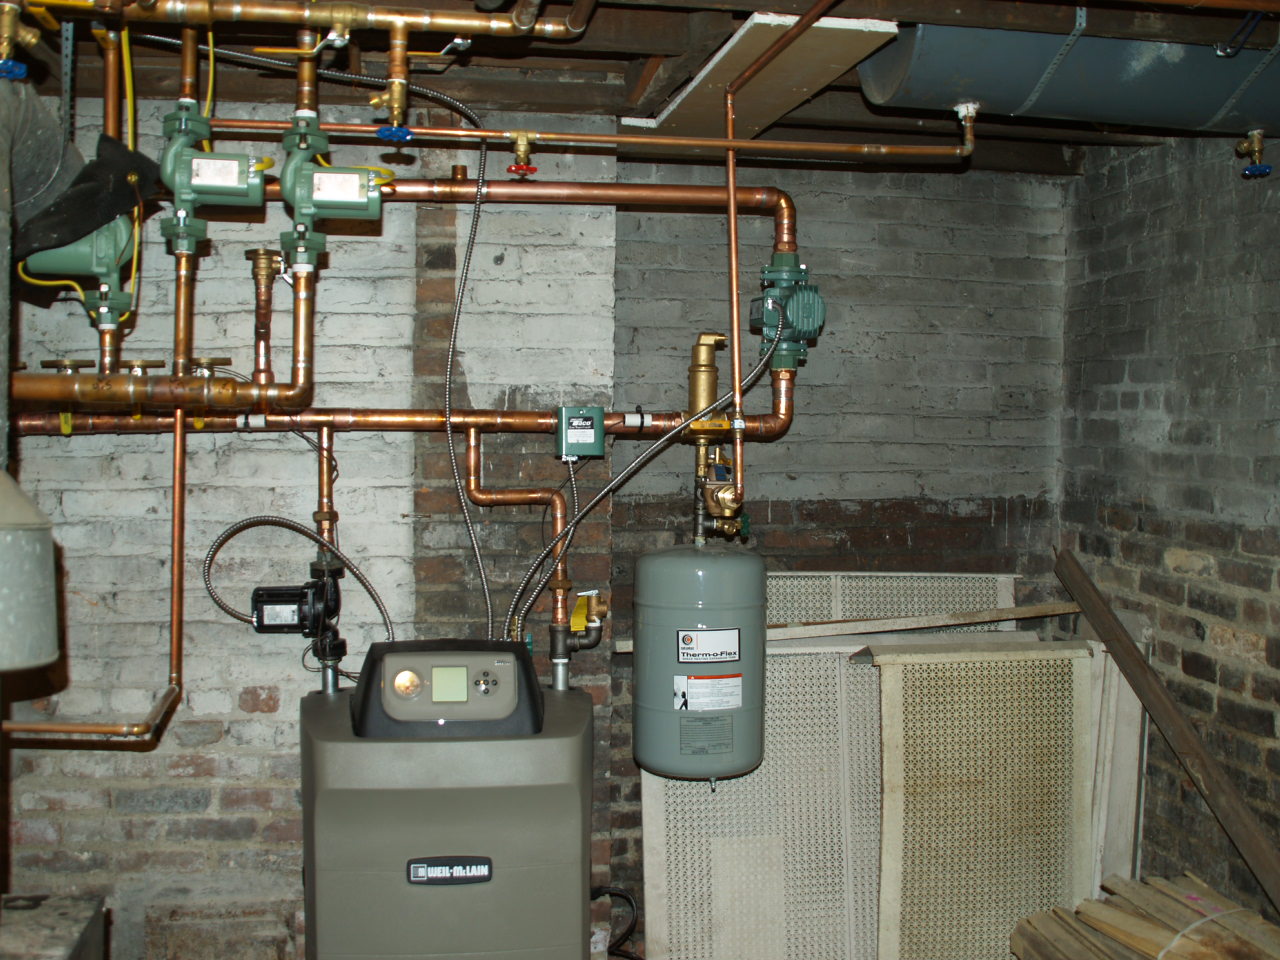
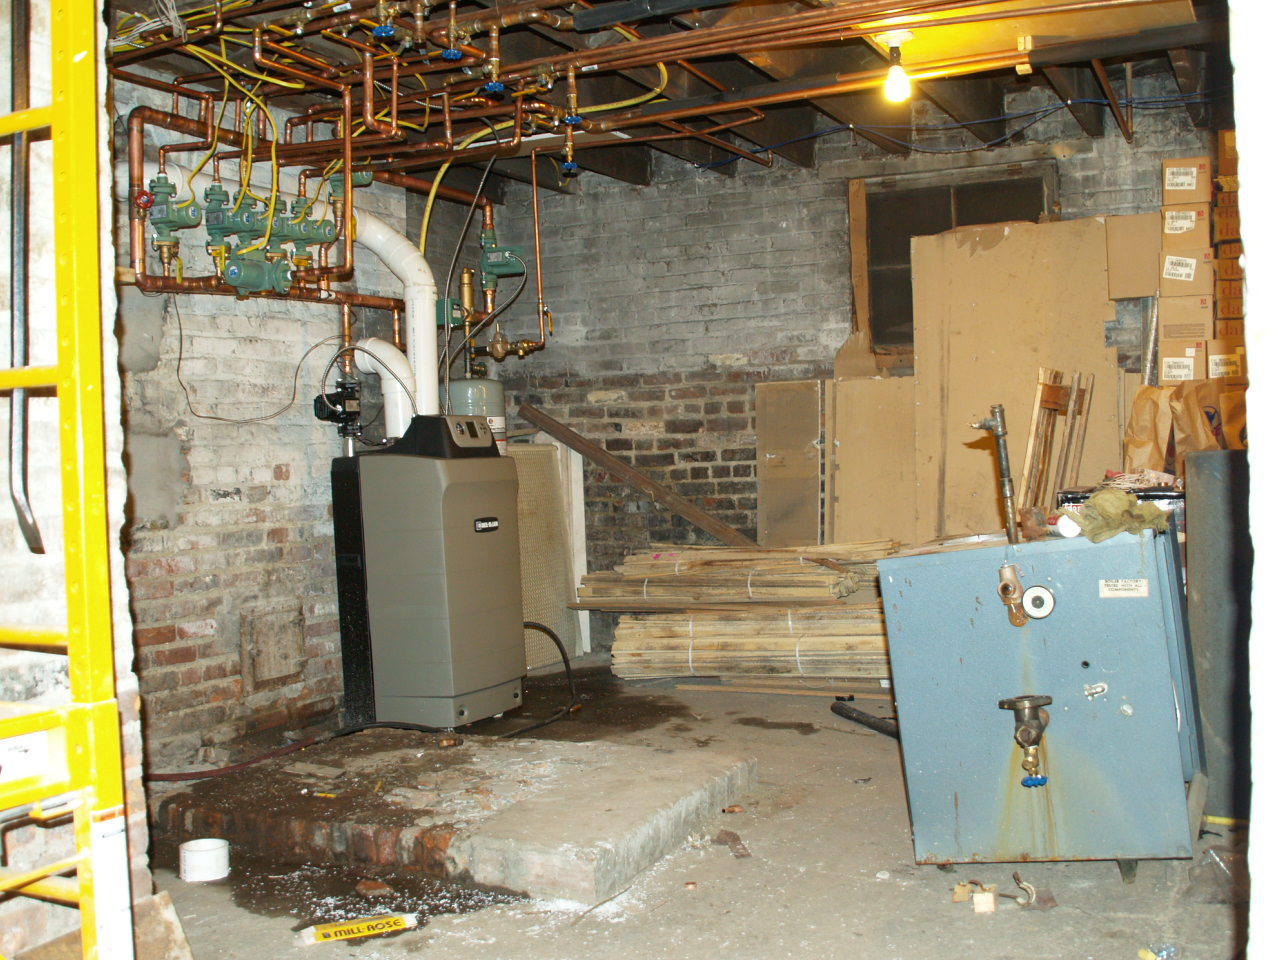
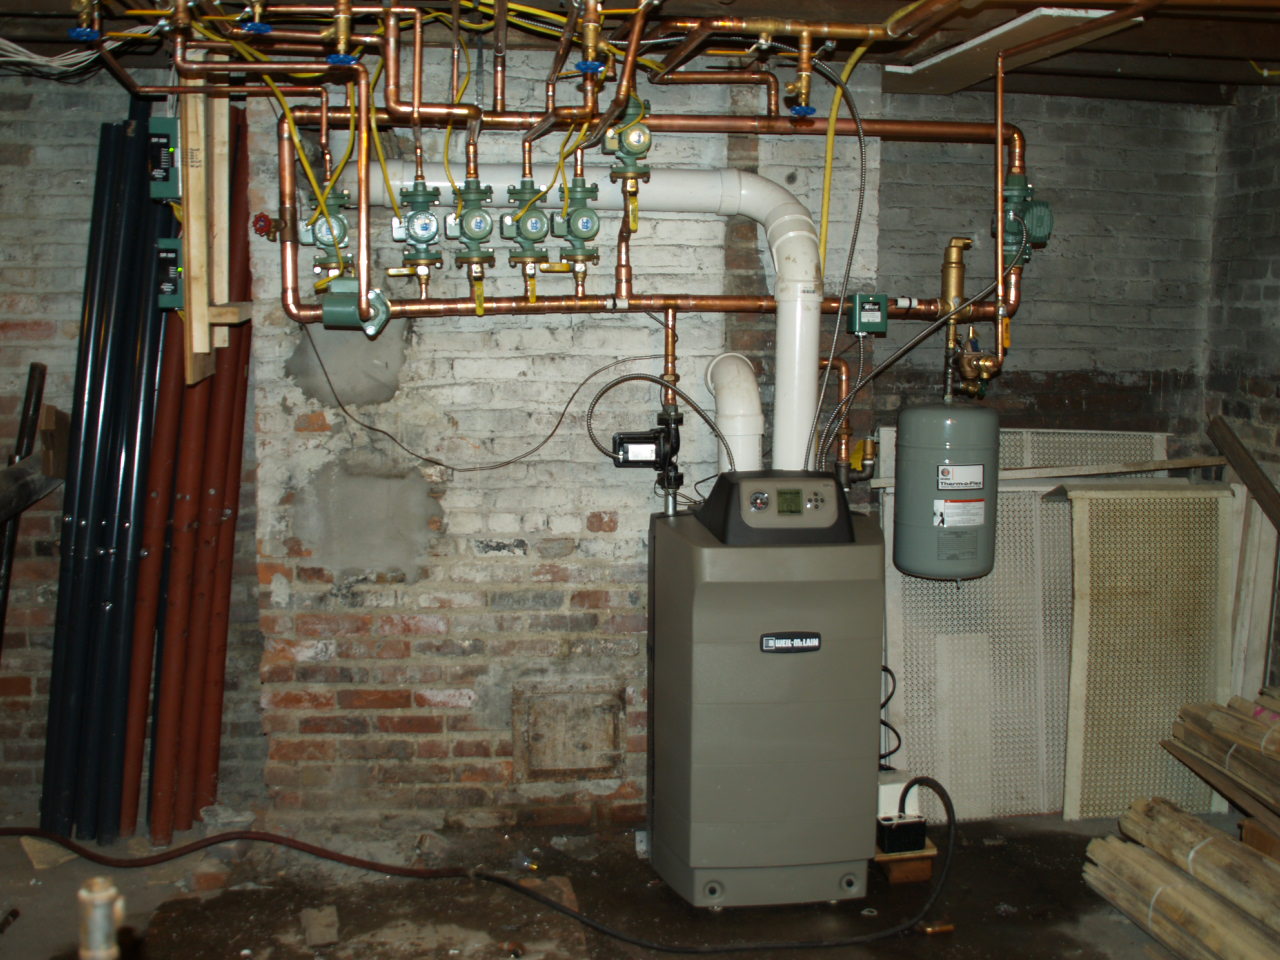

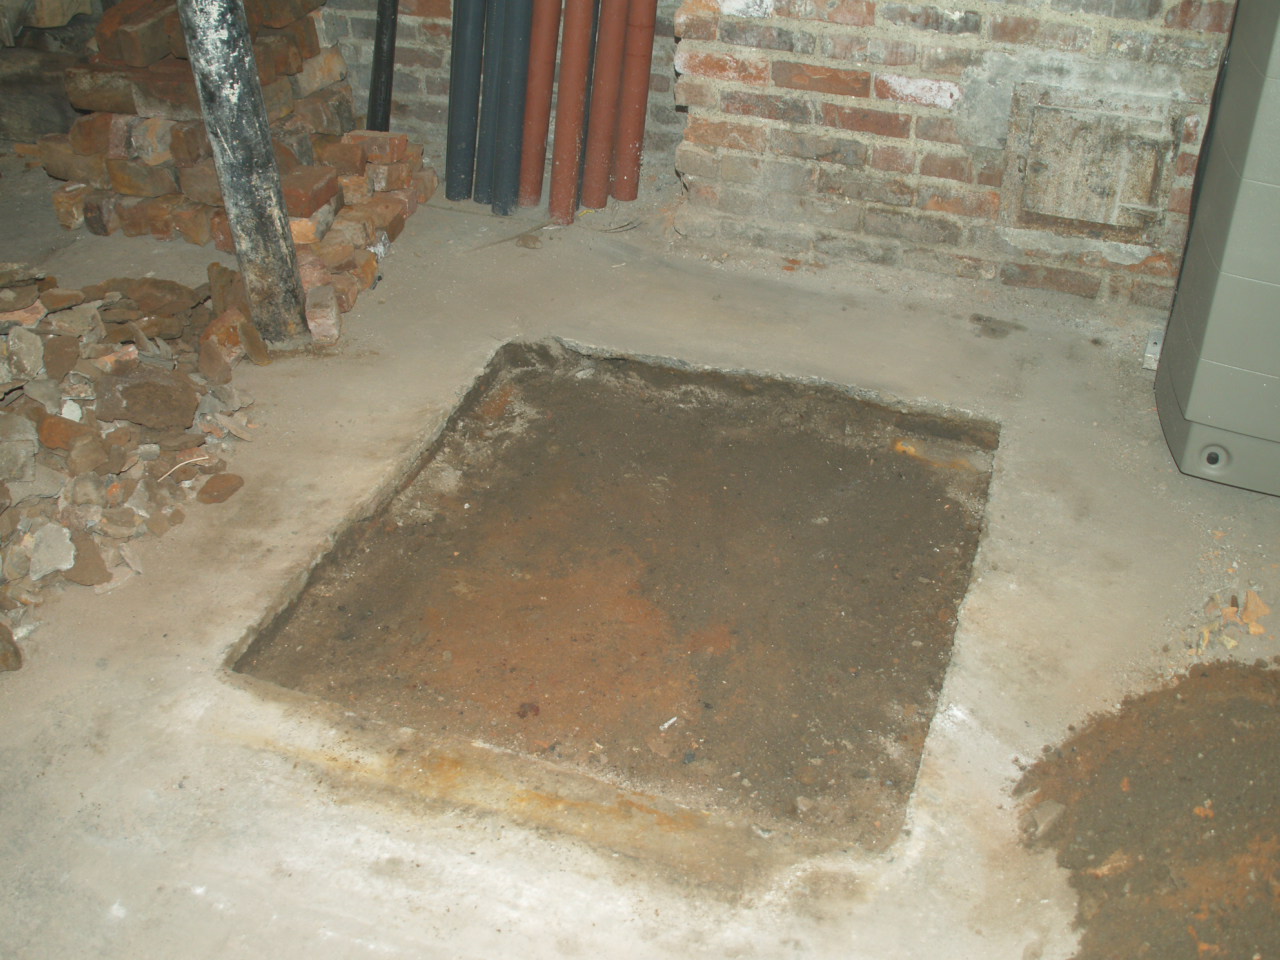
Shots of the new boiler going in, right through the hole in the floor that was under the old boiler being cleaned out and ready to fill. At some point I'll pour concrete in there and smooth it out.
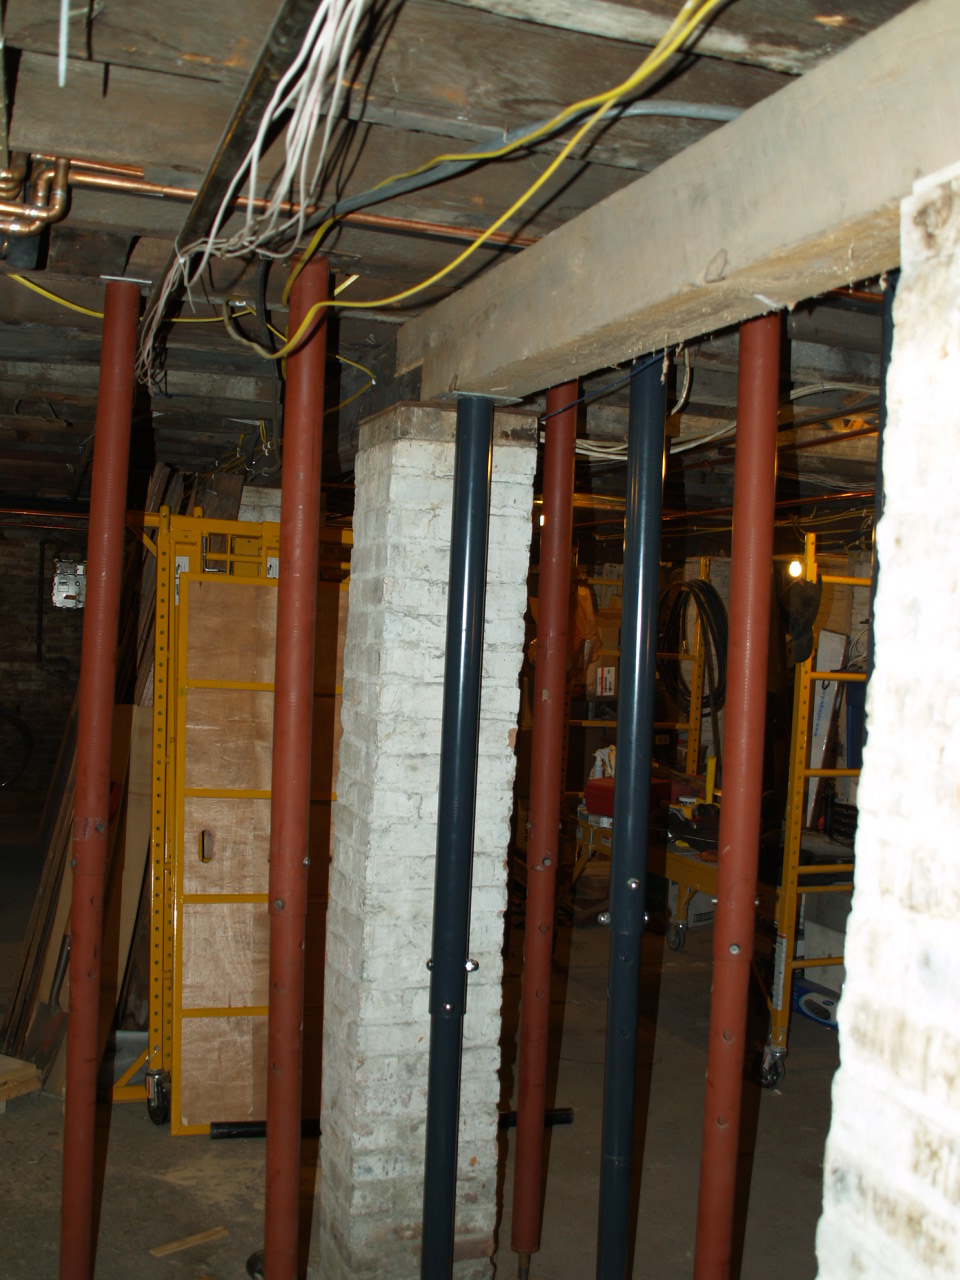
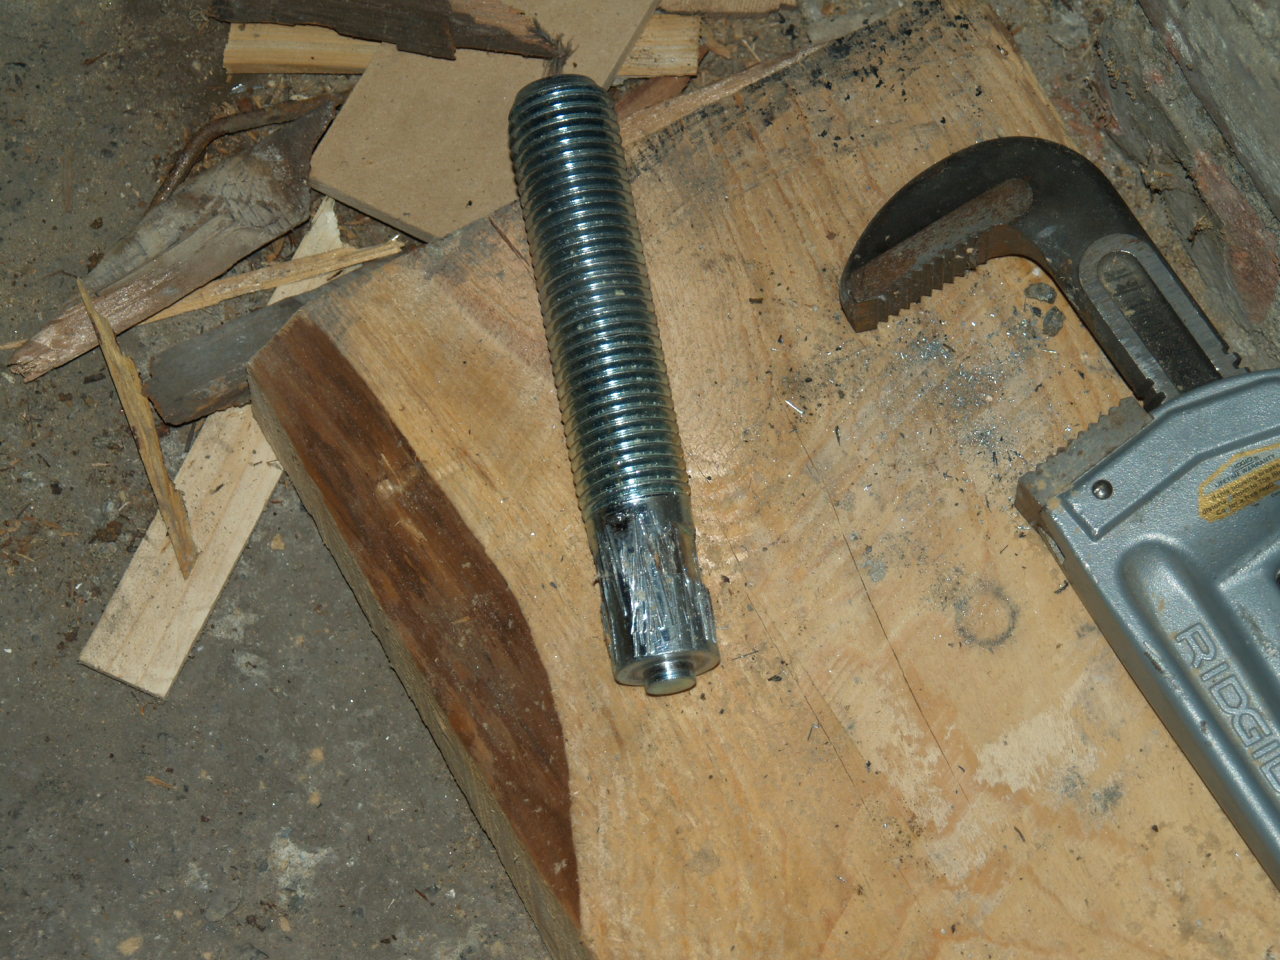
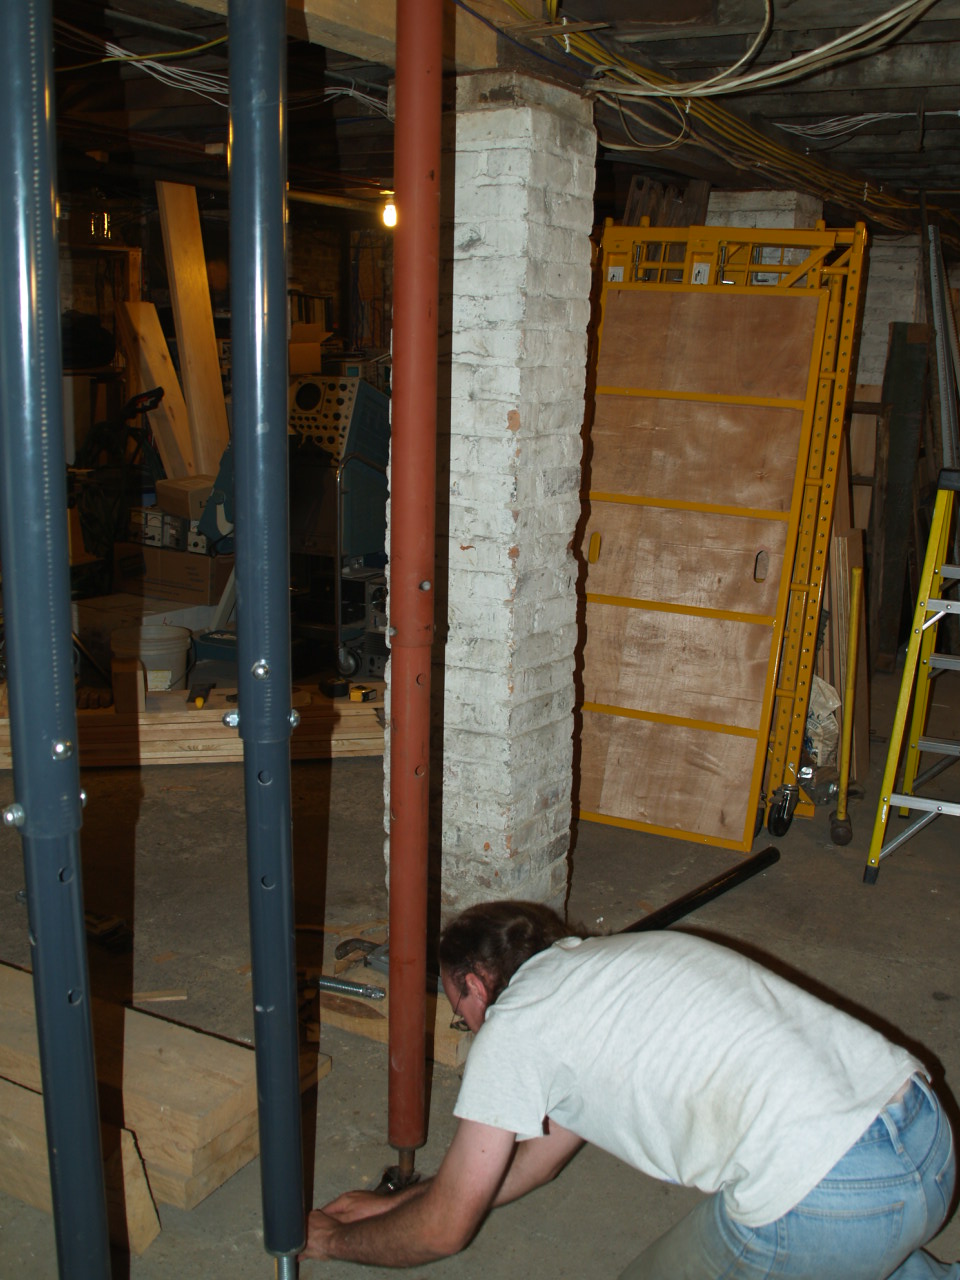
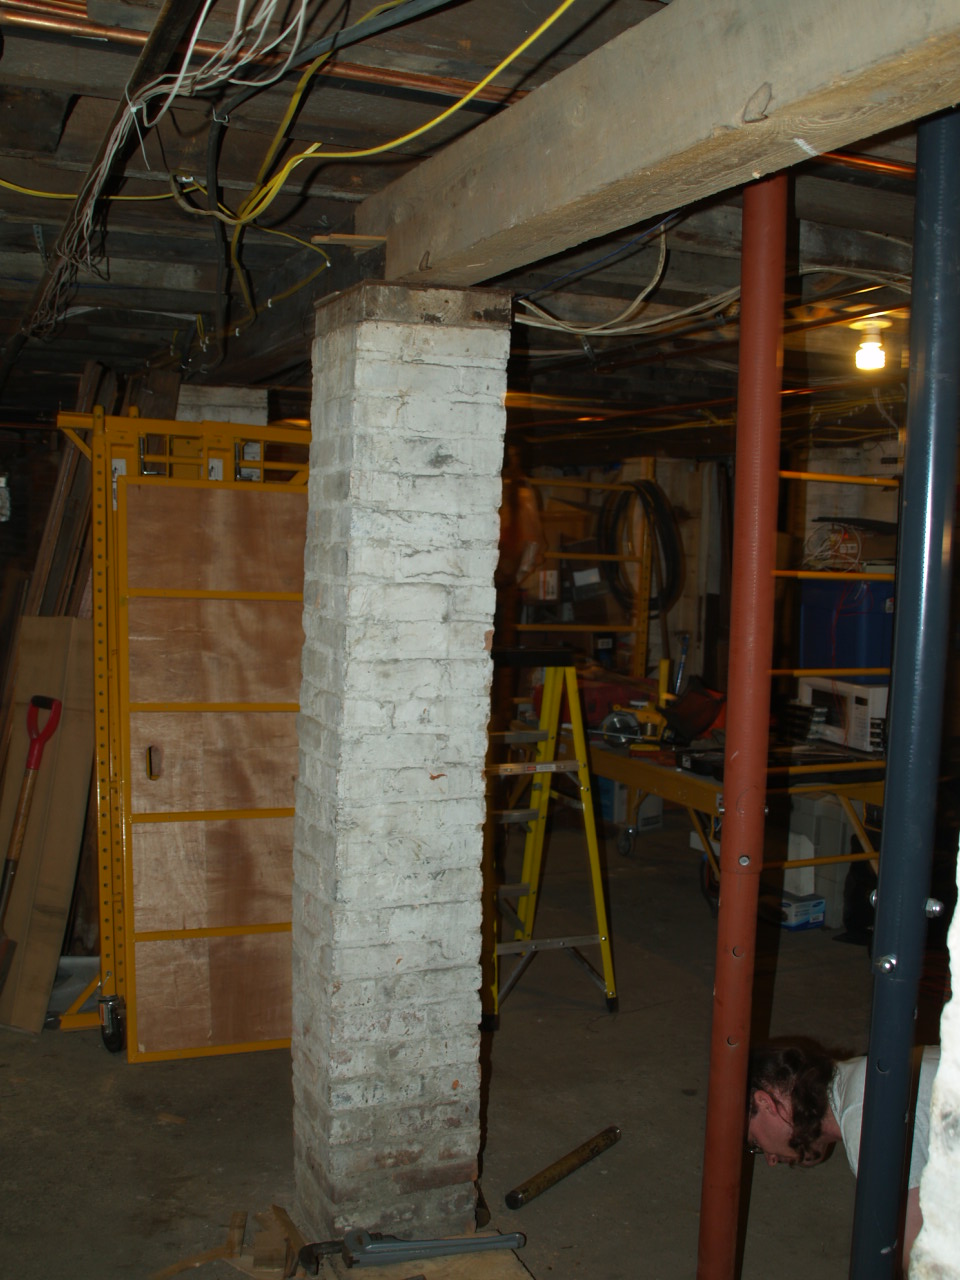

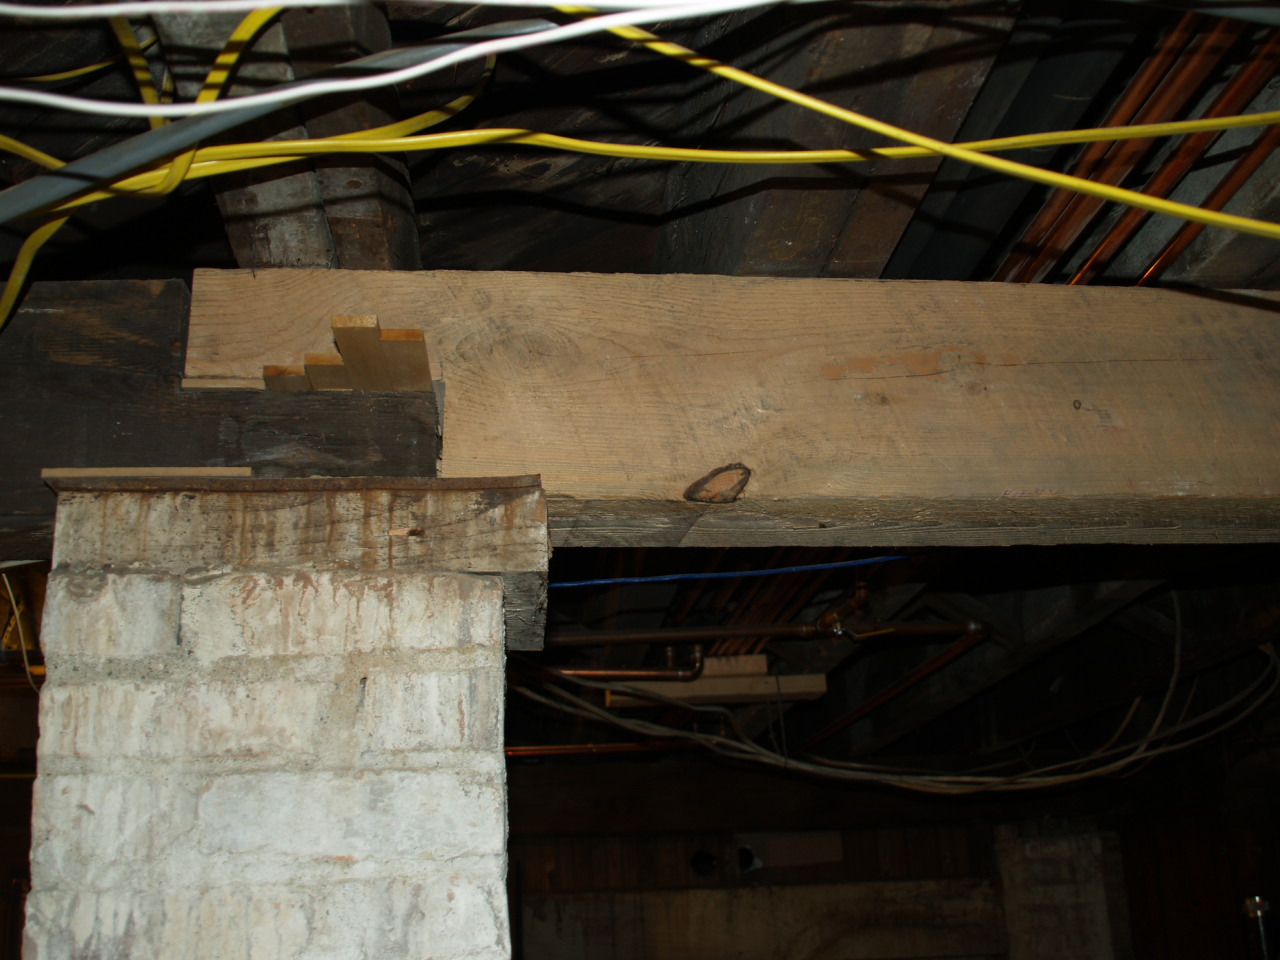
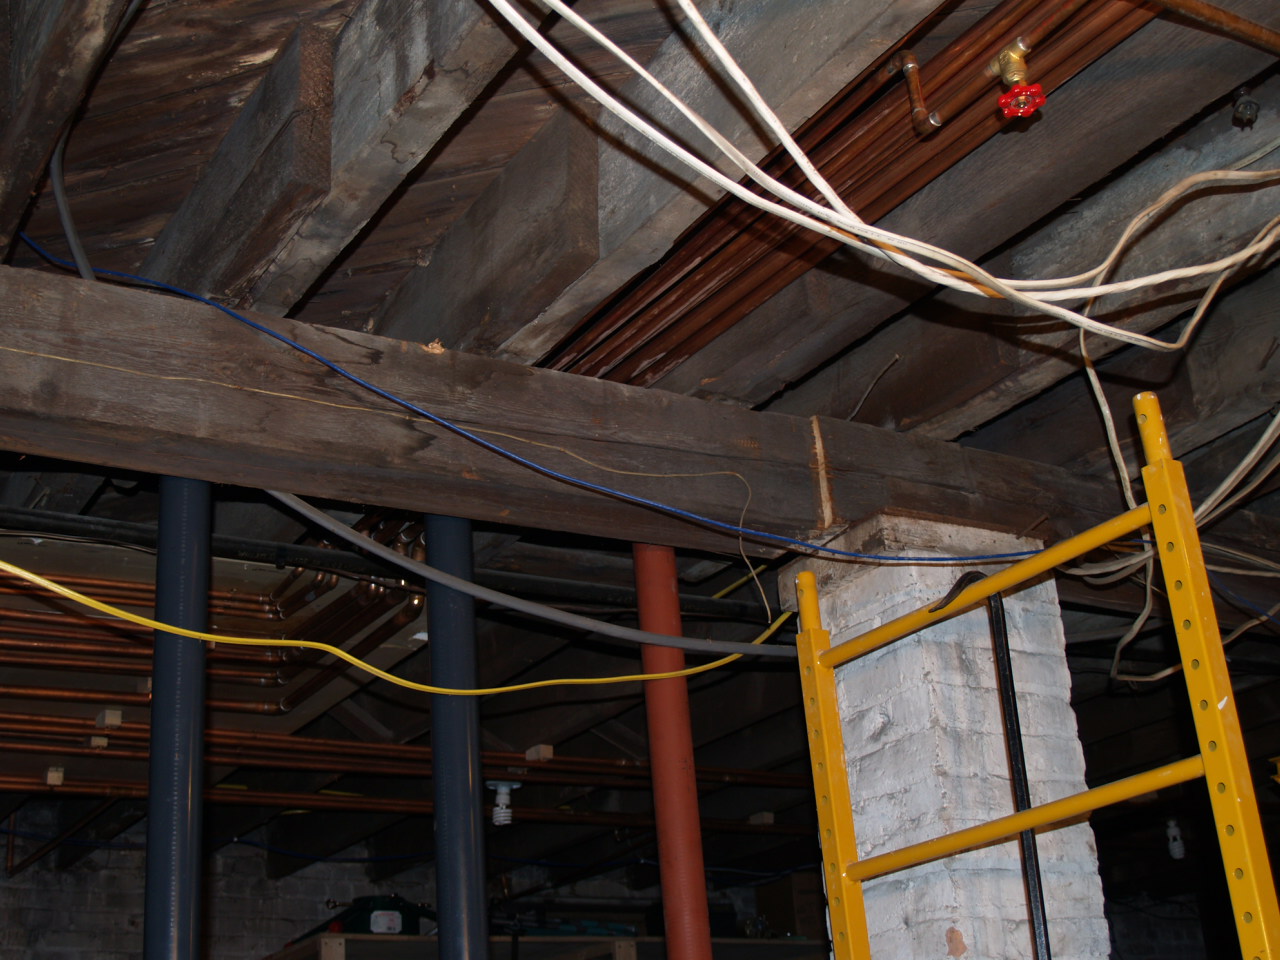
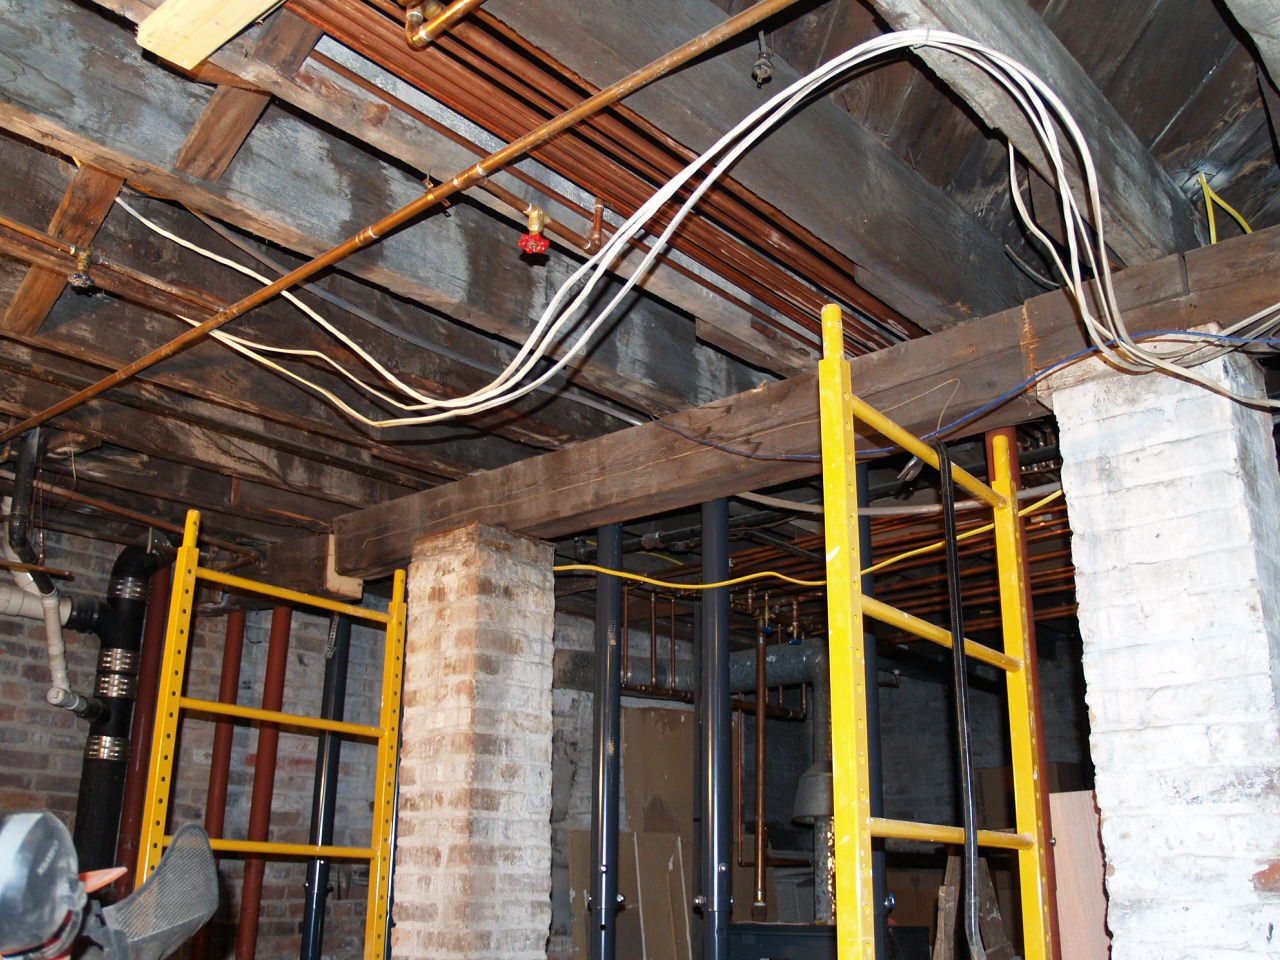
New main beam in place! On the left of the first shot you can see the four beams I replaced, then various angles and details of the new beam in place, one shot of a now mangled screw from a jack - don't overload them, this is what happens - and then the progress of removing all the jacks until I can stand underneath with nothing in the way.
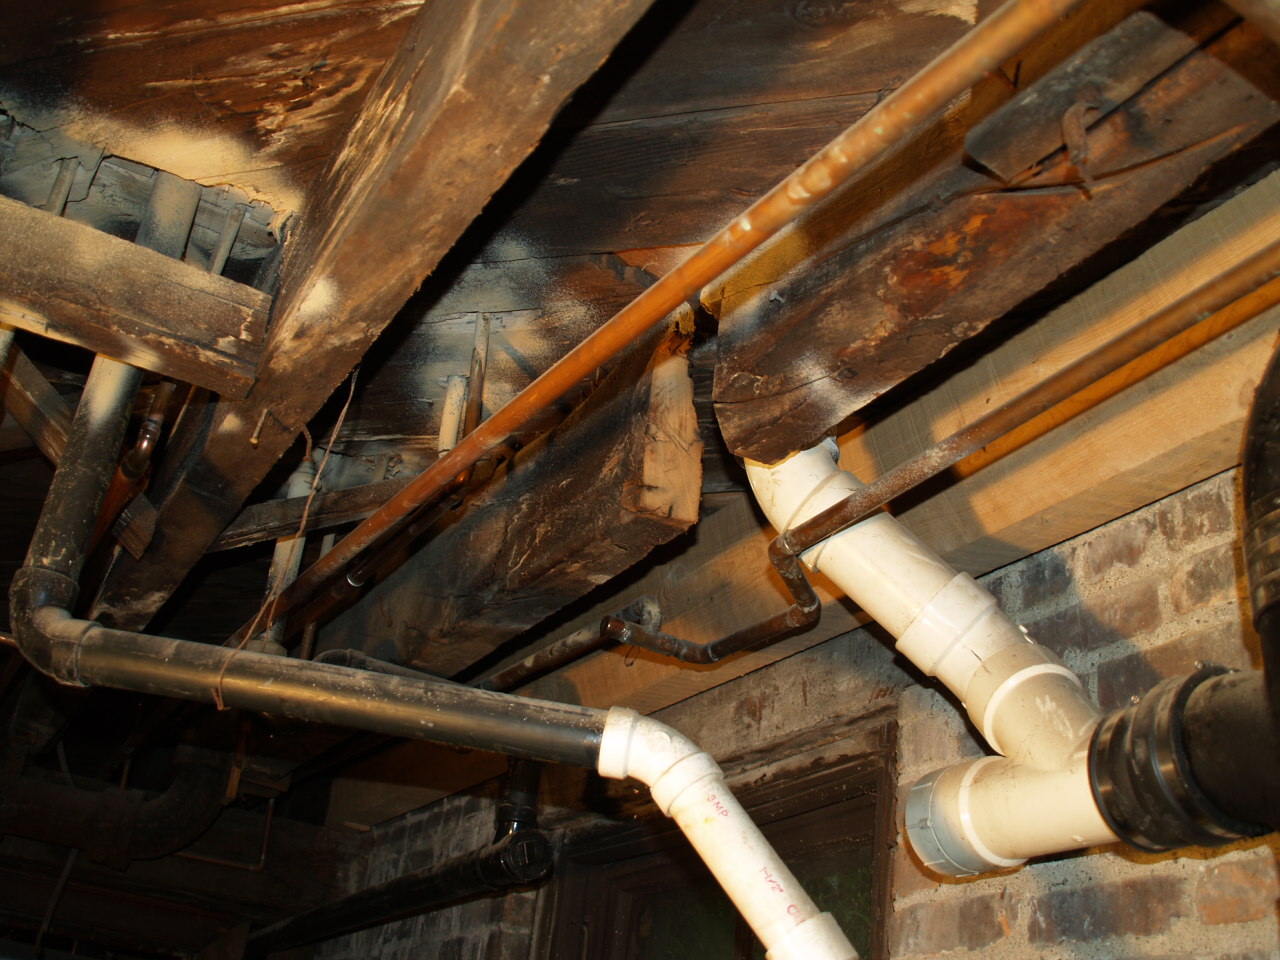
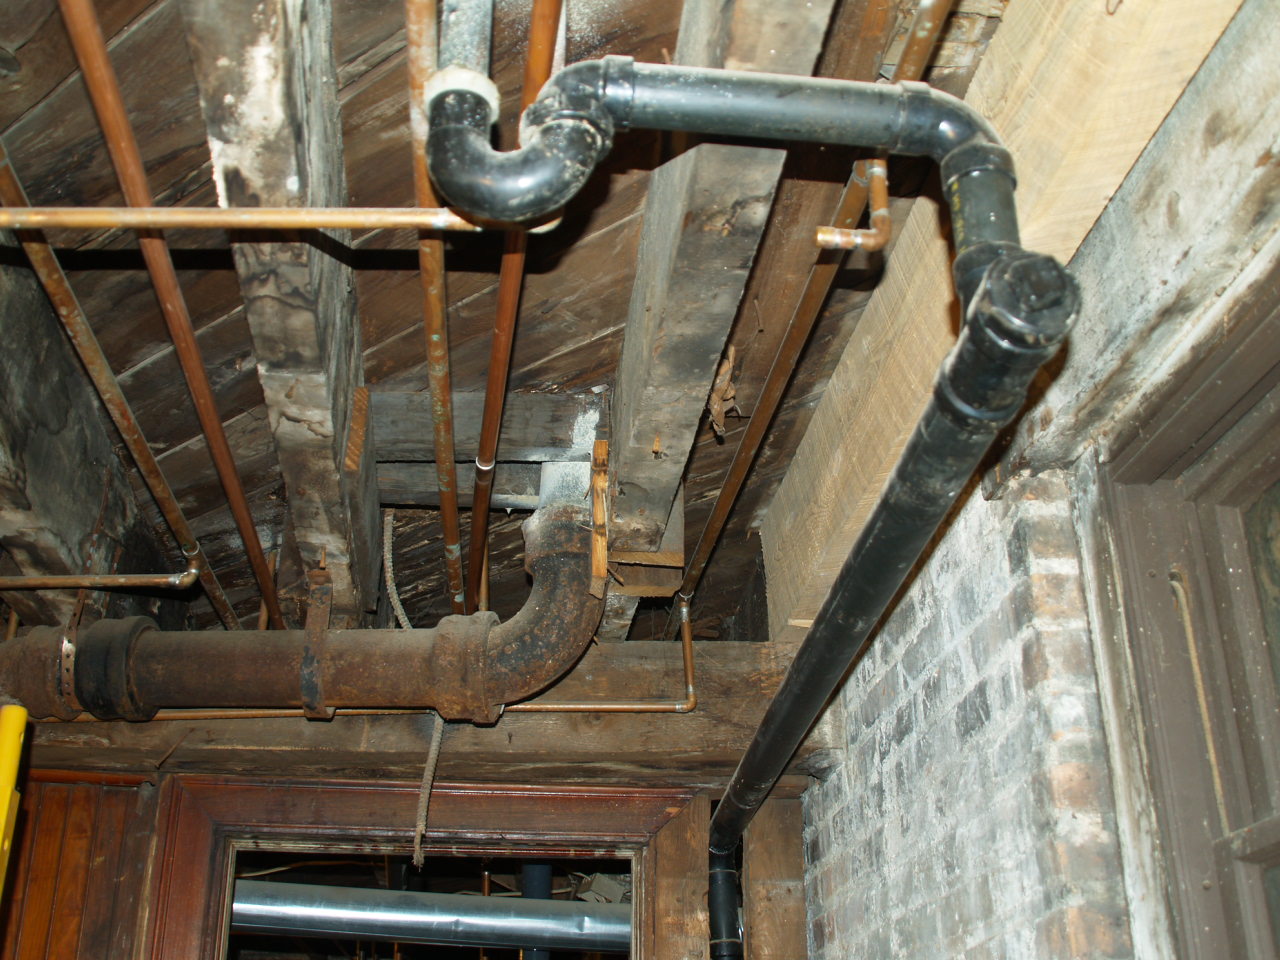
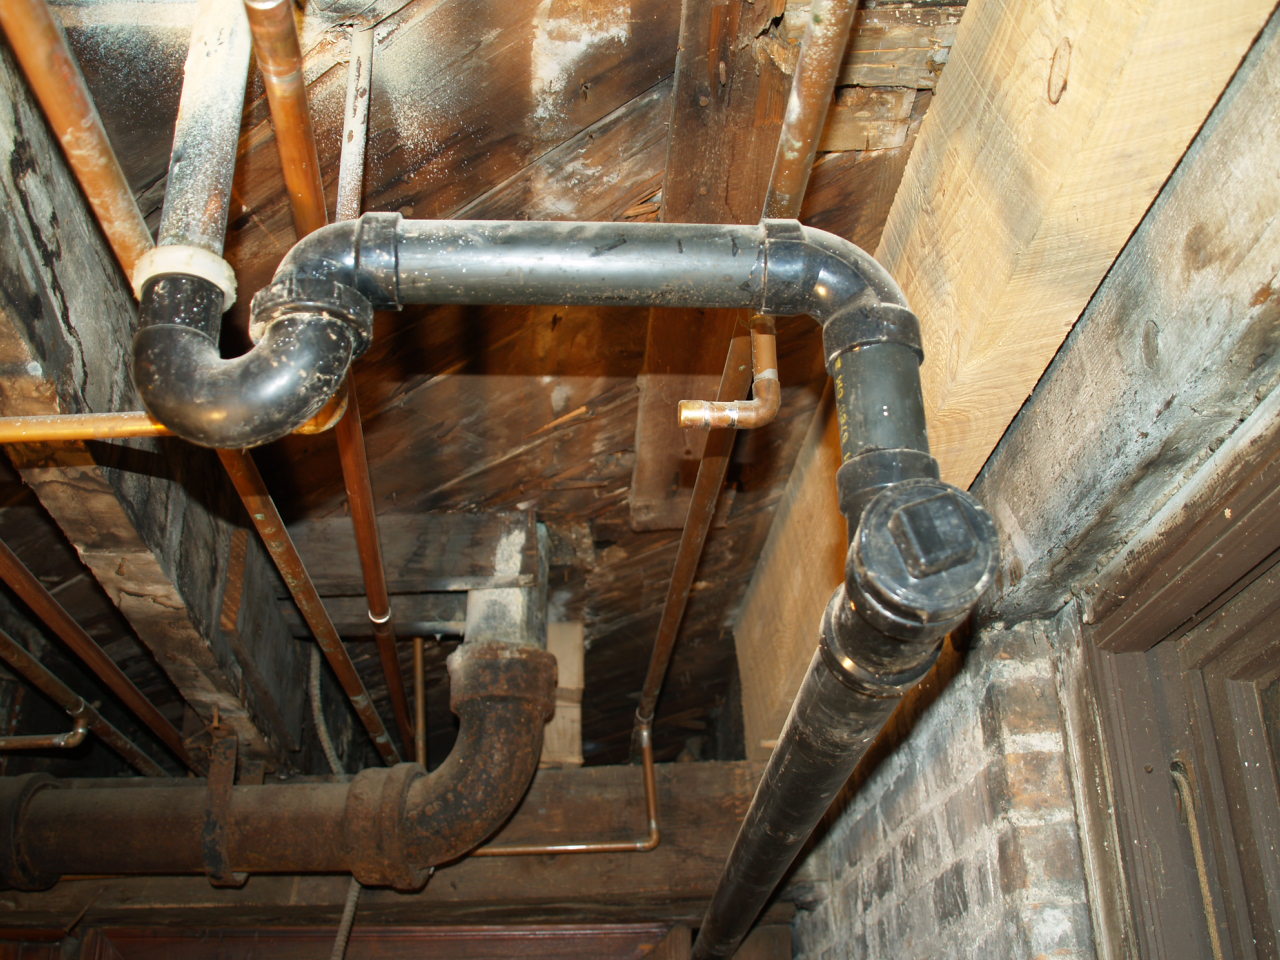
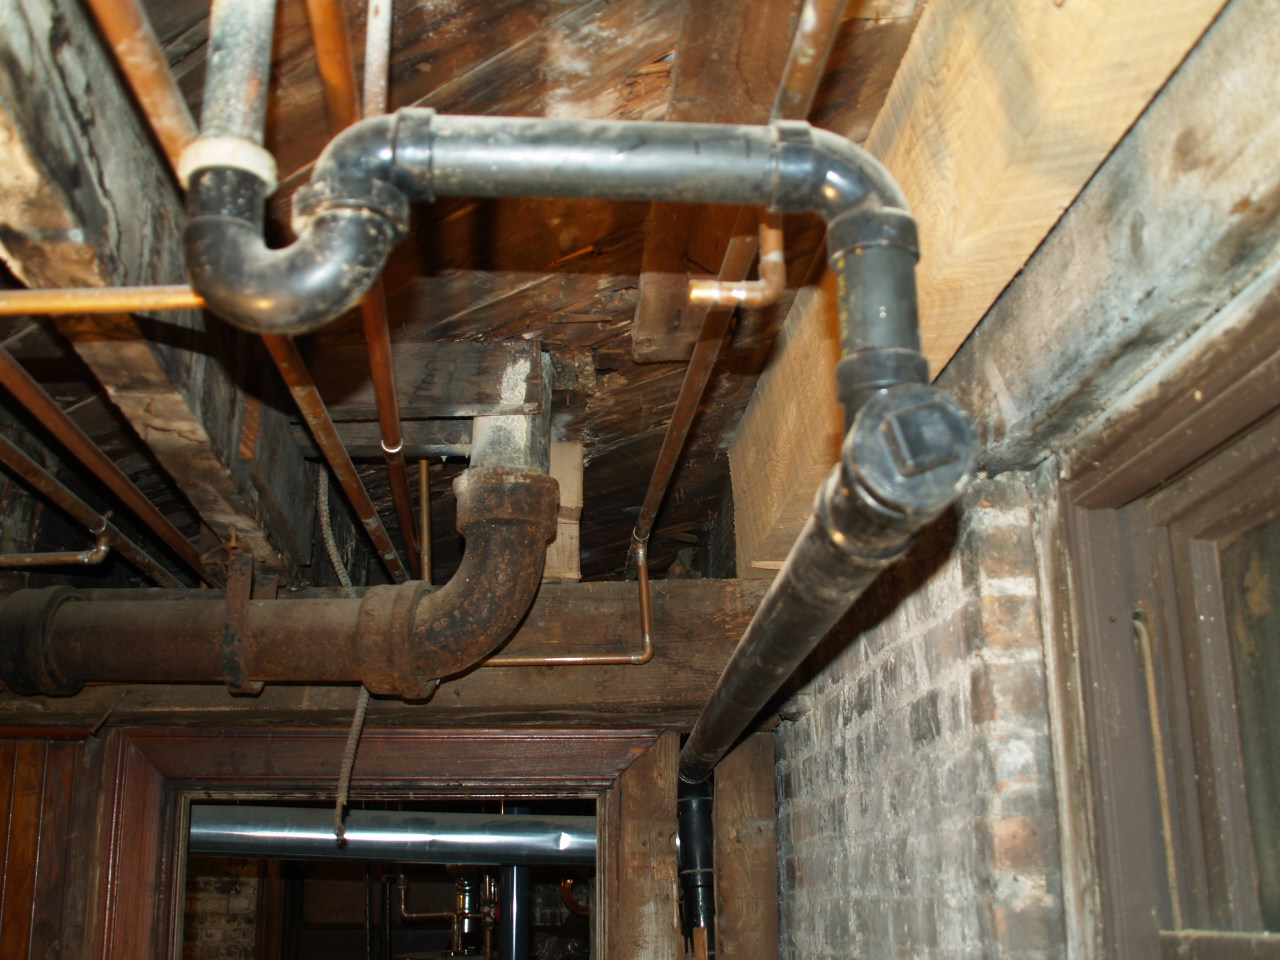

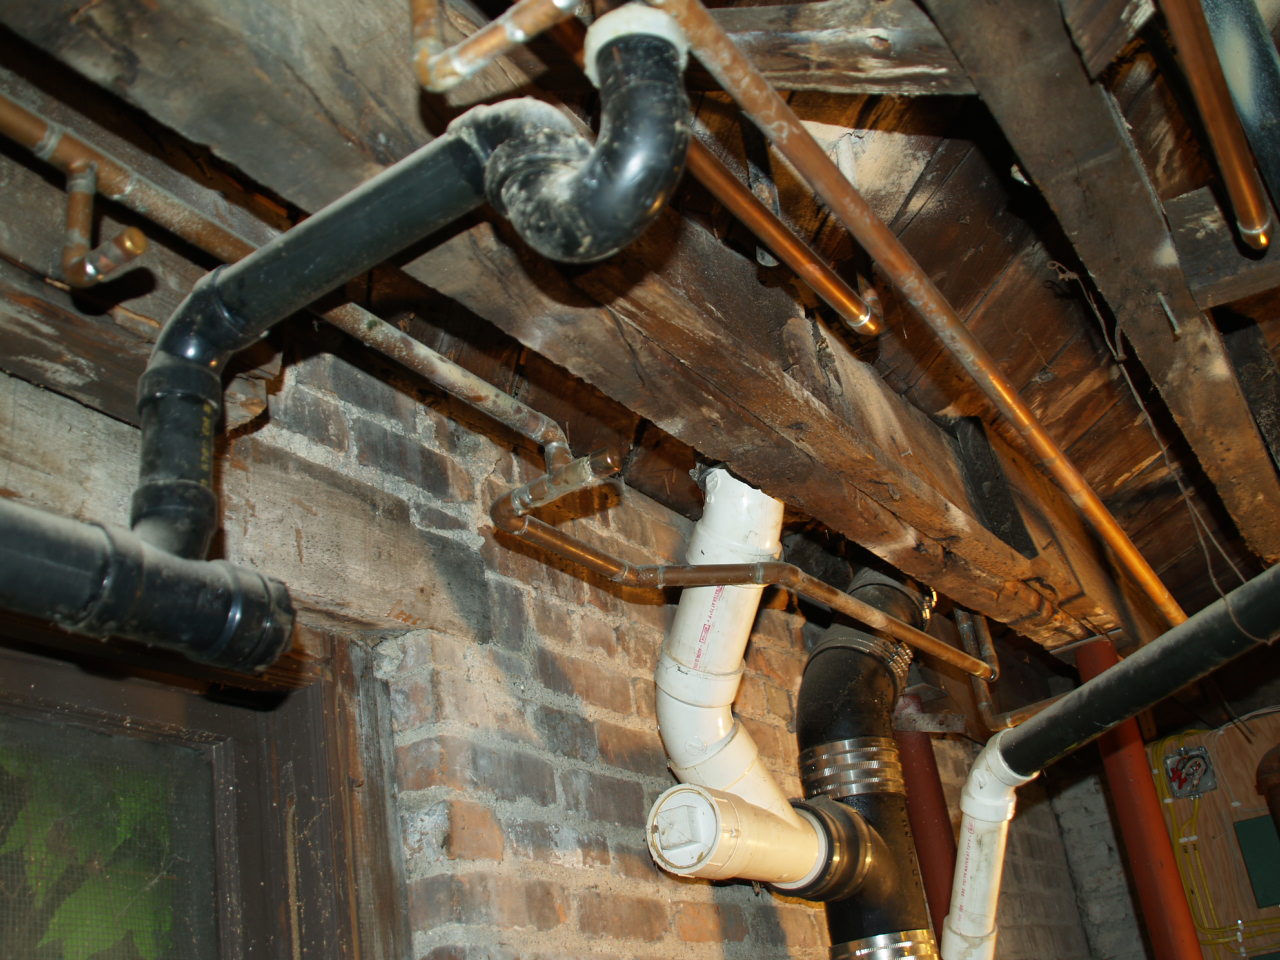
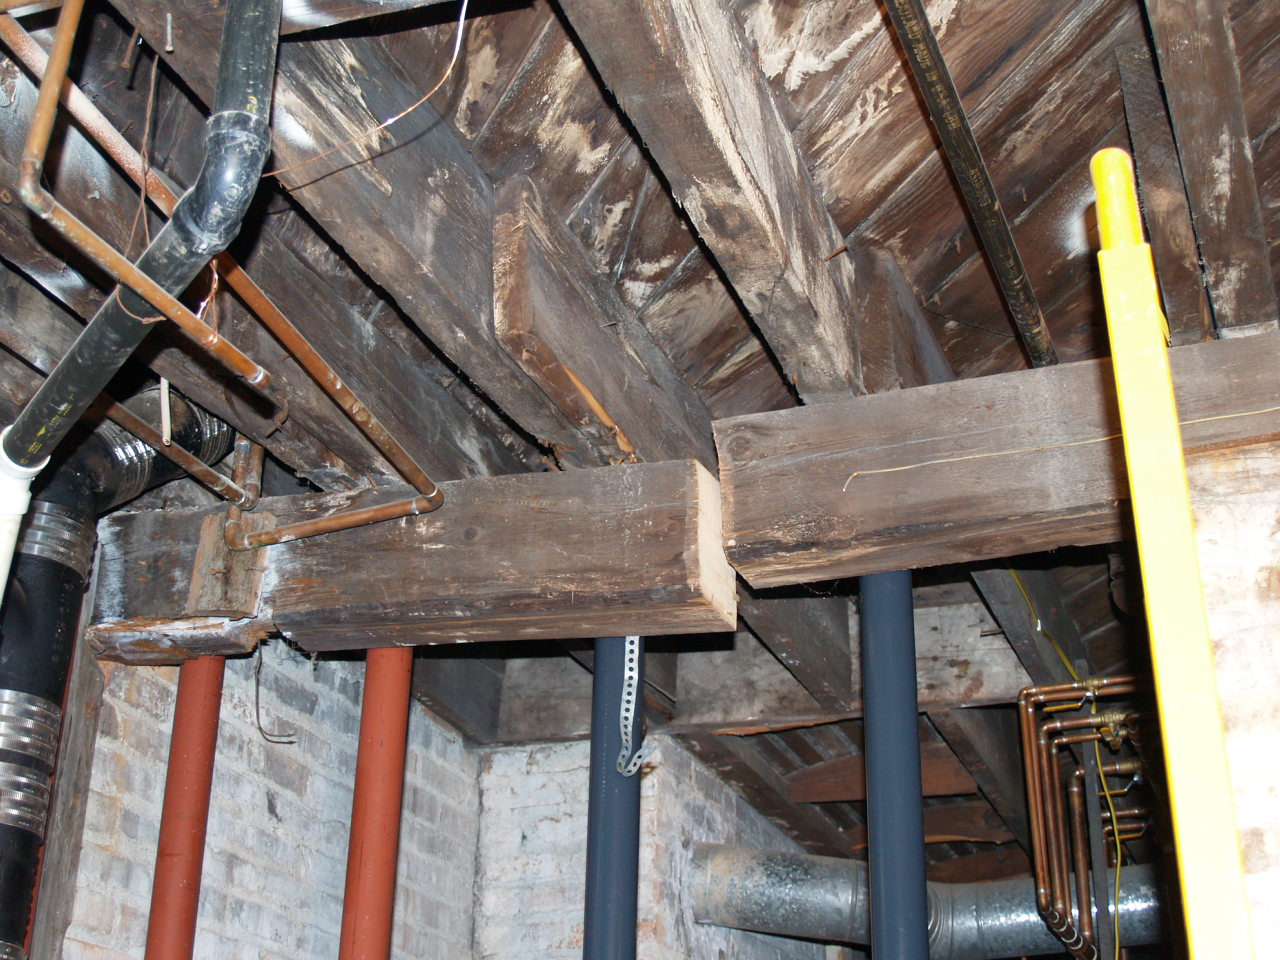
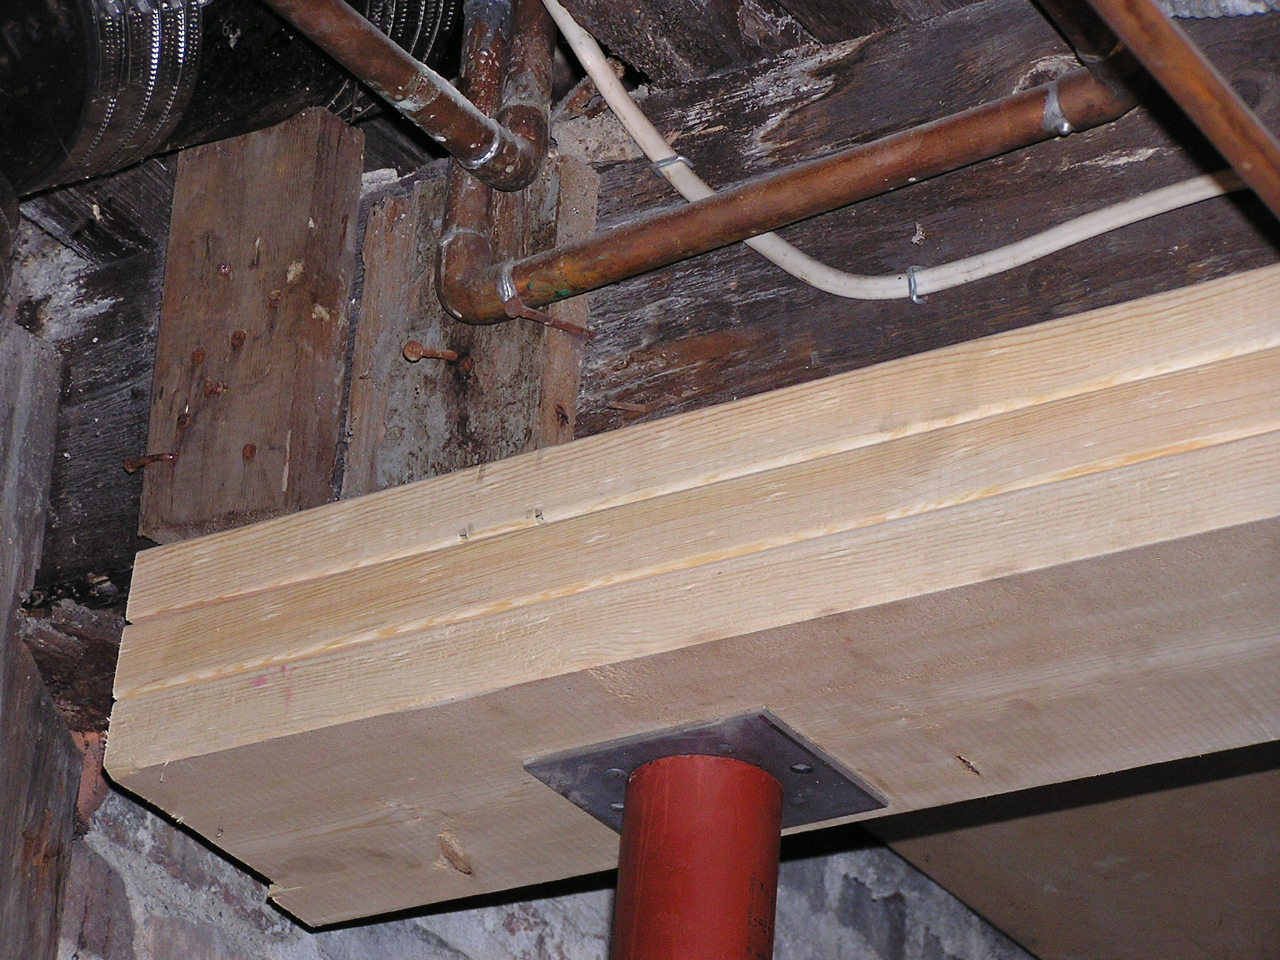
Several shots of the progress on the second beam to be replaced. A couple shots showing where the beam had been completely compromised for poor plumbing to go through, then some shots of a largely or completely missing beam, and one with the new beam in place.
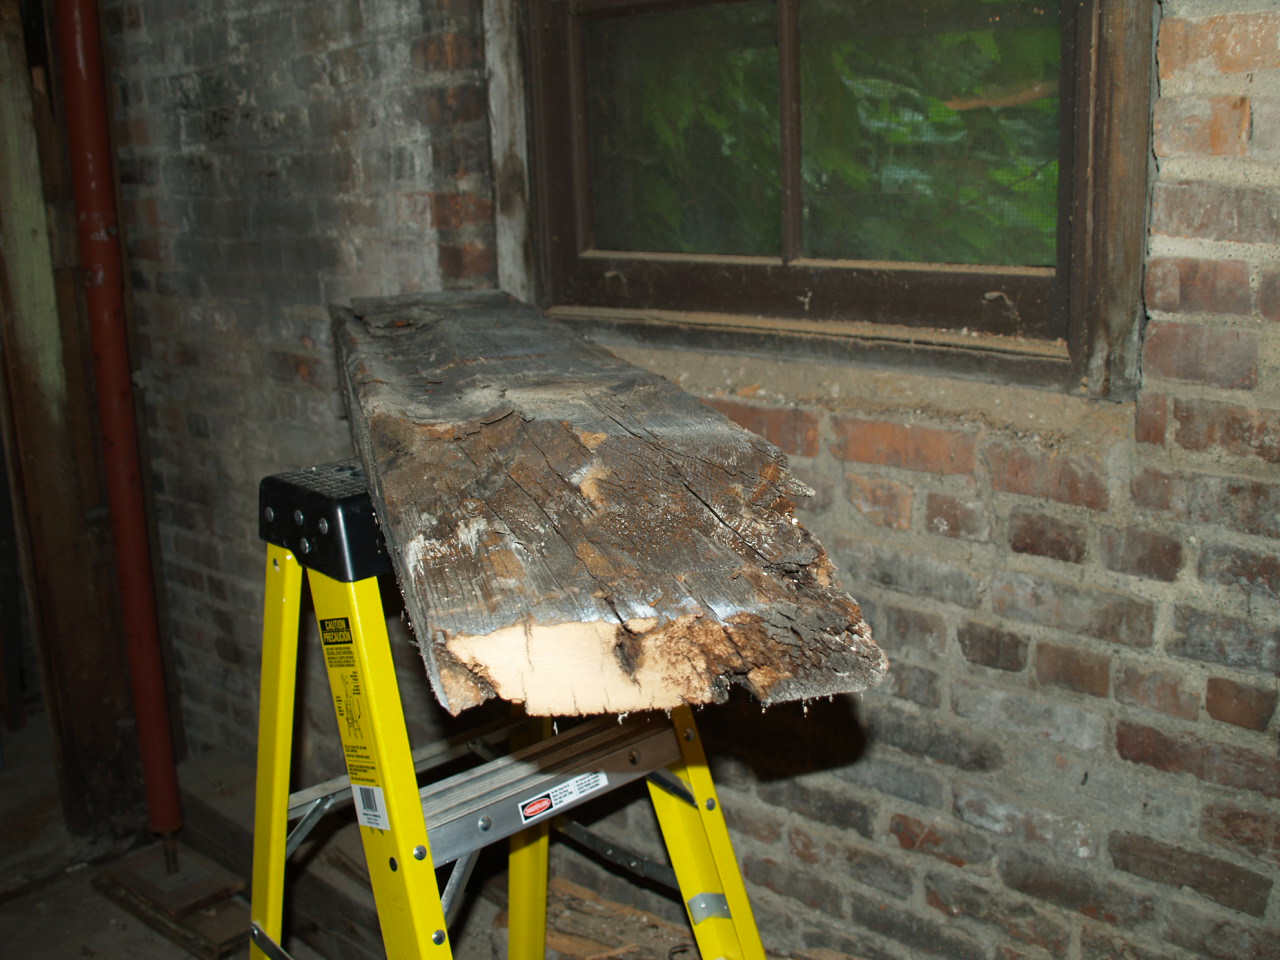
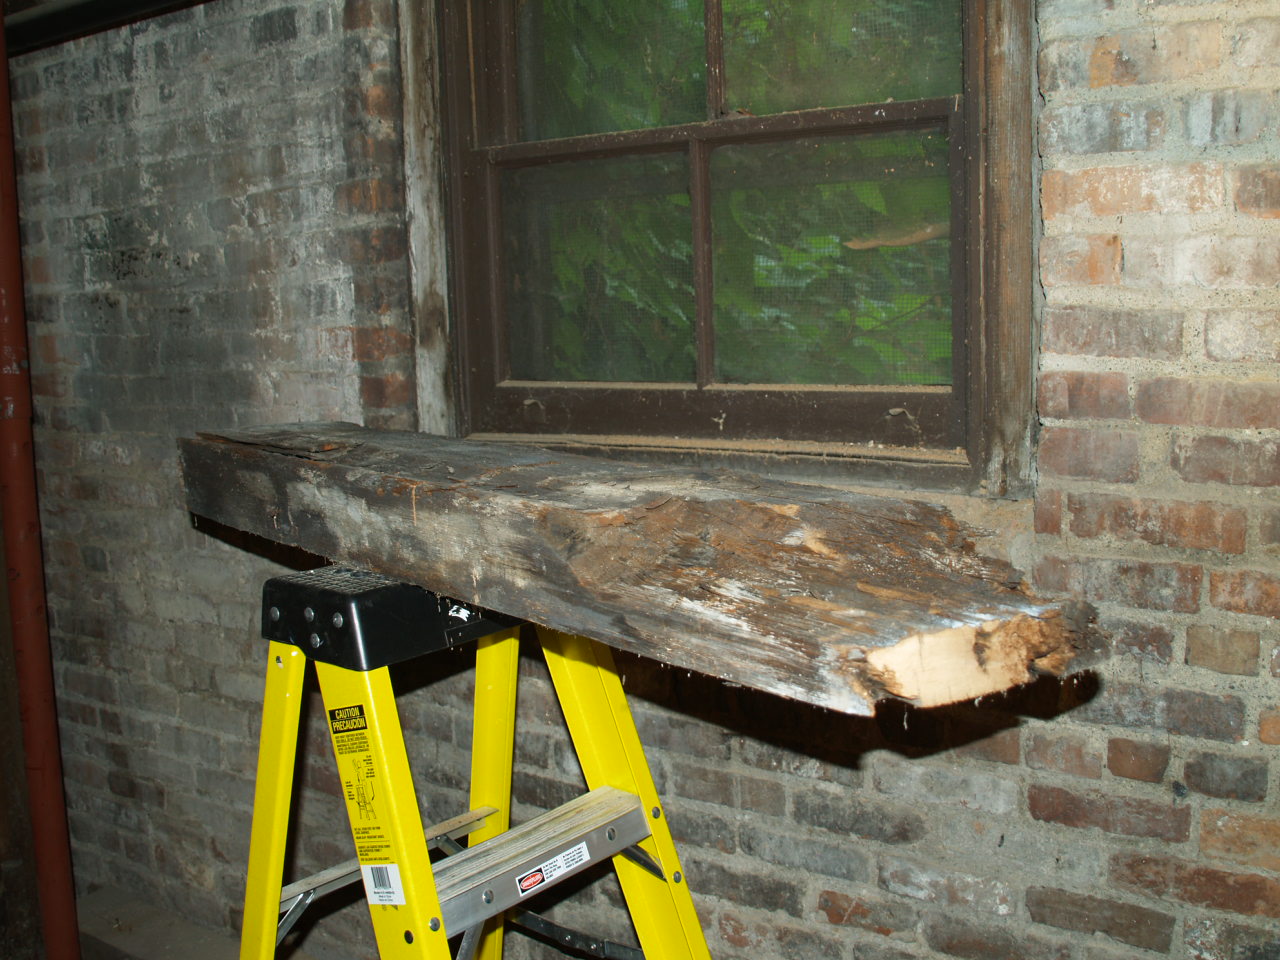

The sequence of replacing the first beam: half gone, the half sitting out where you can see why I had to replace it, entirely gone, and a new beam in place.

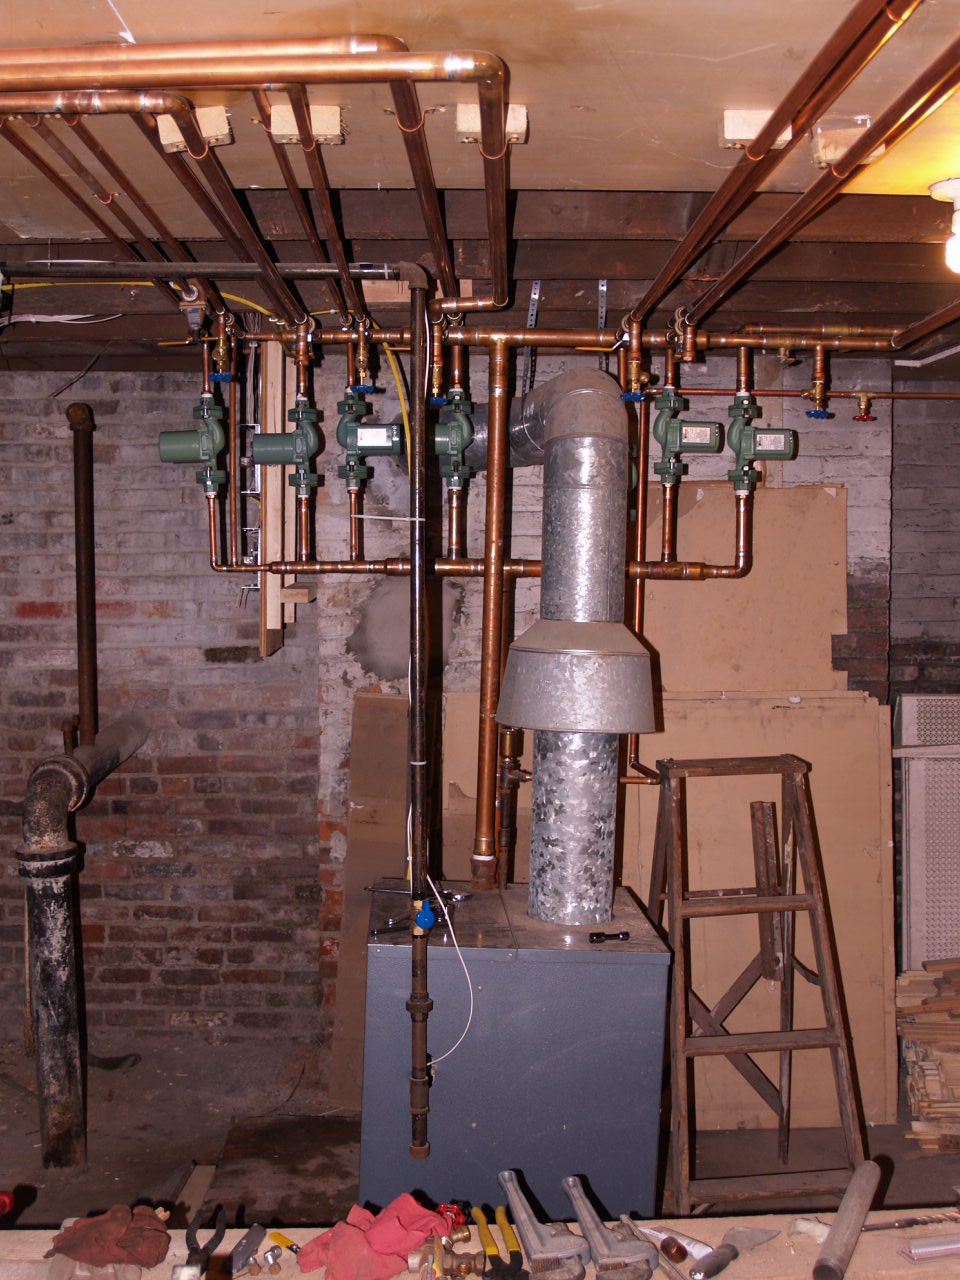
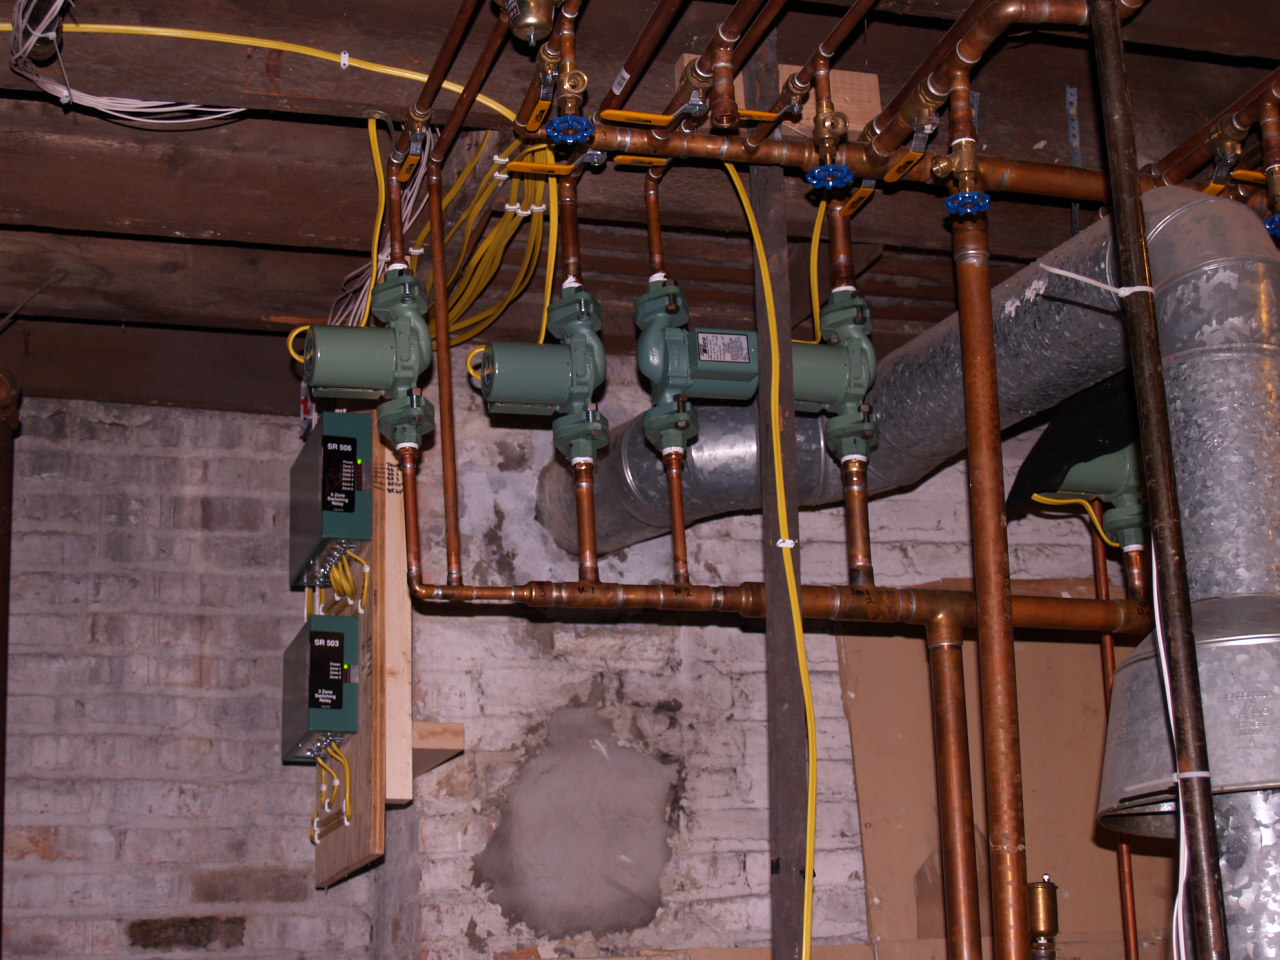
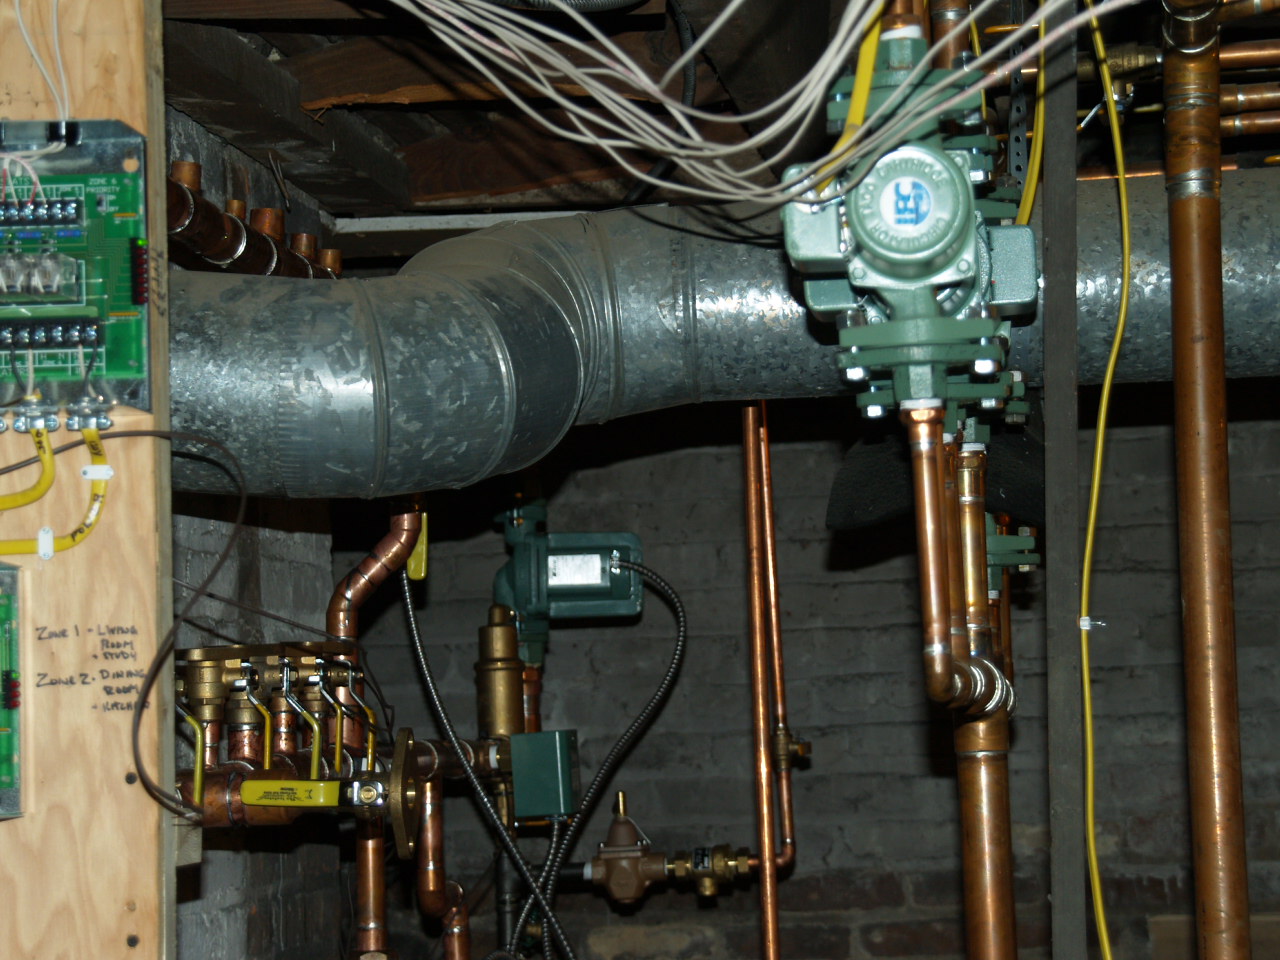
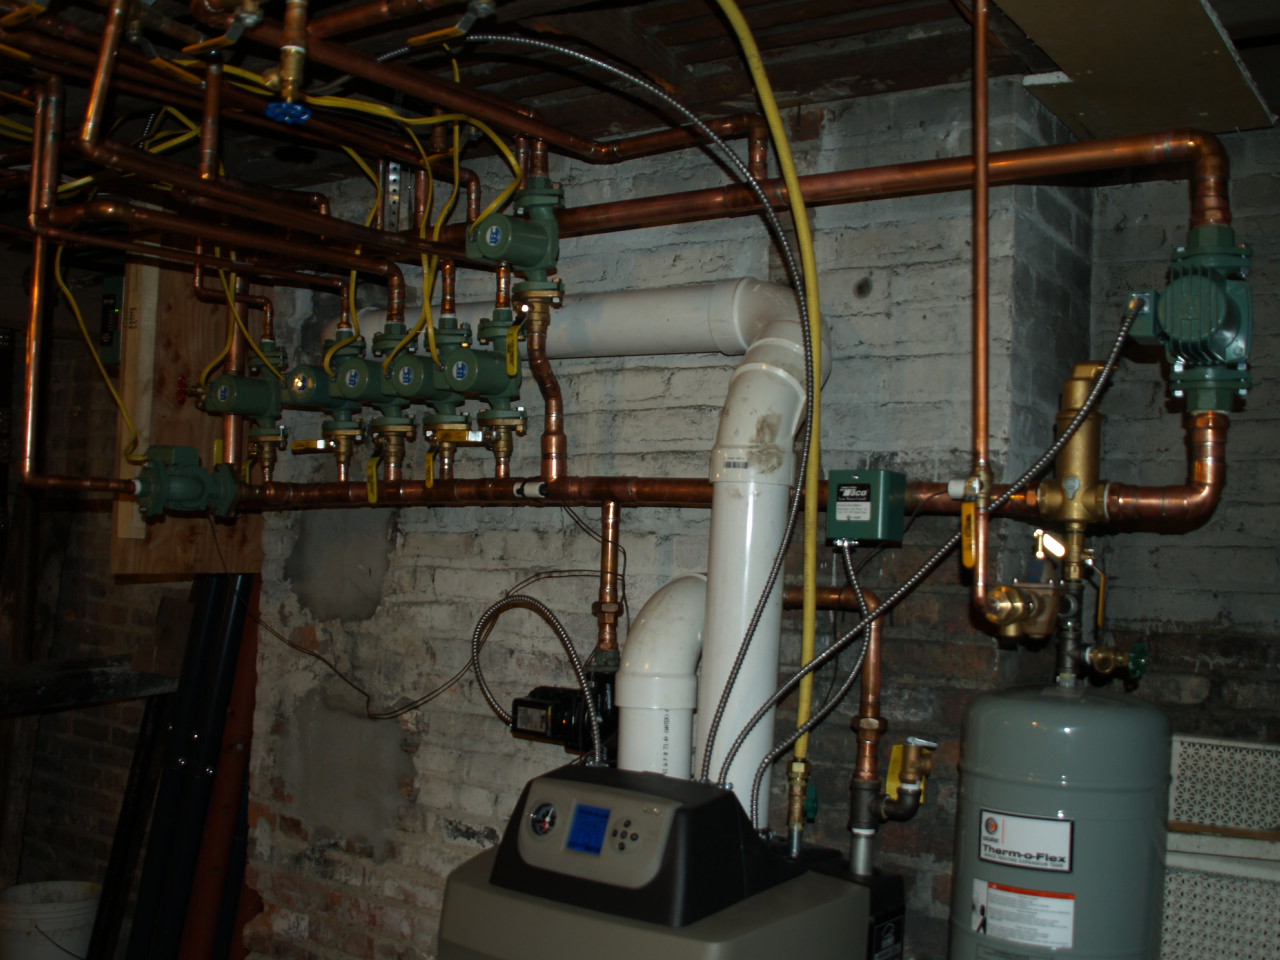
Just some quick shots of the heating work I did. Top of the old circulator pump, the manifold removed again, everything reinstalled where you can see the list of the boiler (will be fixed when the boiler gets replaced) and a closeup of a few of the pumps with the controls in the background.
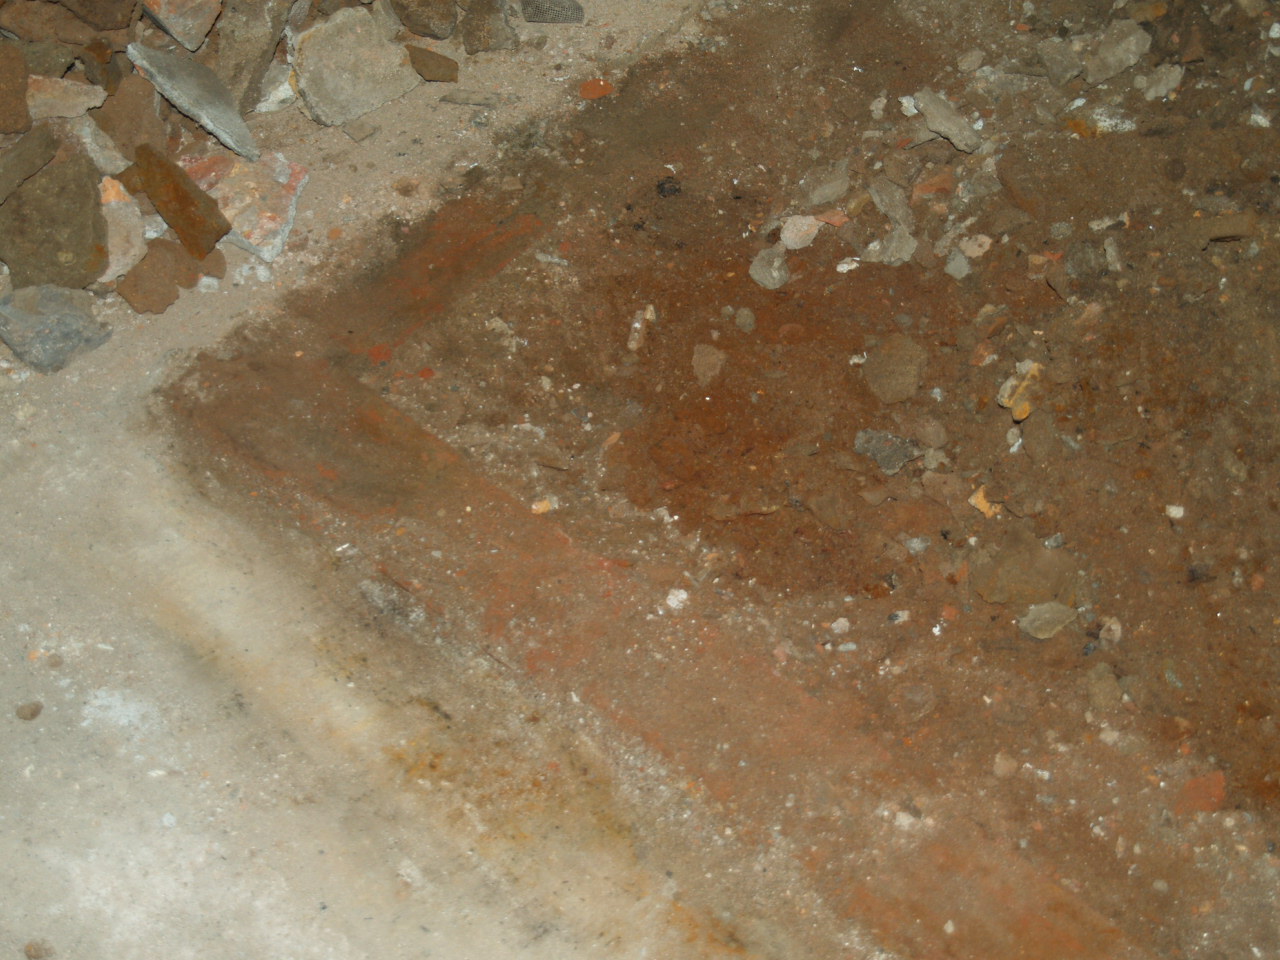
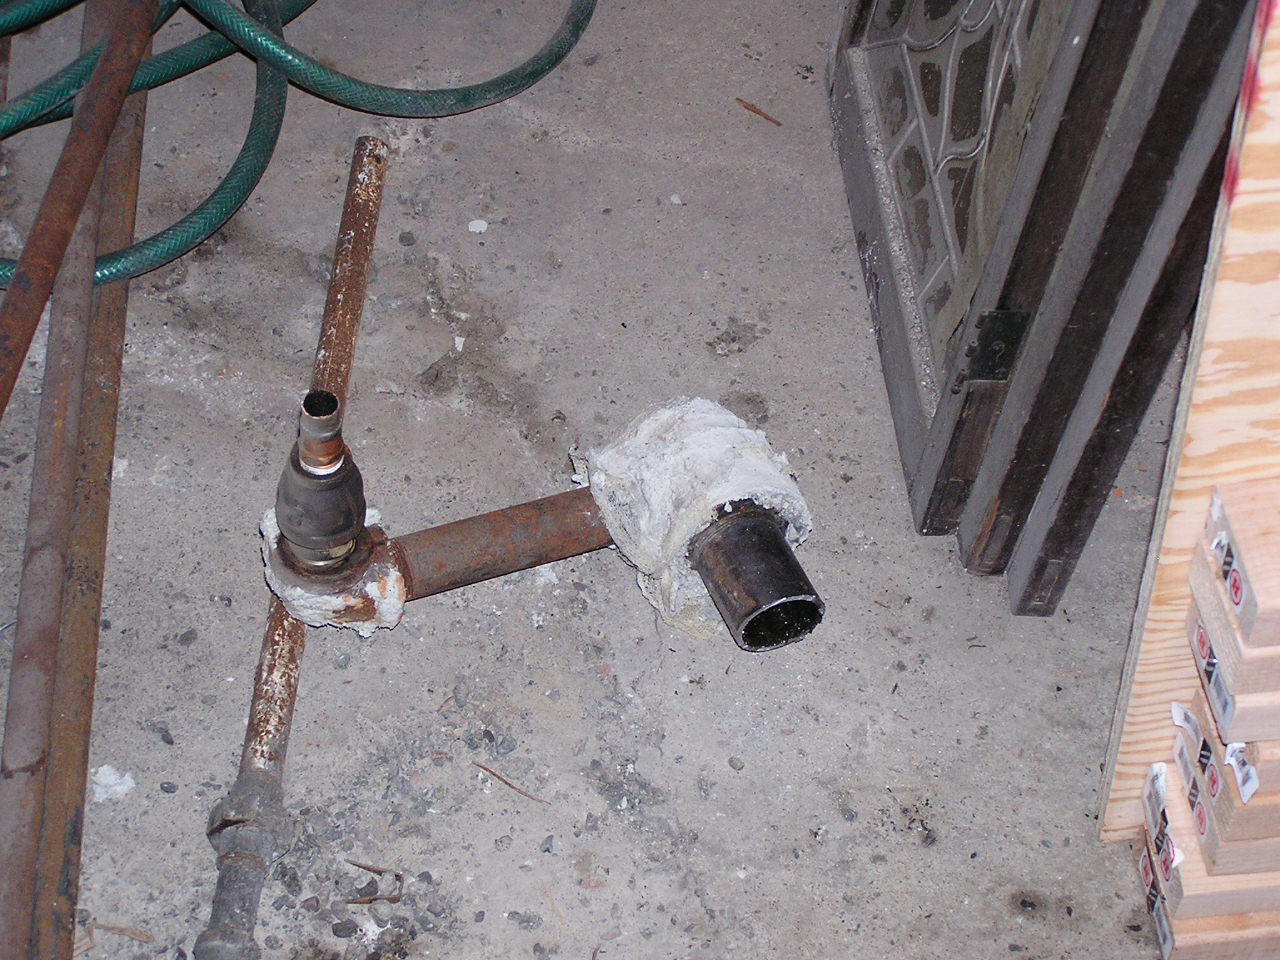
Apparently I didn't have any pictures of this, because I can't find them. This is where I had some work done a couple years ago under the door to the dining room from the foyer, where the main beam was bent up bulging the floor above. These pictures were taken as a "before" as we were about to move the pile of tile out from above and wanted a picture to see if things moved without 2000 lbs on top of them.
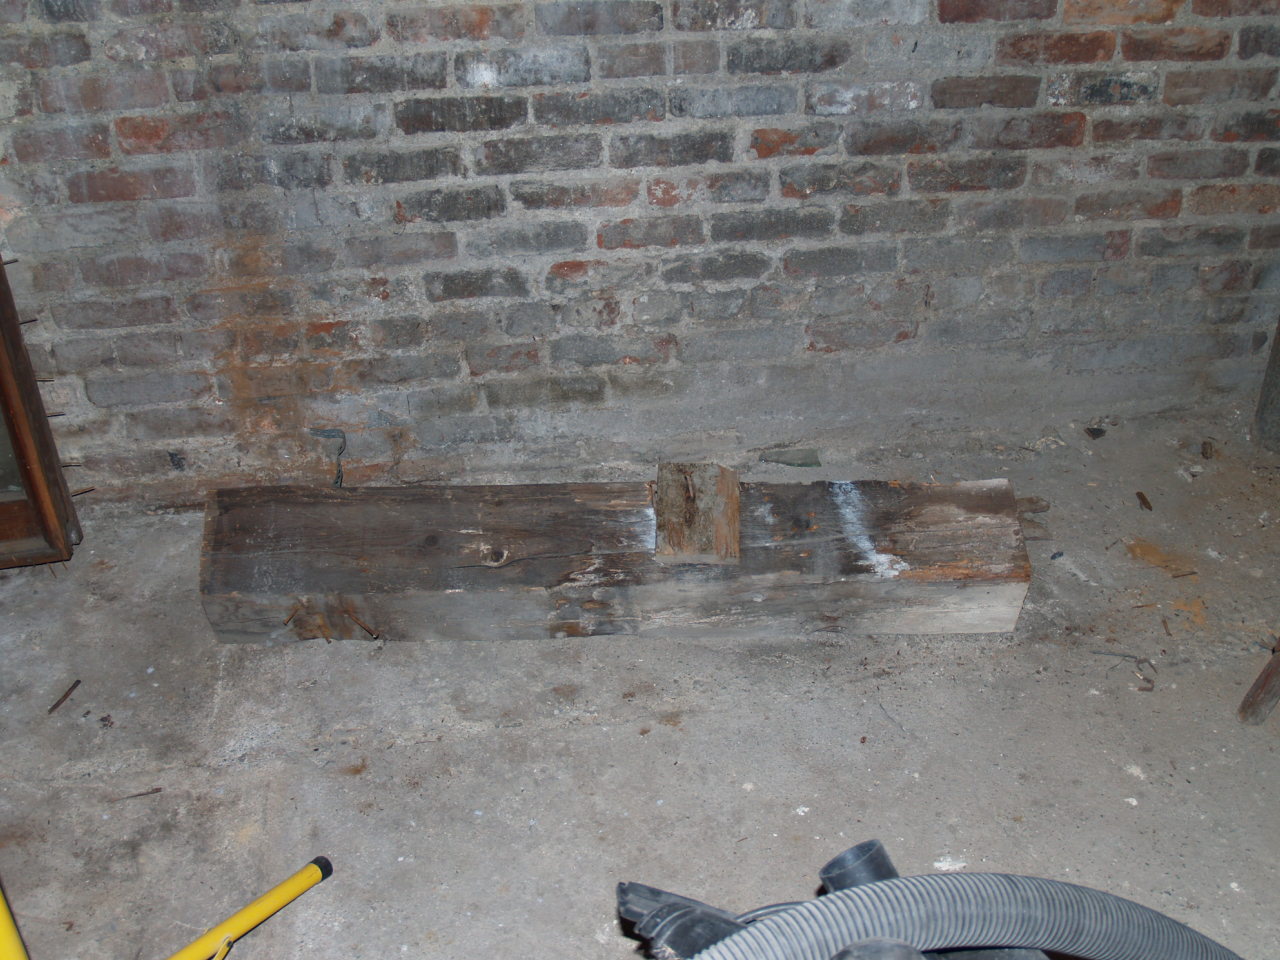
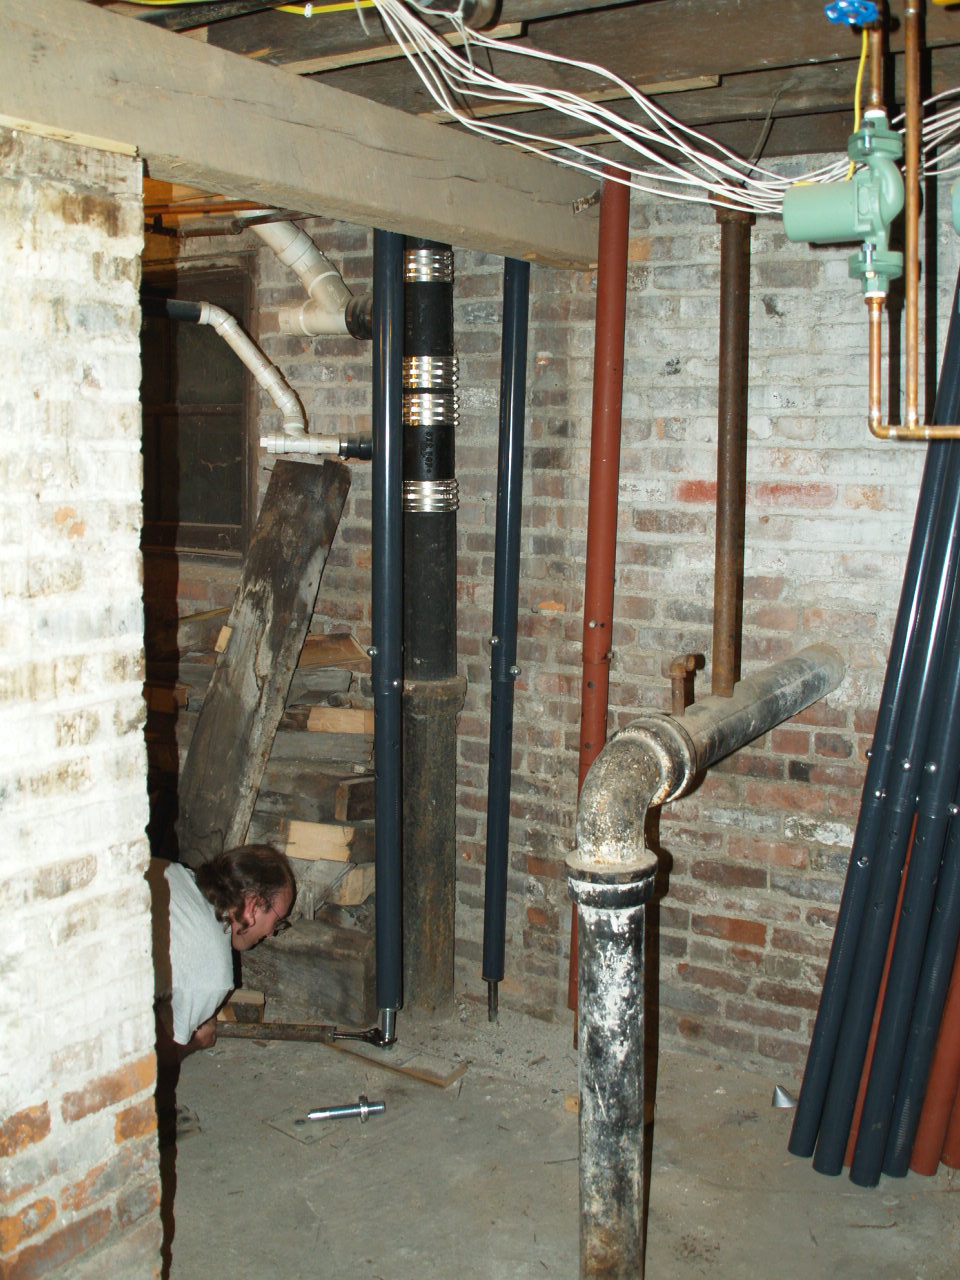
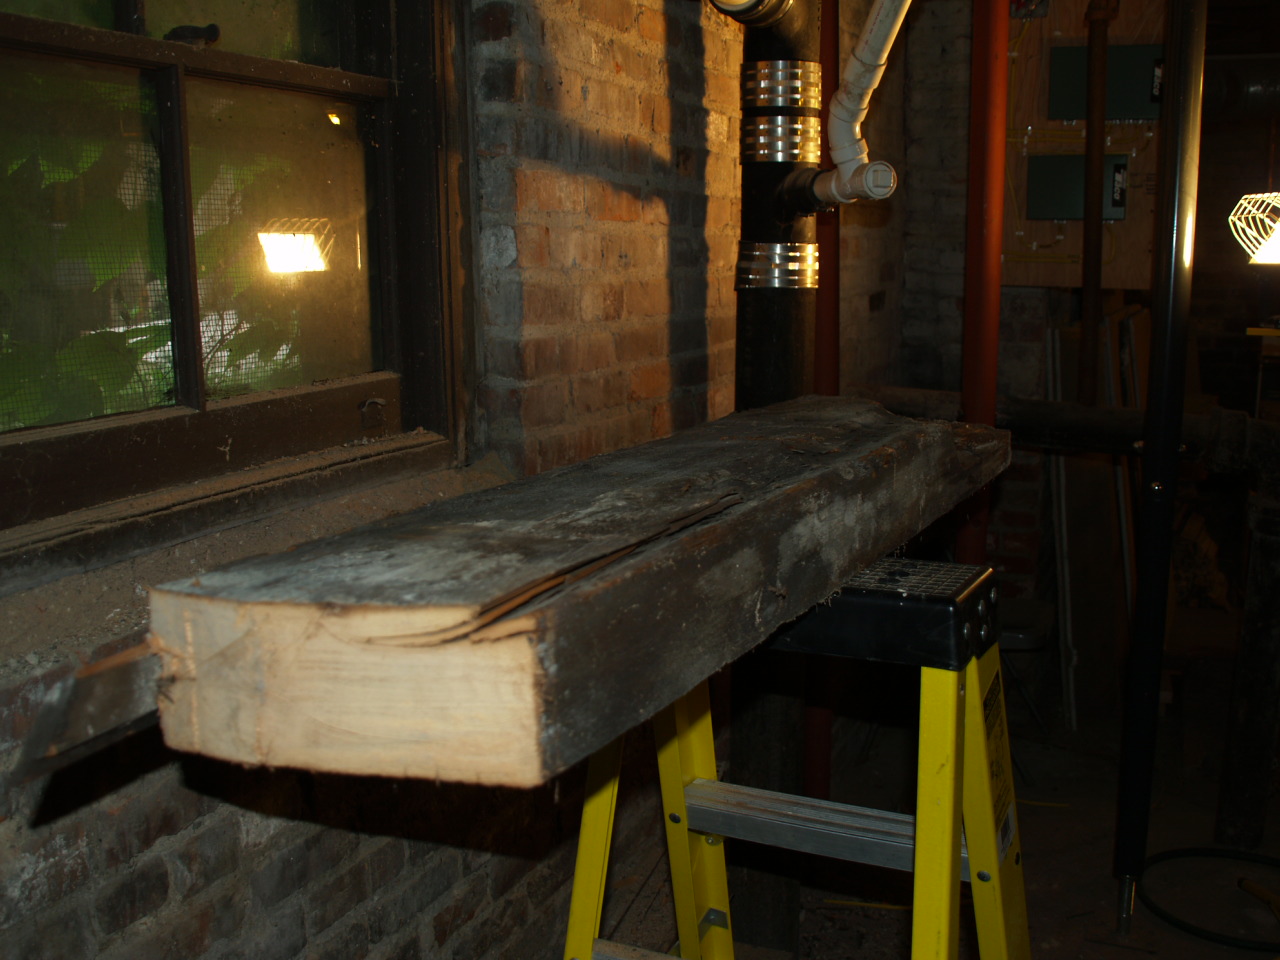
Pictures of the piece of main beam that is getting replaced in the process of removing it. It's amazing what a good saw and a load of house jacks can do.
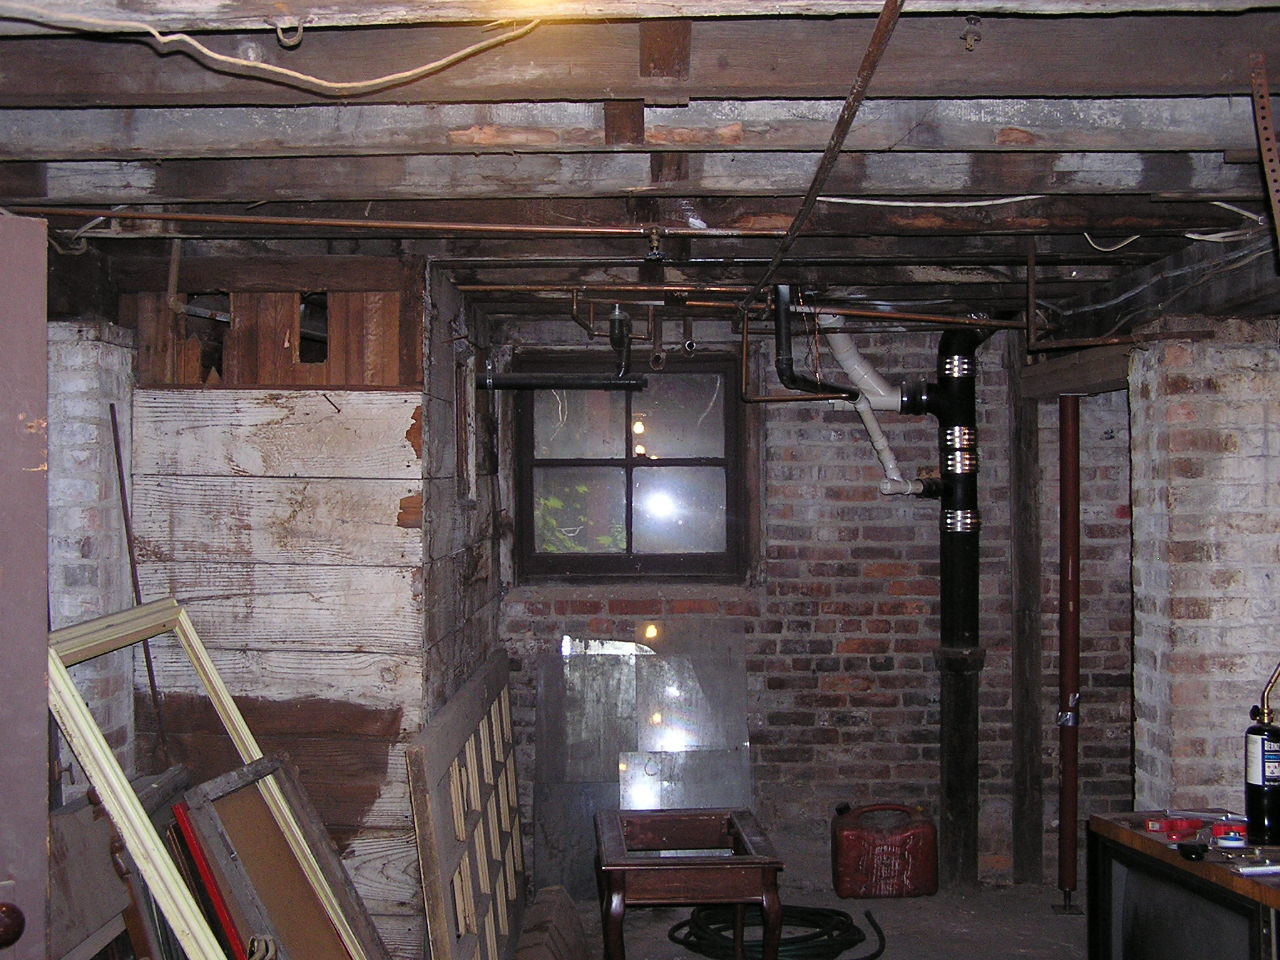

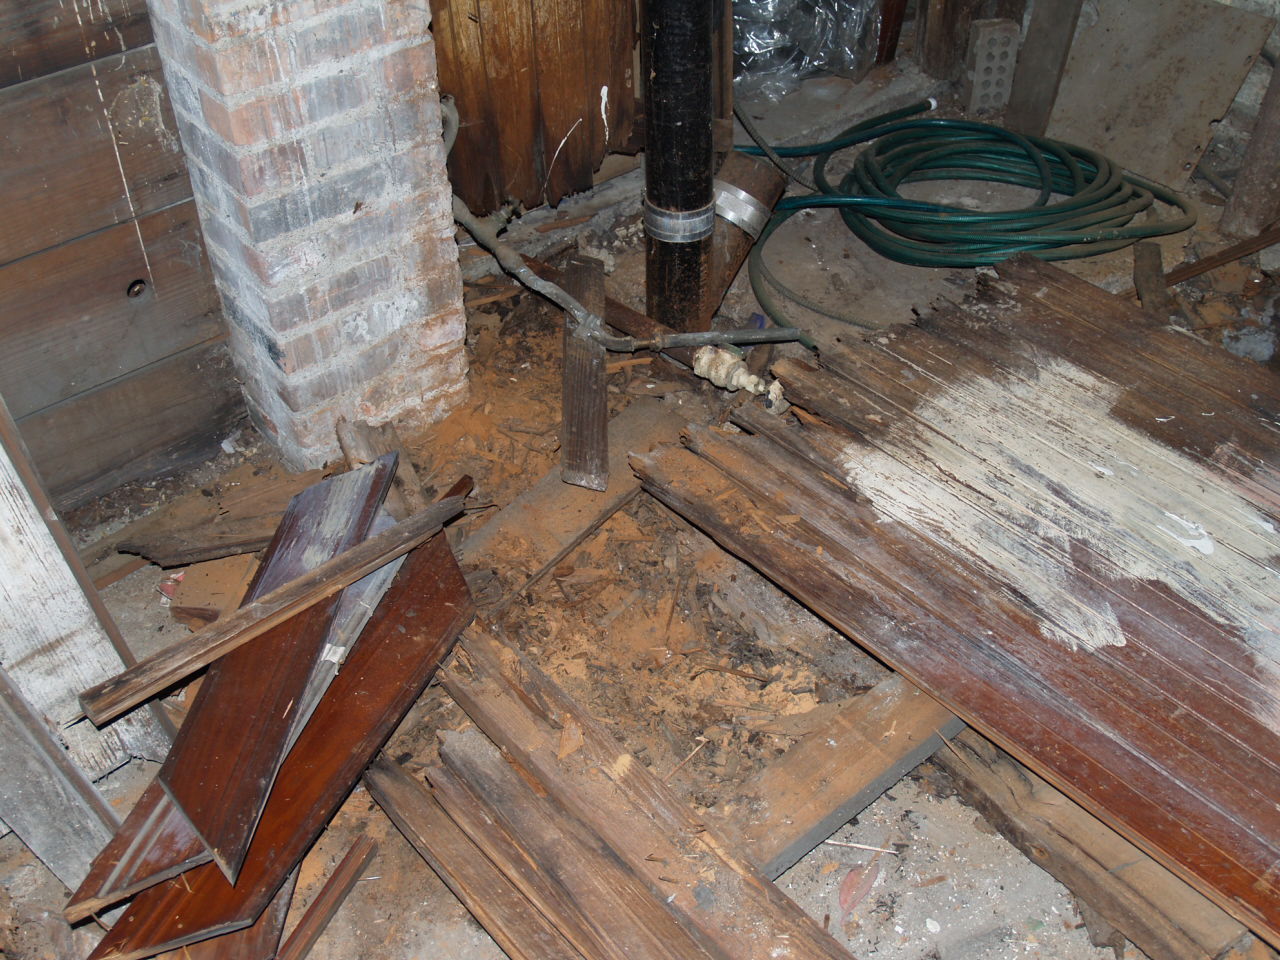
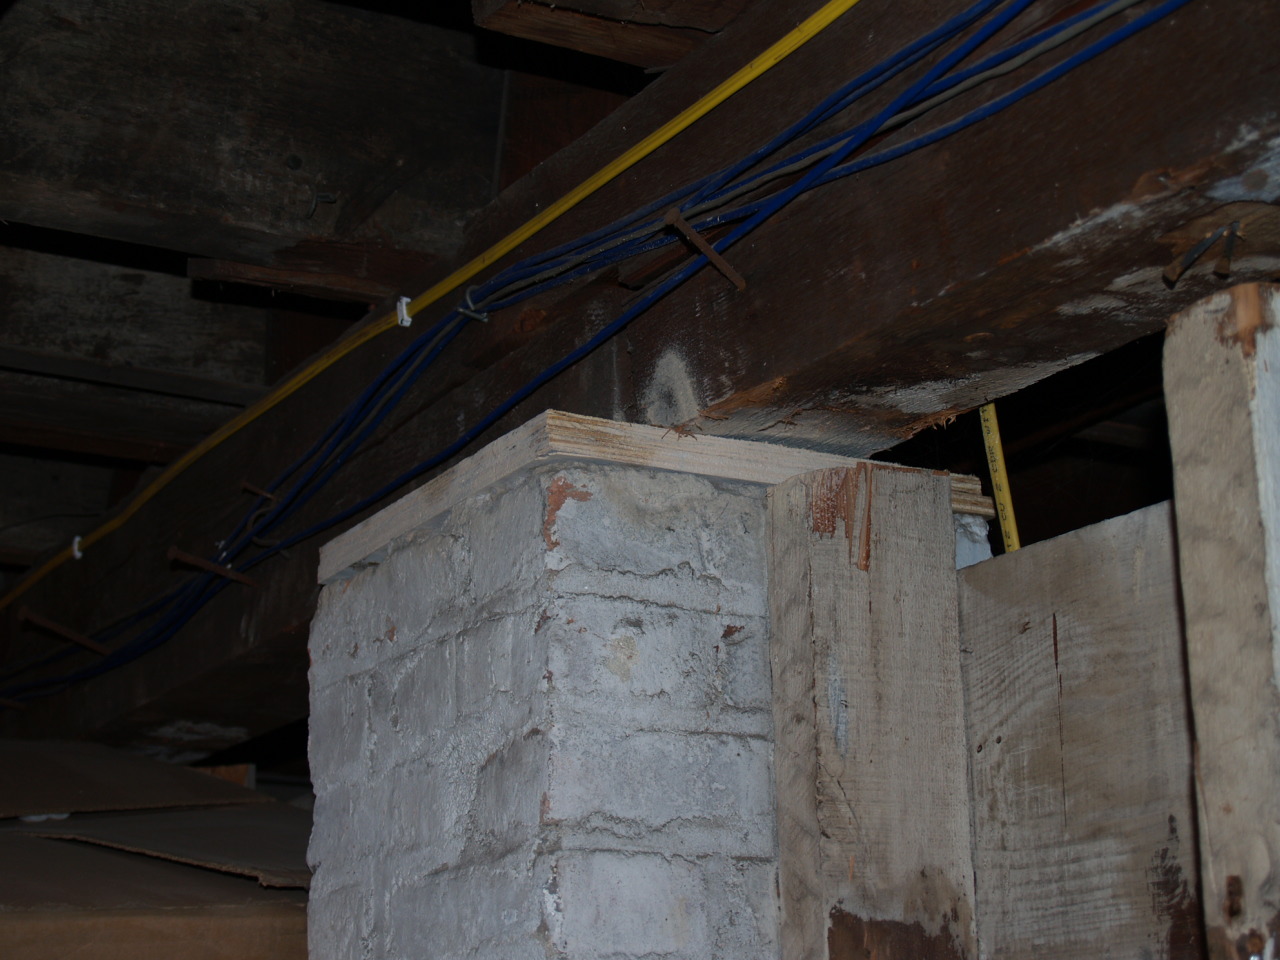
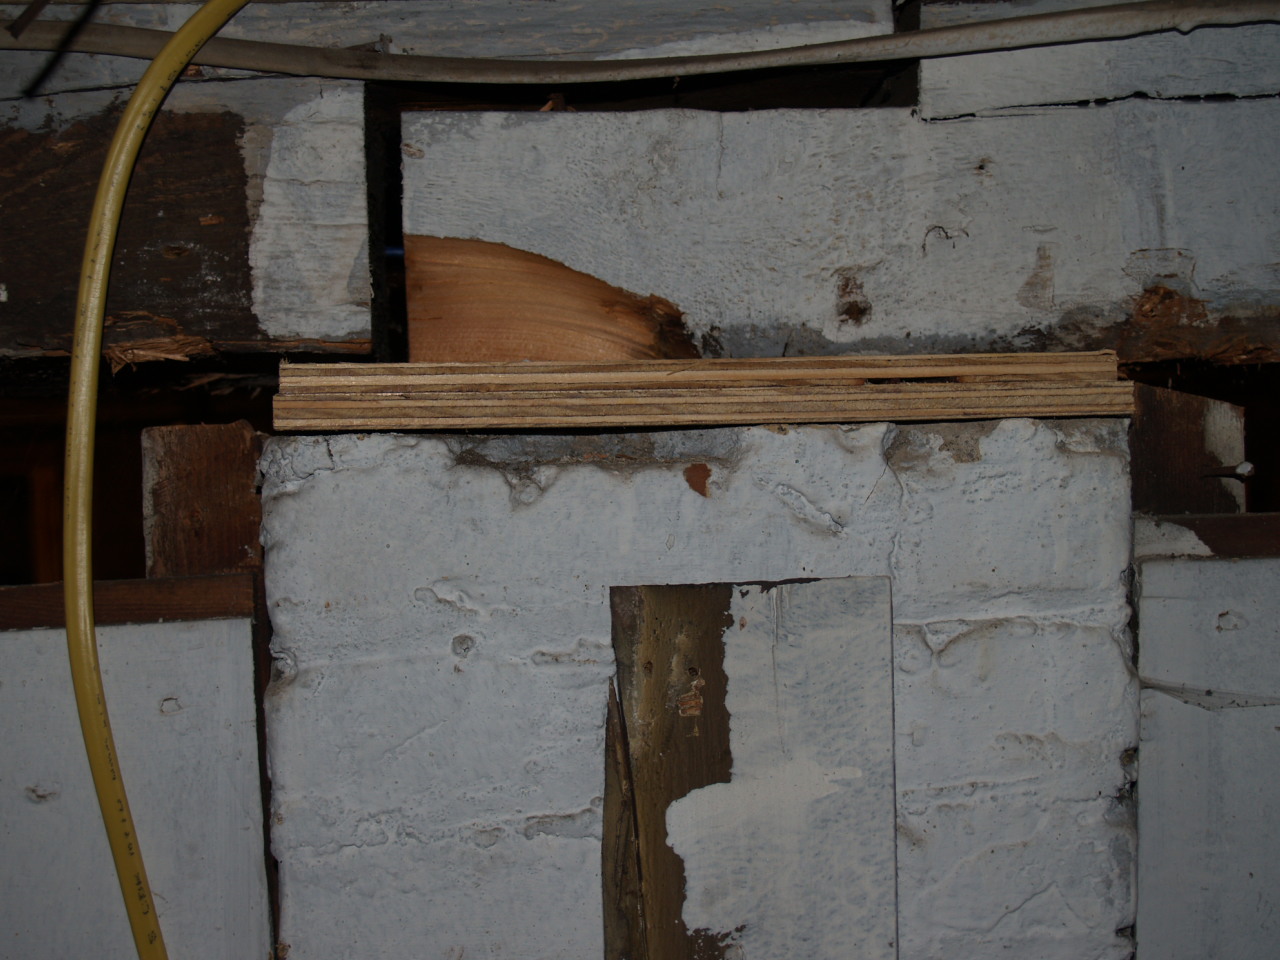
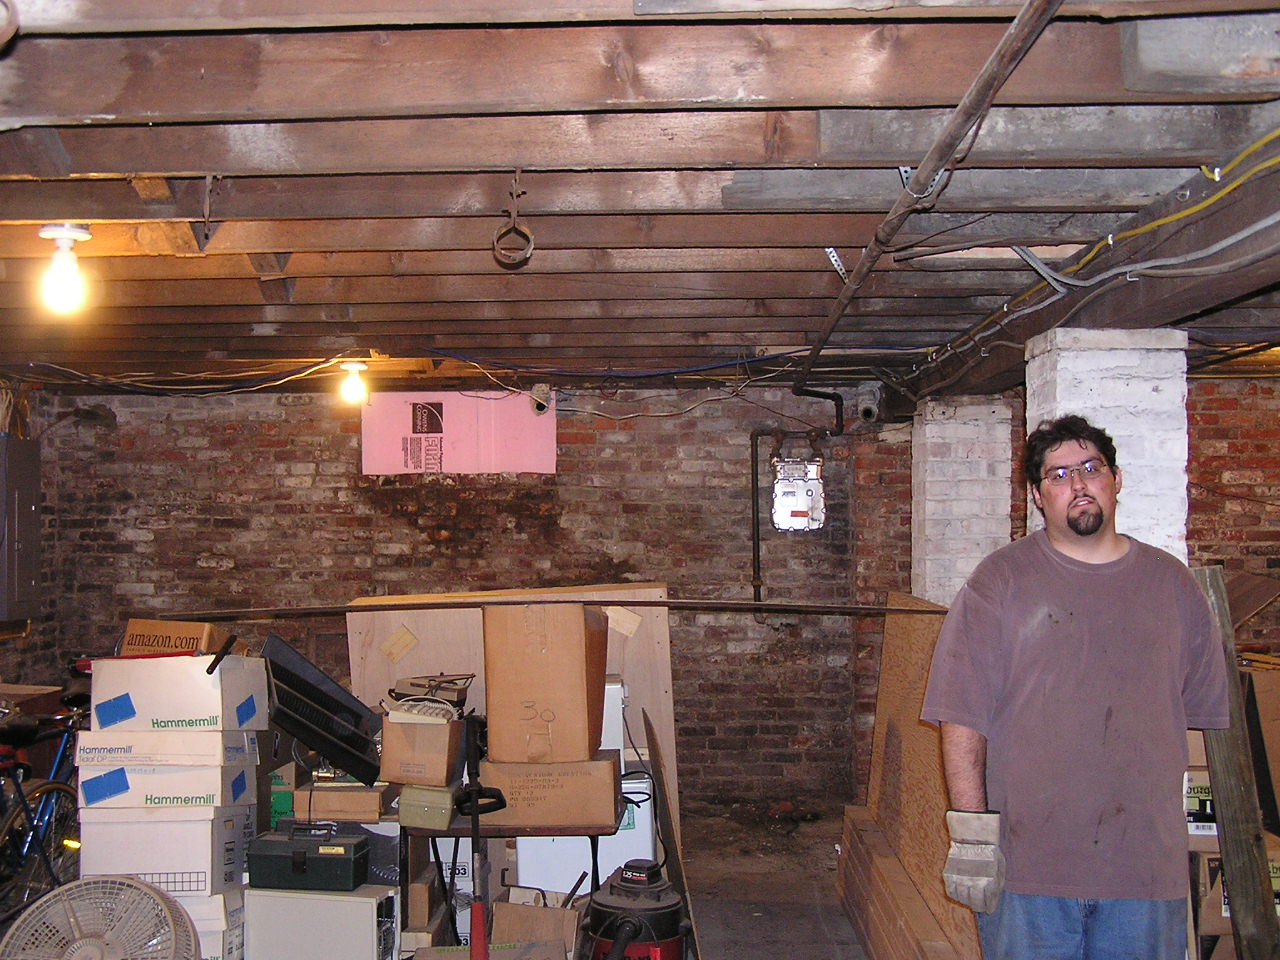
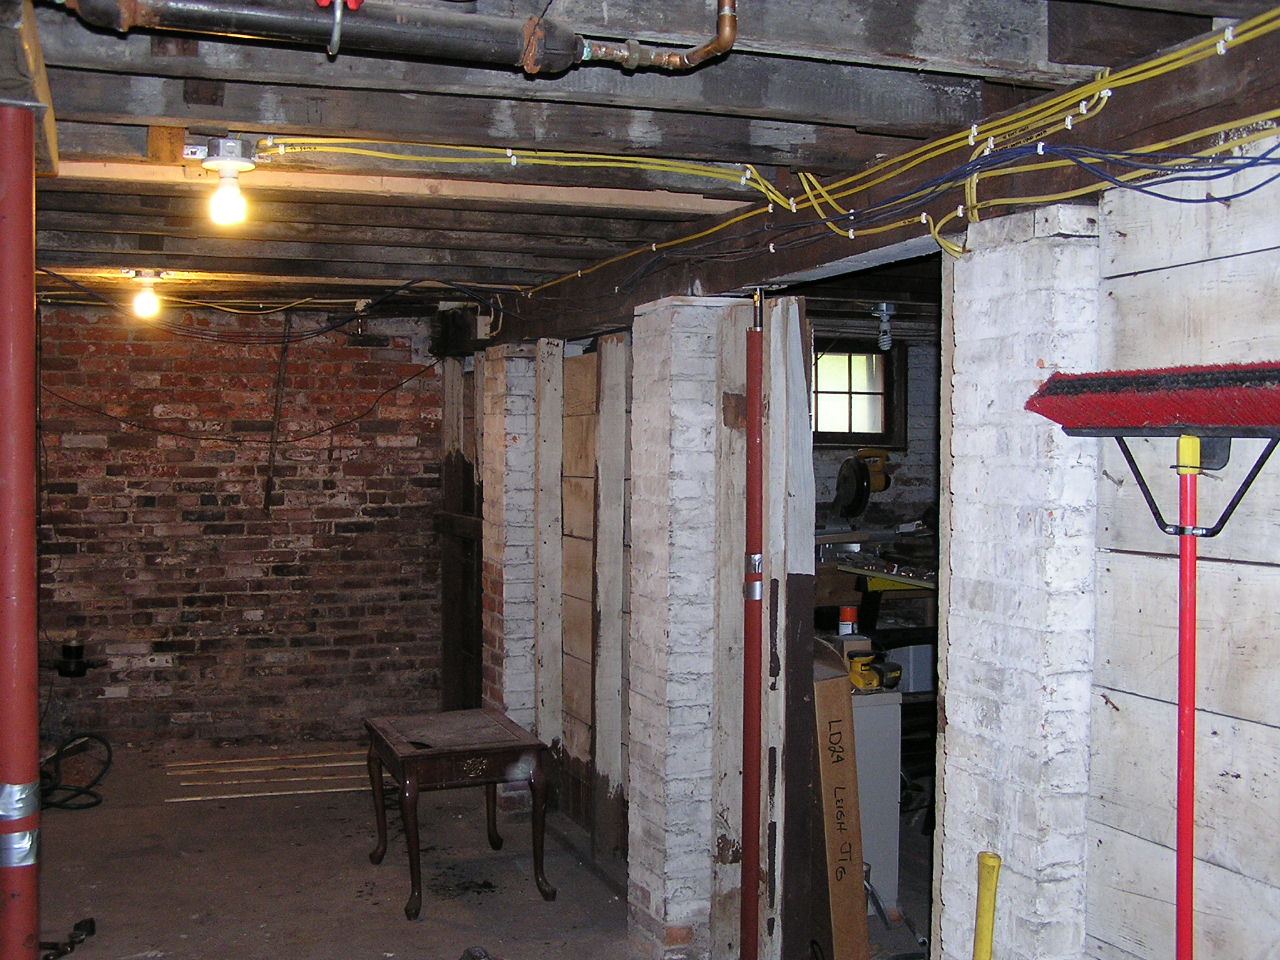
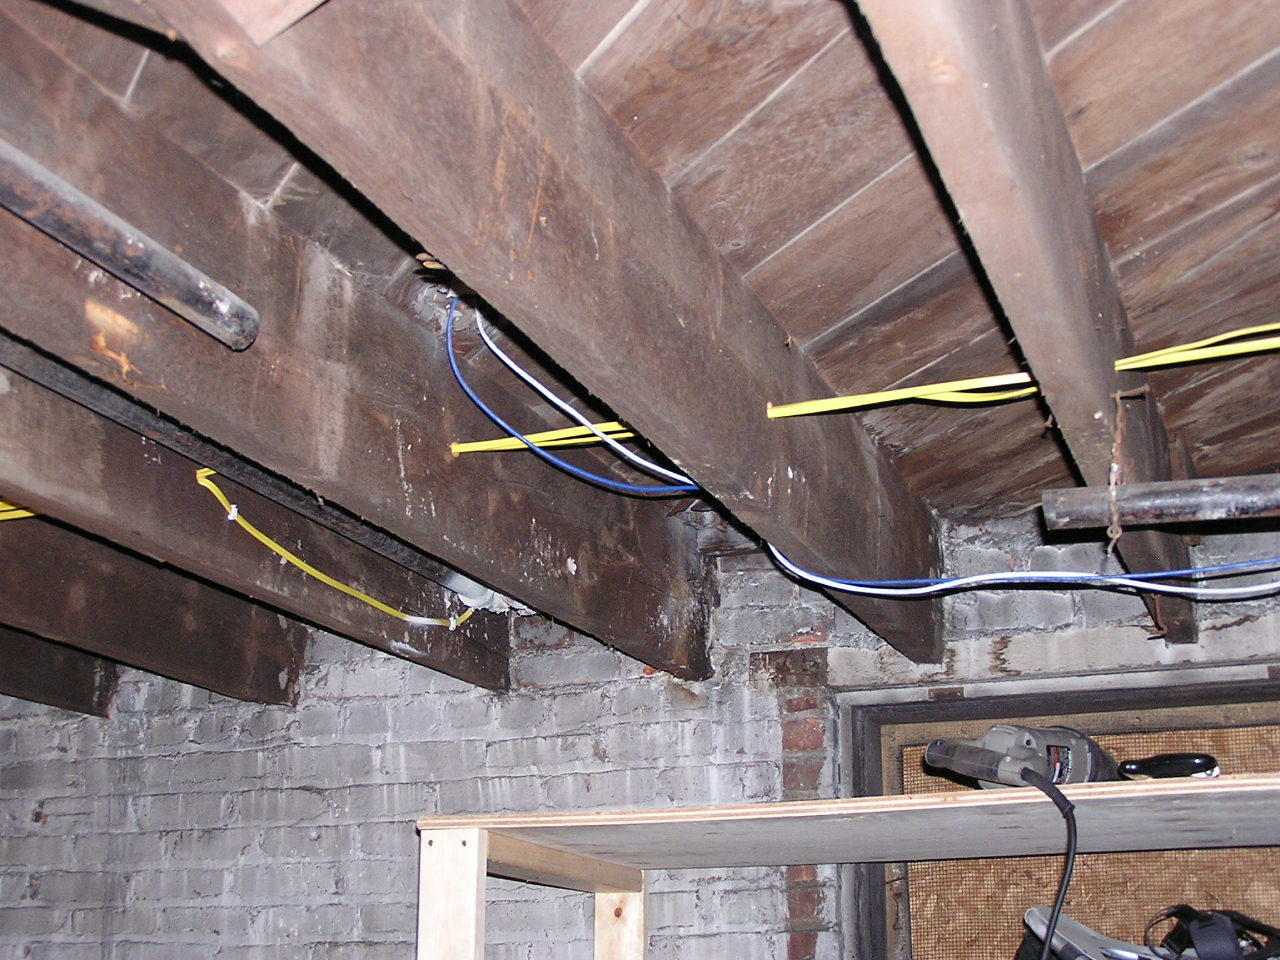
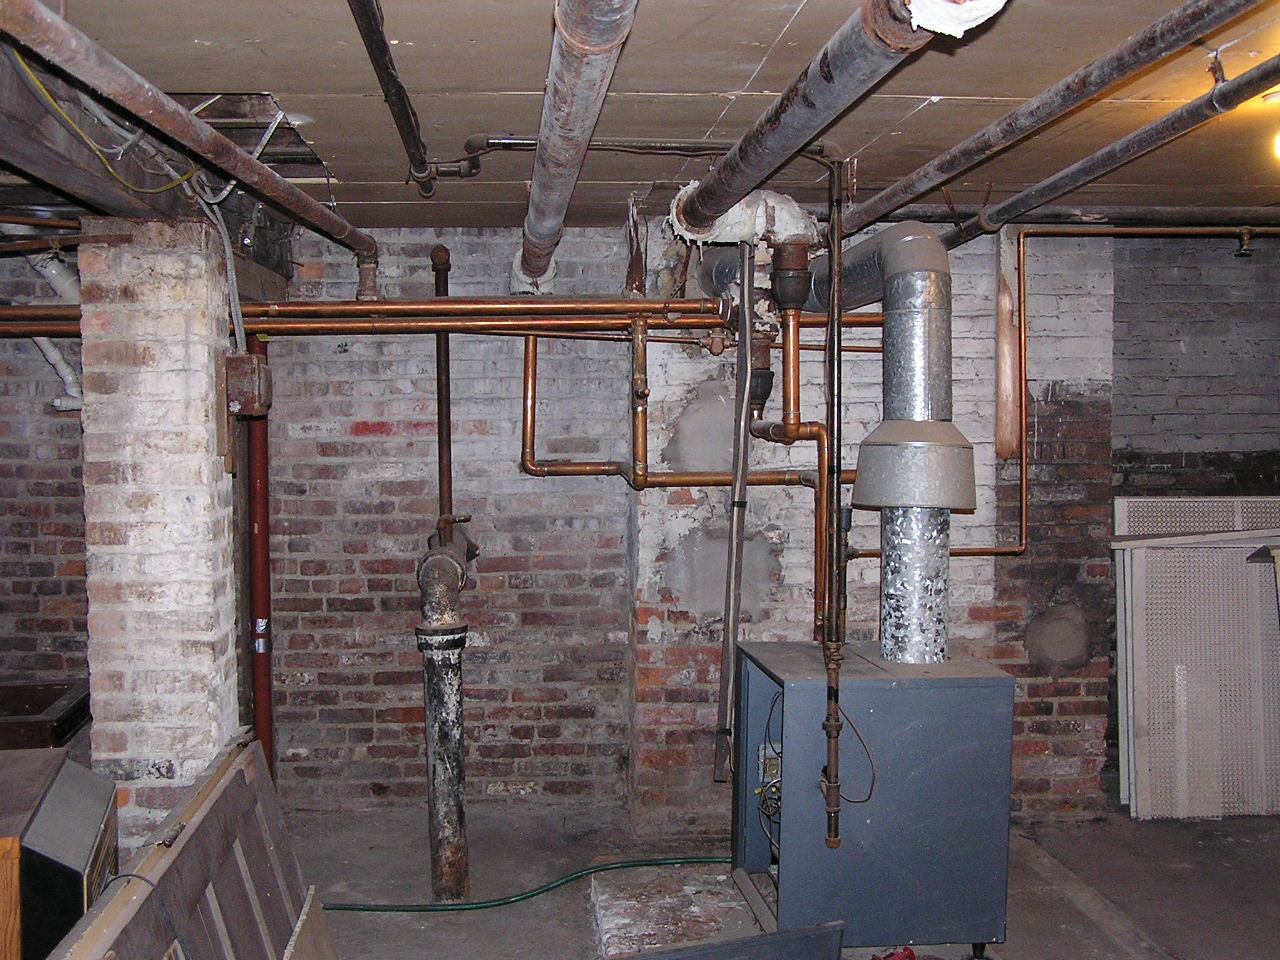
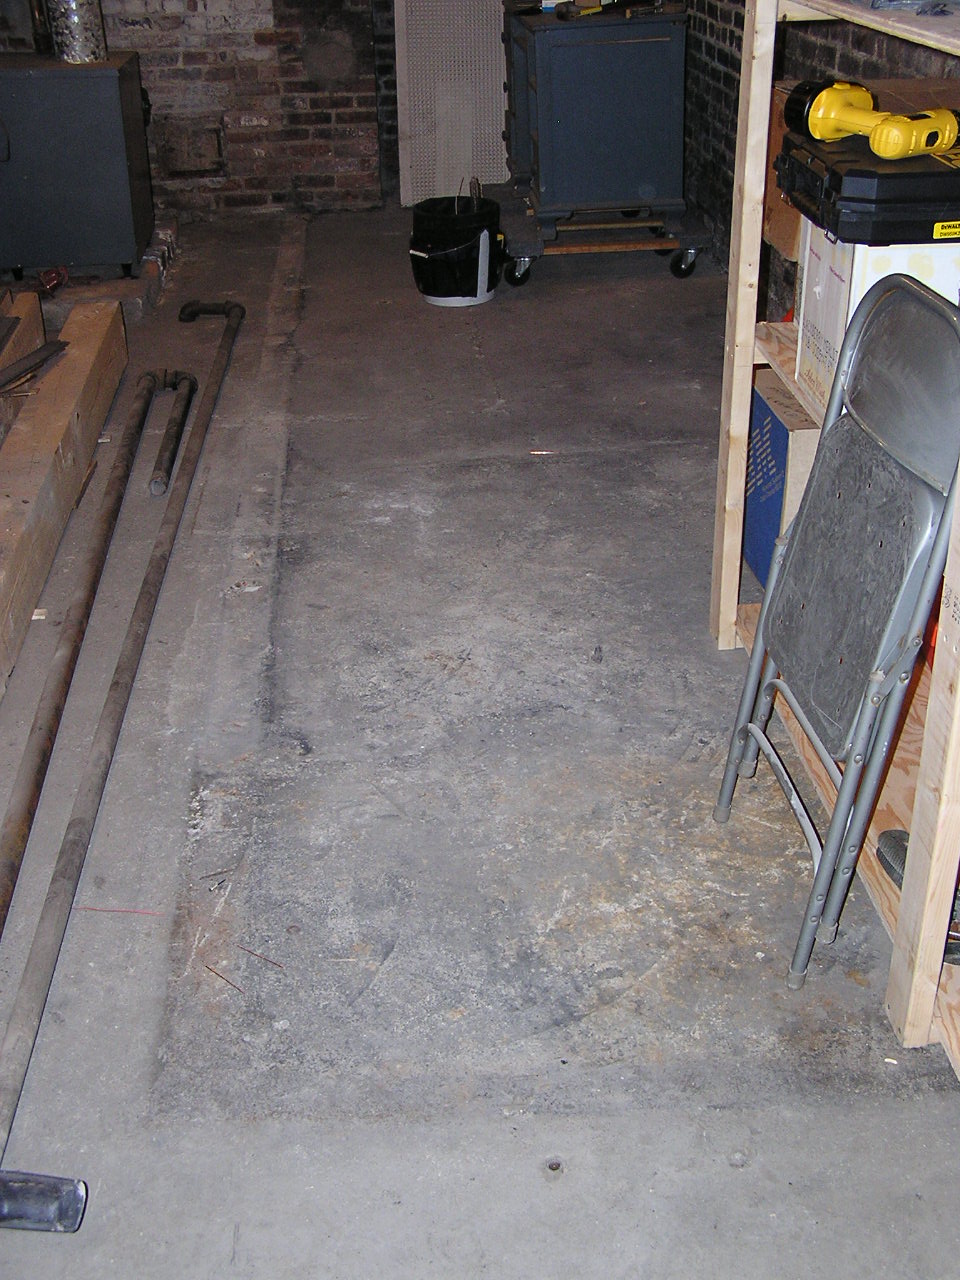
OK, the "before" picture is actually from a year and a half ago during the heating system replacement. Really, nothing had changed except a bit more junk piled up on the floor. Next we have the walls of the little "room" on the floor and a shot of the remains of the bottom 6" or so of the walls. To think I was afraid the wall was now structural as the bad beams above had settled down. Too much rot to hold themselves up. Last is the final state of things. Clearly I need to get the bits of hanging cable out and such, but it's now possible to move on to the next step.
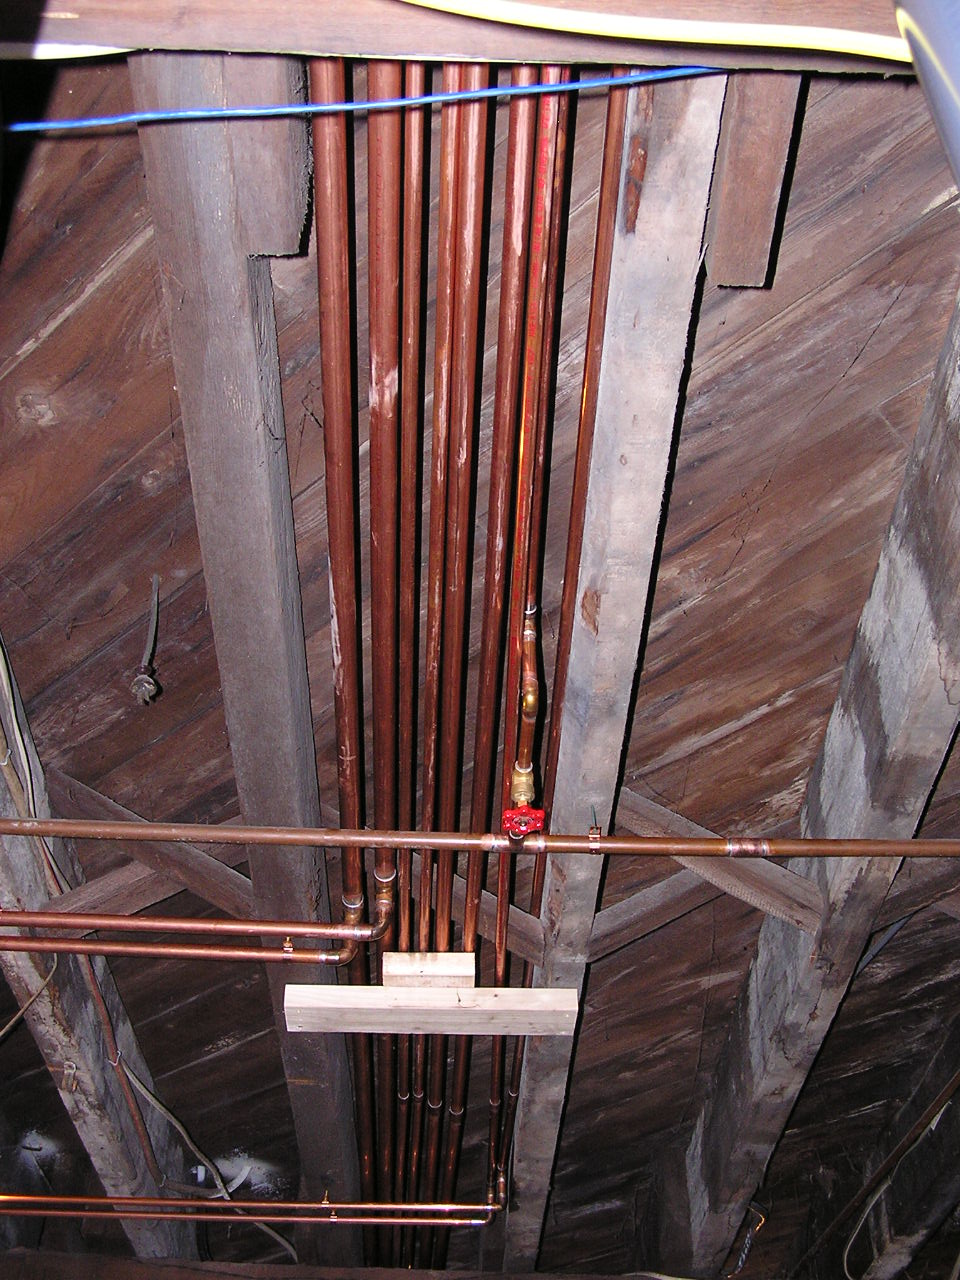
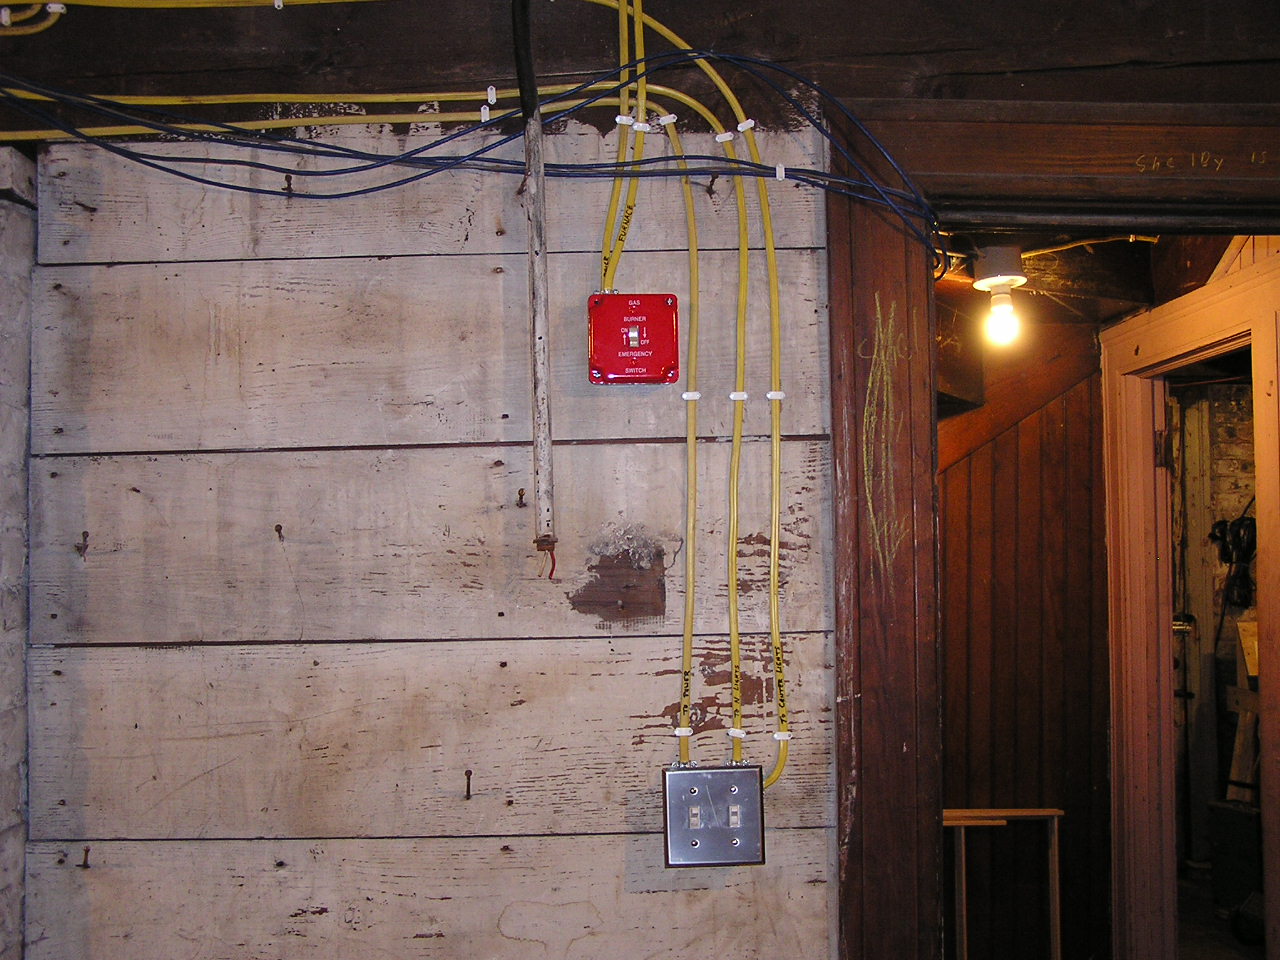
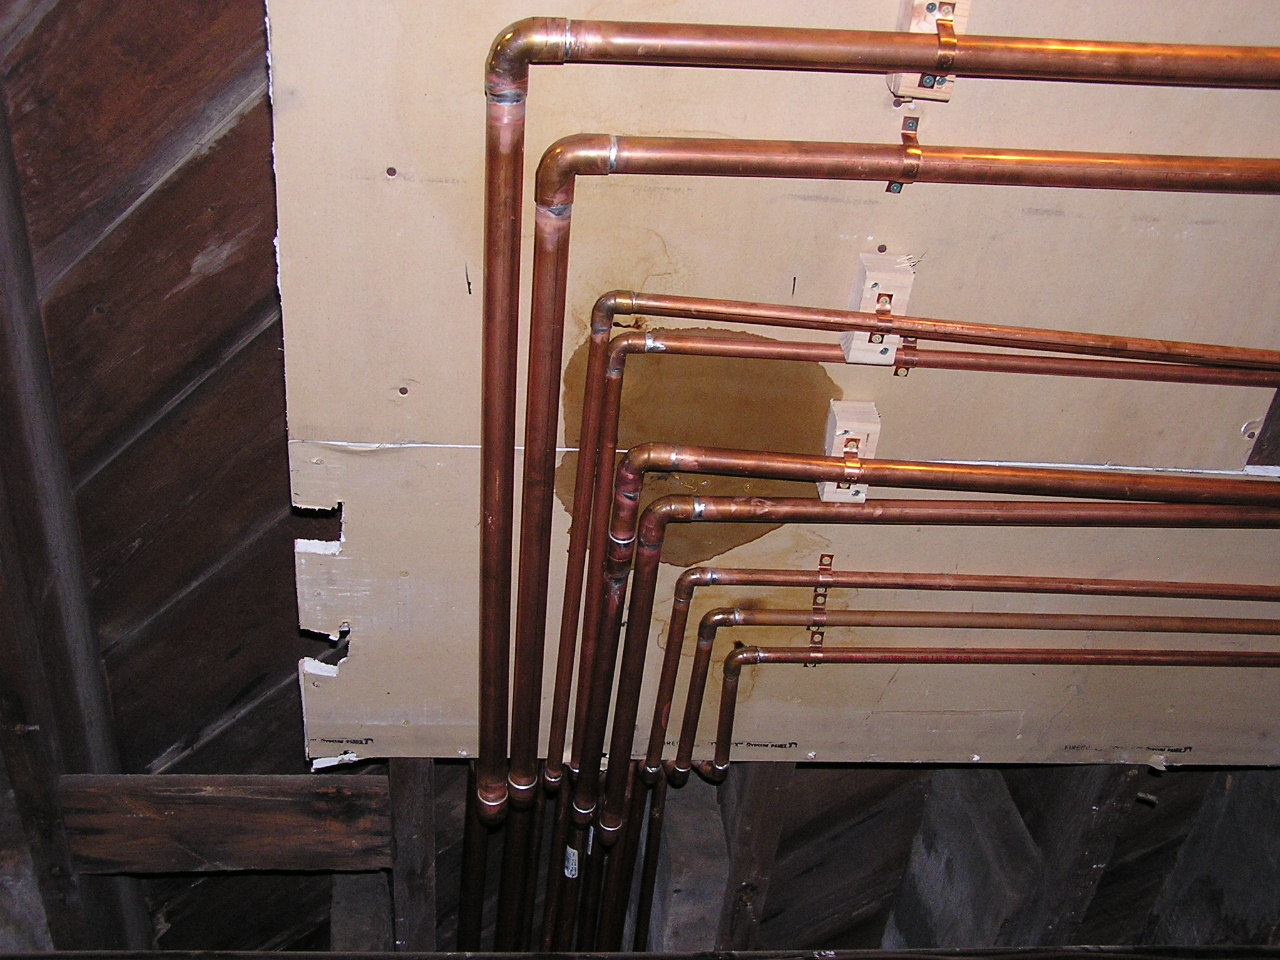
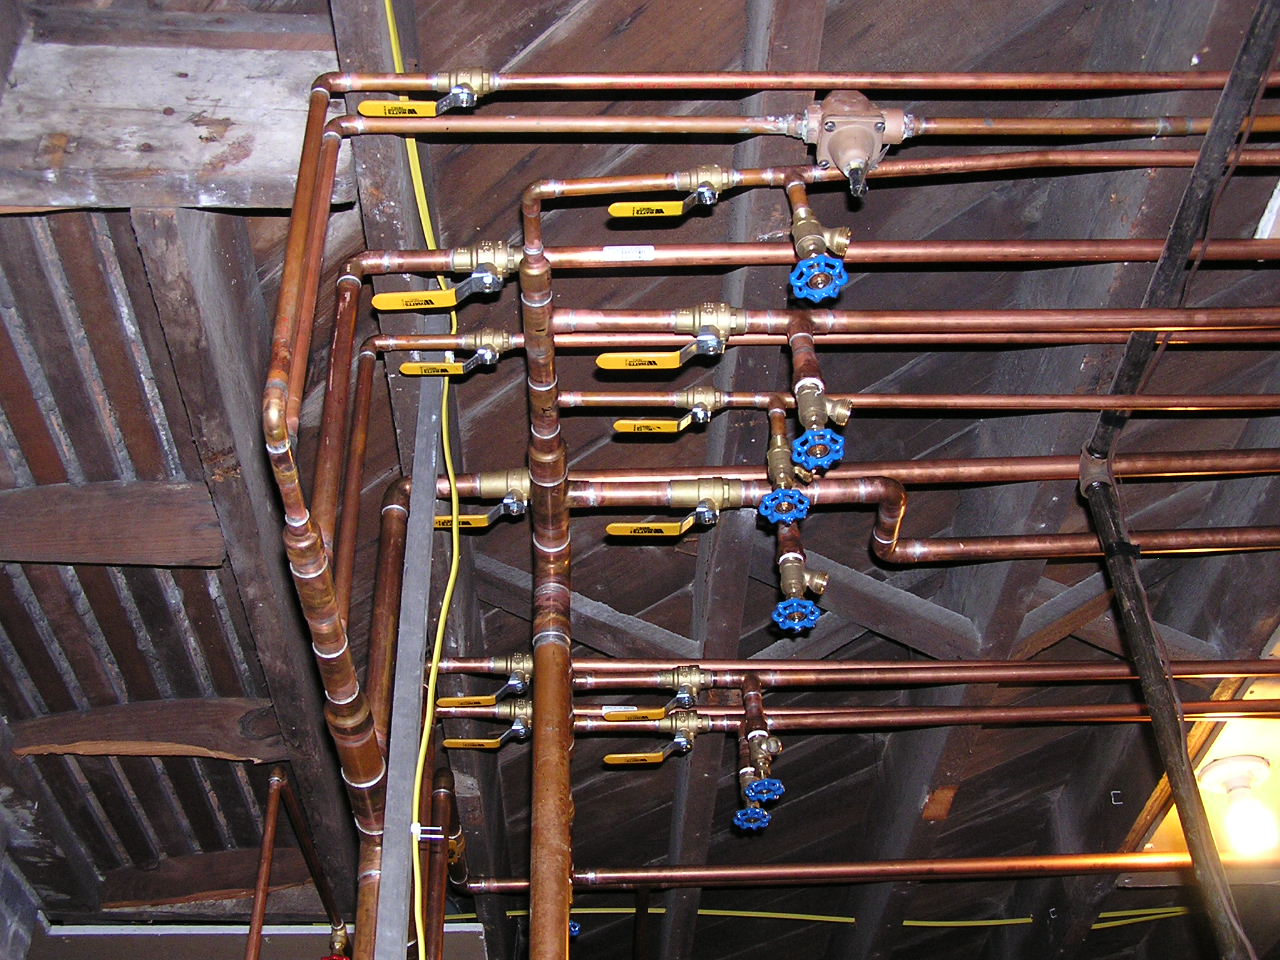
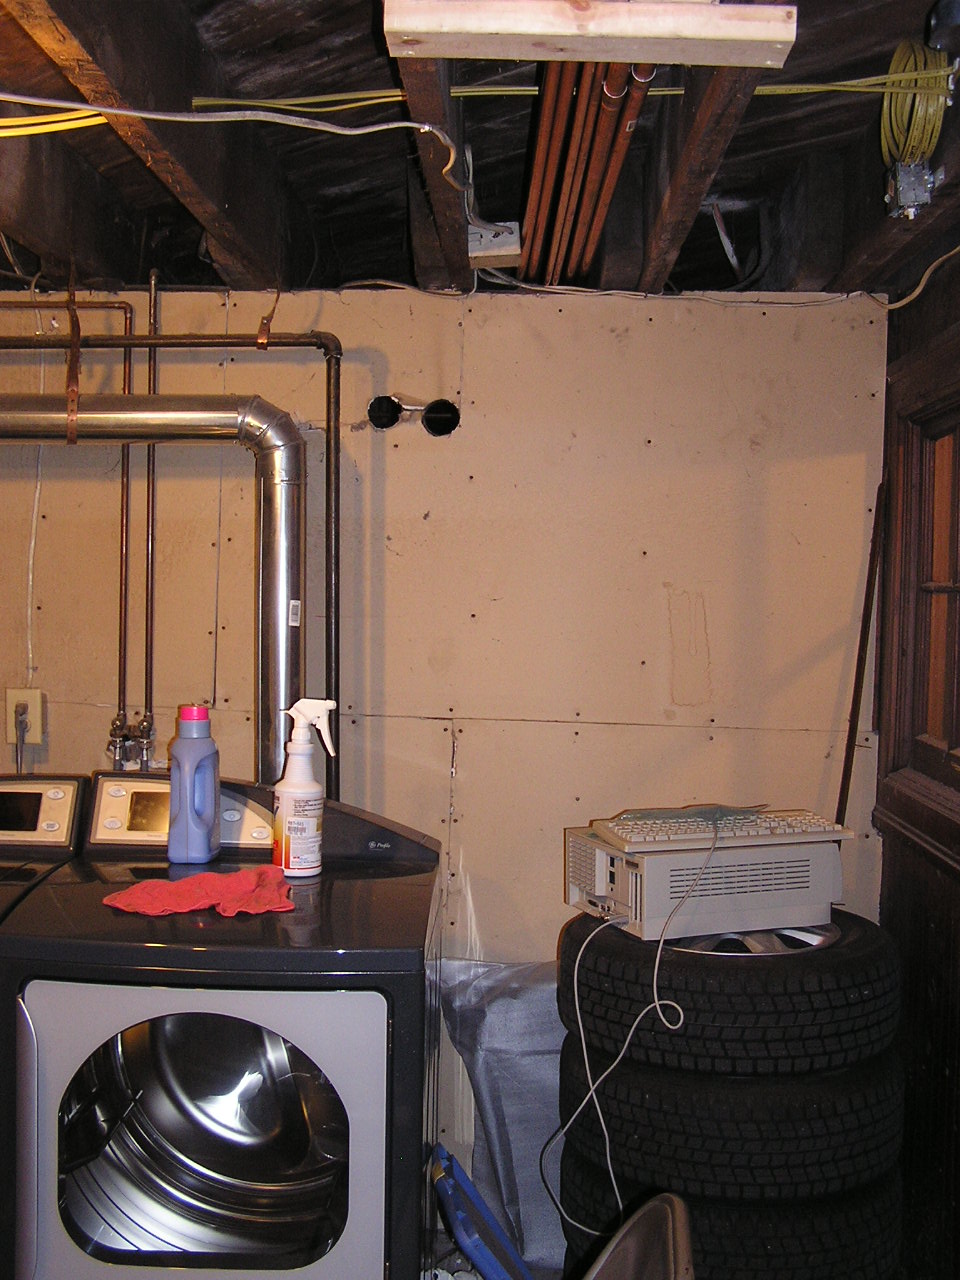
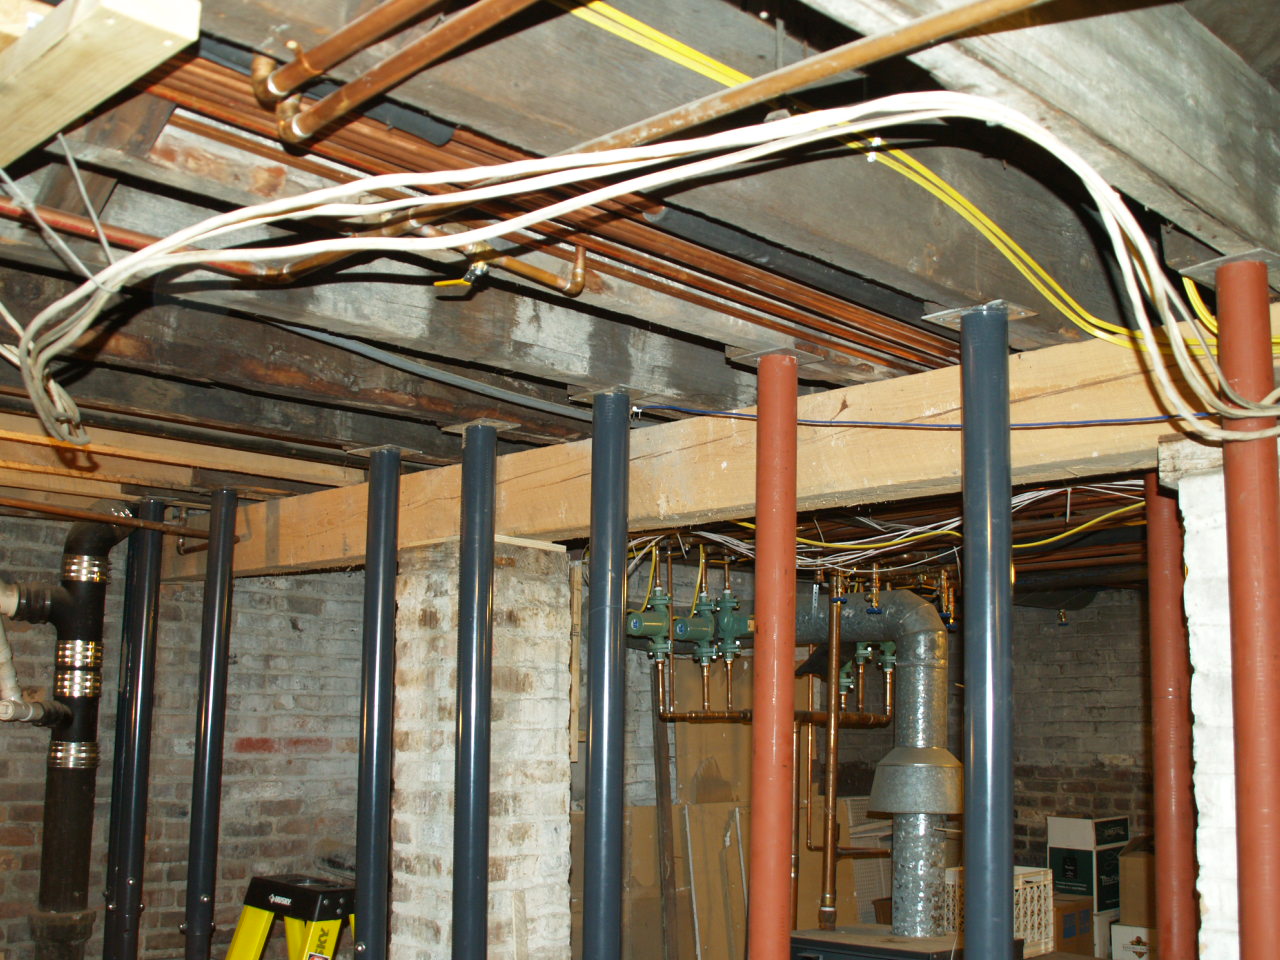
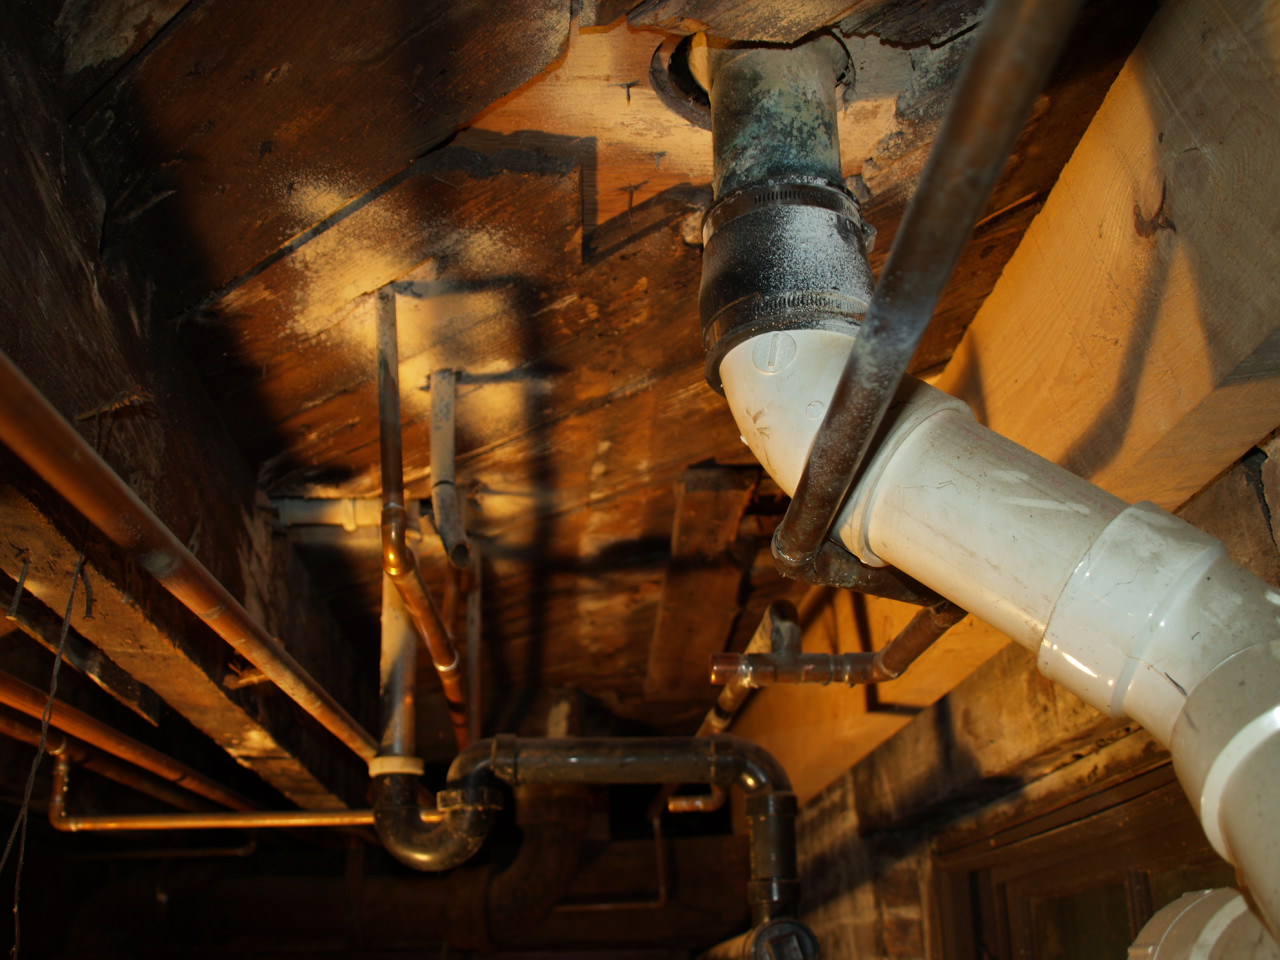
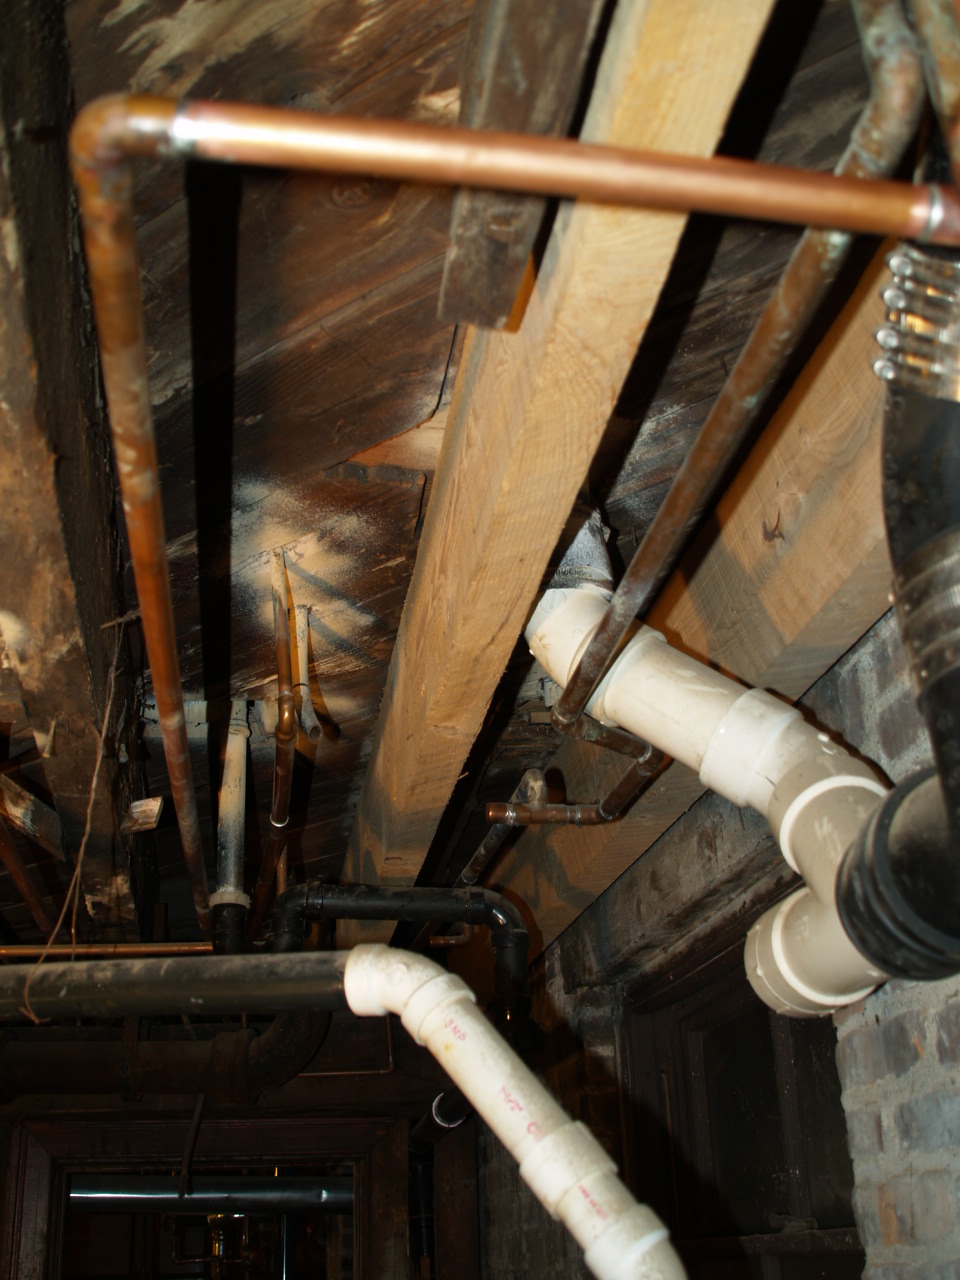
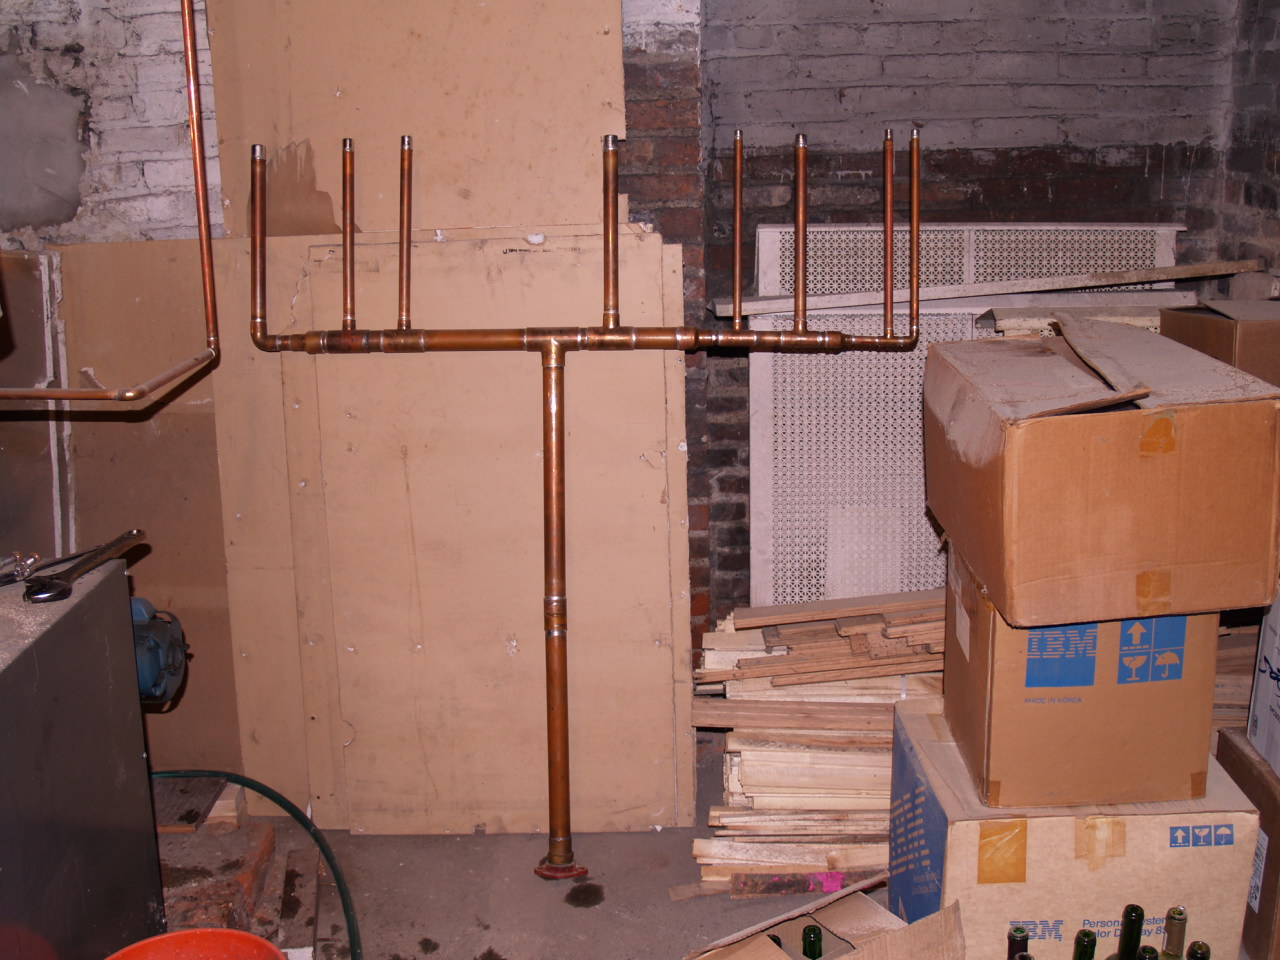
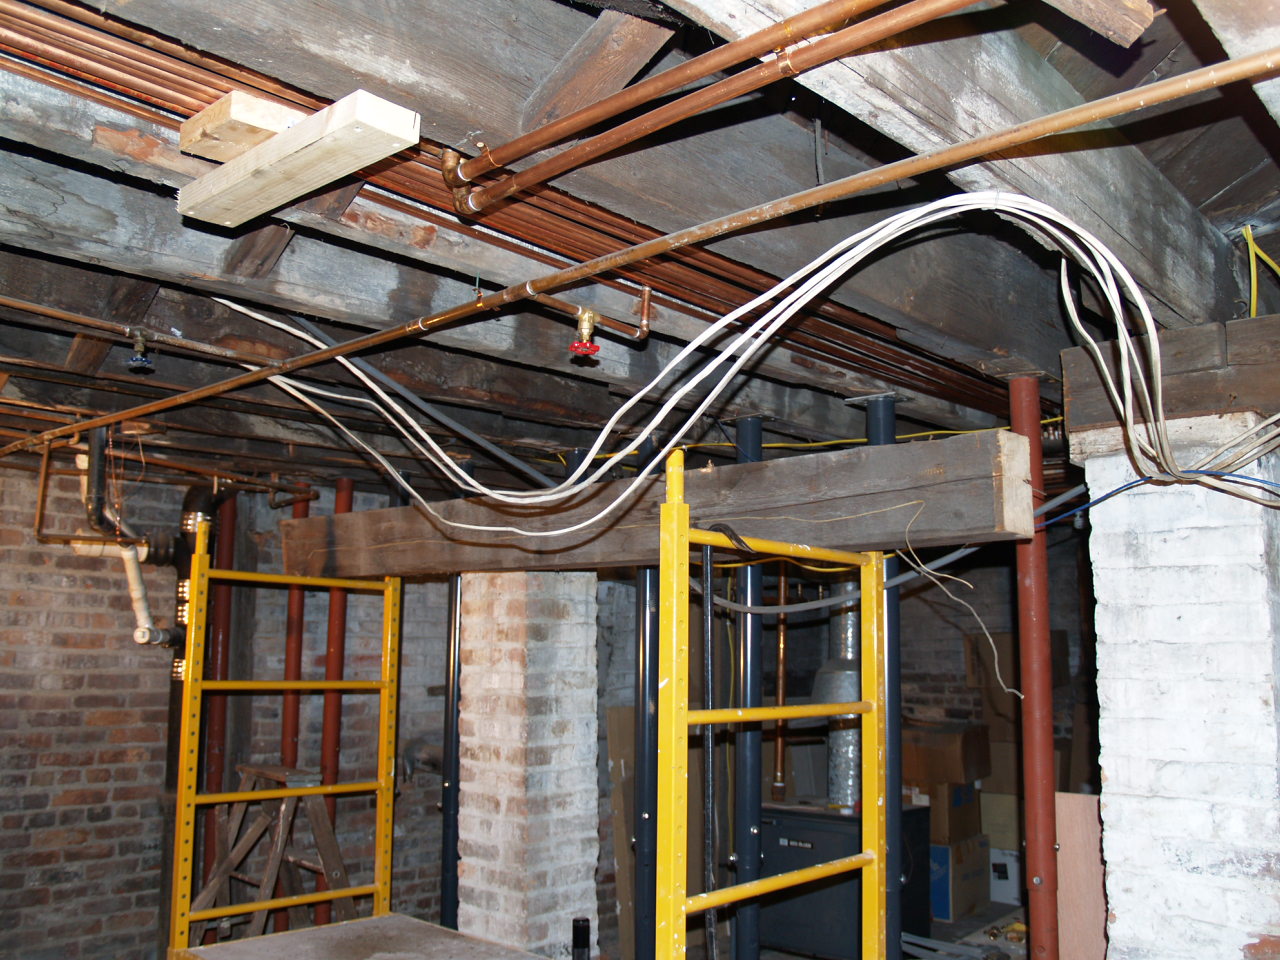
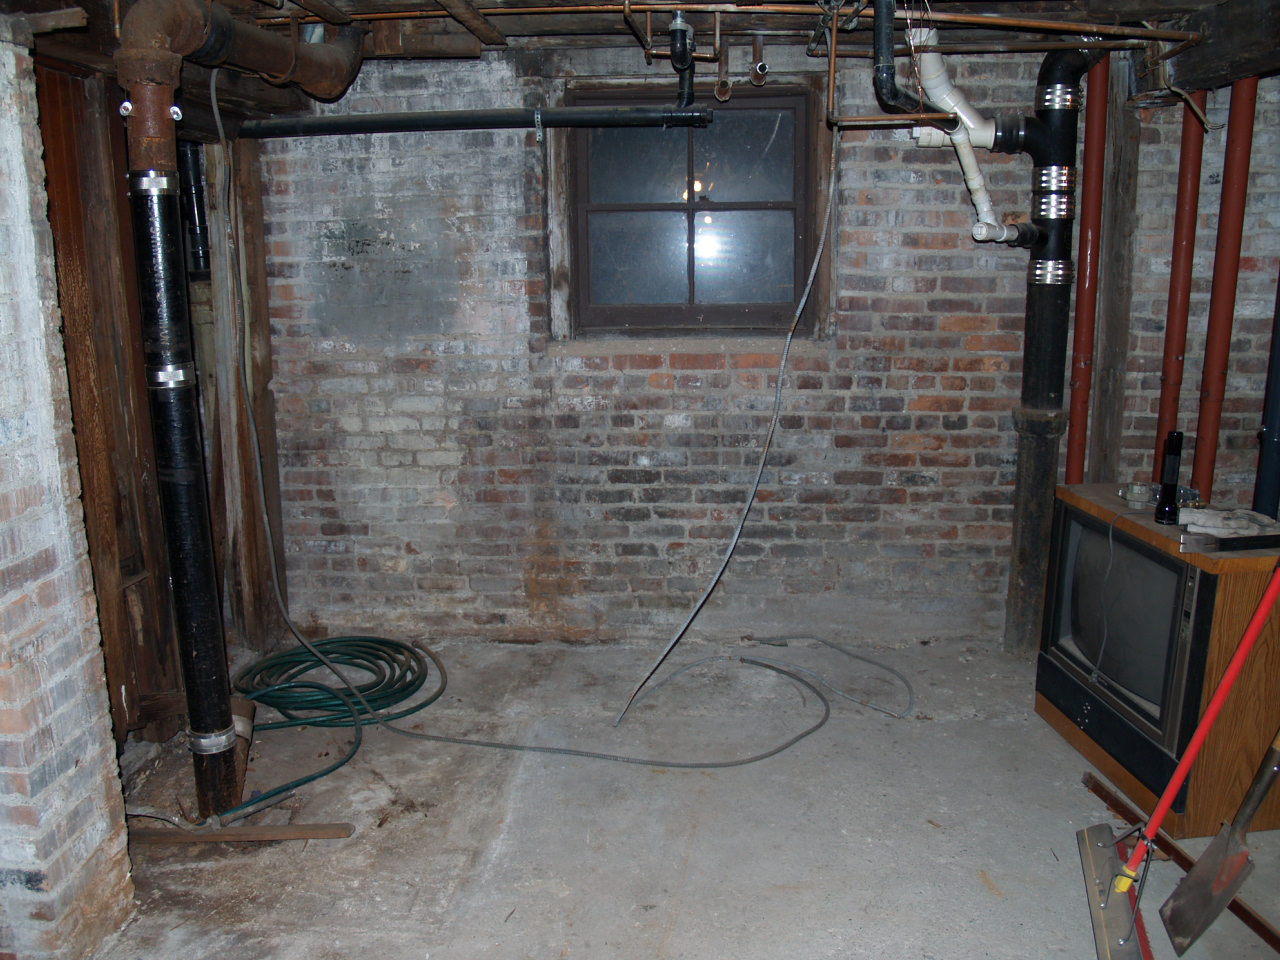
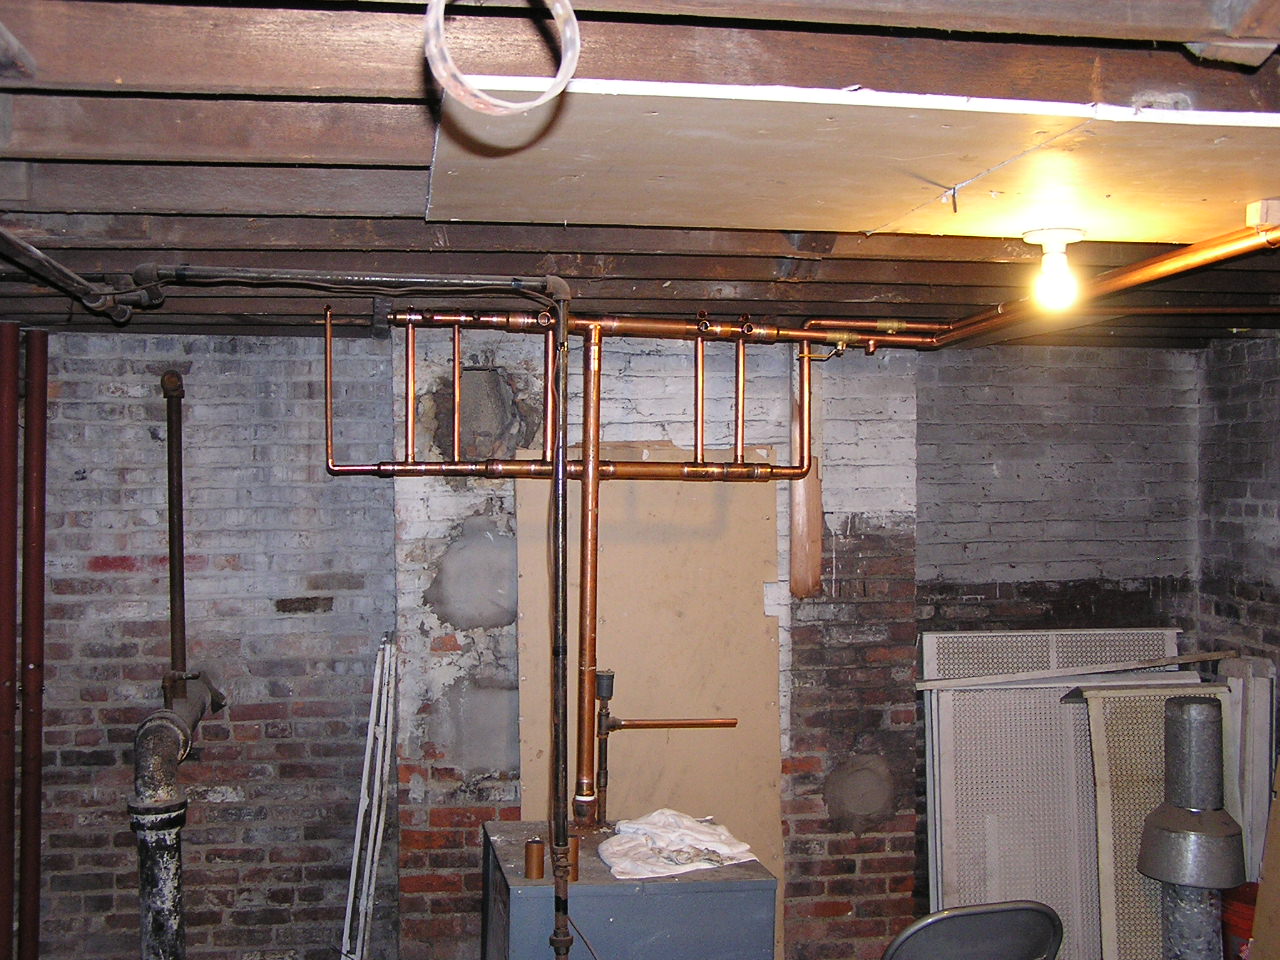
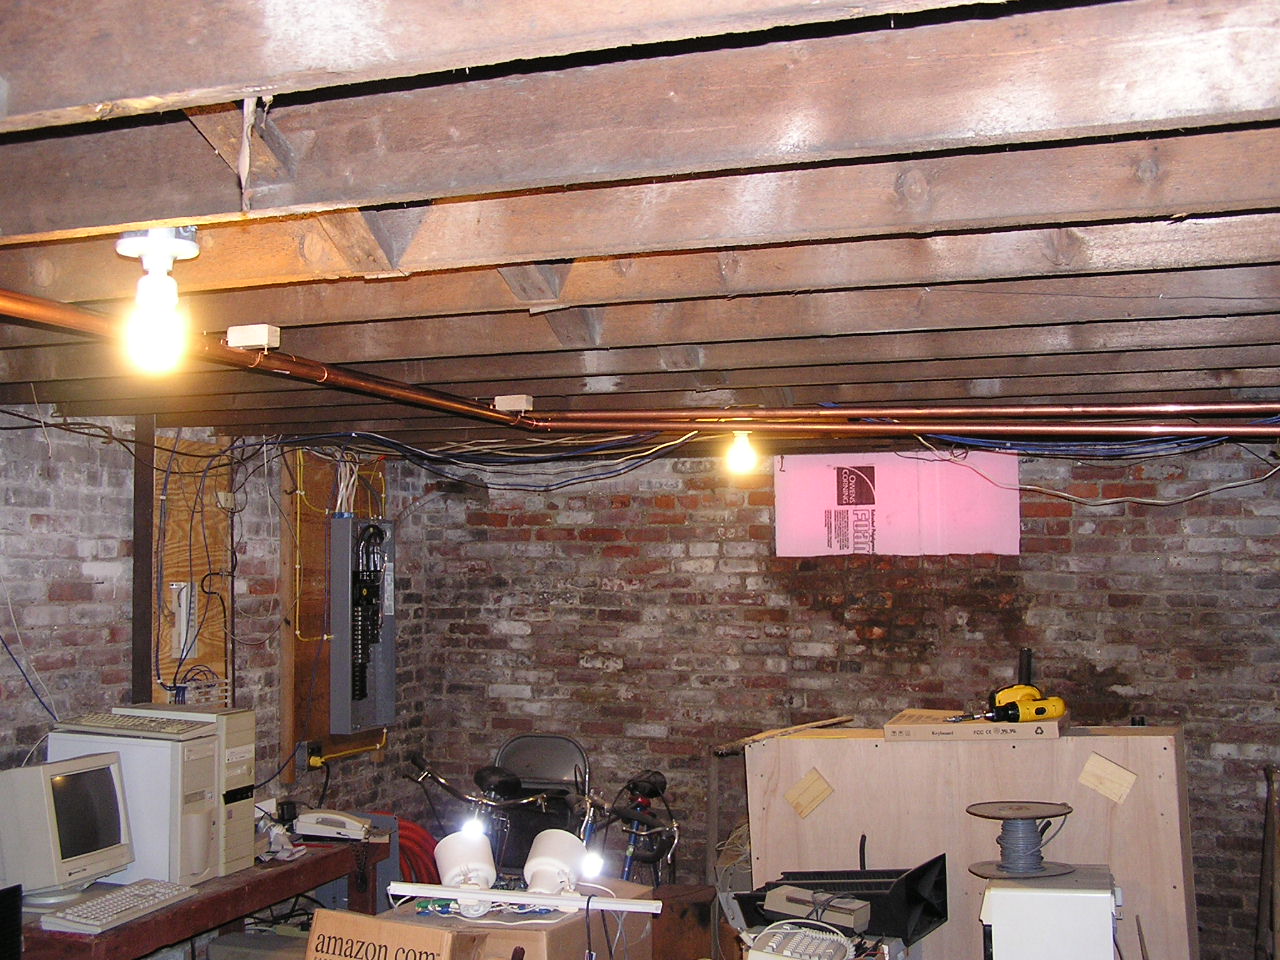
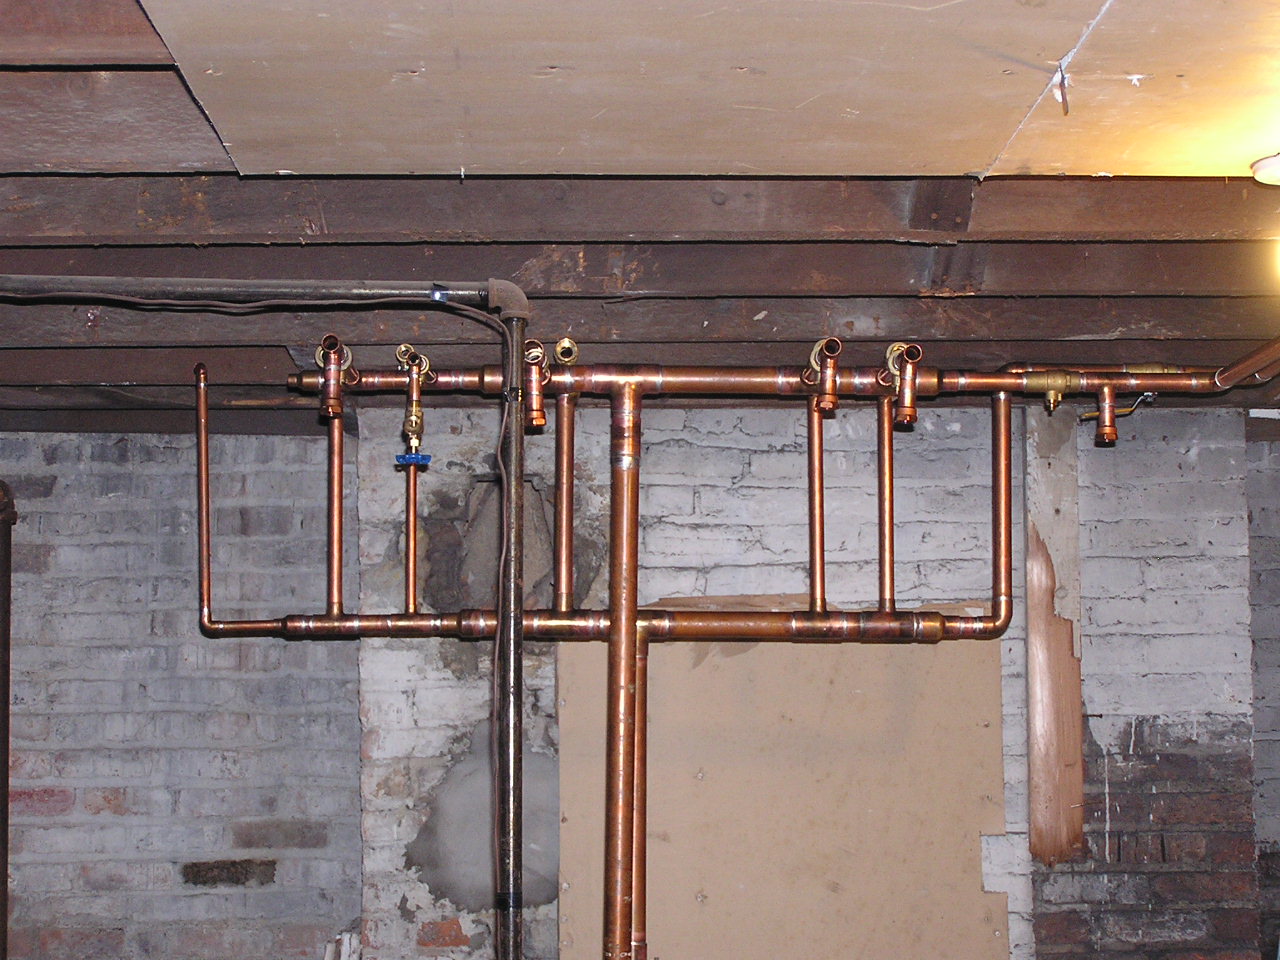
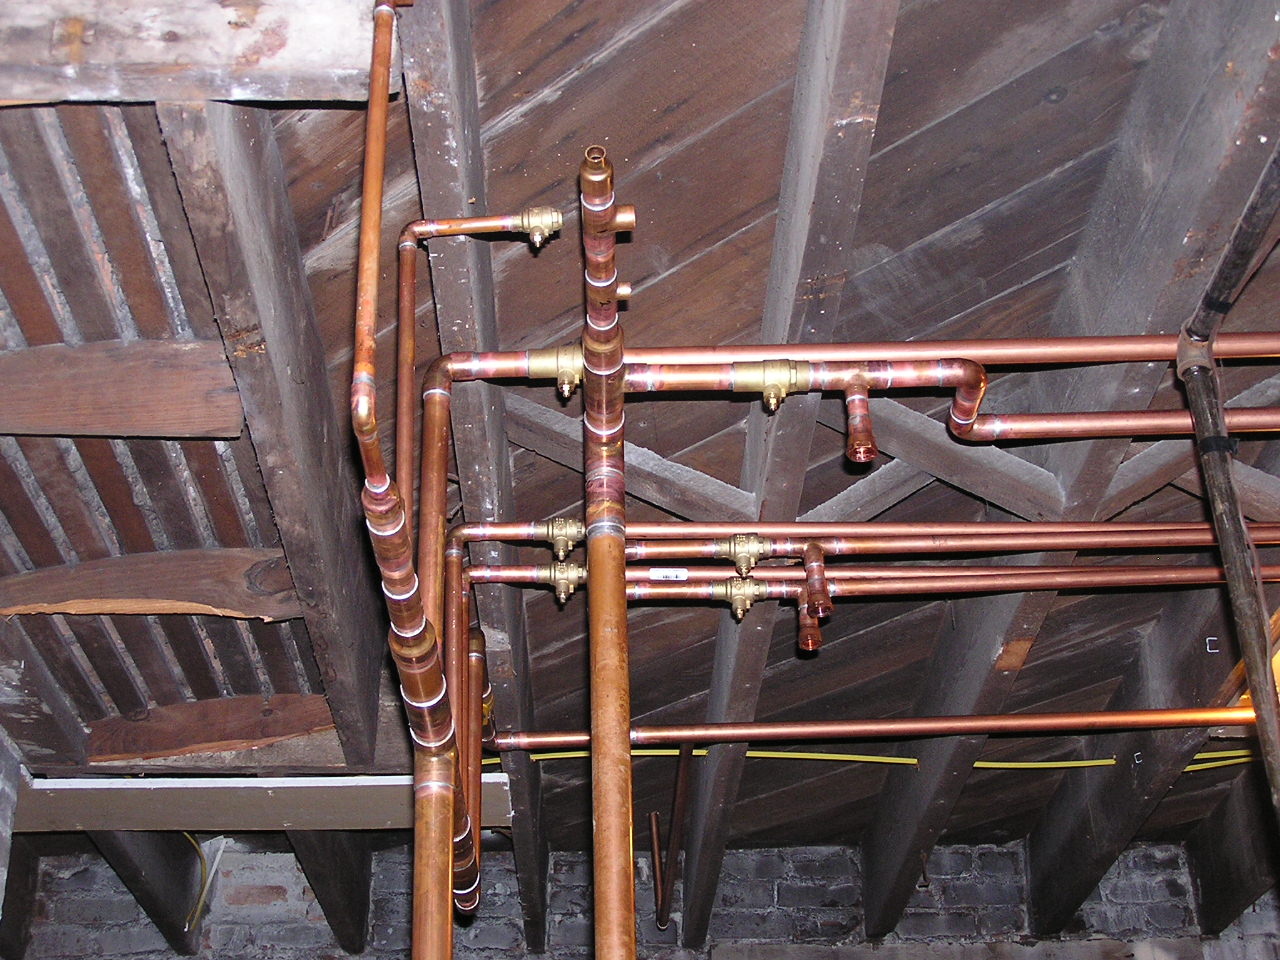
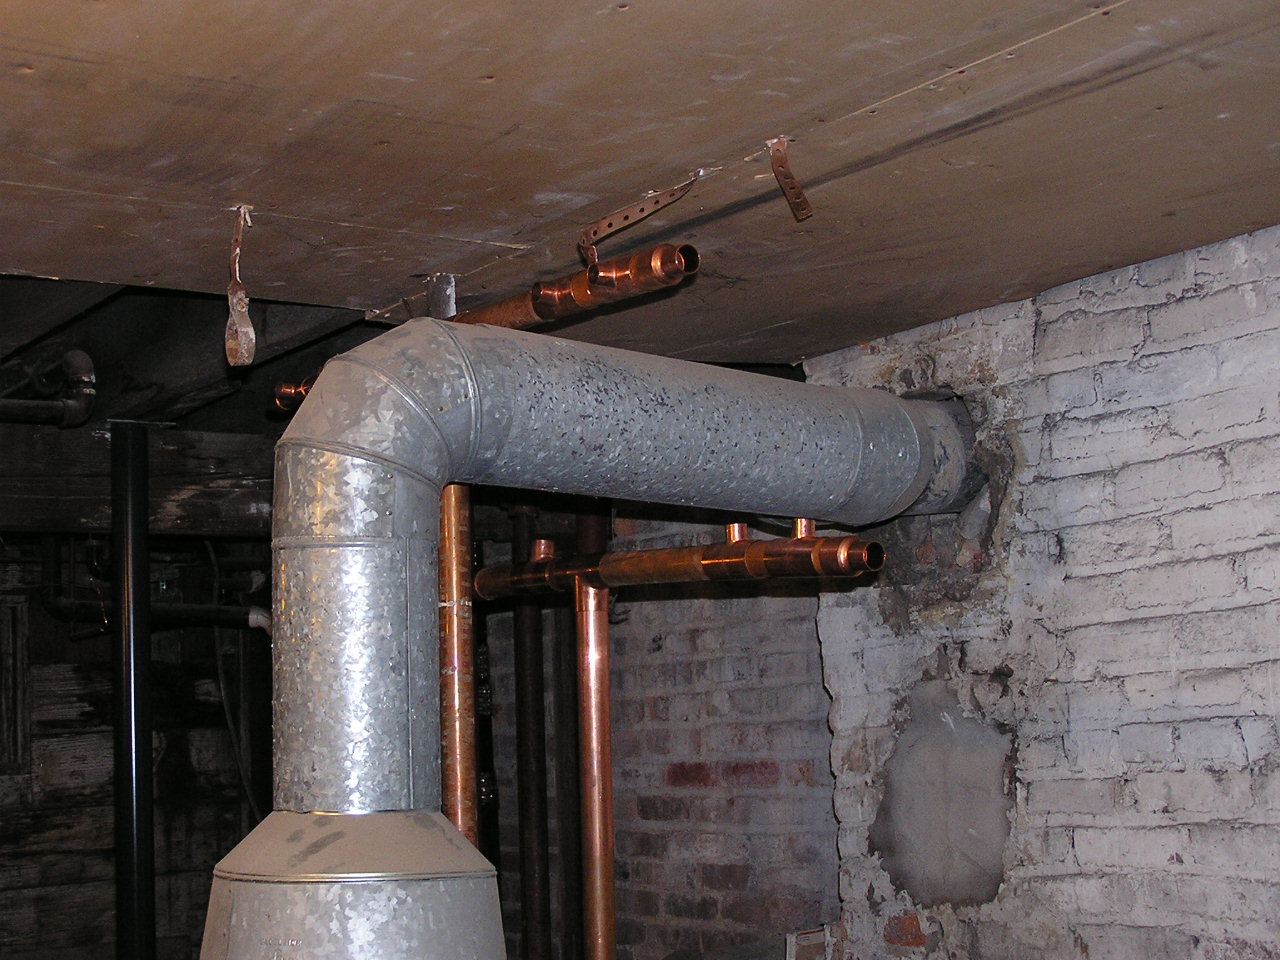
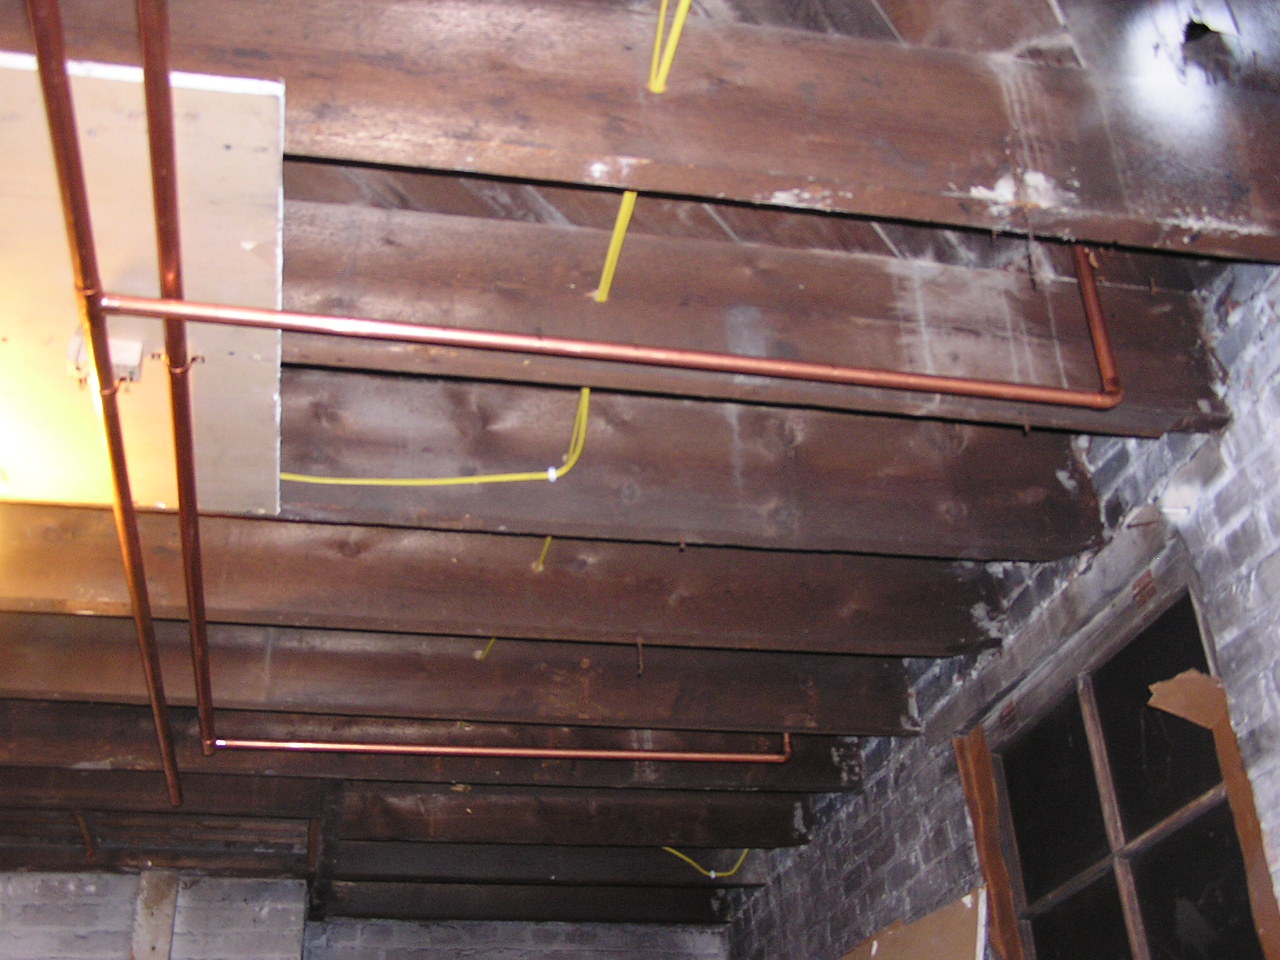
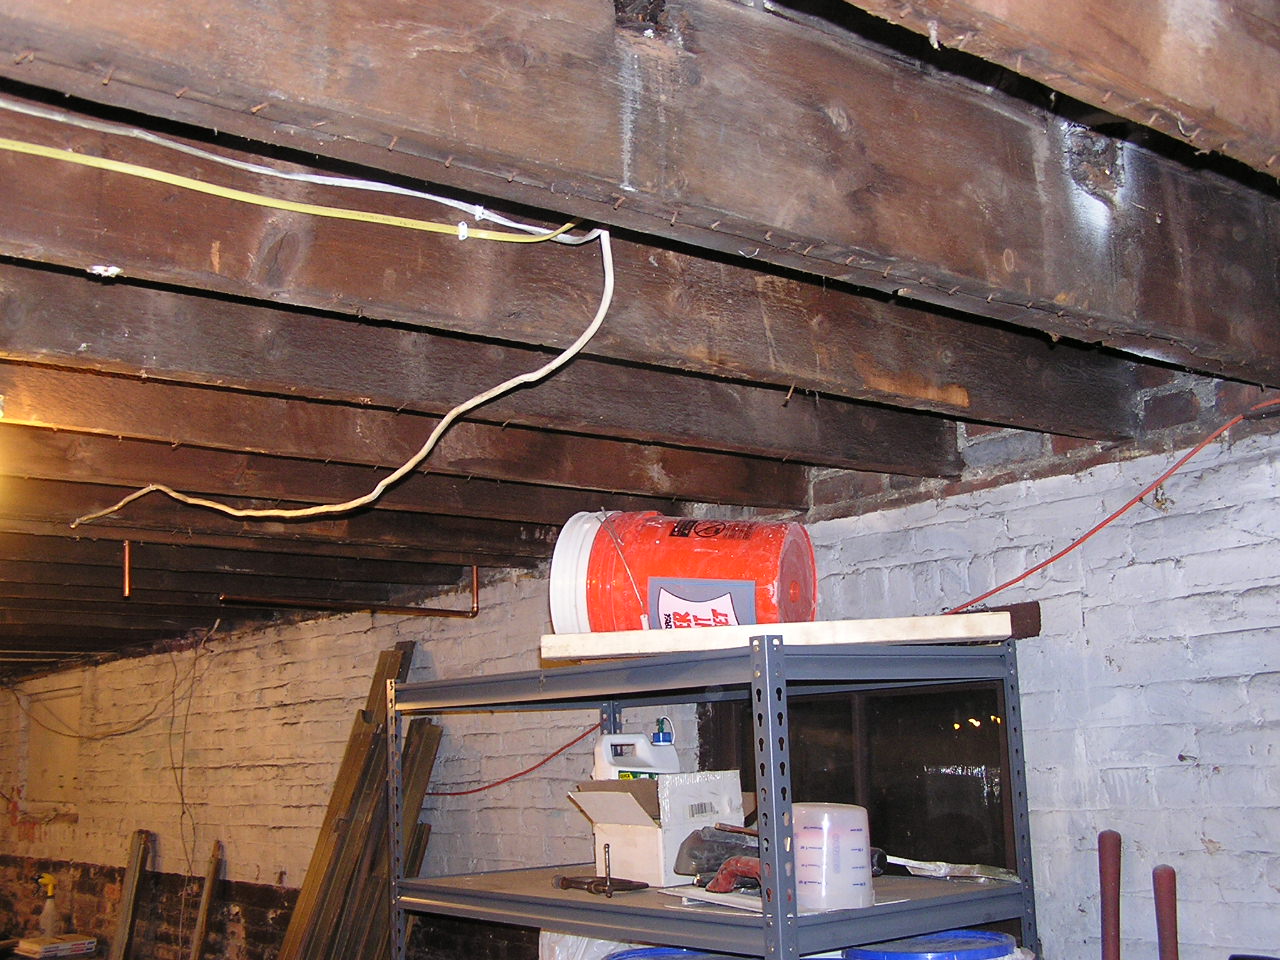
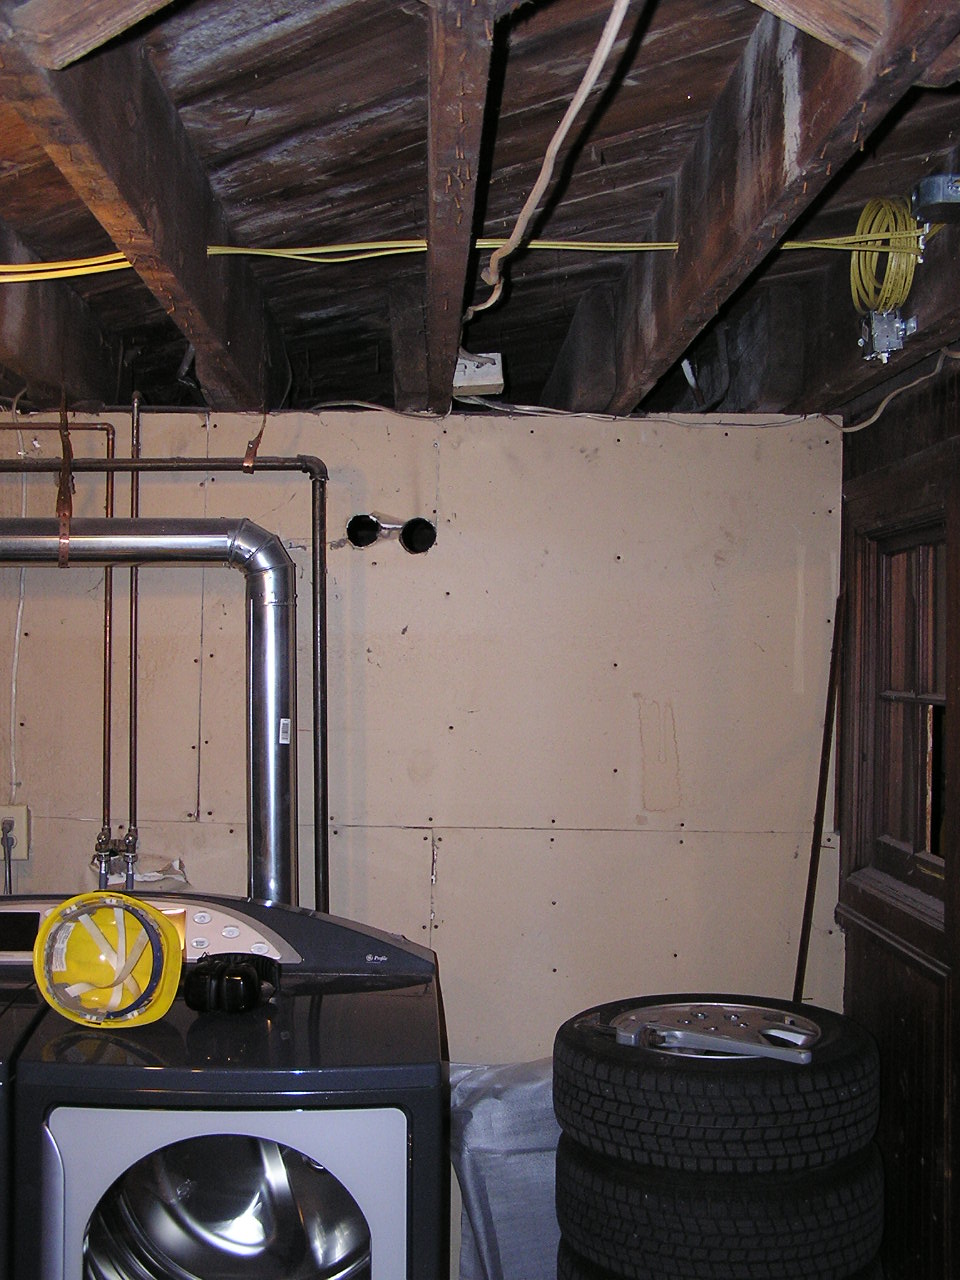
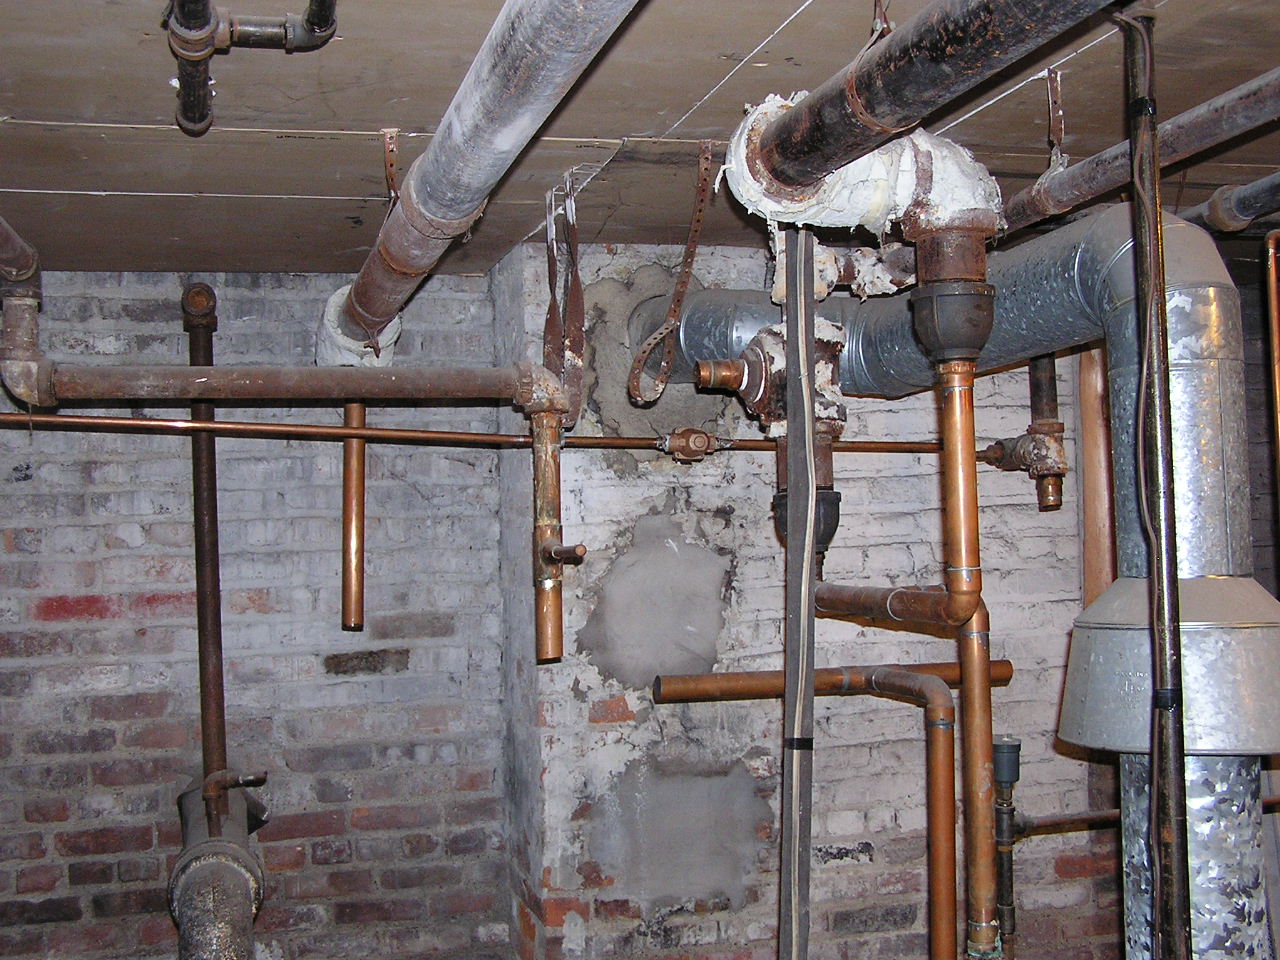
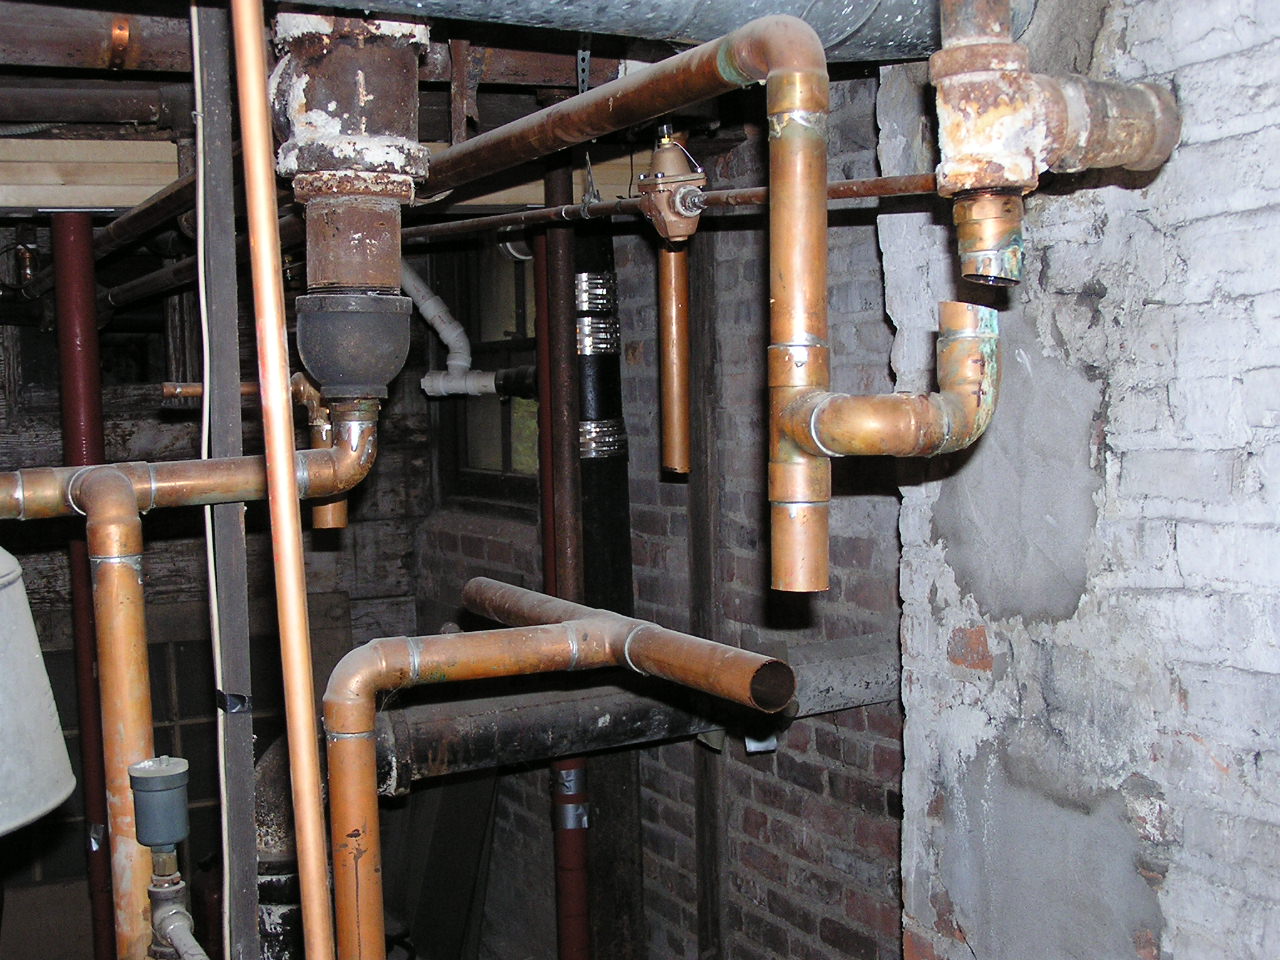
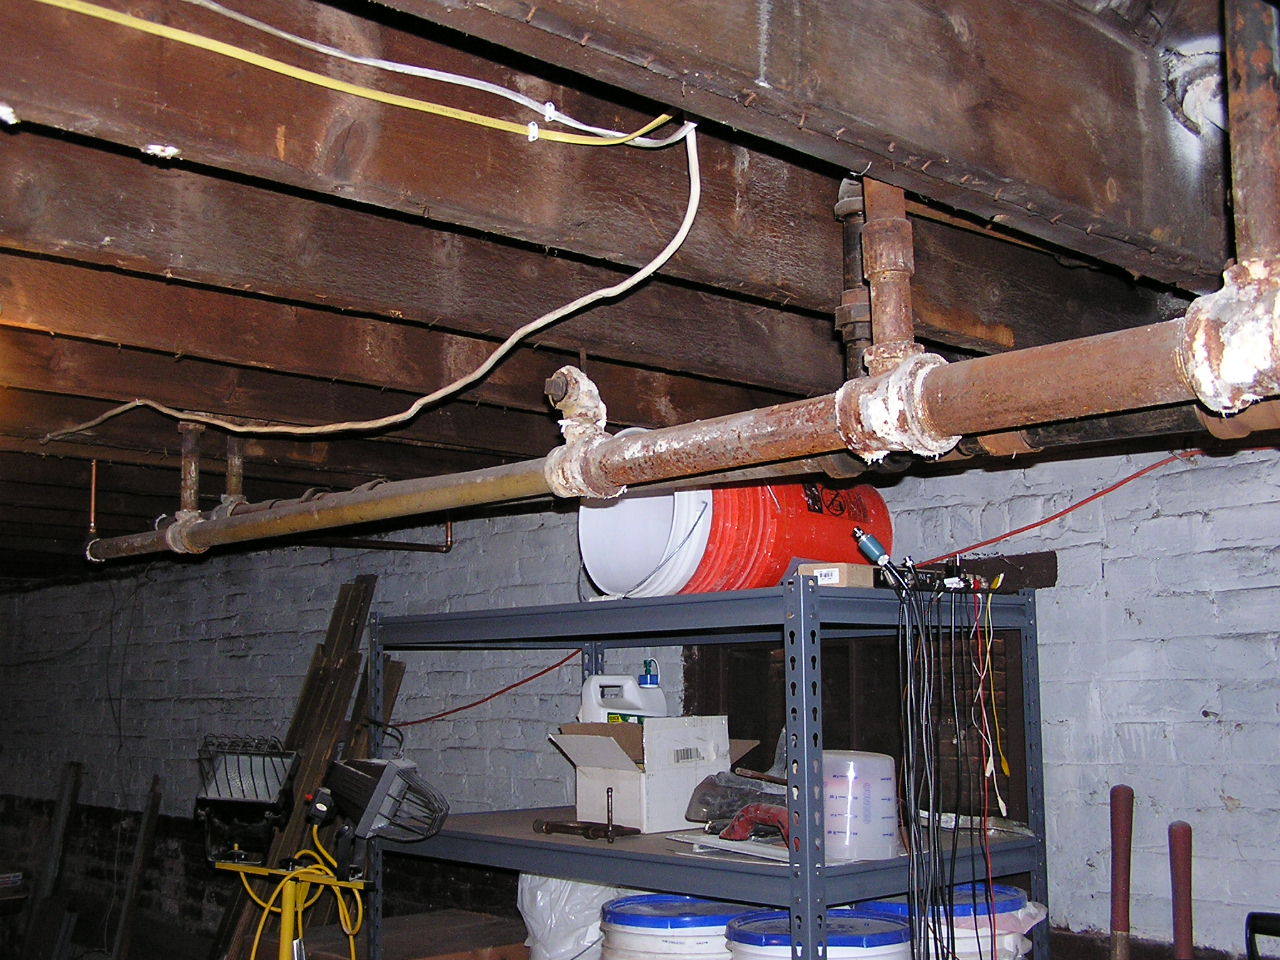
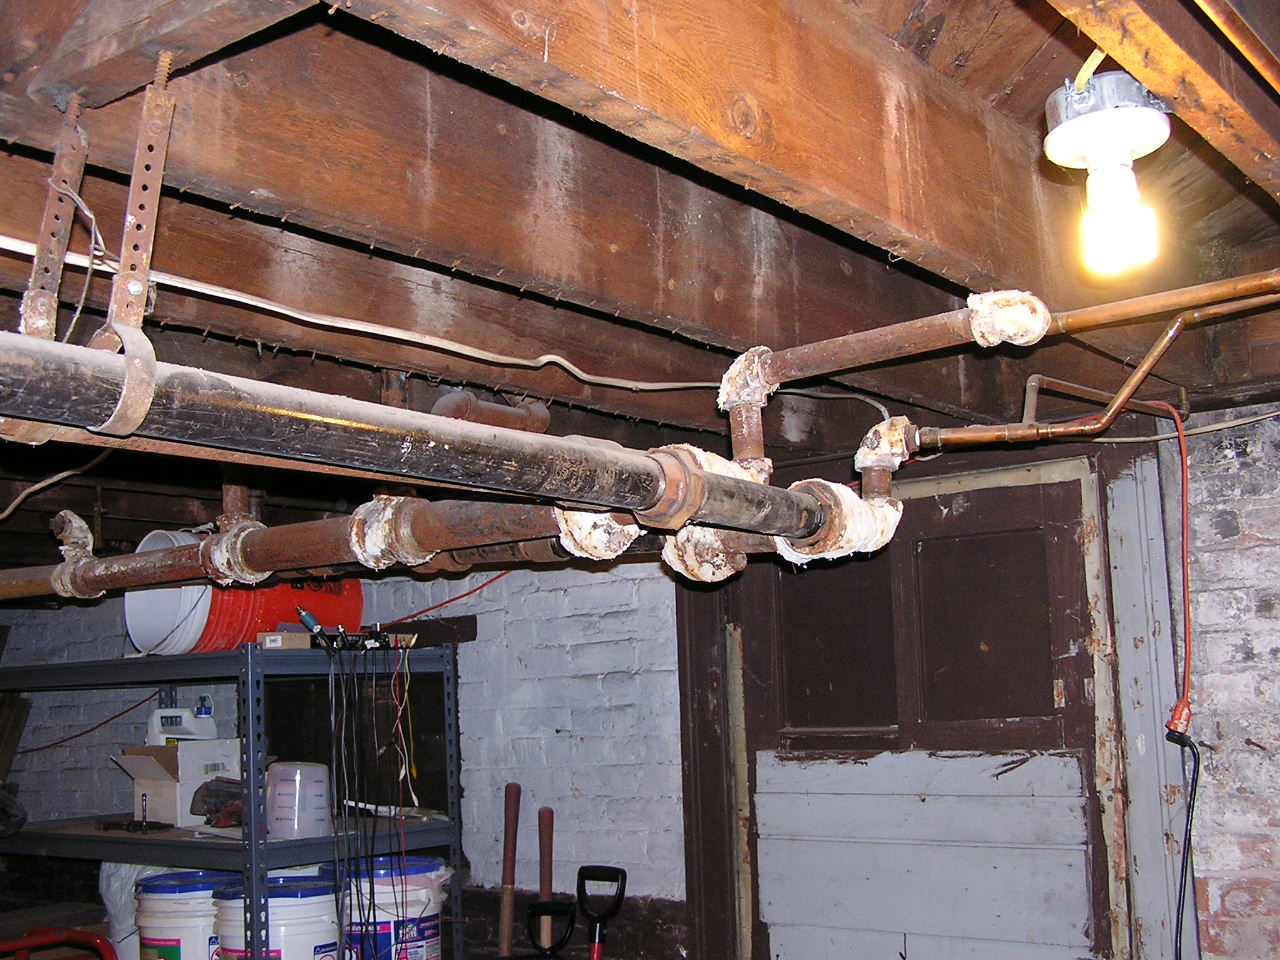
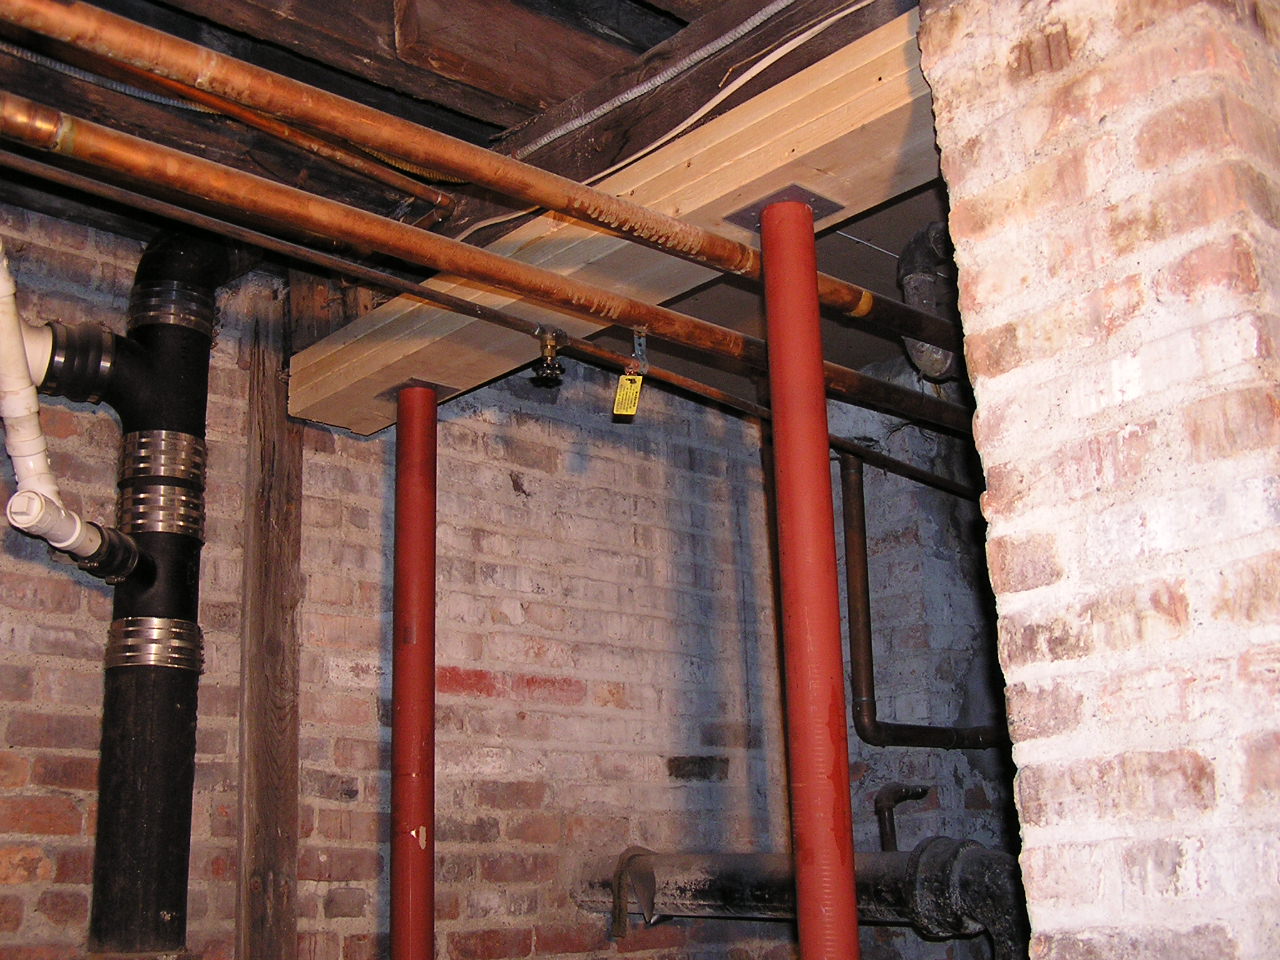
A few interesting shots - first, the mass of pipes going across the center section of the house, including the tap into the main water line. The two sets coming off the mass are the radiator under the bench in the foyer and the feed to Justin's room (3). Second, the new shutoff switch. Then the big corner where that mass of pipes turns from the feed out of the furnace and heads south. The wet spot is where I was using the water-based heat resistant spray goop. Fourth shot is of the array of valves, now that they're all in place. Finally, a retake of a picture I've taken twice previously - the laundry room looking toward the furnace, showing (in this case) the holes where the old pipes went through the wall and the copper pipes up in between the beams. The new headroom is very nice :-)

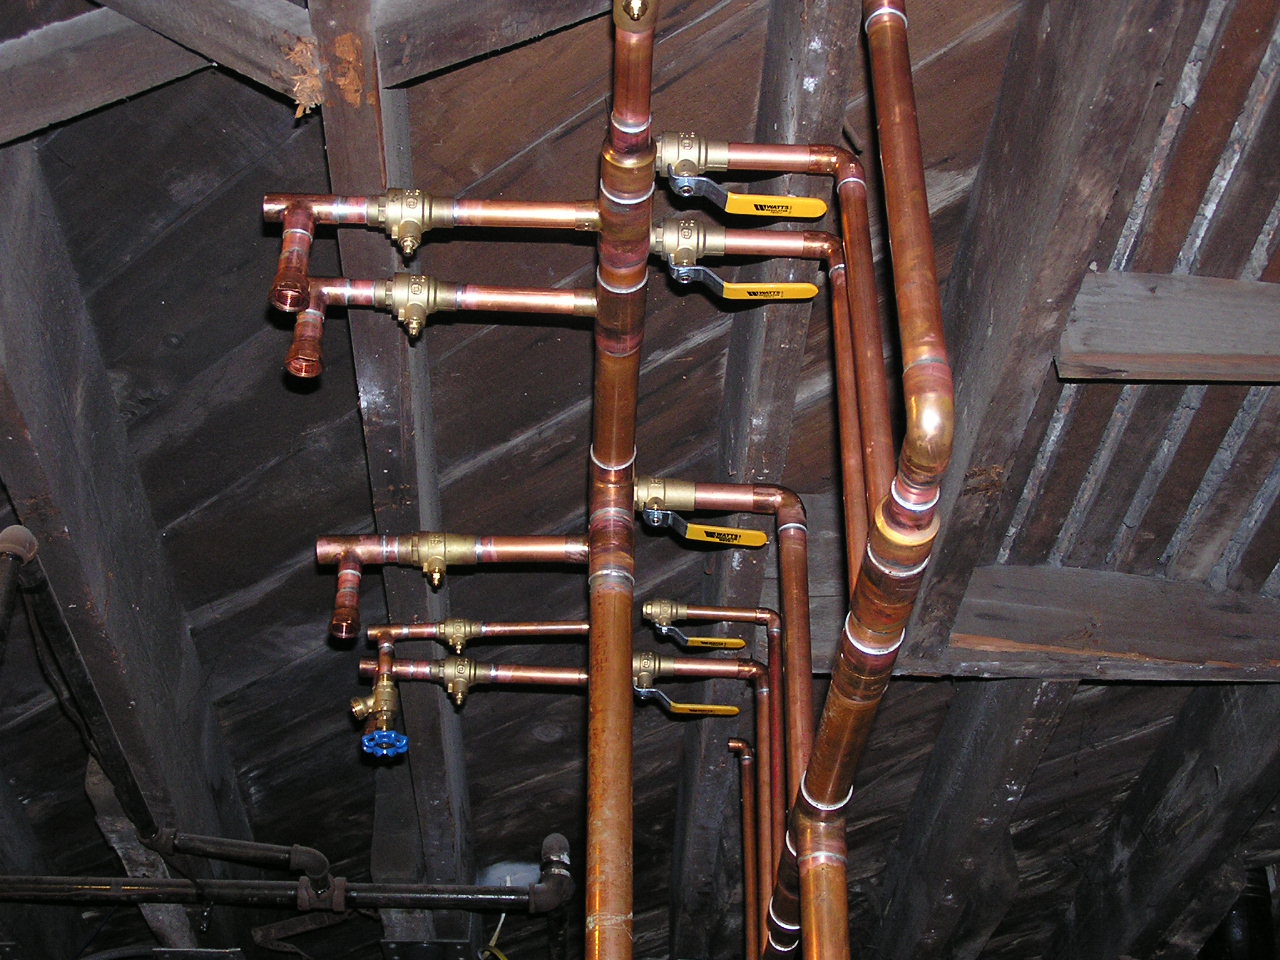
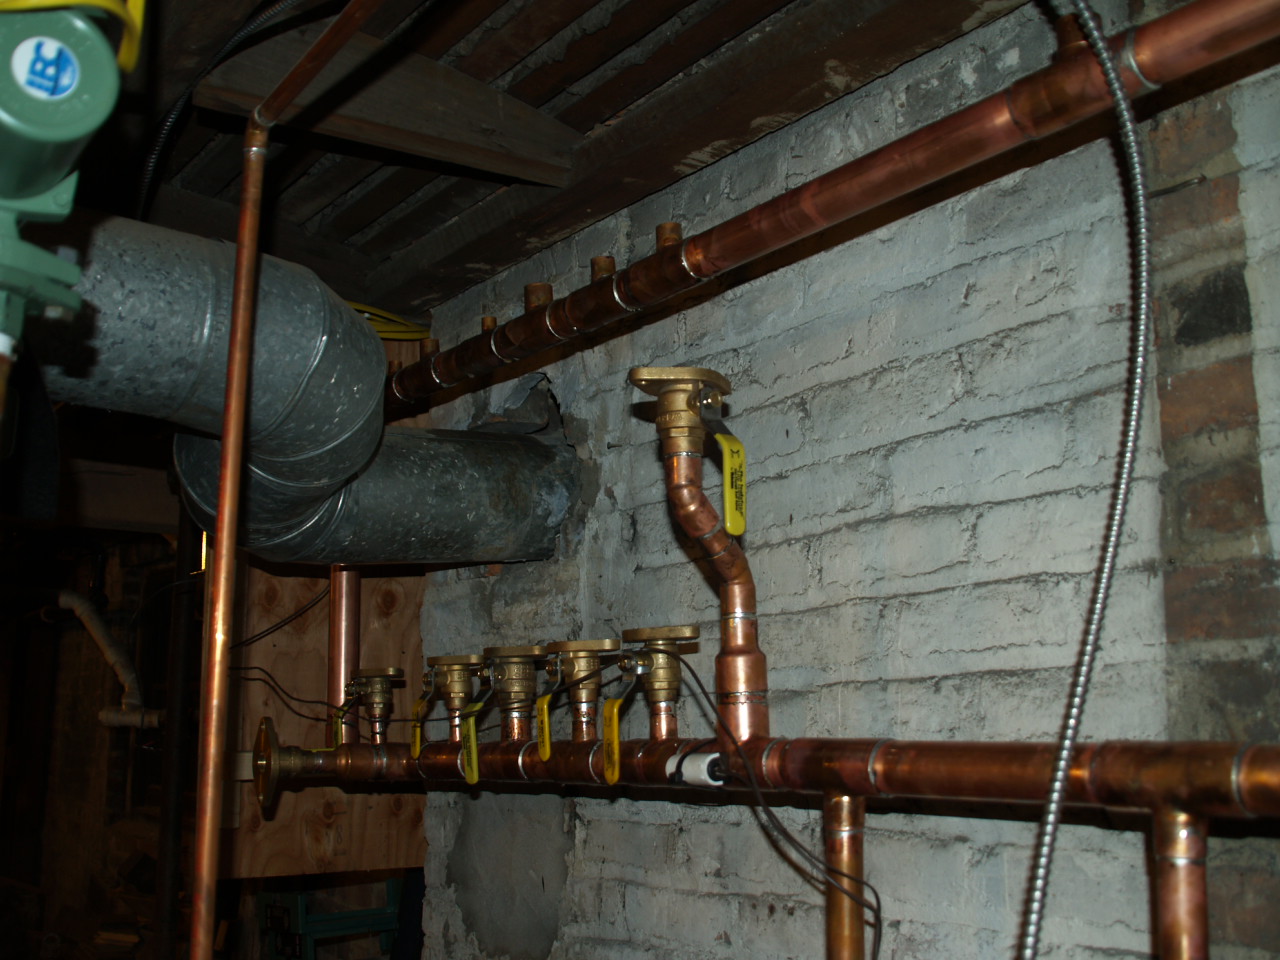
A bit of a progression - first, the manifolds with only the one zone I've gotten finished attached. Then, the rest of that zone, looking in a couple of directions. Next, we have the manifolds with the stubs for most of the rest of the zones dry-fitted in, from a couple angles. These are shutoff valves (some have their handles on, some don't - depends on when I've used a torch where, as they'd ignite) and either the drains for the zones or attachment points for the zone drains. Next, the significantly lengthened stubs for three zones all permanently attached, plus the original.
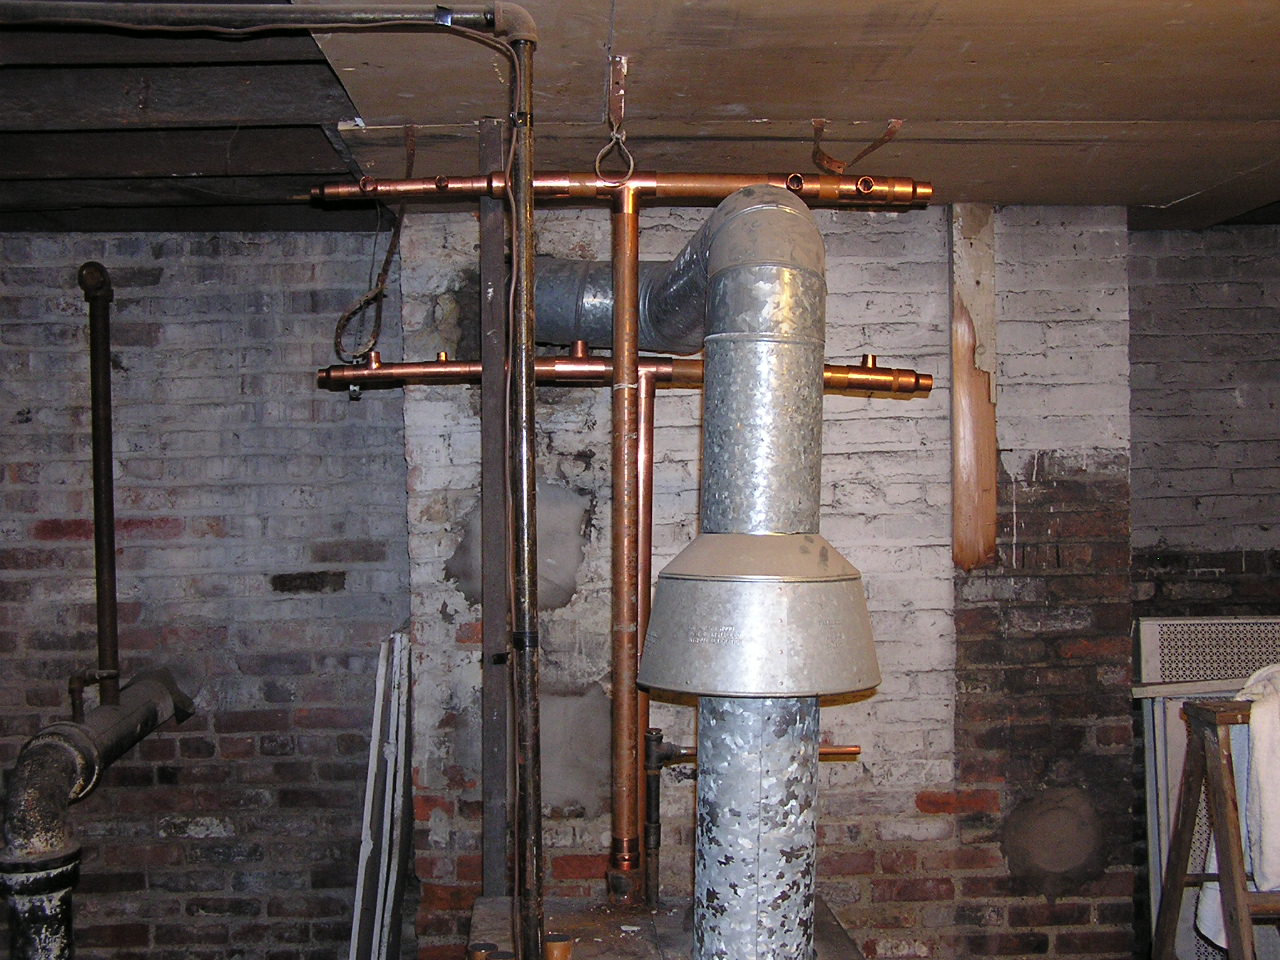
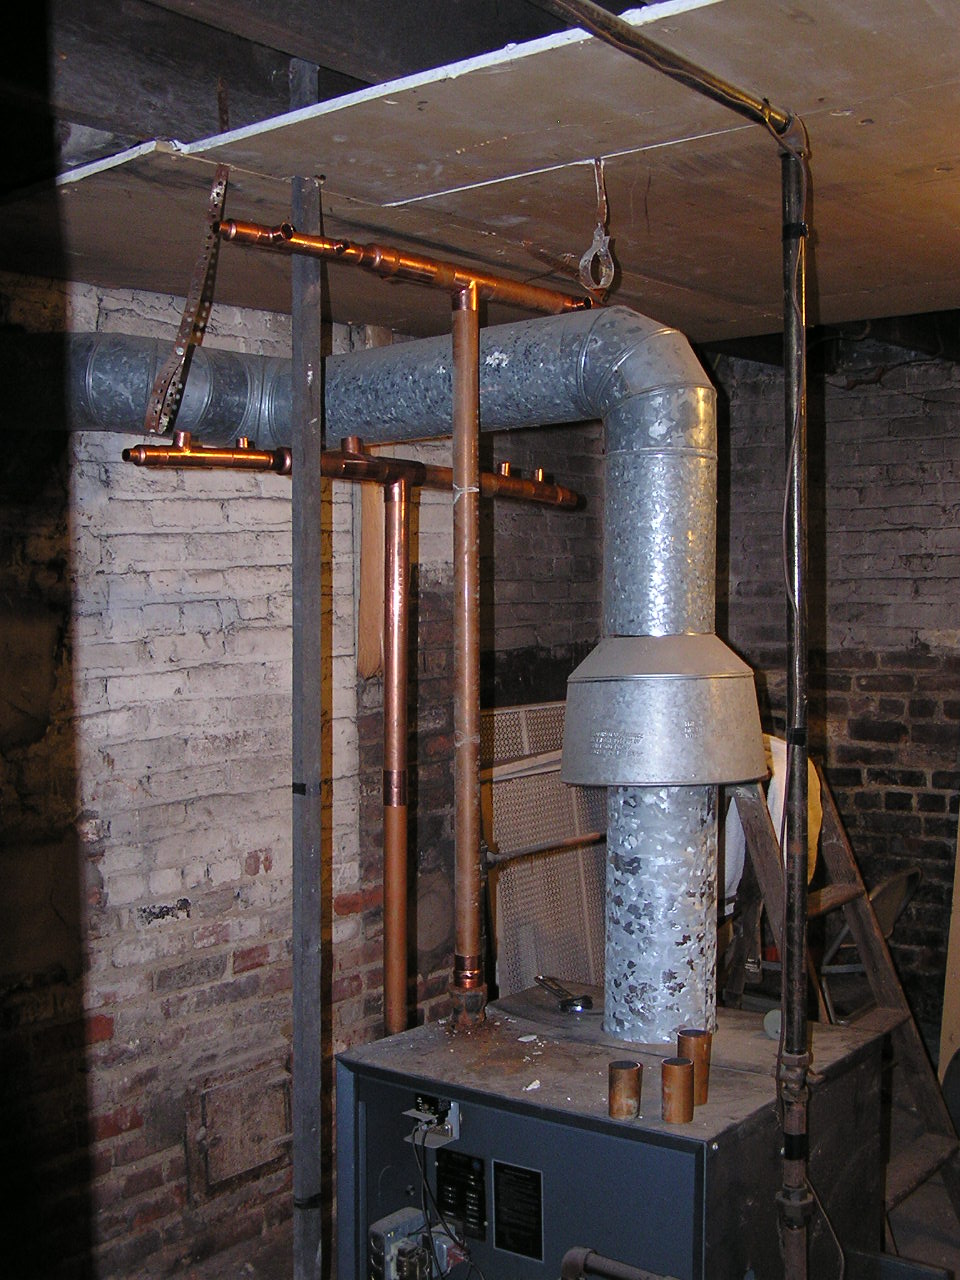
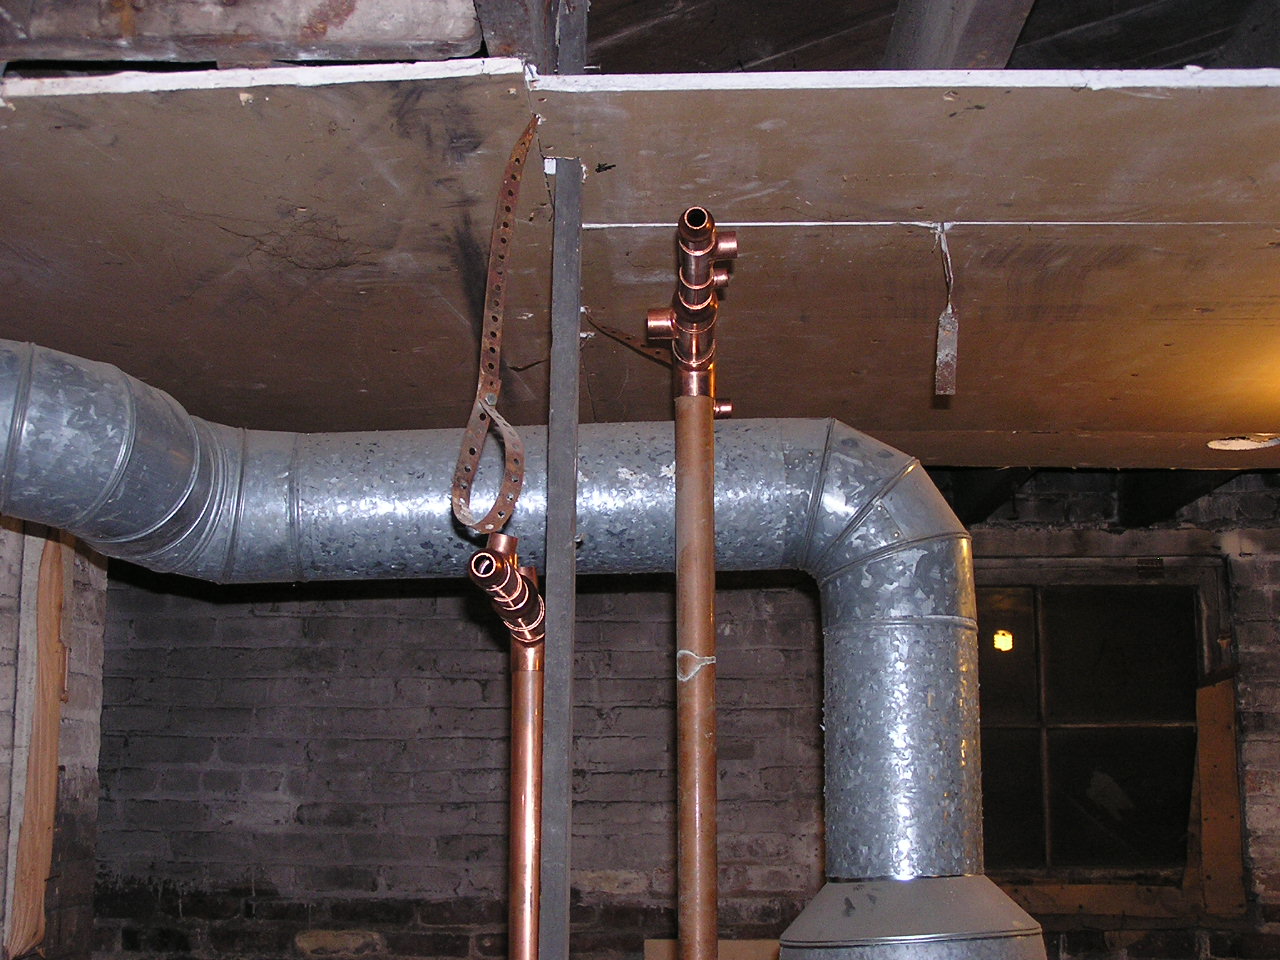
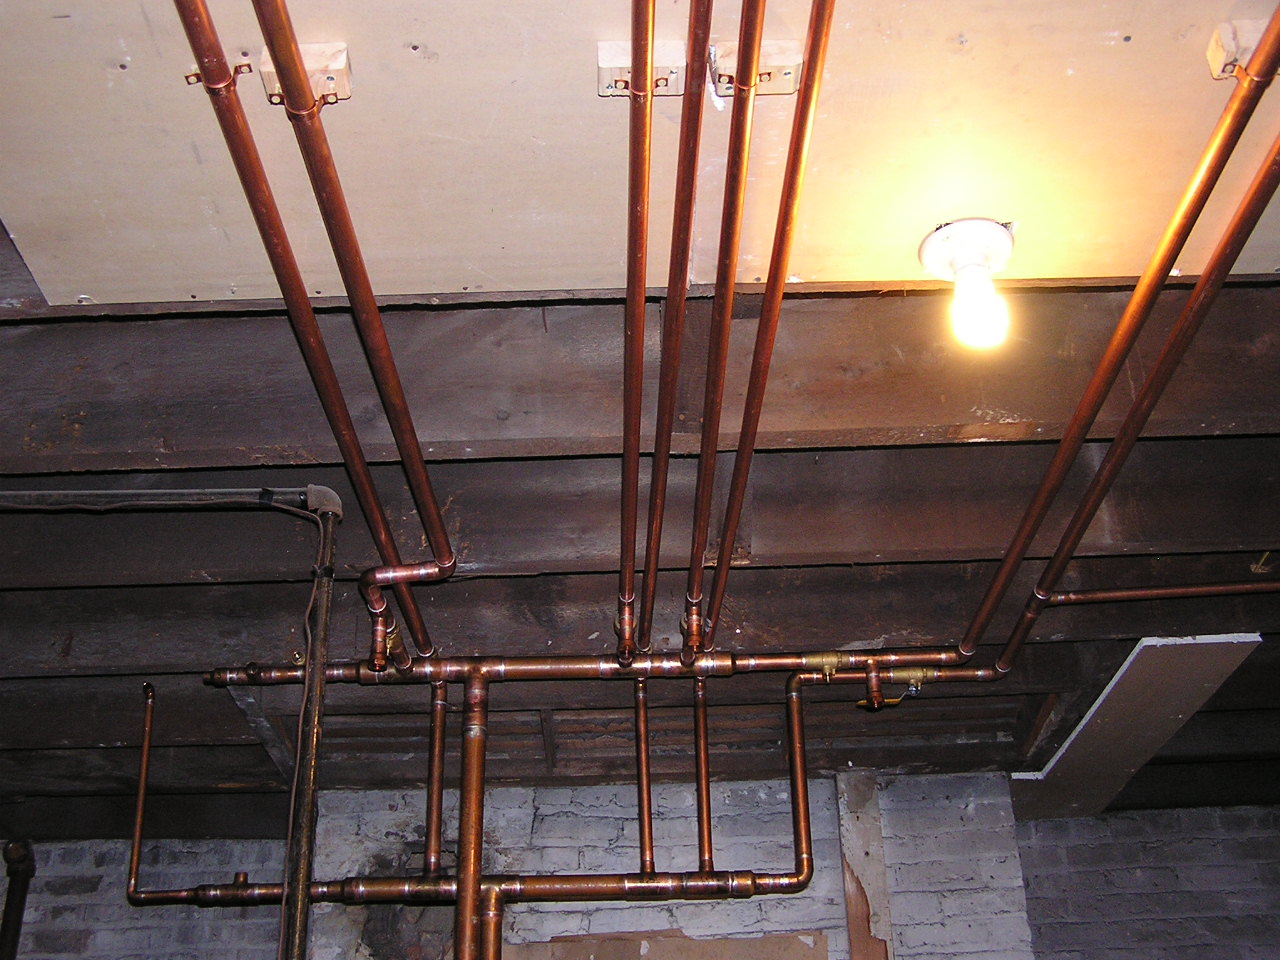
Most of these are shots of the manifolds up in the air above the furnace. The various angles let you see that they're at different heights and one in front of the other. The physically lower manifold will have all of the zones going straight up, since when I put in the zone control parts that vertical run will be replaced with cartridge circulator pumps.
The last picture is under the study, showing the first radiator fully fit in to the new trunk lines.
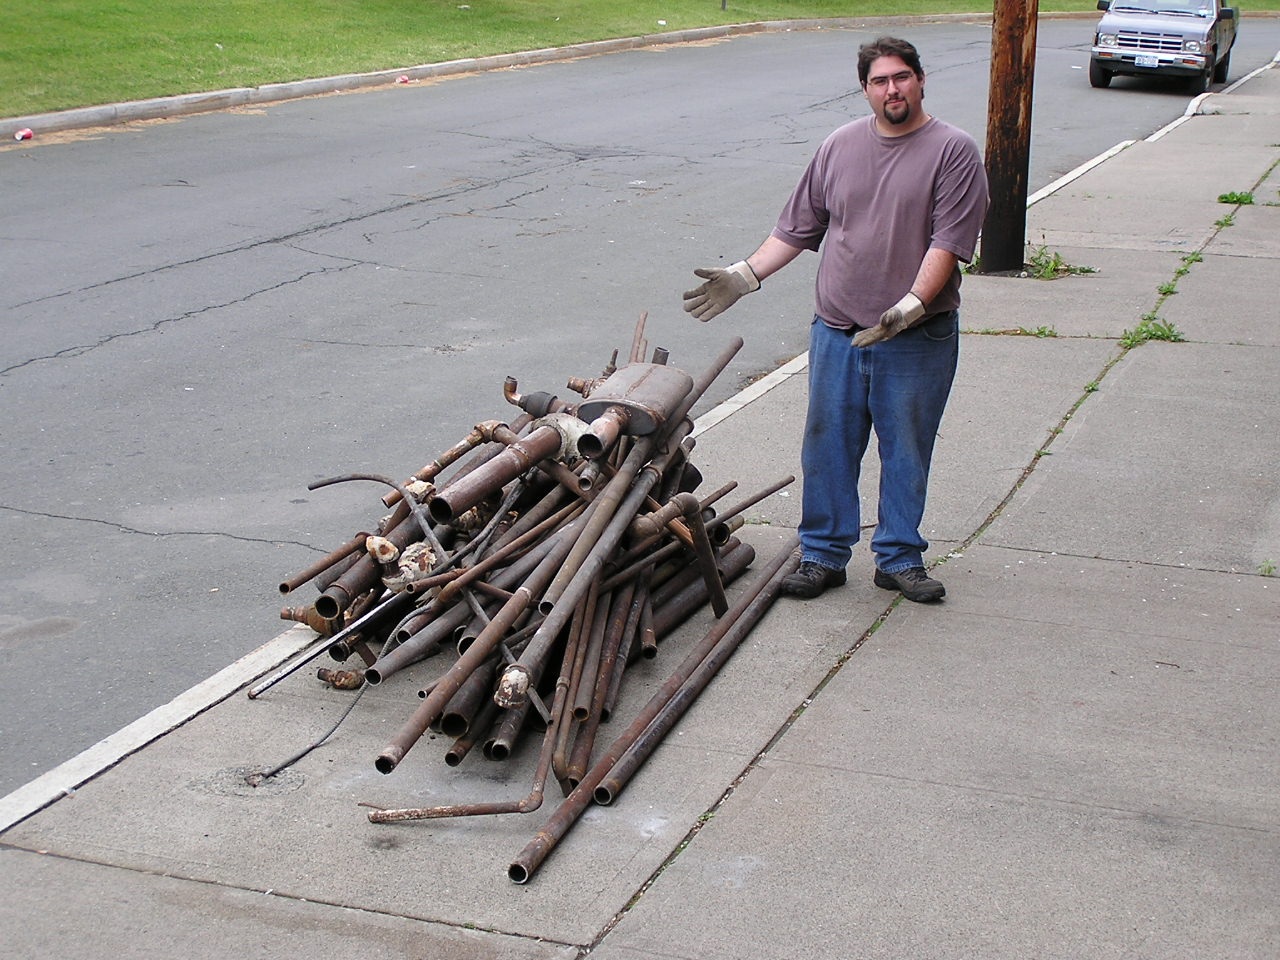

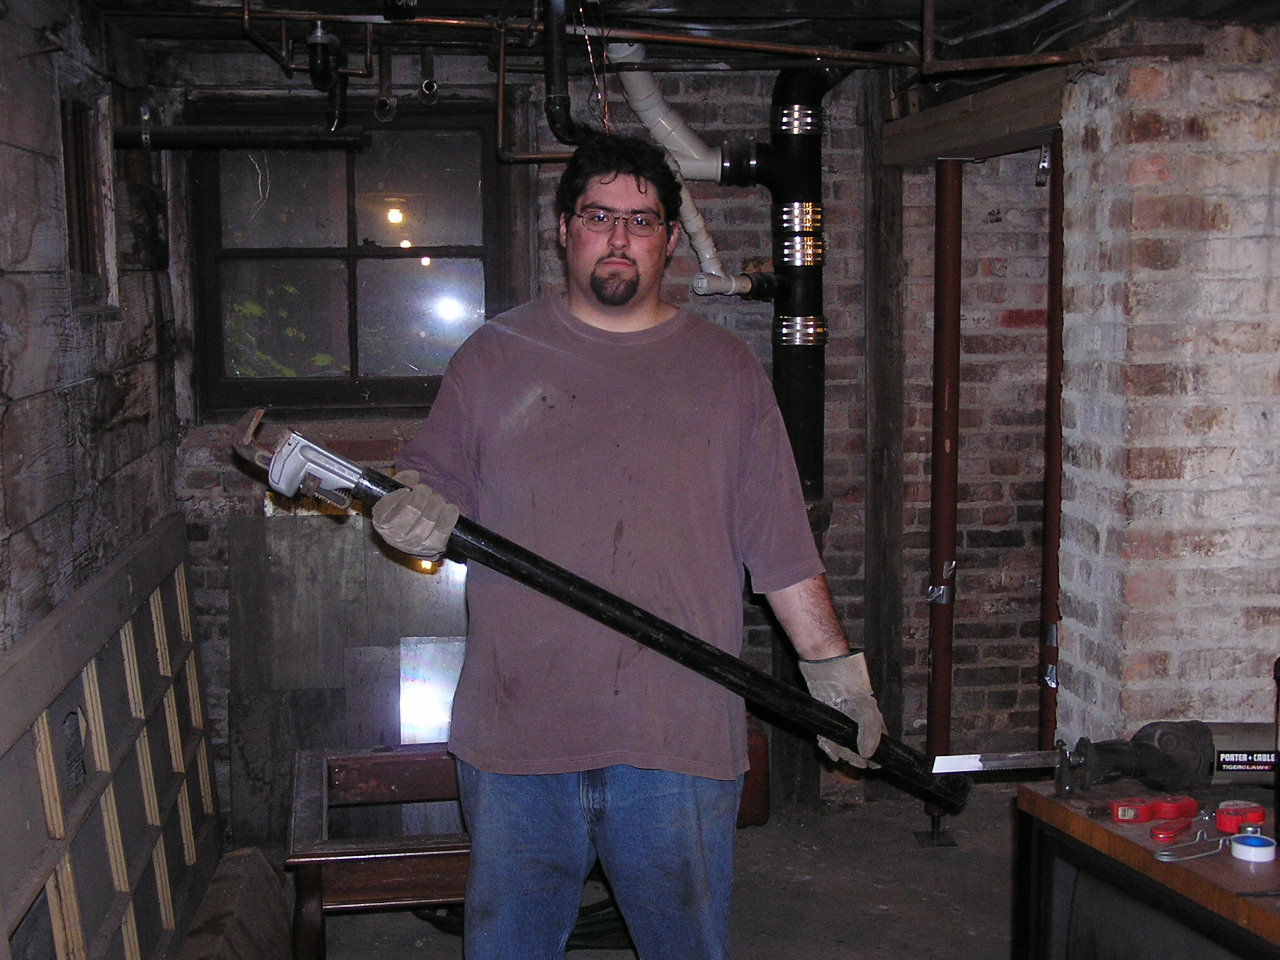
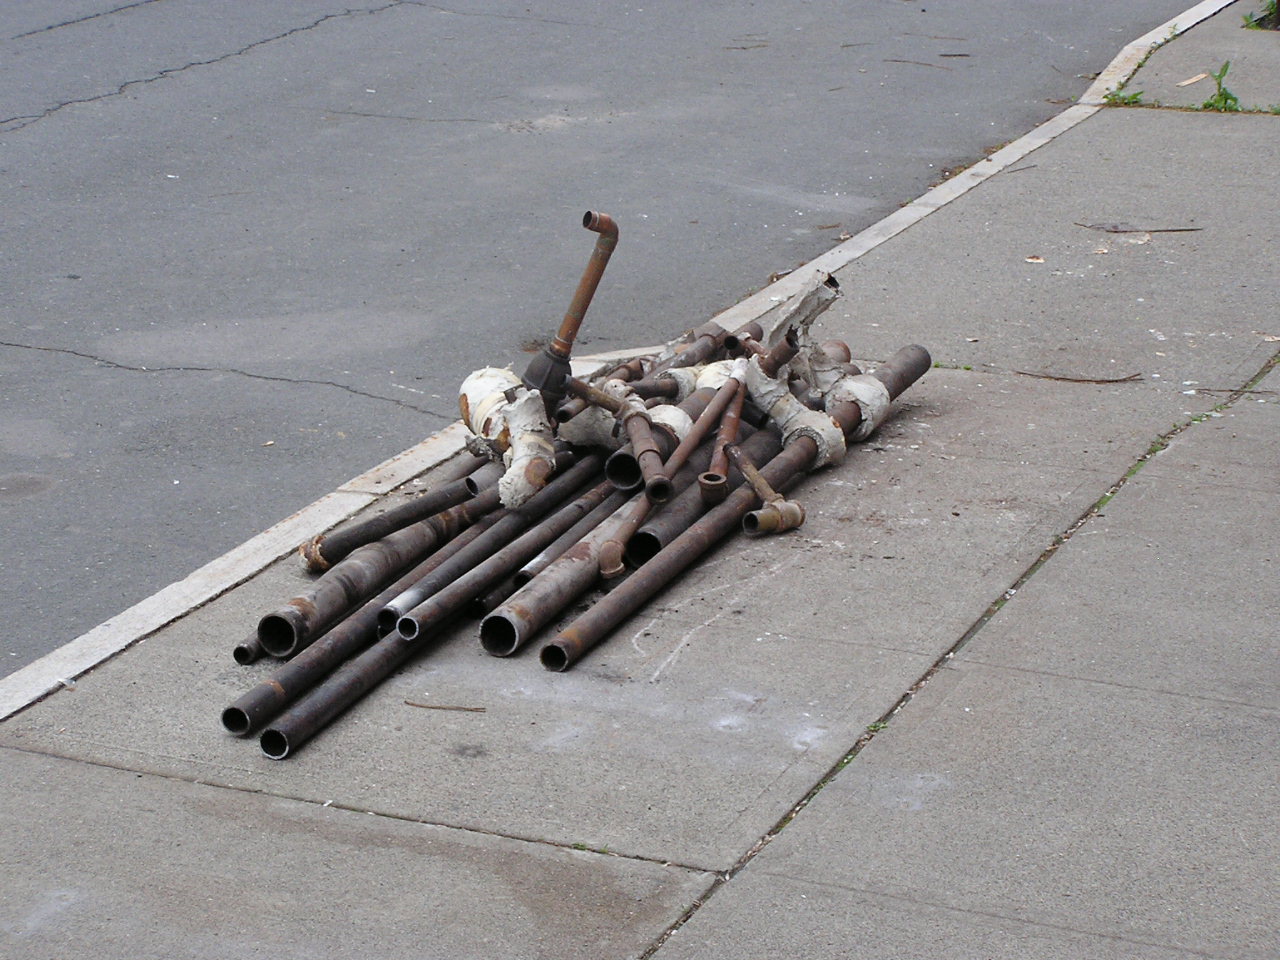
A few shots of the basement with no pipes. Two different shots of the pile out front because a couple guys came by and took the entire first pile for scrap value. So, you have to imagine the two piles together. Justin was able to actually break free several of the threaded joints with the pipe wrench and "Encouragement", and probably saved me a blister on my hand and several blades...
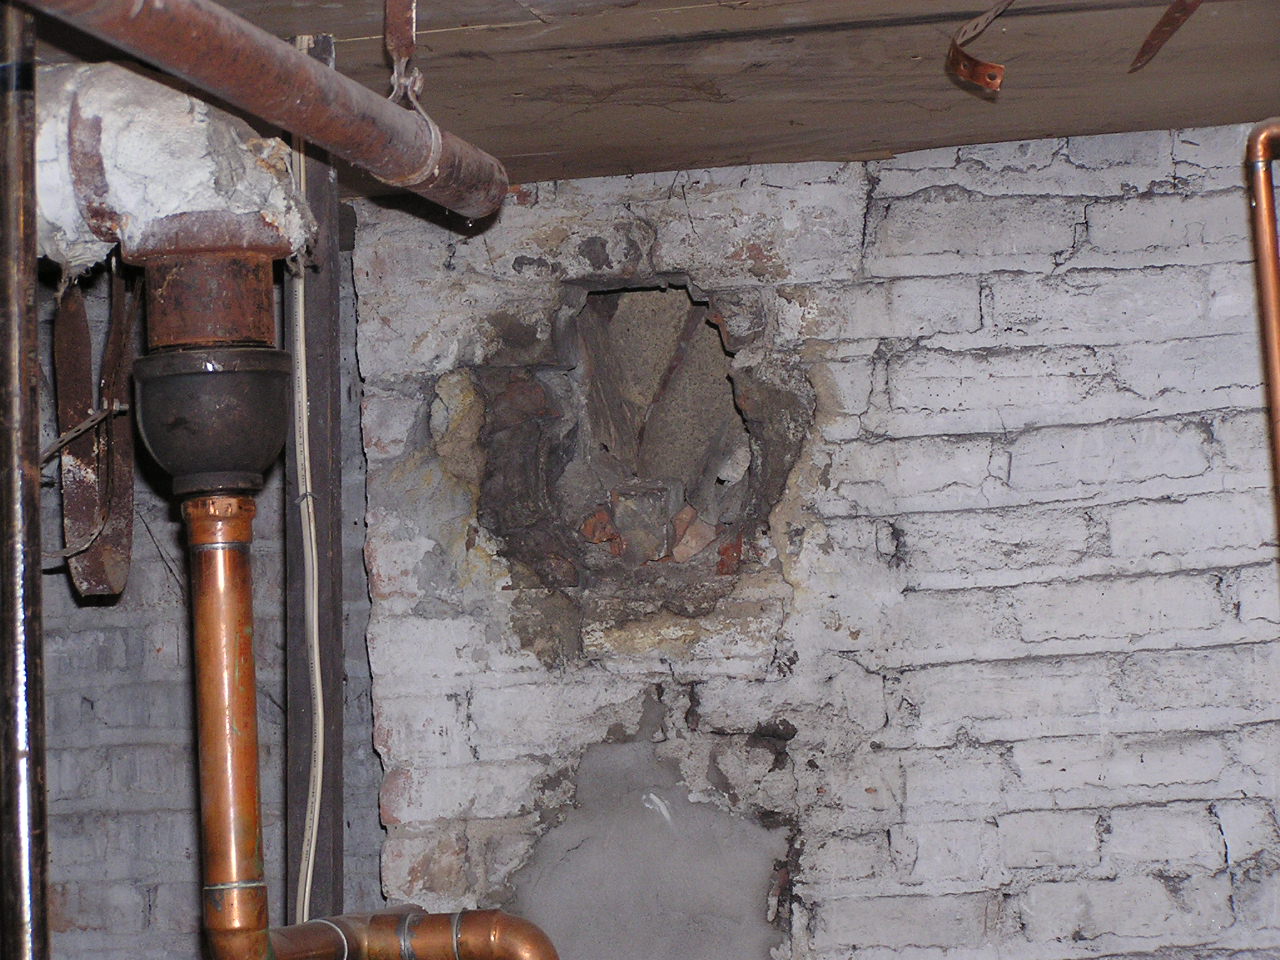
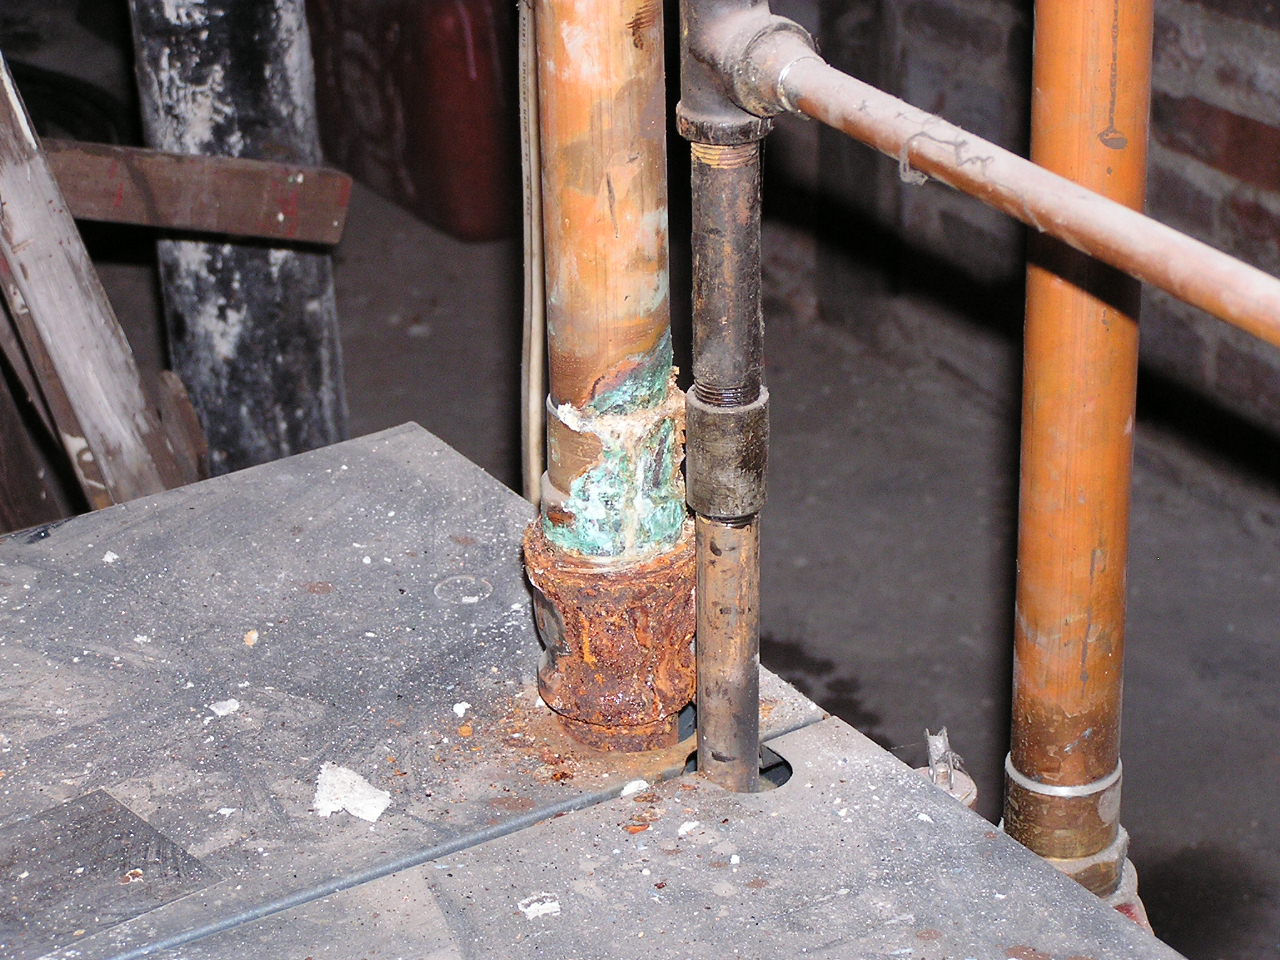
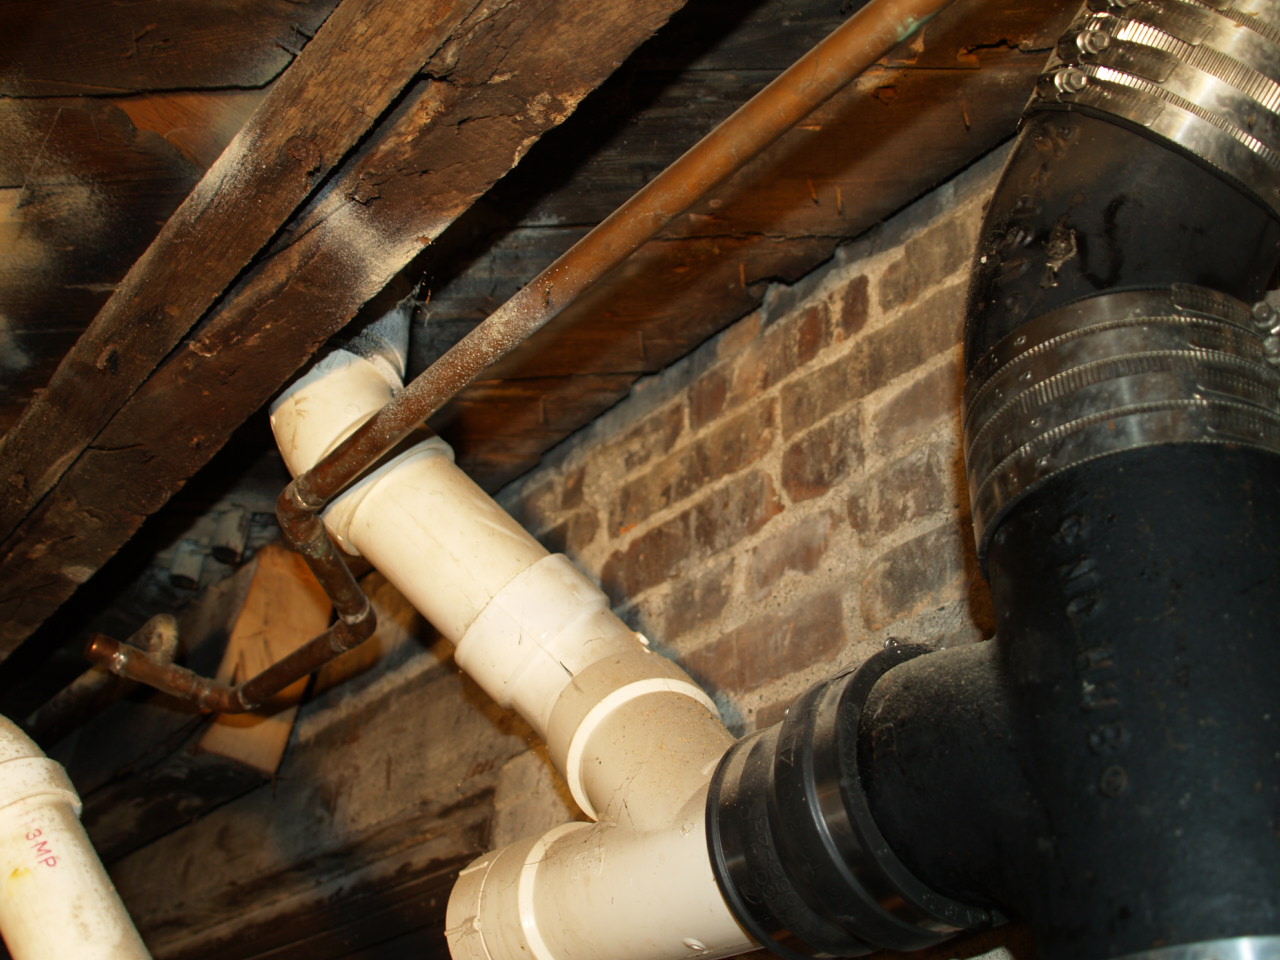
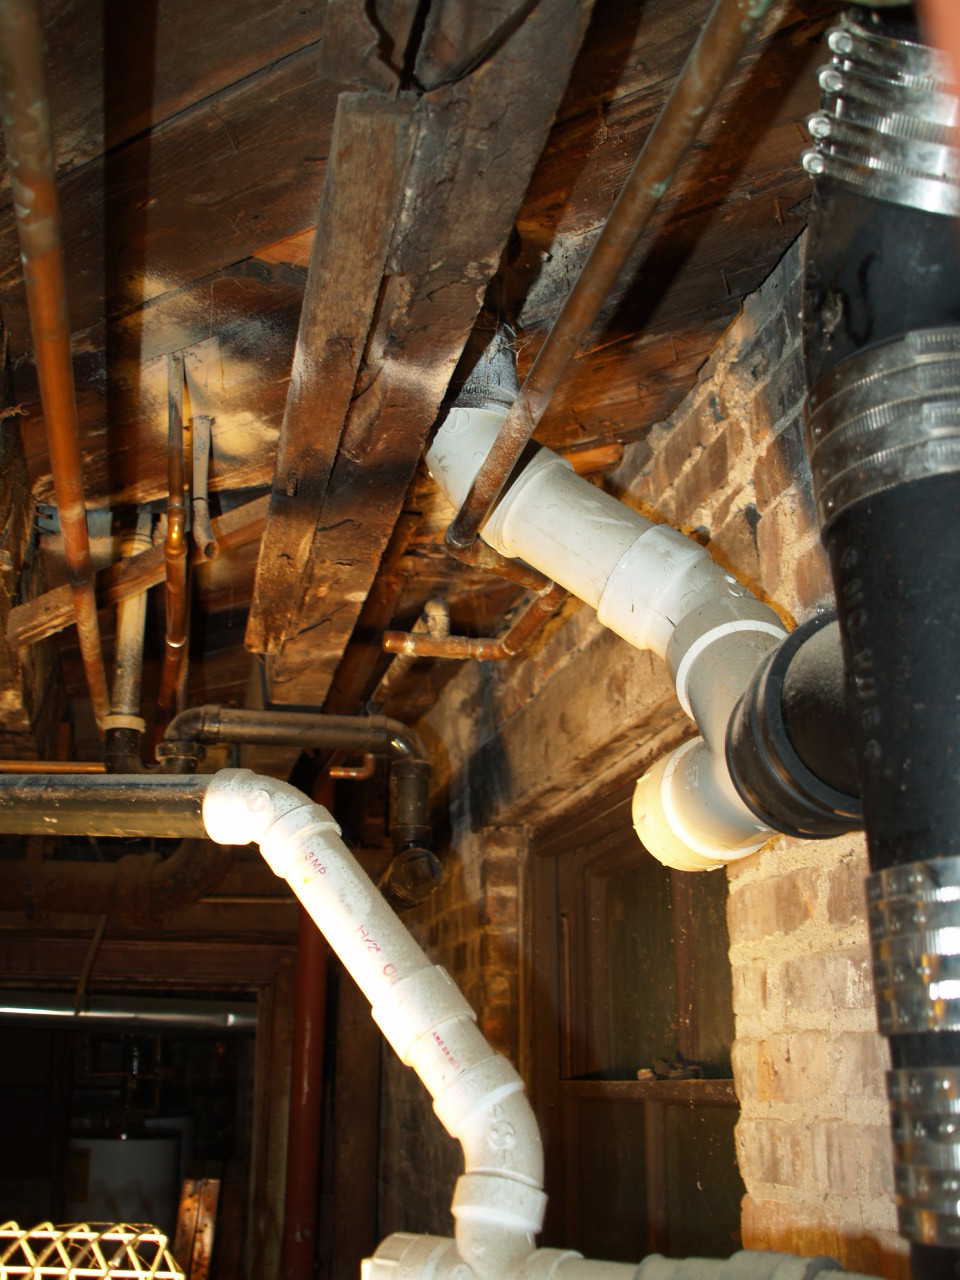
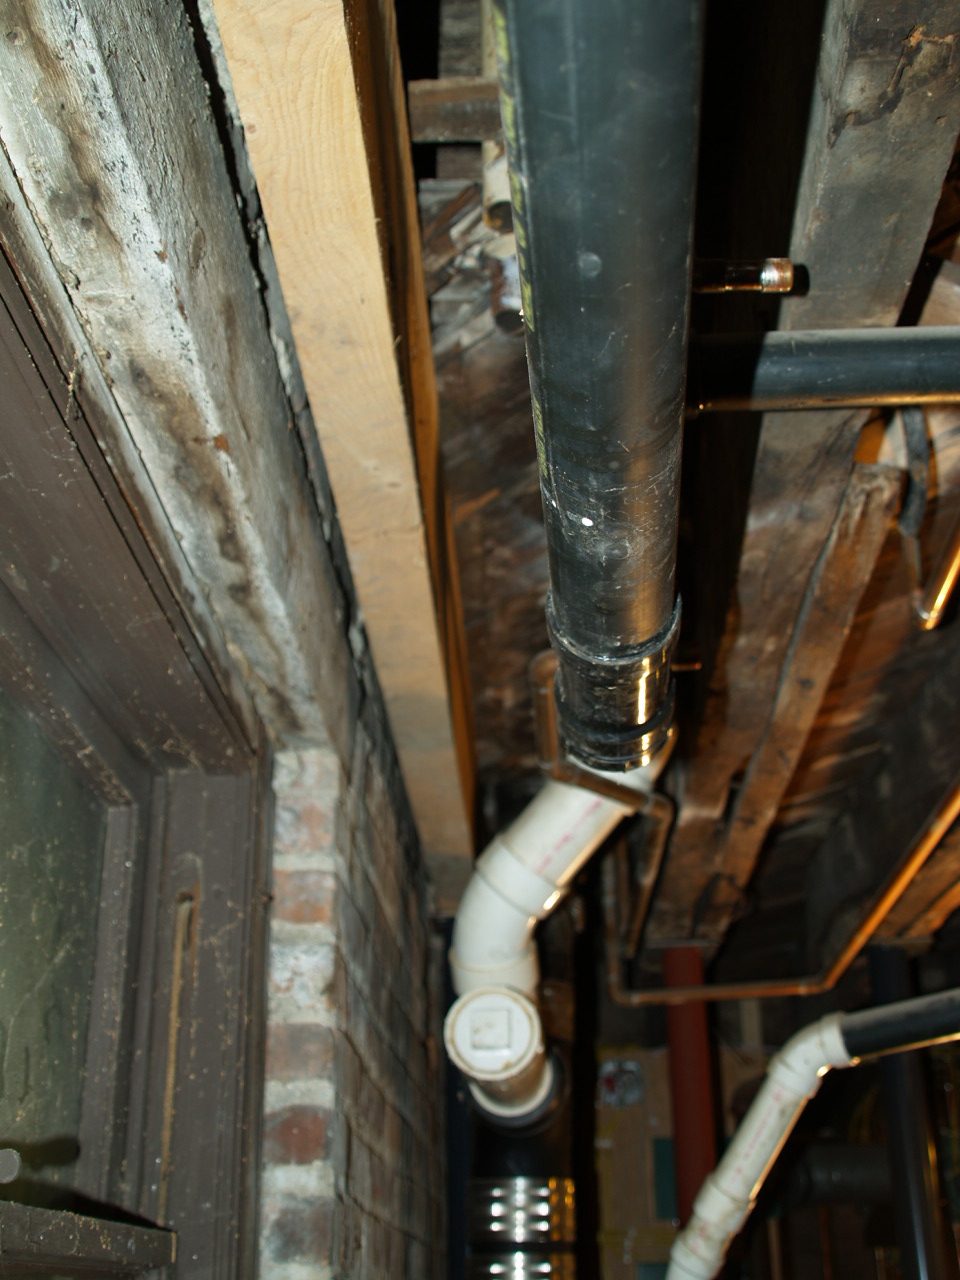
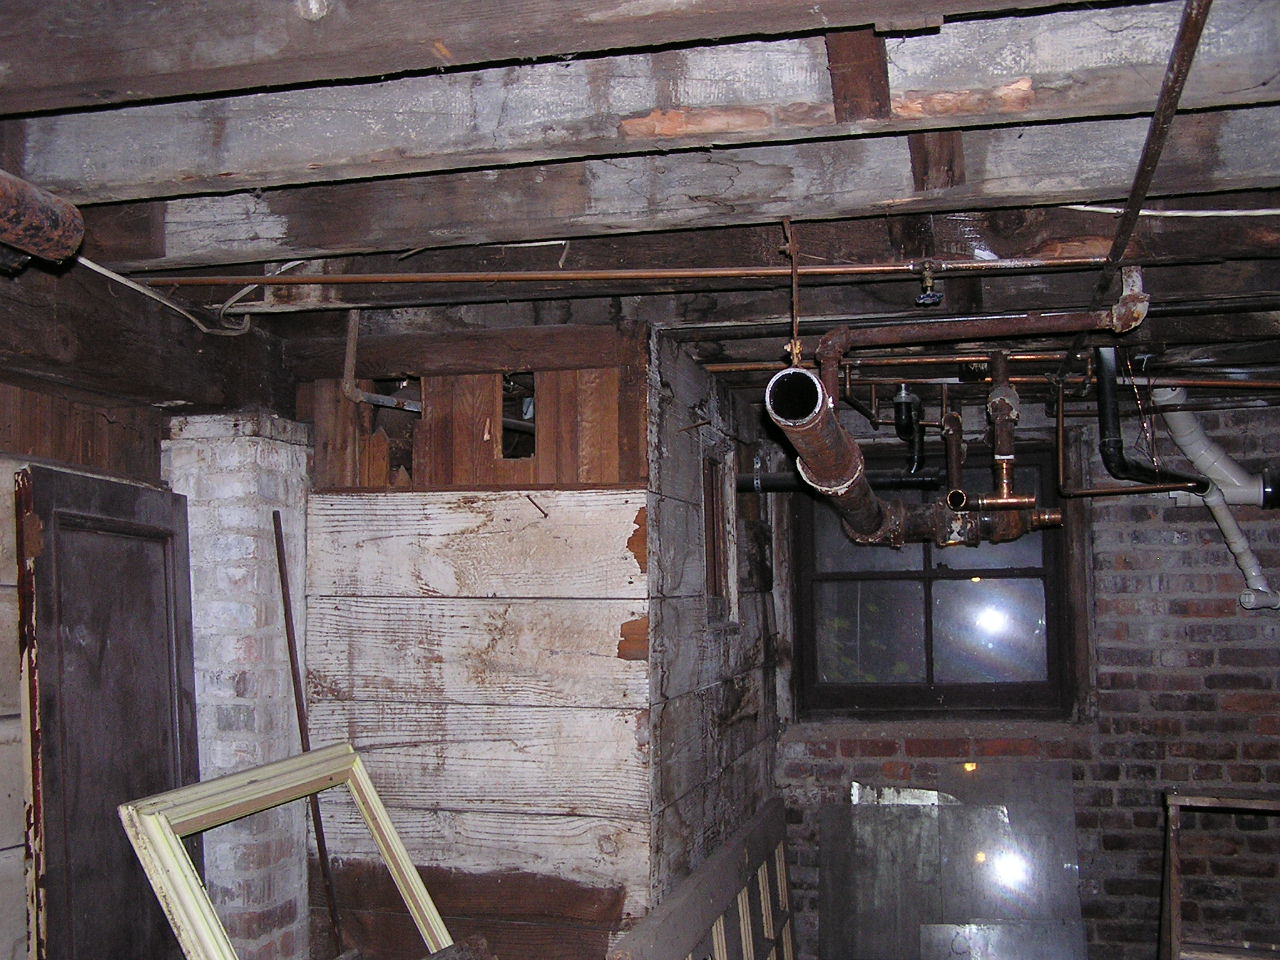
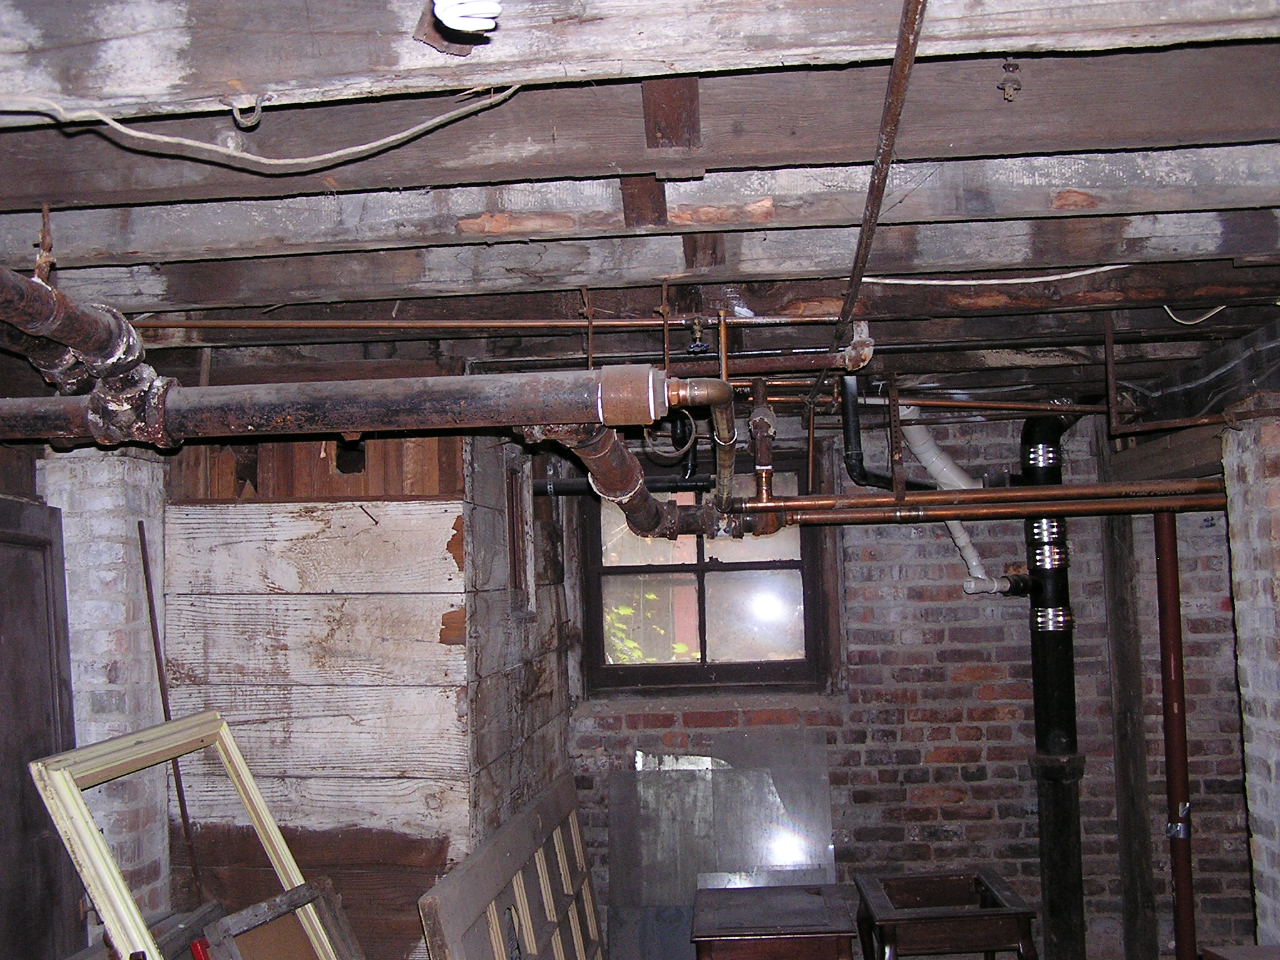
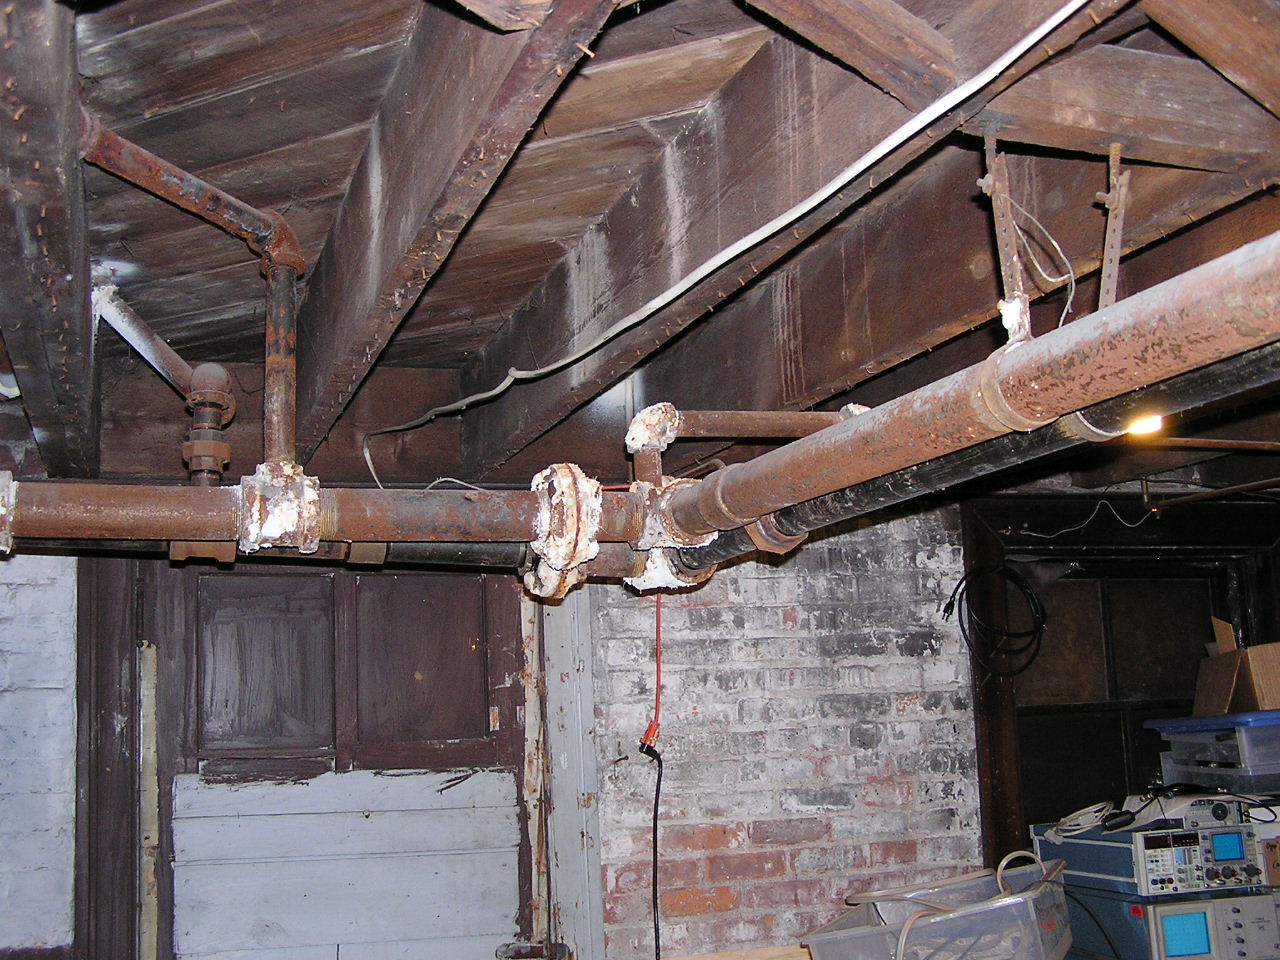
A few shots of state at the end of Wednesday. Lots removed, more still to do. The last shot is part of why I'm ripping out just as much as I am - whoever did this install did a horrible job, and there are leaking joints all over the place. Lots of corrosion, lots of joints just waiting to give out entirely. Also, the shot of the hole in the brick was where the vent used to go into the chimney. Gotta love that high quality brickwork they did to hold the vent in place.
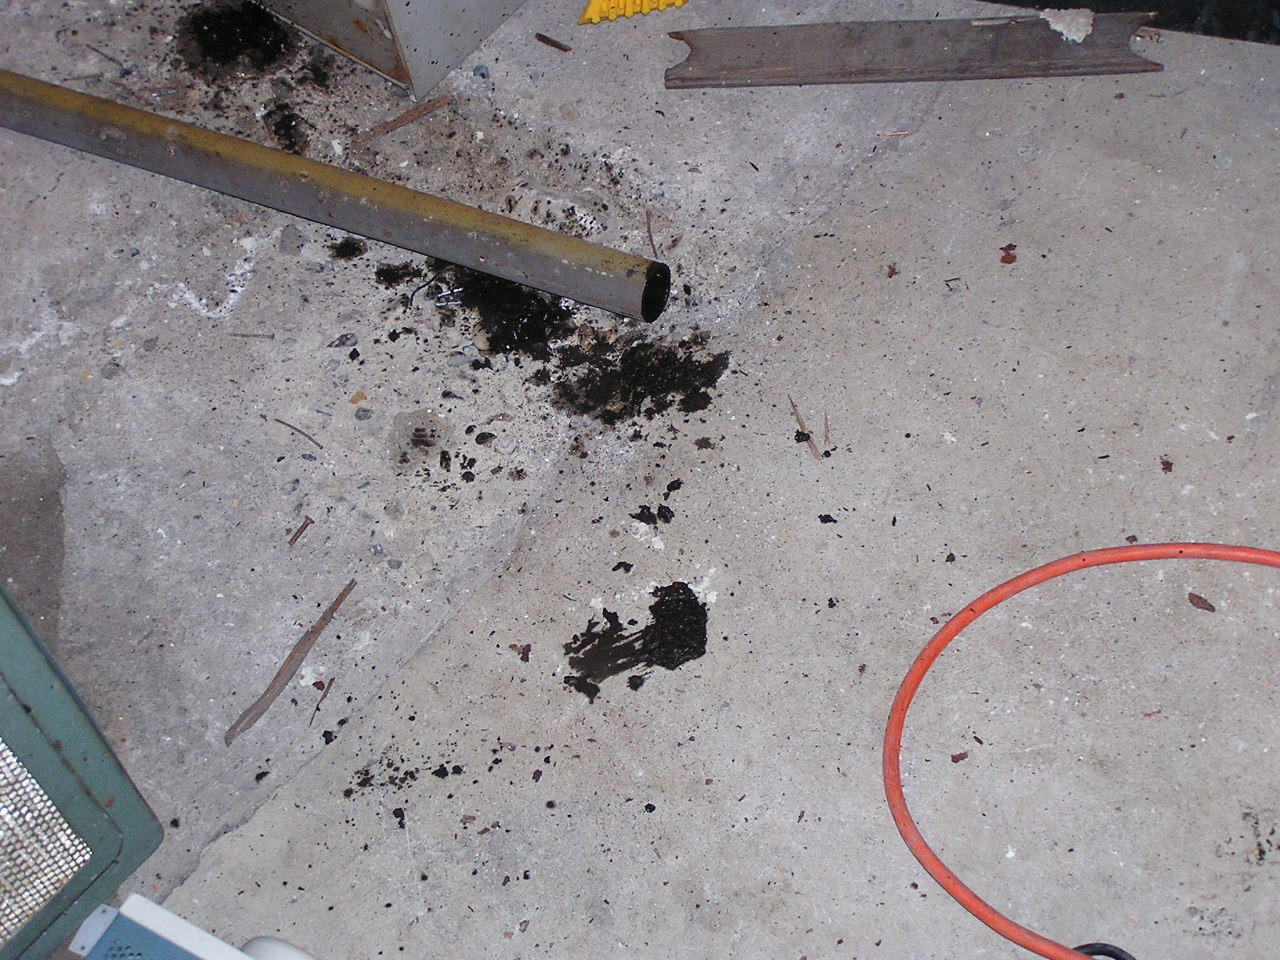
Current state of things - glop dumped on the floor that was hiding in the pipes waiting to jump on me (it missed this time). Pipes missing in the laundry room, under the bathrooms, and around the furnace.
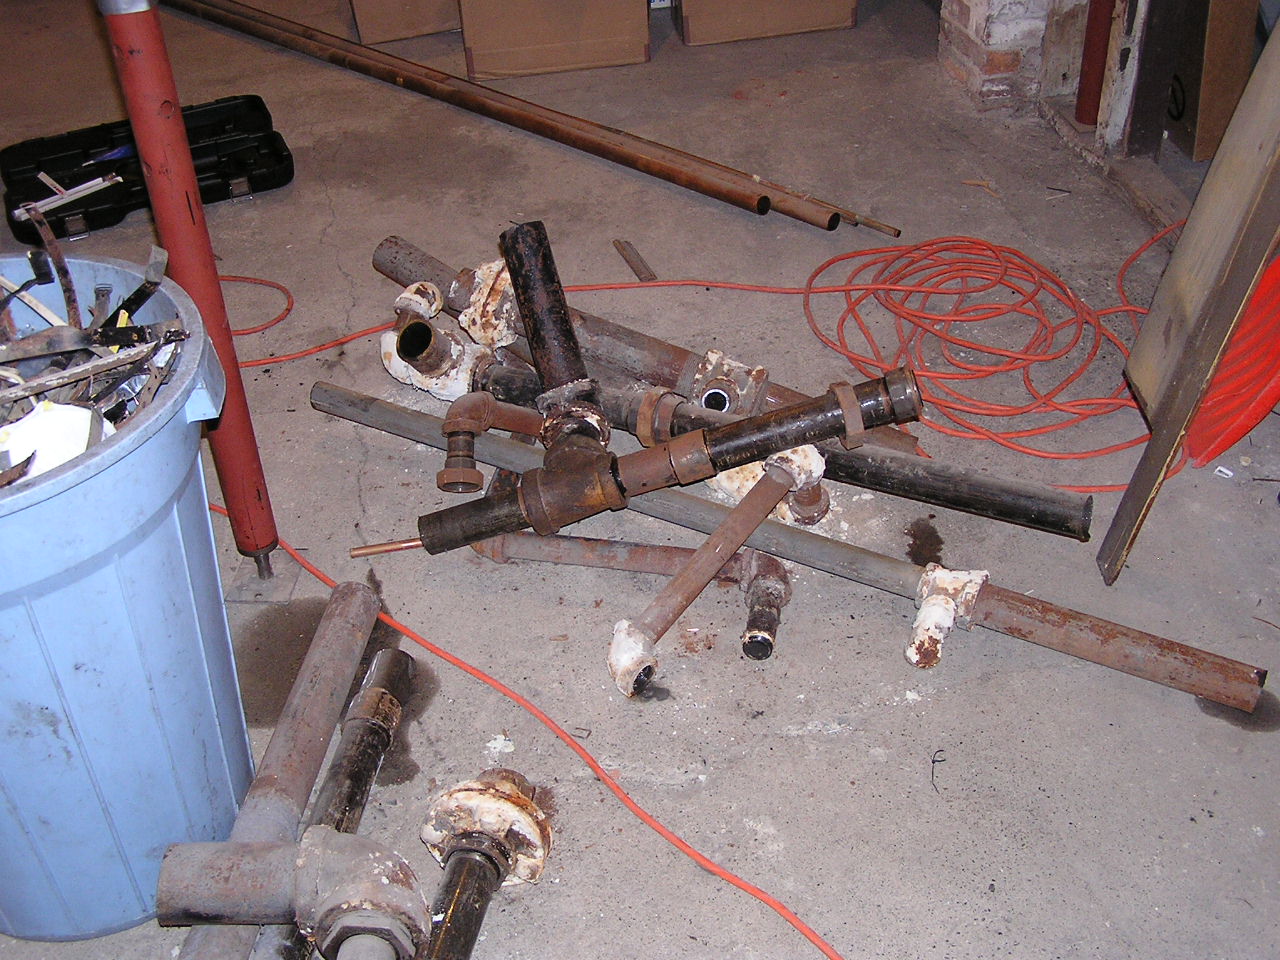
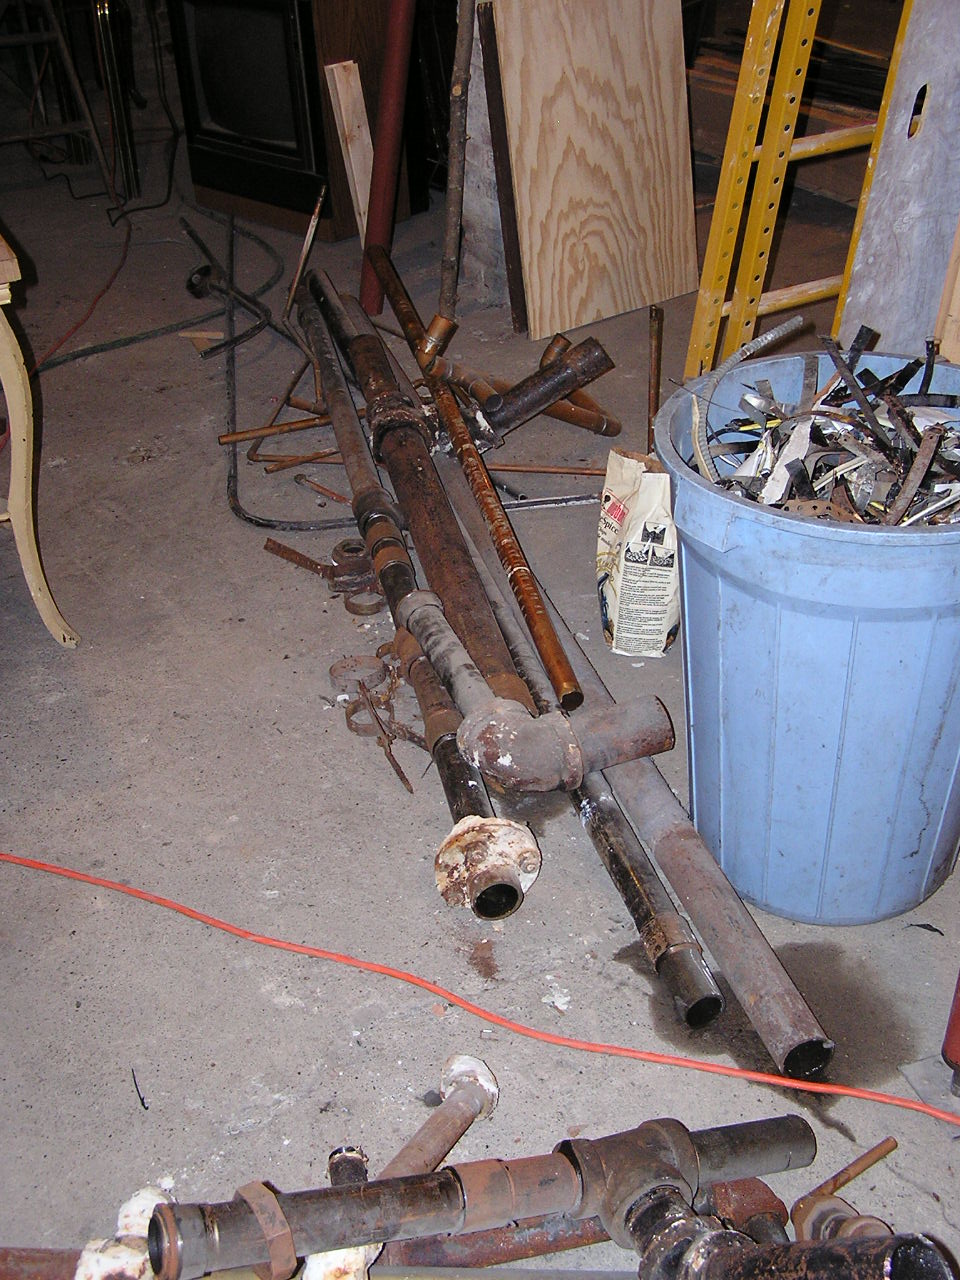
A couple shots of the piles of wreckage. A couple of the pipe bits weigh in at nearly 100 pounds already, and I'm not up to cutting out the heaviest parts yet. Those will probably be early tomorrow.
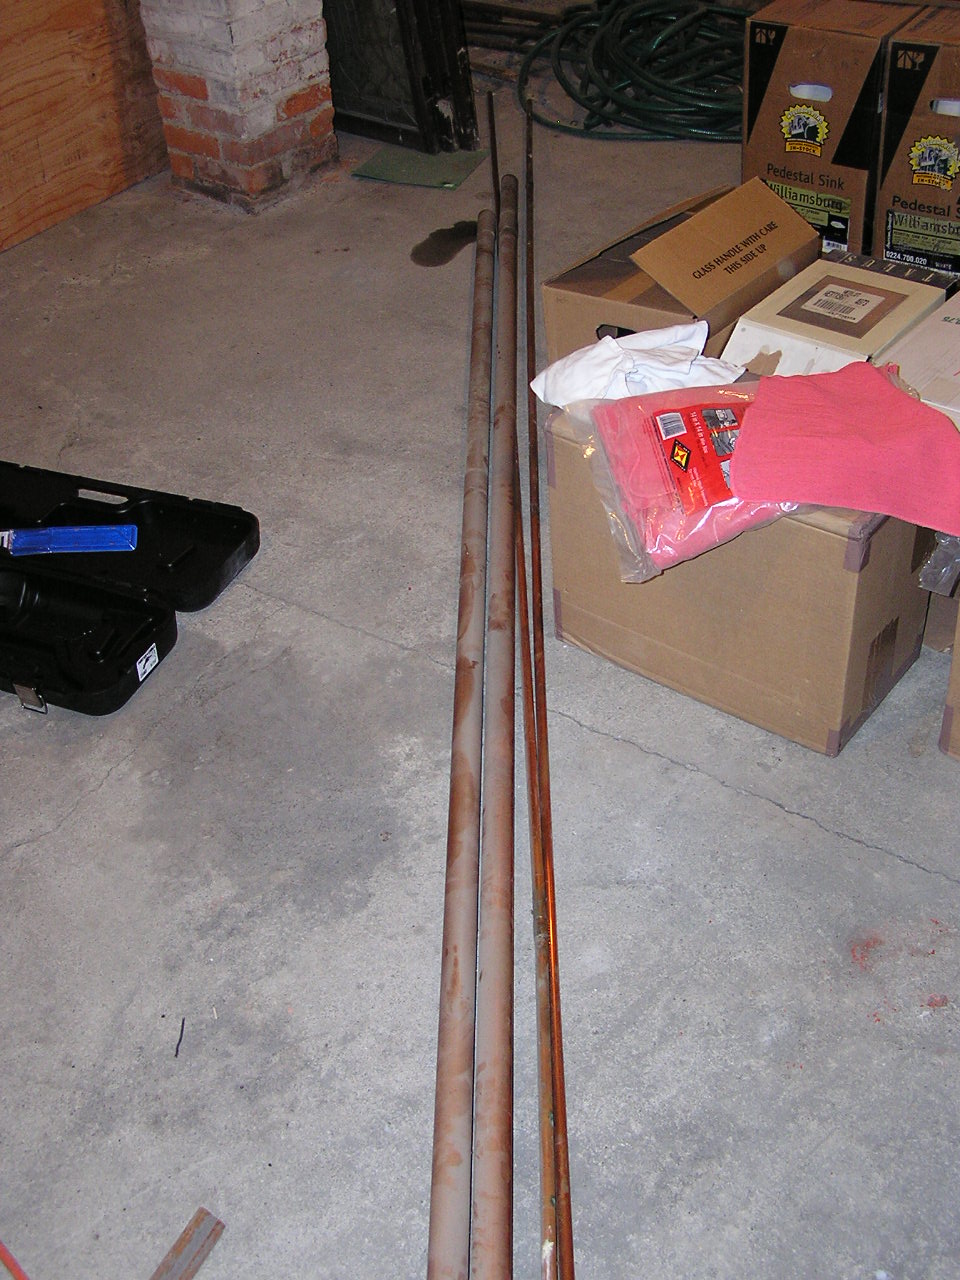
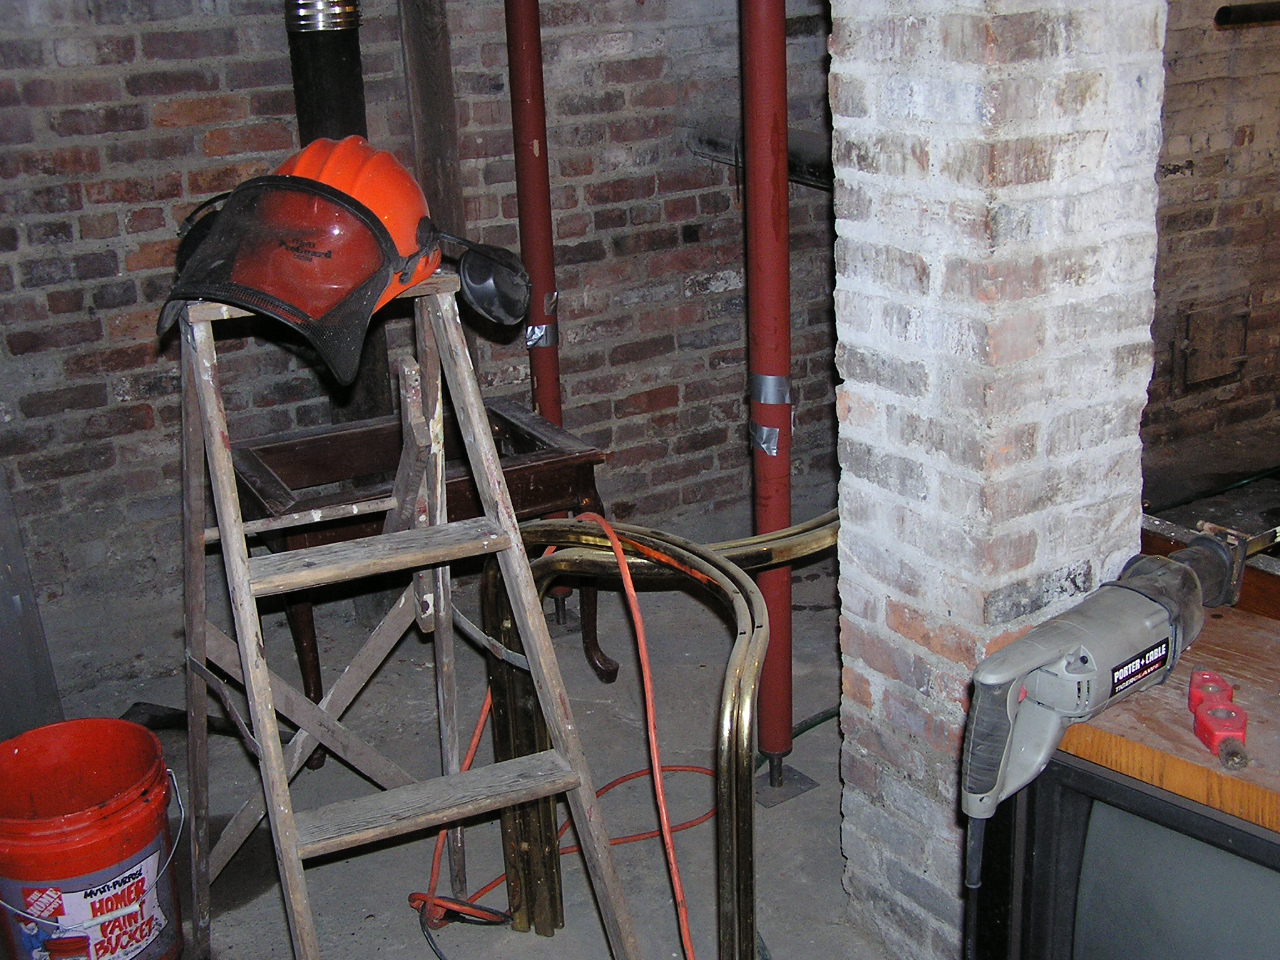
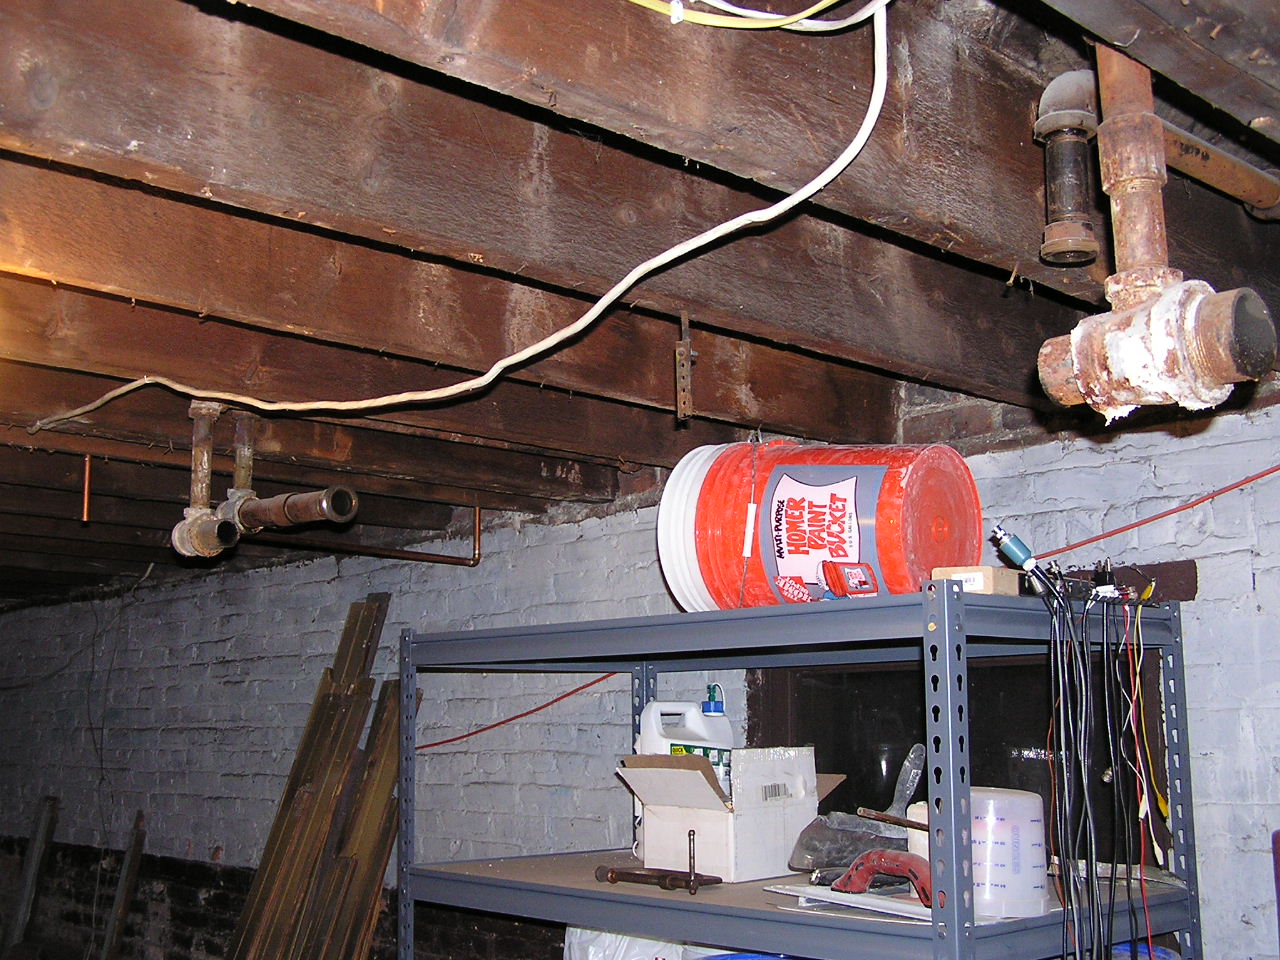
A couple miscellaneous shots. First, a few runs of copper pipe that had been put into the system in foolish ways led to long runs with no joints. The big stuff (1.5") costs more than $25 per 10' length, and I've got more than 10 usable feet. The 1/2" is MUCH cheaper, but those pieces are 12' long each. Finally, the two most important tools on this job - the TigerClaw (Sawz-All clone) and the hardhat w/ attached earmuffs. Anyone incorrectly guessing which is more important will be whapped over the head with a falling piece of 5" cast iron pipe. I can come up with ways to do this without the saw. The hardhat, on the other hand...
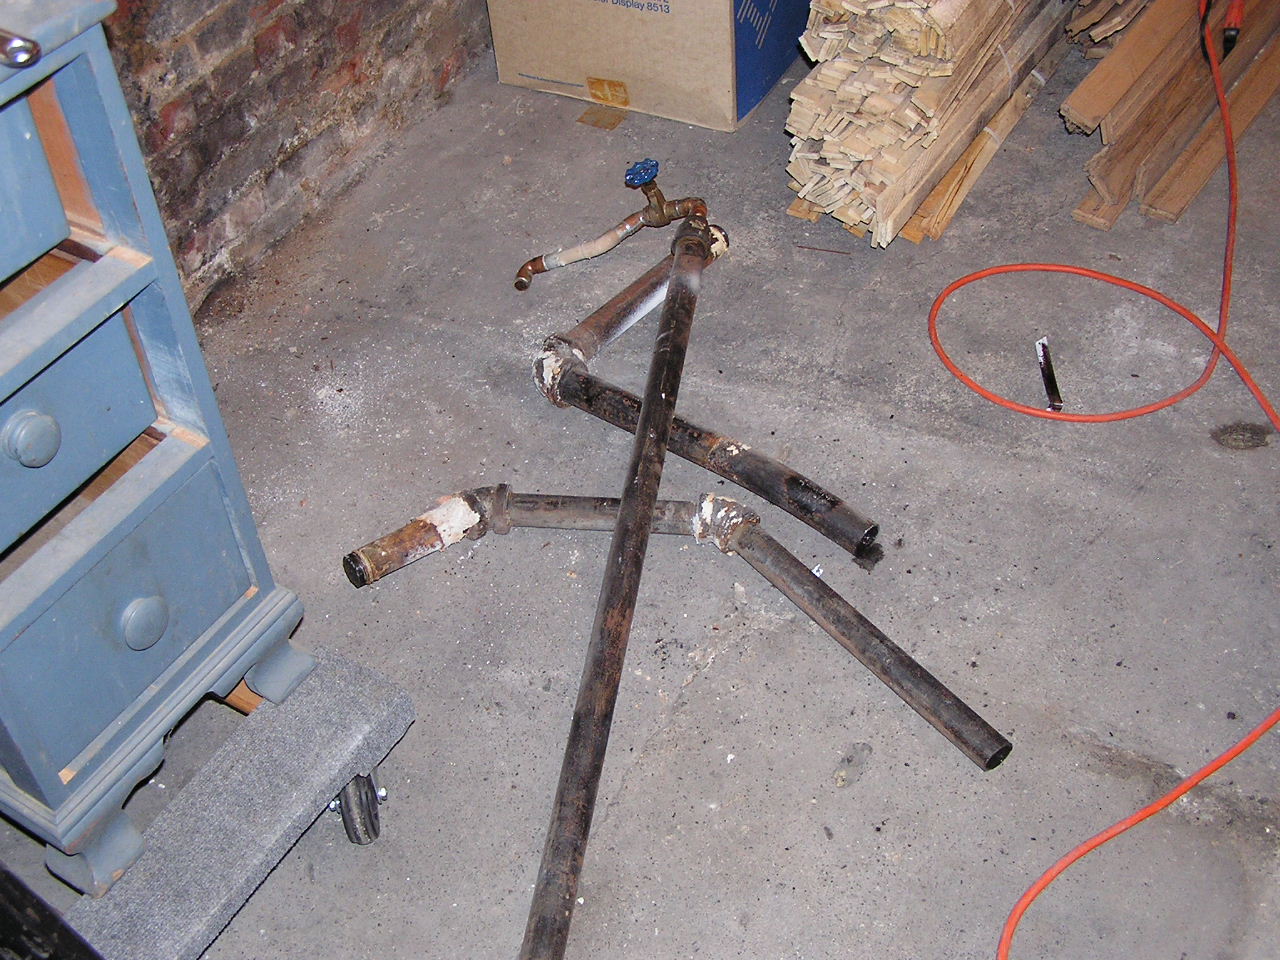
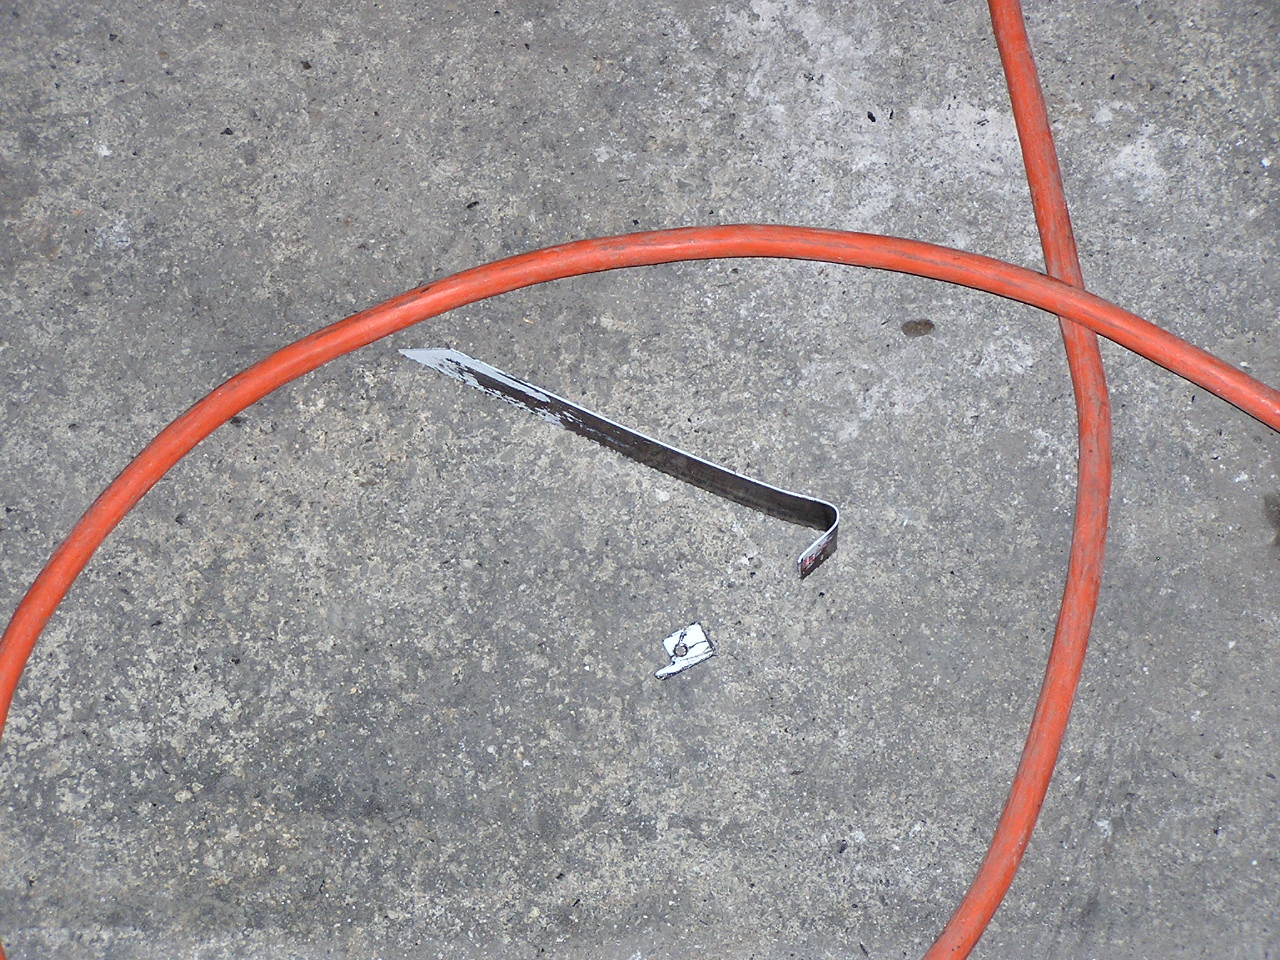

Several shots of the lack of pipes. The first one is the cut off ends of the pipes that used to feed the living room radiator next to the couch. Second shot is the hacked up mess just above the furnace. I expect this will clean up a lot over the next couple days, as I remove all of it. A shot of a few pieces of pipe on the floor, all formerly of my heating system. Next a shot of what a Sawz-all can do to it's own blade in only a couple instants when the pipe you're cutting binds the blade. The last two shots are both from the feed to the living room radiator by the window, just to show how rediculous some of what I'm removing is - that's a wad of adapters to go from 1.25" schedule 40 iron pipe to .75" copper, via two other size pipes in the middle.
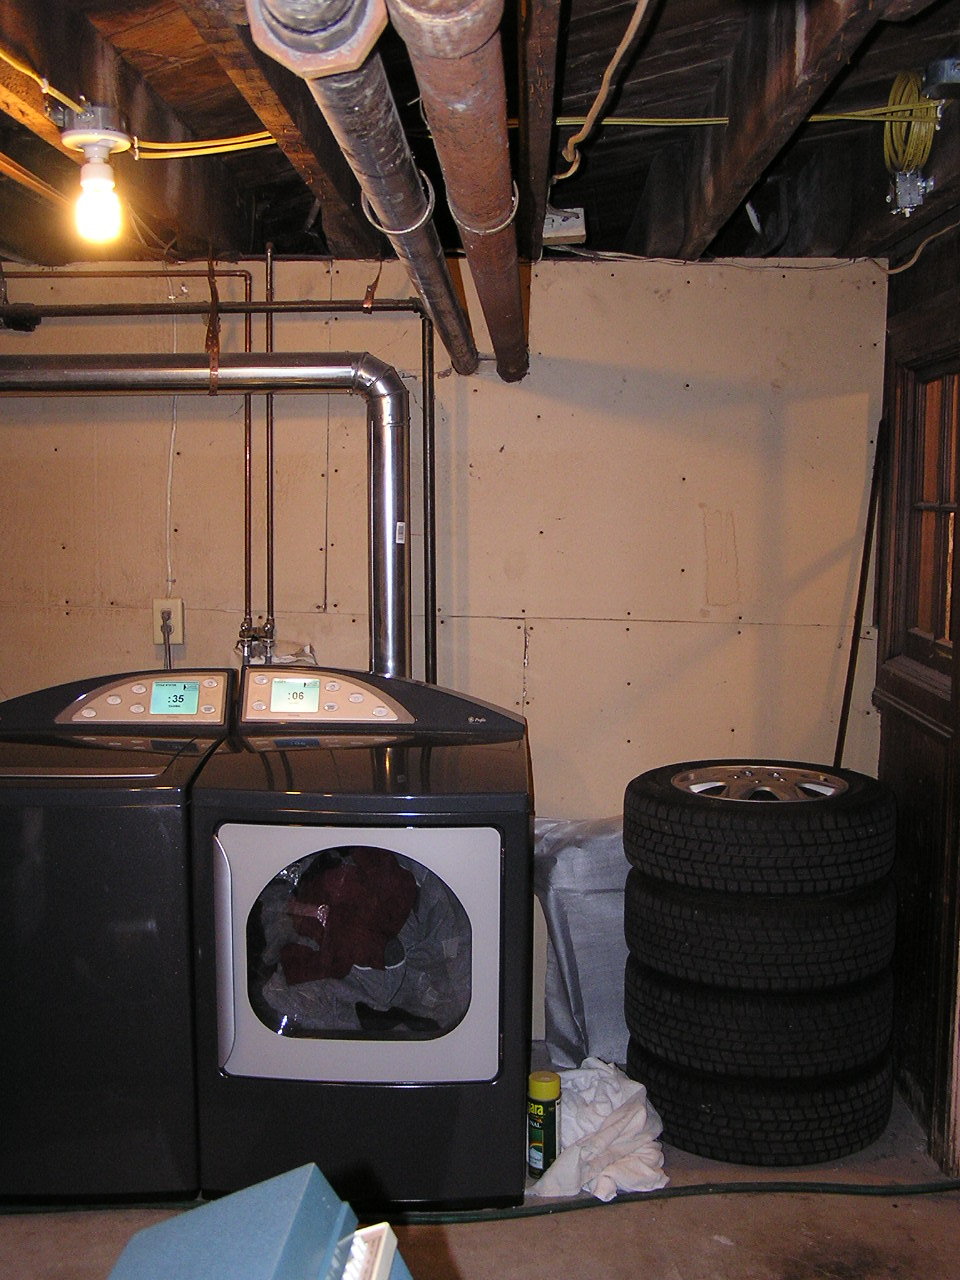
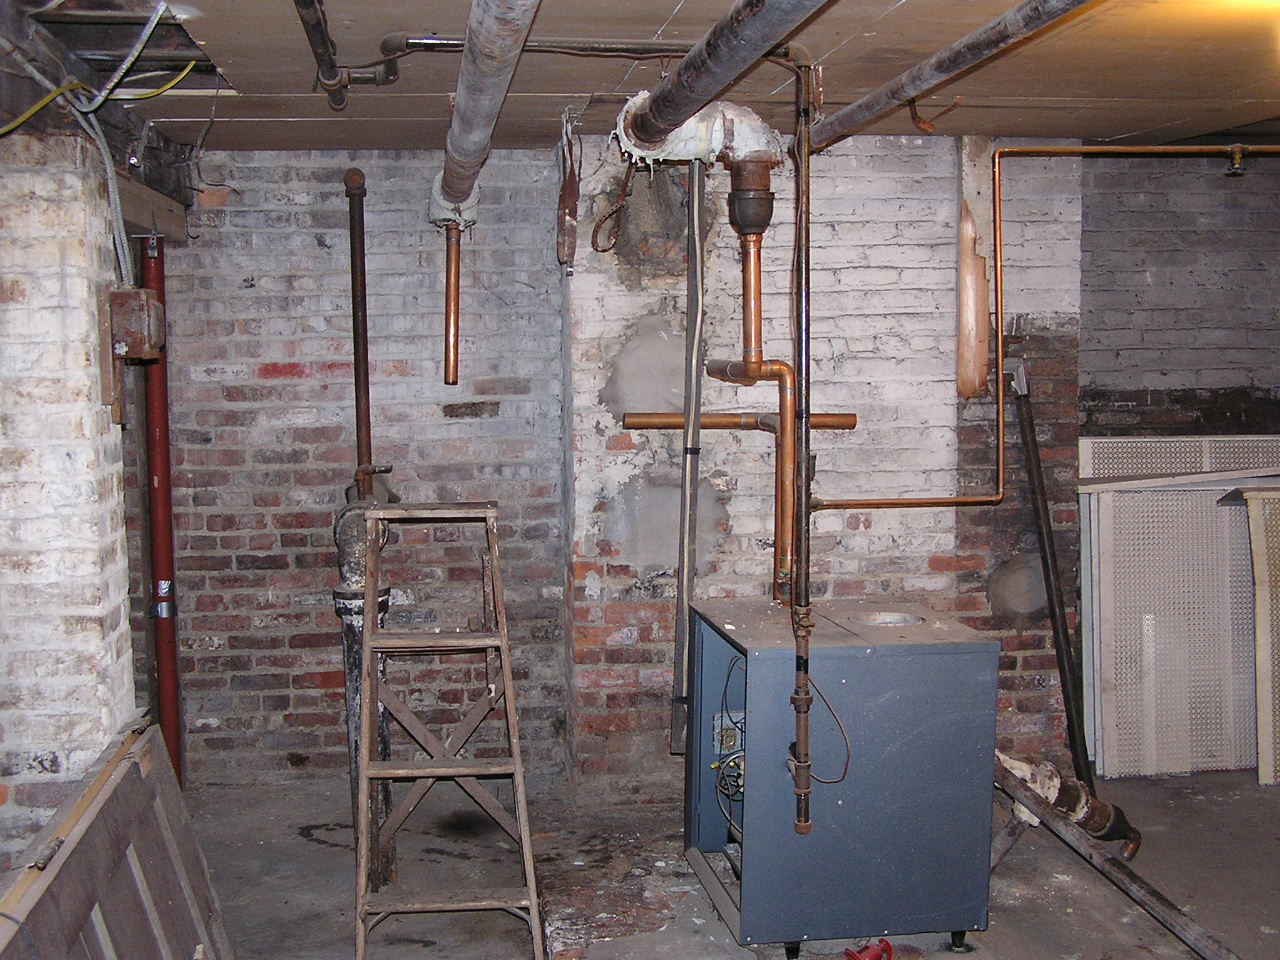
A bunch of pre-"rip out the heating system" shots. All the big cast iron pipes, and much of the big copper pipes are coming out. I expect that the furnace itself will end up moving for at least a time during the project. The shot including the dryer is to show the height those pipes are off the floor - that's the only place in the basement where I feel the need to duck.
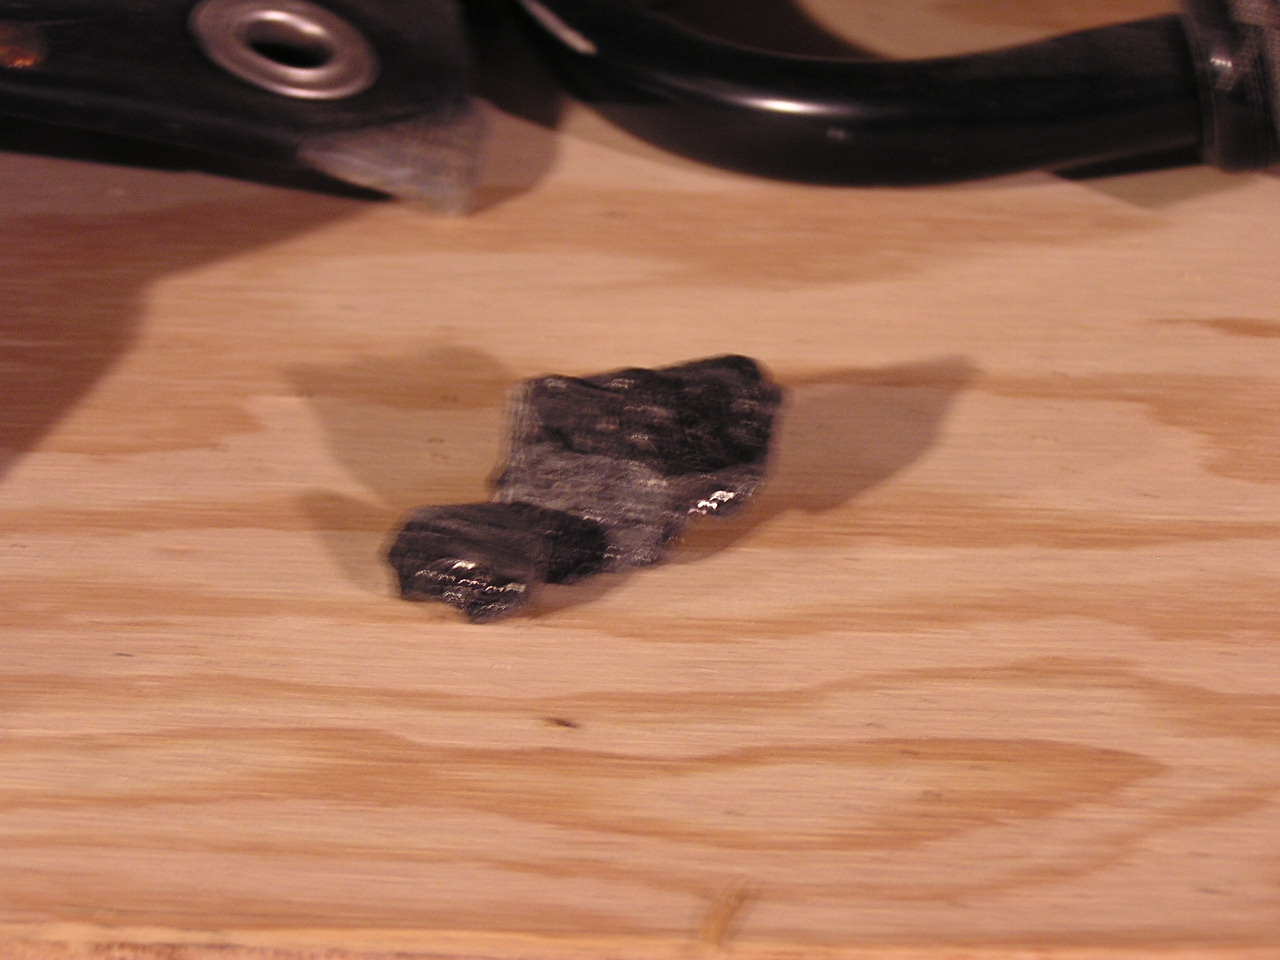
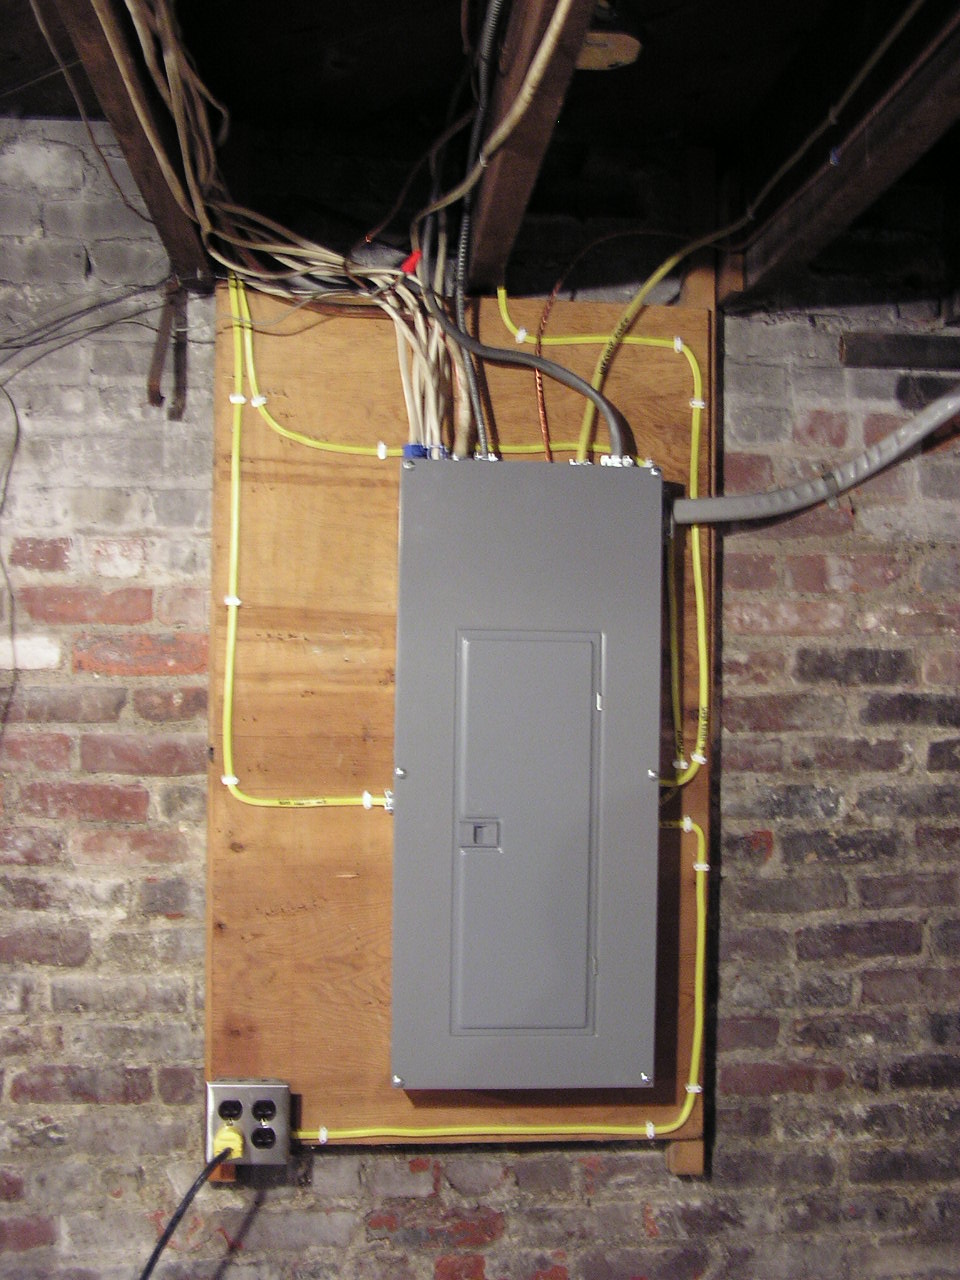
The first two shots show how I finally know what the odd wall and footer formerly near my furnace were - the black on the floor right around where the footer was (protecting the surface from wear), and the pieces of coal that fell out from behind a wall stud attached to the brick. The third shot is just a current state of the breaker panel - you can clearly see what work I've done, the neat, mostly rectilinear yellow romex is all my fault, the mess of random crap on top was the electrician.

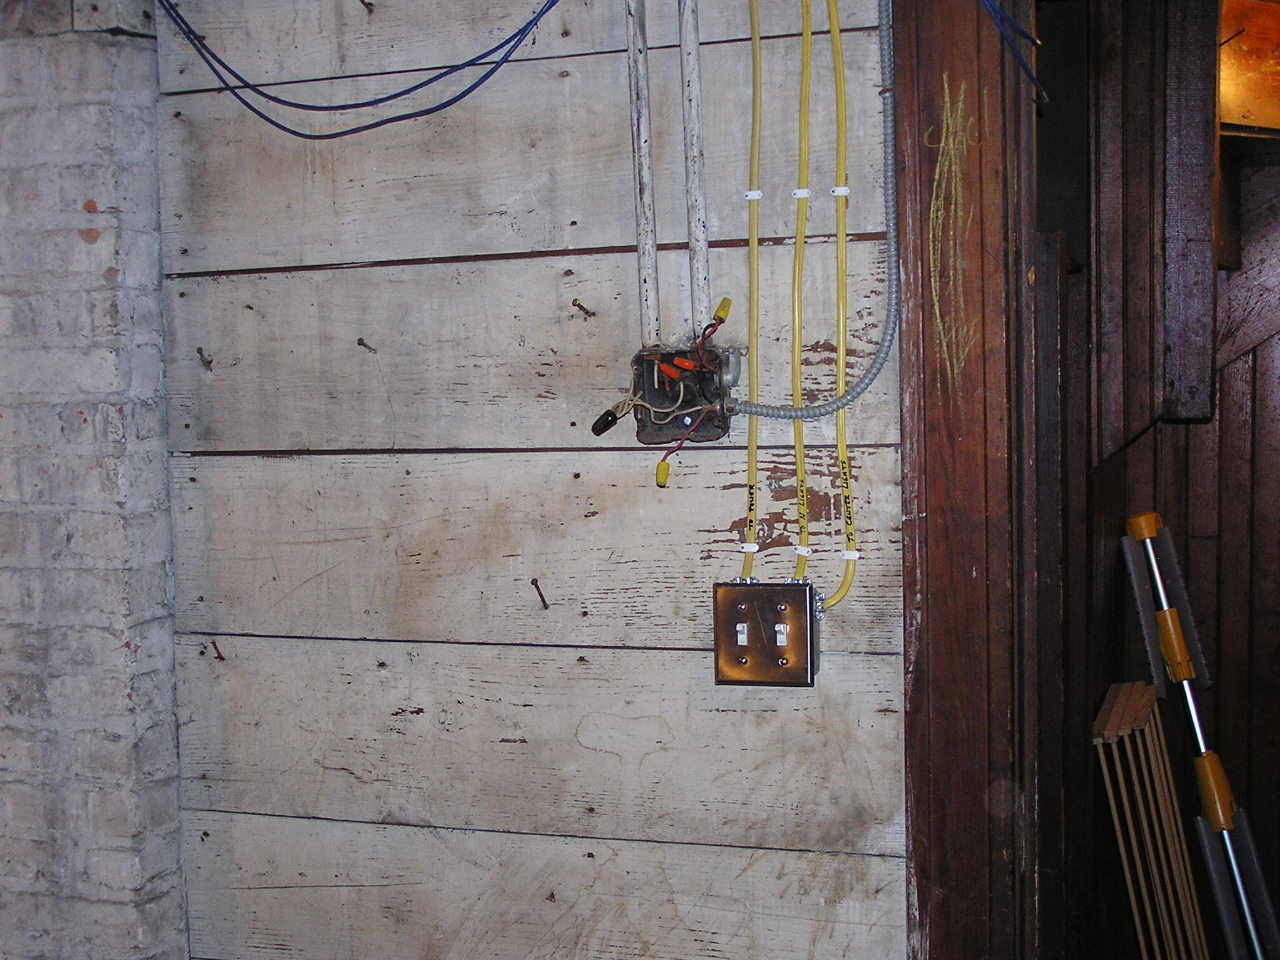
Two quick shots of the work done recently - the new shelves, a little of the new electrical, and the remains of the old electrical (you can see where the old wall was that I ripped out from the discoloration on the wall just inside the right end of the shelves, and the electrical box that's looped up over the white and blue wires and the grey cable.) The second shot is the old electrical (there never were any switches in that mess) and the new light switches.
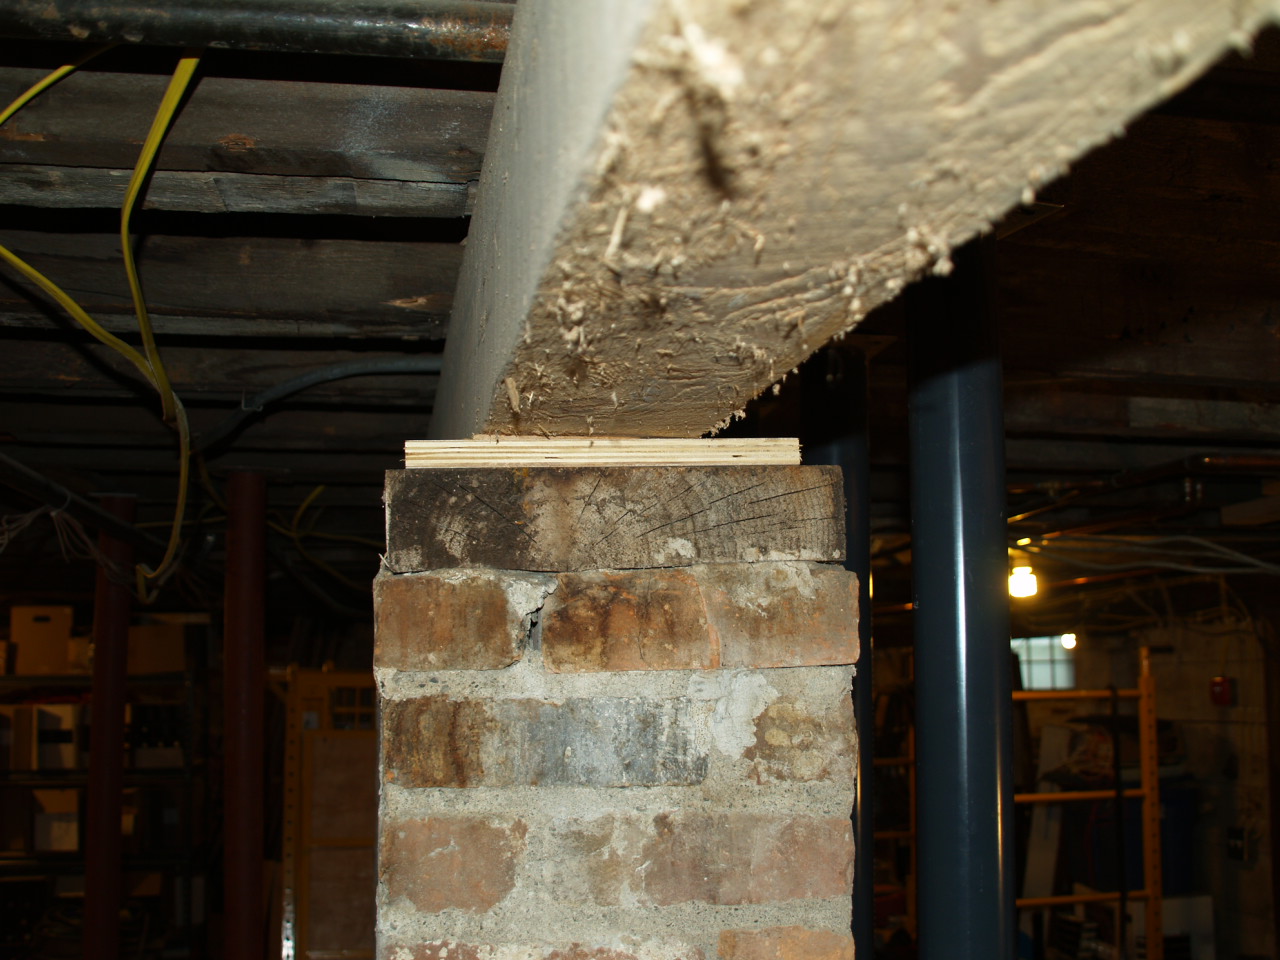
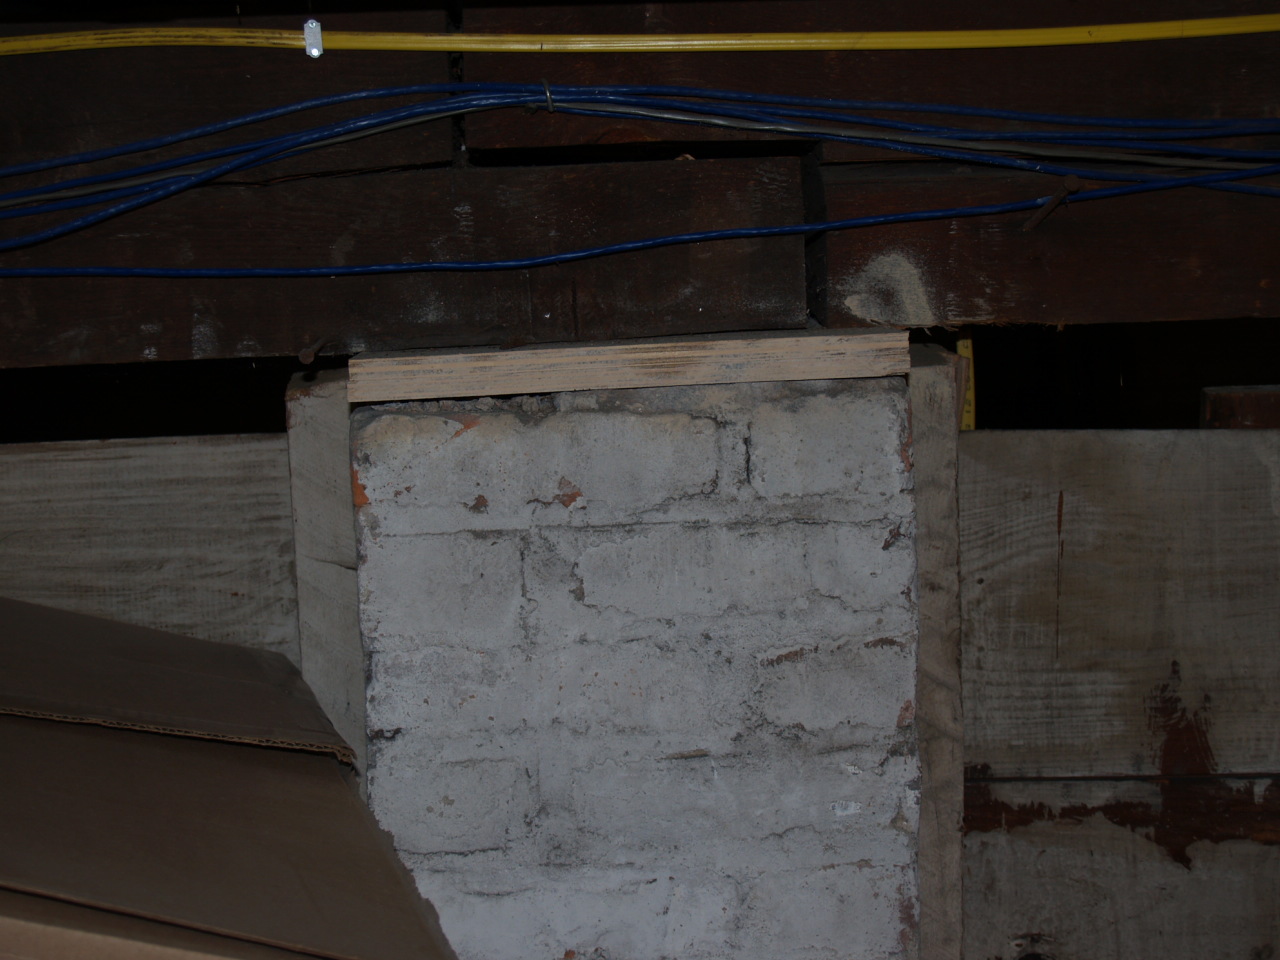
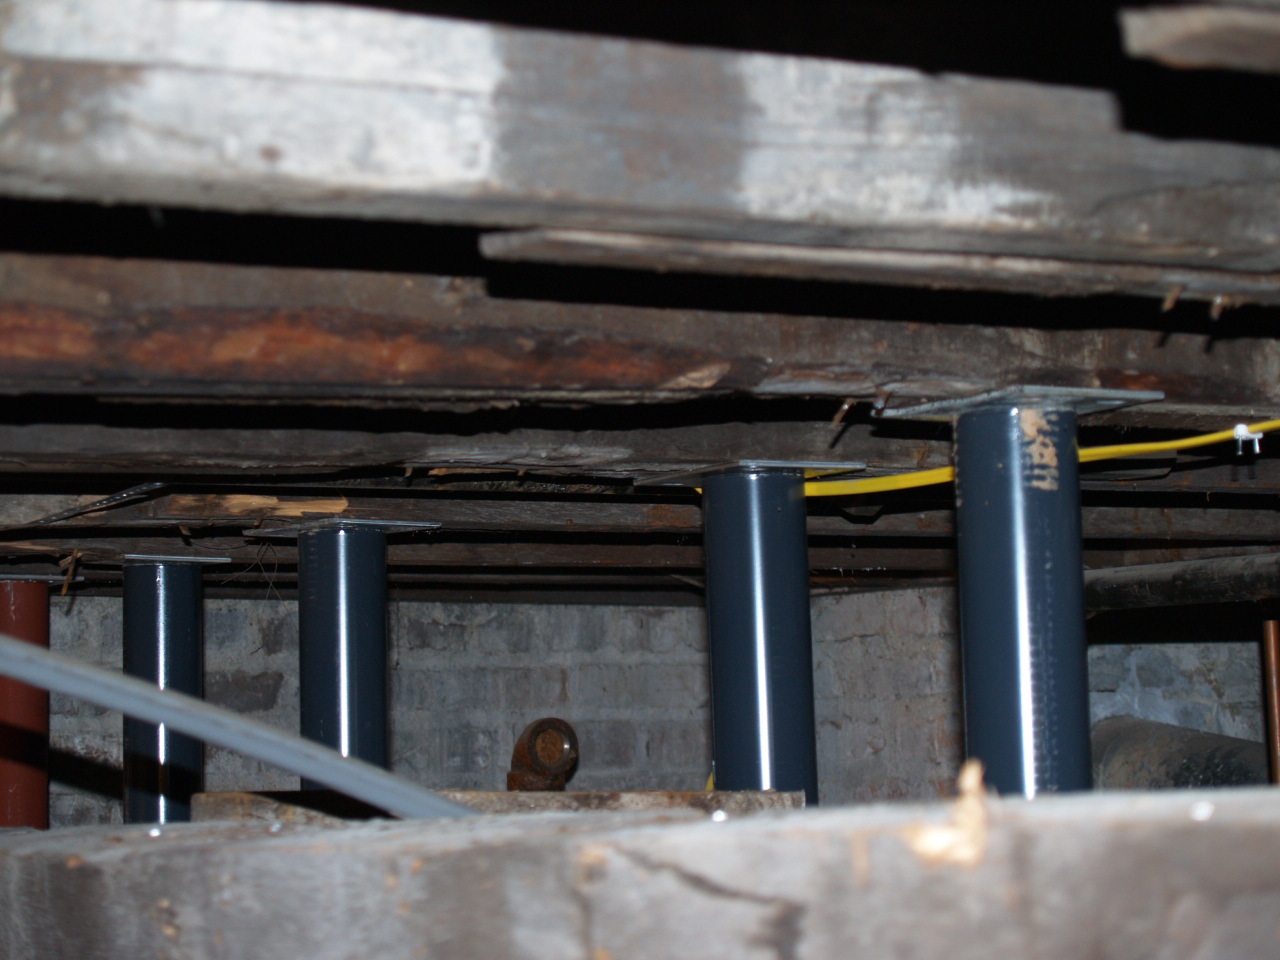
These are the temporary supports I've put in under the bathrooms to buy myself some time before I have to rip it all out. Two lally columns and a few 2x8s cost under $100, so I have time to get together $20-30,000.
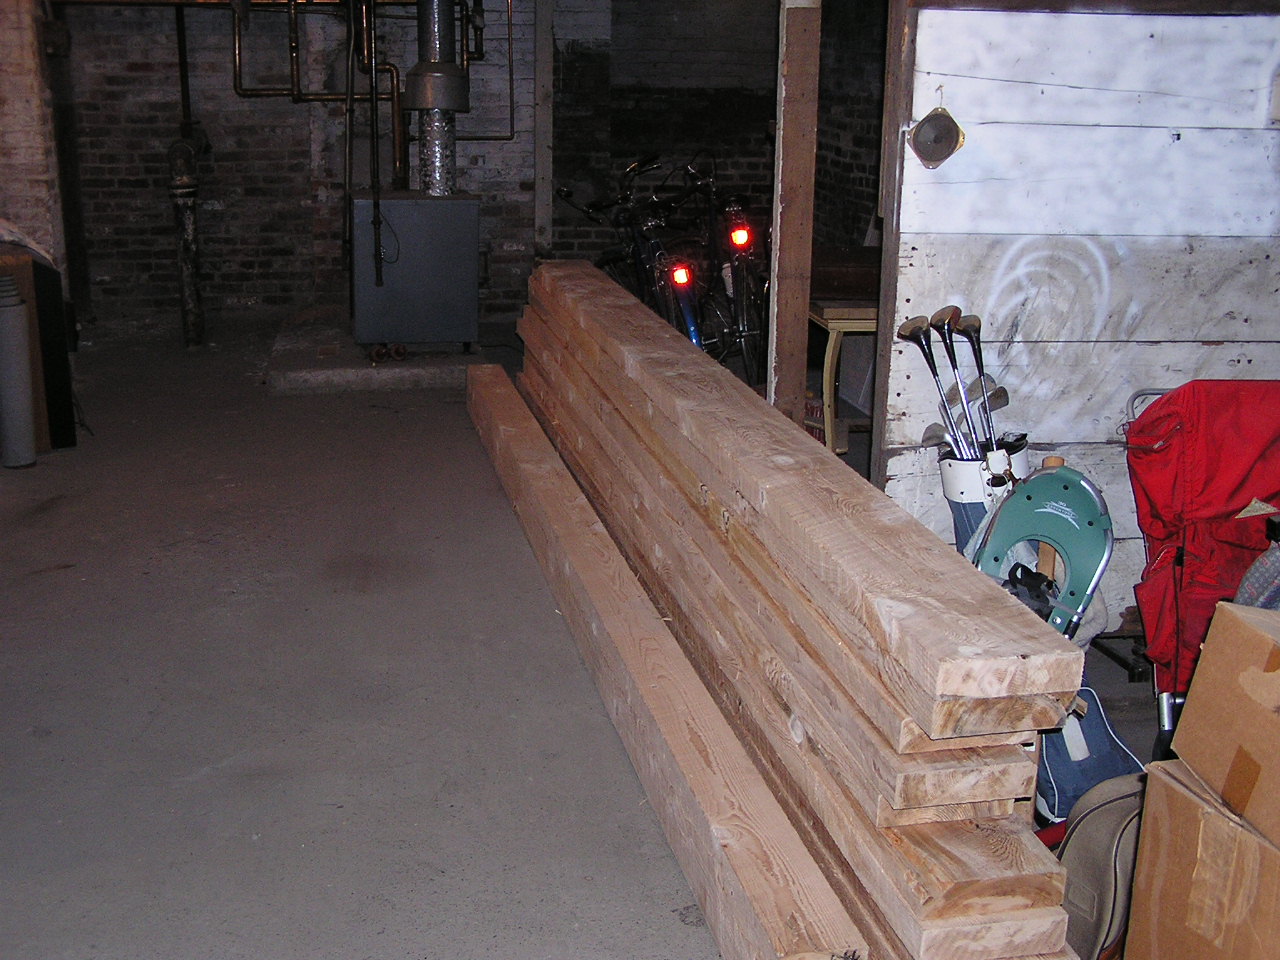
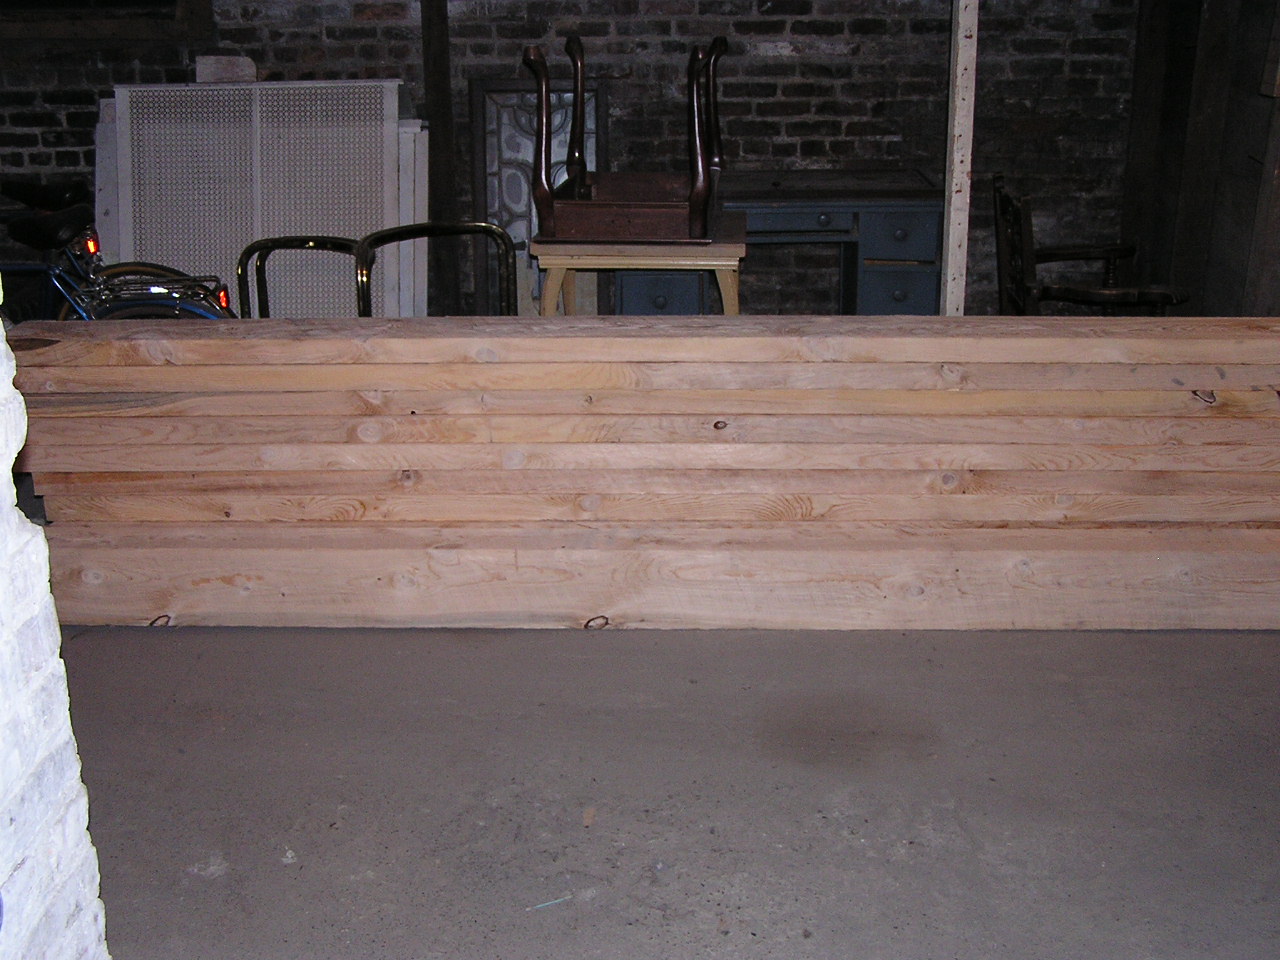
These are my new beams :-) Problem is, the pile of ten (10) beams is so big that I couldn't really find a good place to take the pictures from.
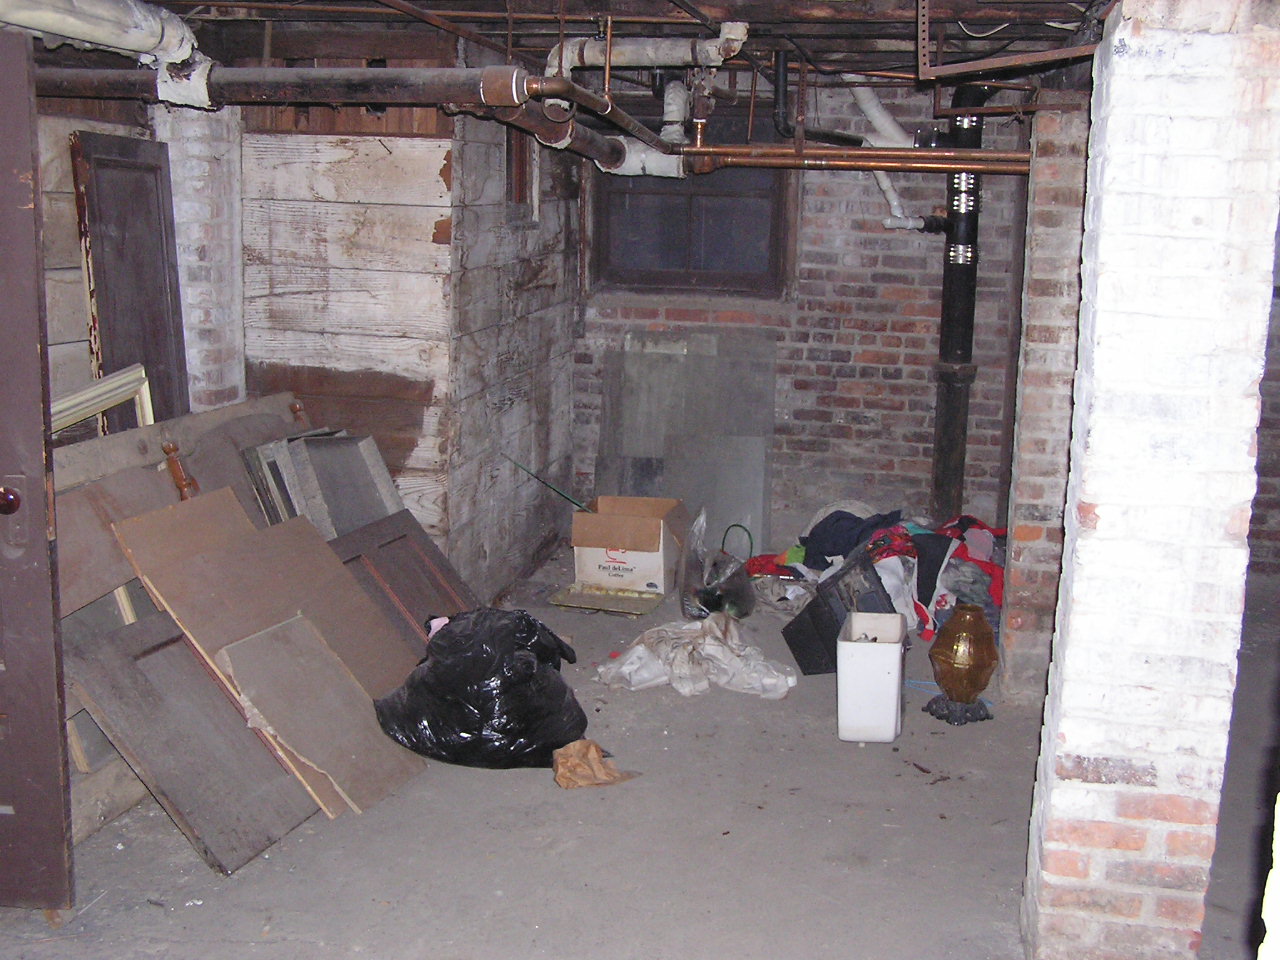
This is one of the many piles of crap left behind in my basement.